Thursday, January 23, 2025

Snow Charming

***Our Team uses affiliate links at no charge to you***

Hello, creative friends!

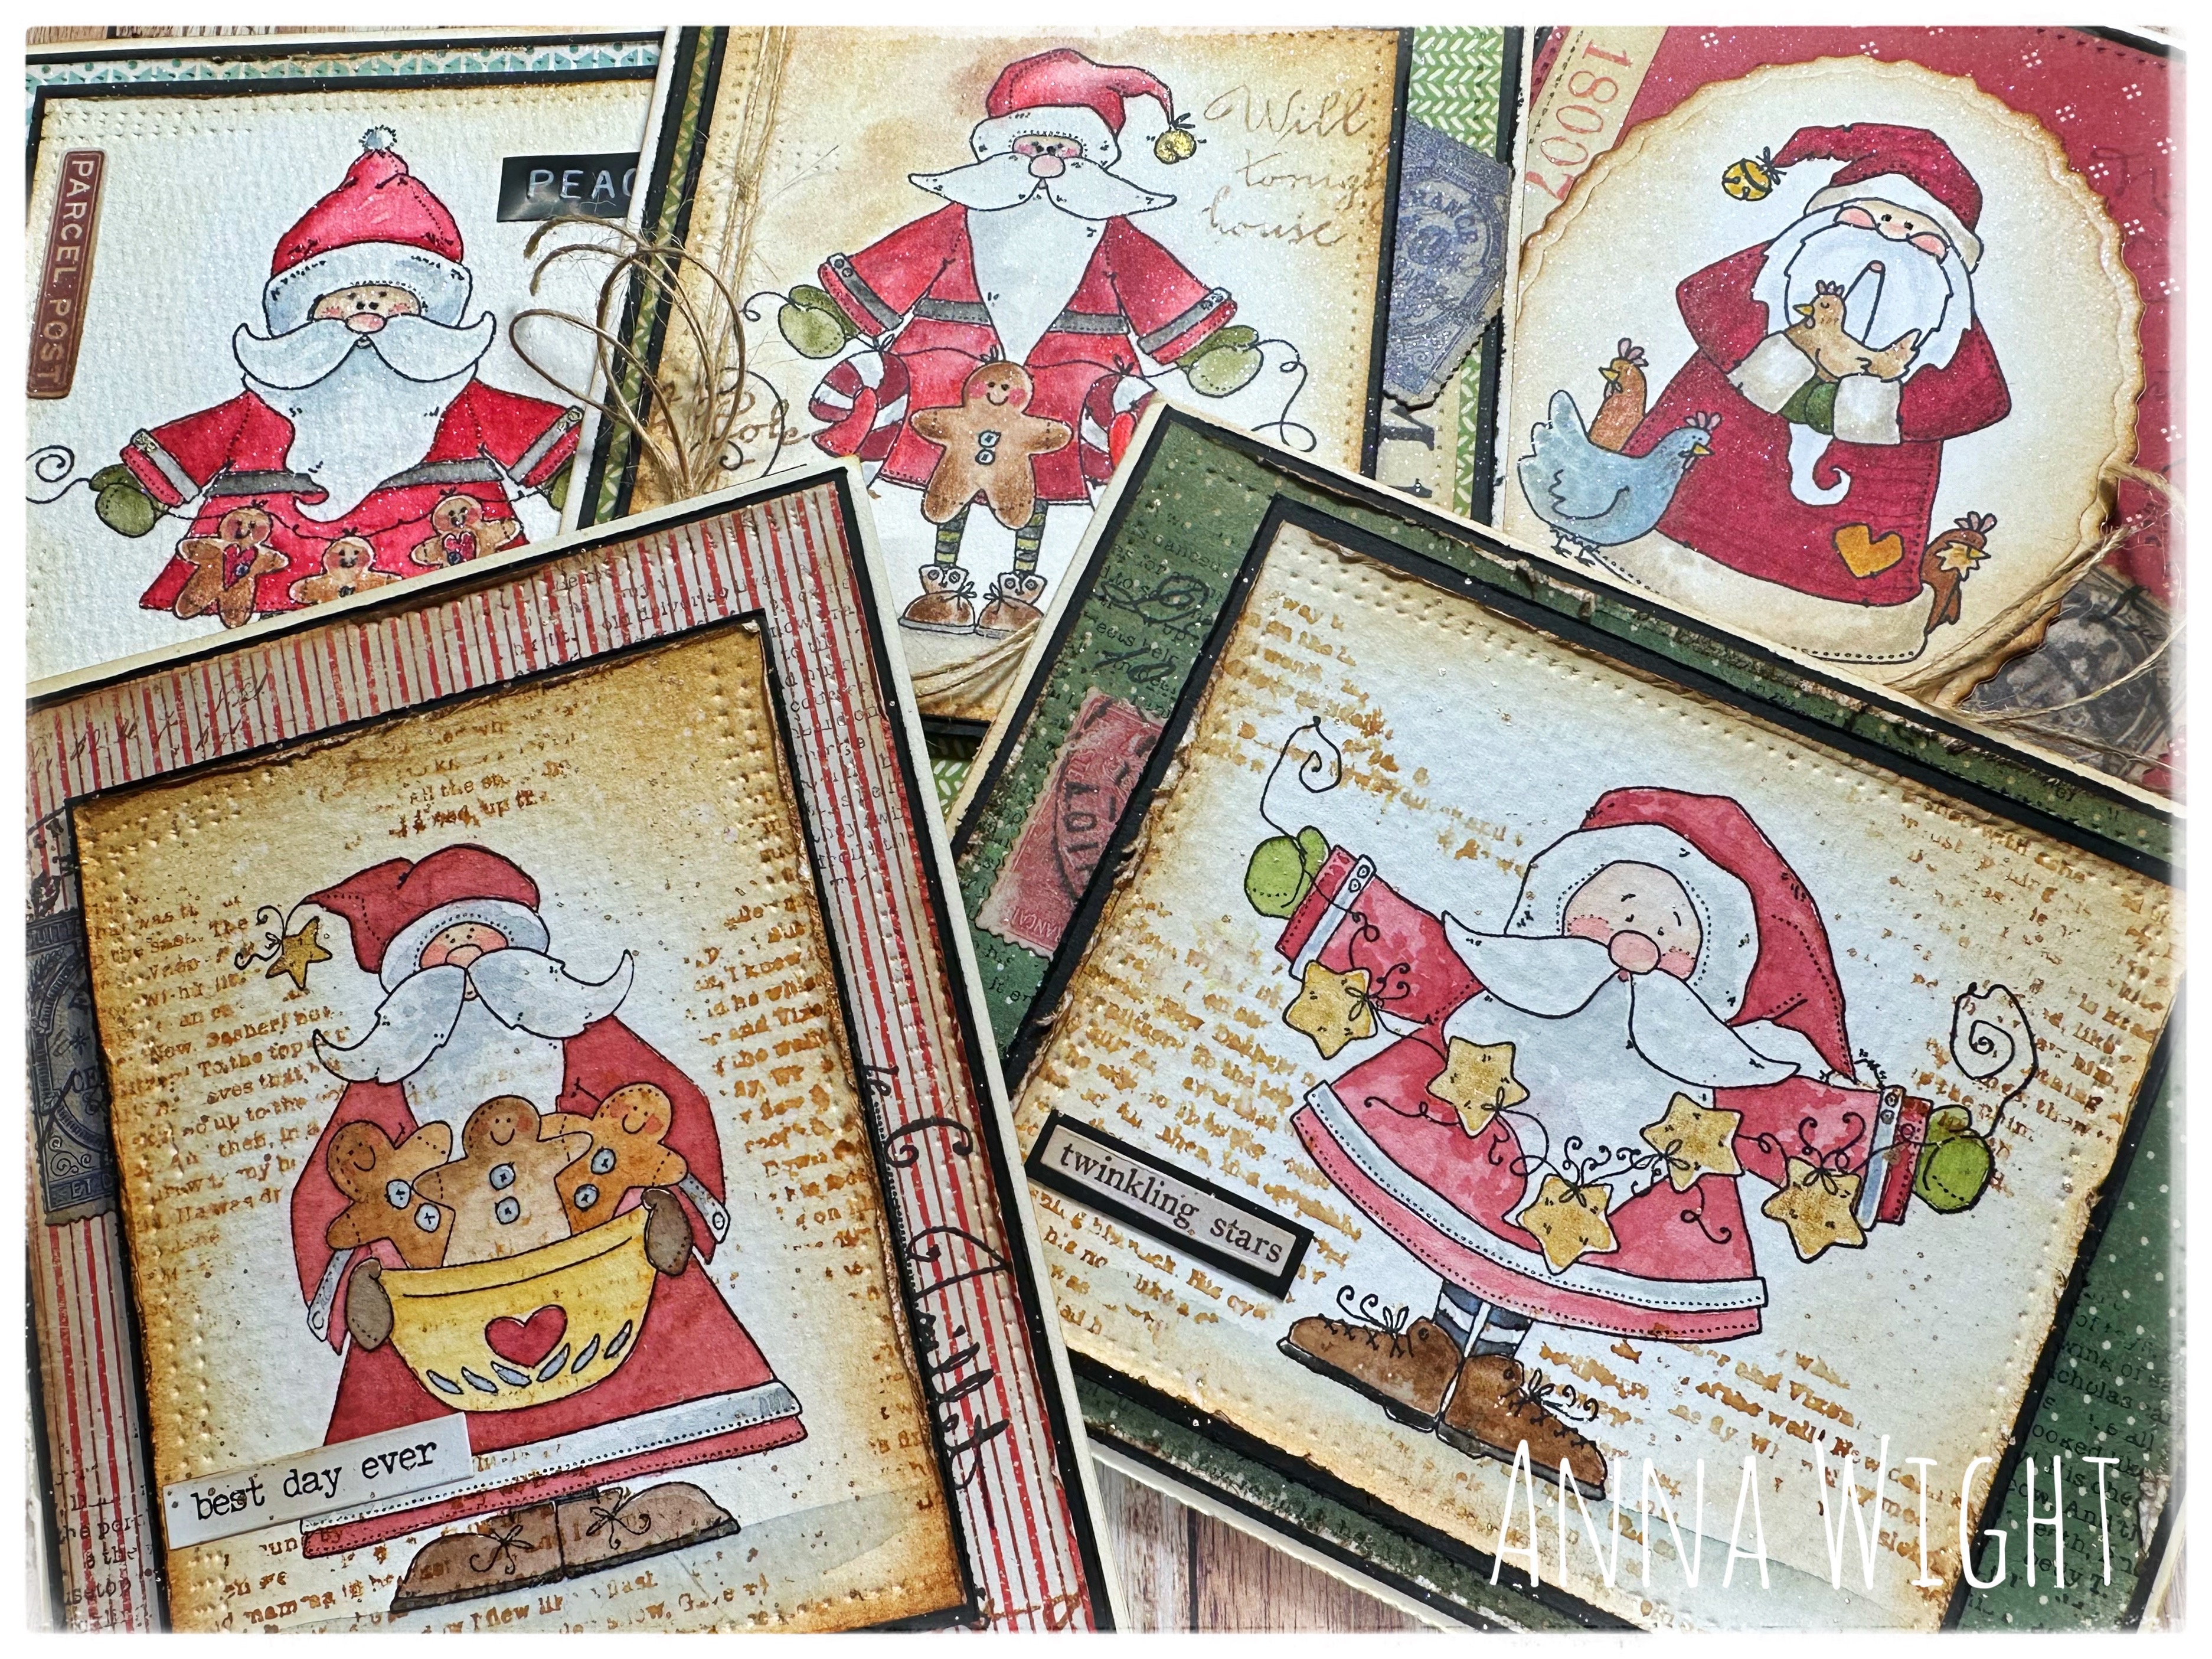
This week, I am excited to feature Mr. Charming—a delightful project that brought winter magic to my crafting space. Mr. Charming came to life with the help of some of my favorite tools, and I can’t wait to share the process with you!

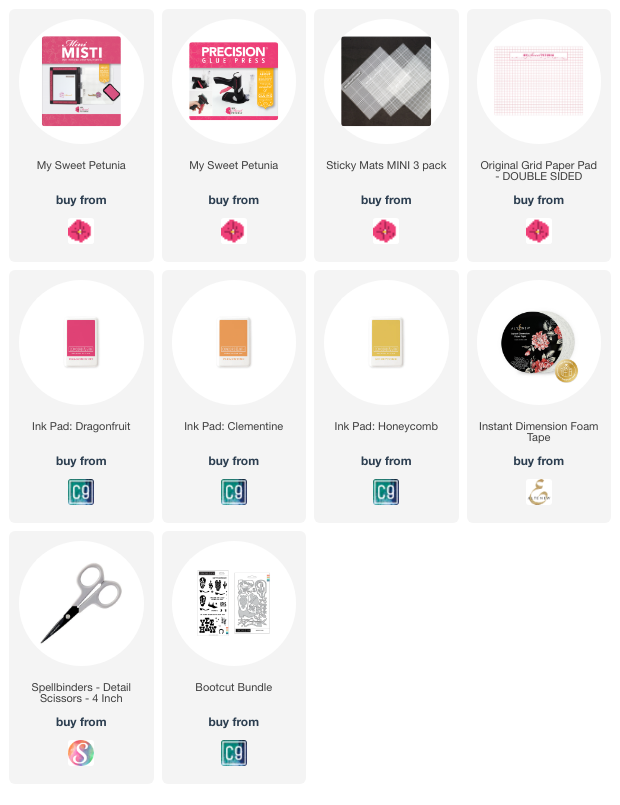
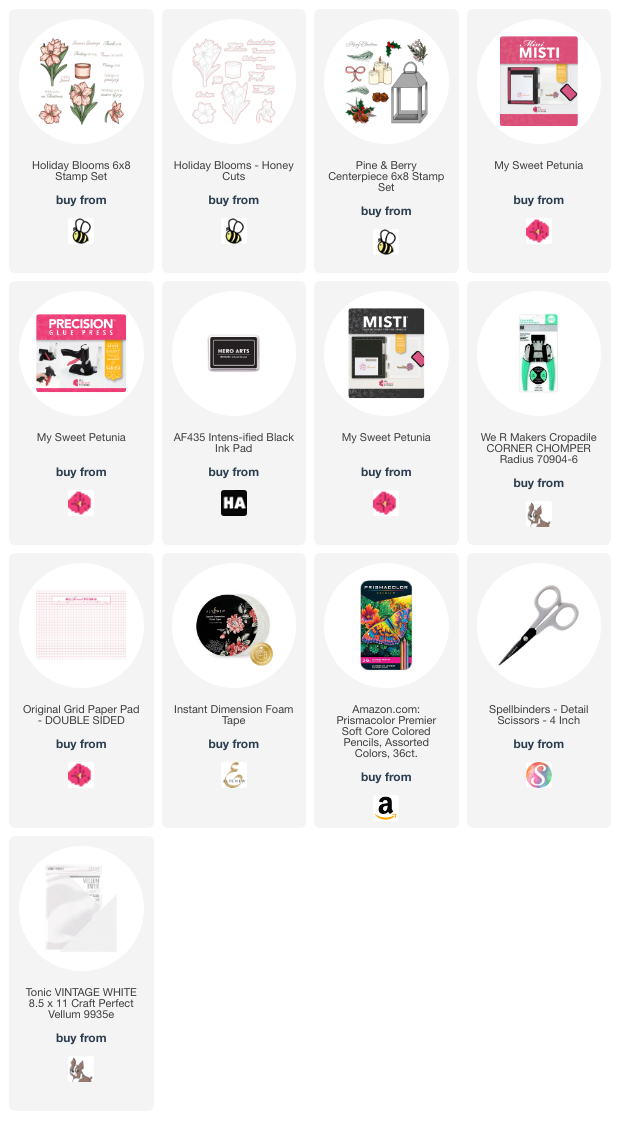
First, I stamped the buttons using the Mini MISTI, followed by stamping Mr. Charming himself with the Black Original MISTI. These tools are indispensable for precision and ease. Even though my current workspace is no larger than a child’s dresser, the Mini and Original MISTIs make crafting in small spaces a breeze.

To ensure everything was perfectly aligned, I used an Alignment Grid. If you haven’t tried the grids yet, it’s a must-have for anyone who loves clean, professional results. Other tools I utilize with every project are the Cut Align Ruler with the 0 center, the Precision Glue Press for neat and controlled adhesion, and Sticky Mats to keep everything in place while I work.

While I can’t say I’m the biggest fan of snow, it is pretty! My husband and I ventured out yesterday to snap a few photos in the snow, and it felt delightful to forget about grown-up life for a moment. And besides, without snow, we wouldn’t see something as delightful as a charming snow person.


Charming is a new stamp set by SweetMissDaisy Designs.


I hope this inspires you to embrace the season—and your crafting tools—to create something enchanting. 

Stay cozy and creative,


Wednesday, January 22, 2025

He’s so Charming!


Hello everyone! Anna here, with greetings from a chilly, somewhat snowy pacific northwest! The card I’m sharing today was made using the recently released Charming snowman clear stamp set from SweetMissDaisy Designs. A warmly watercolored image paired with soft textures of watercolor paper, textured card stock, faux stitching, and toasty colored ink makes for a real charming snowman card!

I used the Mini Misti to stamp the snowman image several times to ensure a great impression on textured watercolor paper. The Mini Misti also allowed me to precisely place the sentiment and stamp it several times to get a great impression!

I love how the Mini Misti allows me to stamp perfectly, every time! On card panels or on smaller sentiment banners, I can stamp with precision every time, giving me the perfect placement and impression for every project.  Sentiments are stamped perfectly placed, and stamped images on watercolor paper (or other textured papers) are a breeze to create! 

Thanks for joining me on the blog today! Stay healthy and well!

Tuesday, January 14, 2025

Precision Stamping with the MISTI

 Creating a card with layered stamping is so much easier using the MISTI. Each of the boots on this card require multiple stamps to create a finished image.


For the base of the boot I stamped the color in full pigment, for the layers I stamped off once on MISTI grid paper and then stamped to the card base. Using the MISTI made the process faster and more precise.


If you have any questions please feel free to reach out. CLICK HERE to visit my blog for contact info.

Supplies used to create this fun card are listed here:

Thursday, January 2, 2025

Sticky Mat Magic

Hello, creative friends!

I love using My Sweet Petunia Sticky Mats in my crafting projects. They’ve become an essential tool, especially when working with large cling stamps like the charming Penny Black Resting Picket Fence.

Here’s how I used the Sticky Mat to create a beautifully stamped image:

Getting Started

Since the Resting Picket Fence is a large cling stamp, I knew it would require multiple impressions to achieve full coverage. That’s where the Sticky Mat came to the rescue! I placed it inside my Teal MISTI, topped it with the cardstock, and stamped it. With the Sticky Mat holding everything securely, I stamped several times for a full-coverage, crisp image.

Adding Personal Touches

 I colored the birds as little Purple House Finches. These adorable birds bring joy to my day as I watch them out the window, so I couldn’t resist adding them to this project. I love the result—vibrant and heartwarming—just like the view outside!


Pro Tip: Using a New Sticky Mat

If you’re using a new Sticky Mat, here’s a handy tip to avoid tearing or bending your cardstock:

Instead of pulling the paper off the mat, bend the mat away from the cardstock to release it. This technique works like a charm, especially with a new mat. 

What I Love about Sticky Mats
  • They provide a firm grip, ensuring the paper stays in place during stamping.
  • They’re versatile and reusable, making them a brilliant investment.
  • Paired with the MISTI, they make achieving perfect impressions a breeze.
A few of my favorite tools I use every day:


Wednesday, January 1, 2025

Get Well Soon


Hello everyone! Anna here, with greetings from a (finally) snowy pacific northwest! Flu season is imminent, so let’s add some get well cards to our stash! The cards I’m sharing today were made using the recently released Get Well Bug limited edition clear stamp set from Whipper Snapper DesignsPaired with bright, cheery papers and colors, these bugs are sure to bring wellness (or at least happiness) to anyone who receives them. 

I used the Mini Misti to stamp the bug in a jar image several times to ensure a great impression on textured watercolor paper. The Mini Misti also allowed me to precisely place the sentiment and stamp it several times to get a great impression!

I love how the Mini MISTI allows me to stamp perfectly, every time! On card panels or on smaller sentiment banners, I can stamp with precision every time, giving me the perfect placement and impression for every project.  Sentiments are stamped perfectly placed, and stamped images on watercolor paper (or other textured papers) are a breeze to create!

Thanks for joining me on the blog today! Stay well!

Tuesday, December 17, 2024

Another Way To Use Stamping Templates

Hello Friend,

Wendy here to share with you a new way to use your MISTI Stamping Templates. Not too long ago I created some fun stamping templates using the MISTI Sticky Mats.

You can see that tutorial HERE.

For this card, we used the stamping template to stamp an image in a circle vs a sentiment.


I used a fun stamp set from Honey Bee Stamps and colored the image with colored pencils on a kraft cardstock. 


Supply list:

Wednesday, December 11, 2024

Ho ho ho, ho ho!


Hello everyone! Anna here, with greetings from a chilly pacific northwest! I don’t know about you, but I’ve got Santa on the brain! :) We have a bit longer to pull out all of our cute holiday Santa images and put together some cards to celebrate the season. 


The cards I’m sharing today were made using
 Santa stamps from Whipper Snapper Designs


I love the country primitive style. Do you?!


I love how 
the Mini MISTI allows me to stamp perfect images on textured watercolor paper, every time! On card panels or on smaller sentiment banners, I can stamp with precision every time, giving me the perfect placement and impression for every project!  Sentiments are stamped perfectly too, and stamped images on watercolor paper (or other textured papers) are a breeze!

Thanks so much for joining me on the blog today!