Thursday, November 30, 2023

MISTI in Teal and Thankful for YOU!

***Our Team Uses Affiliate Links at No Charge To You***

Hello, friends! Angie here featuring this beautiful Hero Arts bunny. My love for bunny images has snuck up on me, and now I have difficulty passing up any cute bunny stamp!  

When I make backgrounds to die-cut shapes from them, I keep them even if only small scraps are left. Recently, I made large, brilliant watercolor powder leaves from a background piece. I saved the scraps even though the leftovers were small. Today, I carefully laid the stamp over sections of the watercolor powder scraps and had just enough to stamp and die-cut three sets of leaves and a pine cone! The MISTI and a Sticky Mat were invaluable for keeping the scraps in place for multiple stampings on the textured paper. The mini MISTI was also a lifesaver for precision stamping on the long sentiment. (do you know, the mini now comes in Teal?, yes it does and I have linked right to it) I used the Cut Align and the Alignment Grid to ensure everything was straight! I also used the Precision Glue Press to adhere all the pieces to the card base.    

Thanks so much for stopping by, I am thankful for you!  


Wednesday, November 29, 2023

Chocolate Chips in My Cookie


Hello everyone! Anna here, with greetings from the pacific northwest! The tag I’m sharing today was made using recently released dies and stamps from Impression Obsession. Adorable cookie themed dies were released along with stamp sets filled with cute cookie and holiday themed sentiments perfect for making cards and tags.  

I love how the Mini MISTI allows me to stamp a sentiment several times, giving me the perfect placement and impression for every project! 

Thanks so much for joining me on the blog today!

Tuesday, November 28, 2023

Team Tuesday With Sweet 'n Sassy Stamps

 Our team uses affiliate links 


Hello friends!

It's Ceal, here. Today I am sharing a couple cards using the MISTI with a couple sets by Sweet 'n Sassy stamps. 

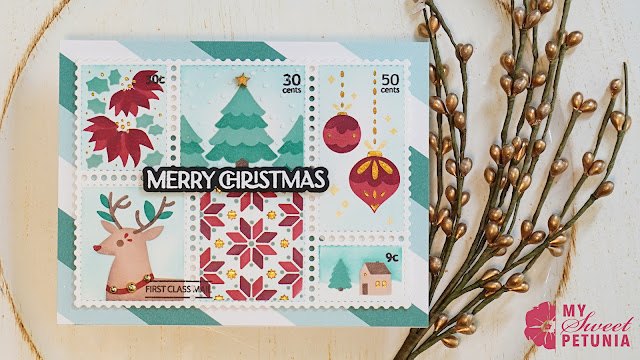
To make these cards, I started with white top folding A2 card bases. For the top card, I placed a piece of wheat cardstock in the Original MISTI on a sticky mat to stamp the background. Anytime I use a background stamp I always use a sticky mat so I can place it in the middle of the Misti.  Next I stamped and colored the images from the Botanical Collages set and then used postage dies to cut them out. The moment I saw this set I knew I wanted to use the postage dies with it. 


For the second card I placed a white panel in the Original Misti and stamped all of the images on the anel and used a large postage die to cut it down. I added some distress ink and some gold Hero Wax for a mixed media vintage look. 

All supplies are below using affiliate links


Tuesday, November 21, 2023

Balancing Your Cards & Easy Image Placement

 Hello friends!

Wendy here. I am so excited to share this card. I really love how it turned out and I even learned a little something along the way.


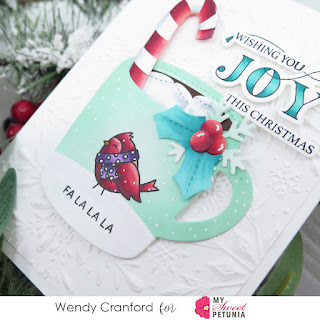
When I die cut this piece I placed the negative in the Mini MISTI to get perfect placement of the sentiment and the bird.

The Precision Glue Press was the perfect tool to put these pieces together. 


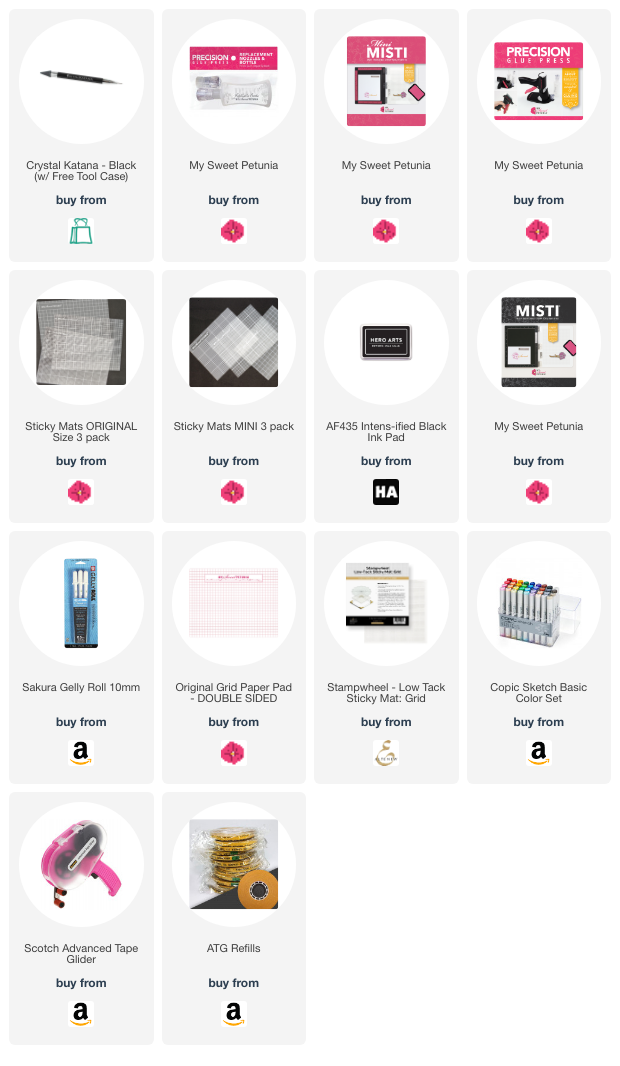
Here is my supply list and I will be on my blog and YouTube tomorrow sharing this fun card.

CLICK HERE to visit my blog and YouTube channel.

Thursday, November 9, 2023

Mass Producing Using Layering Stencils on MISTI


I had so much fun making Christmas cards with this stencil set from Waffleflower.  I was determined to find an efficient way to make several cards without making a splotchy mess on my project. 

Please enjoy the video and don't forget to LIKE and SUBSCRIBE to the My Sweet Petunia Channel.


Affiliate links to the supplies used: