Tuesday, December 26, 2017

Team Tuesday with Chris

Hi everyone!  I hope you all had a wonderful holiday weekend filled with family, friends, food and fun!

It's Chris here with you today, and I am sharing some watercolor cards that I made using my original MISTI, some fabulous new stamps from Brutus Monroe and some new watercolor pencils that I received as an early Christmas gift from my husband.  I received the full set of Caran d'Ache Museum watercolor pencils in early December, and am still experimenting with them, but I think I love them.  The pigment dissolves easily and they blend beautifully.  Today I'm sharing some of my results, and giving you a sneak peek of some of the new Brutus Monroe "When I Grow Up" stamp sets that will be releasing on December 30th.

I was fortunate enough to be able to travel to Pittsburgh this month to visit good friends, and attend the 3rd Anniversary celebration of my friend Christopher Alan's company, Brutus Monroe.  I took my new pencils with me on my flight in my Studio Bag and spent my flight time coloring and painting, and got to do a bit of crafting with Christopher and friends in his studio as well.   After his anniversary party, Christopher gave me these new not-yet-released stamps to play with for this MISTI post, so with his permission, I thought I'd give you an early look at the new additions to the When I Grow Up series illustrated by Chuck Carson for Brutus Monroe.  

The adorable little girls in this series are imagining their futures, and they know that there's no dream too big, or too gender exclusive.  I love this line for it's positive messages for young girls.  Everyone deserves the opportunity to be exactly who and what they'd like to be when they grow up!


When I Grow Up - Fireman (available 12/30/17)

For this Firefighter card, I used my original MISTI to stamp my images using Brutus Monroe Raven Detail ink onto Canson Montval watercolor paper.  I used 3M Post-it tape to create a mask for the water stream, applying the mask before stamping the dog to my panel.


I used the "L" shaped ruler from my Creative Corners as a straight edge to sketch in the sidewalk with pencil before coloring with the Caran d'Ache Museum pencils and using a Faber Castell waterbrush to blend out the watercolor.

The YouTube video showing my whole process for this card is here:


These next two cards were created similarly with my original MISTI and Museum pencils and use the previously released stamps, When I Grow Up - Scientist and When I Grow Up - Astronaut.  I used the Scientist stamps rather as-is, but sketched in the picnic table and background on the Astronaut card.  Each card began with a 5 3/4" x 4 1/2" panel of Canson Montval watercolor paper which, after coloring and adding my greetings, were trimmed and adhered to a side-fold A2 card base with Brutus Monroe Craft Glue.  I love that glue for it's quick dry time and strength.


The remaining three cards were created with more soon to be released stamps sets.  These sets will be available December 30th at Brutus Monroe.


When I Grow Up - Pilot  (greeting is from the Scientist set)
Her tree stump perch is hand drawn.


When I Grow Up - Policeman
I used pattterned paper for my background on this card.  My little policewoman was carefully hand trimmed from my watercolor panel and added with craft glue.


When I Grow Up - Military, (greeting is from the Astronaut set)

Thanks for joining me and my watercolor pencil samples today!  Thanks Christopher for the great  new stamps, and as always, thanks to My Sweet Petunia for making stamping successful and fun!

Have a wonderful day and happy stamping!


Sunday, December 24, 2017

Advent Calendar Extravaganza with Taheerah Atchia


Hi everyone!  Today I am happy to be a part to Taheerah's Advent Calendar Extravaganza.  Be sure to read all the way to the end for the giveaway. 


I can't believe that Christmas is tomorrow.  The card I prepared for you is an easy card to make if you need a last minute card.  We always have that one person that we overlooked and need a quick card to give with that generic gift card.  


Advent Calendar Extravaganza is -the- festive event of the season! This ‘hop with a twist’ was dreamed up by Taheerah Atchia and features surprise destinations each day! Joining in the fun with Taheerah are ONE HUNDRED special guests - each serving up some fantastic Christmas inspiration! Just like an Advent Calendar, you’ll never know where you’re going to be visiting next until you ‘open the door’!


And that’s not all! With 25 *amazing* sponsors taking part as guests as well, your crafty wish list is bound to get a boost with a chance to win a prize EVERY SINGLE DAY!!

Join in the fun every day at taheerah-atchia.com to see what special surprises await behind the door!

It’s not a party without a prize - and with prizes every day there are several chances to win! Today’s prize is generously supplied by My Sweet Petunia so you’ll definitely want to win! Simply leave a comment on this post - then head back to taheerah-atchia.com and leave a comment there too! You must leave a comment on Taheerah’s blog as well as mine in order to be eligible to win! Don’t forget to grab the other surprise destinations from Taheerah’s blog and head over to them to leave comments there as well to improve your odds even more! You have until 23:59 EST on 31st December 2017 to enter.

Don’t forget Advent Calendar Extravaganza runs until 25th December inclusive so make sure you visit taheerah-atchia.com every day for fabulous inspiration and amazing prizes every single time!  Enjoy the video!  Merry Christmas!


Affiliate links to supplies used:

Tuesday, December 19, 2017

Team Tuesday with Giovana

Hello friends! Giovana here today! I hope all your shopping is done and all your card were mailed, right? Yeah, me either, hehehehe and just in case you are in need of a quick idea to make 3 cards + 2 tags with 1 background stamp, today is your lucky day!!
Yes!! I used this super cute from Concord & 9th "Christmas Cheer Turnabout" , so let's get started!
  • Starting with stamping the Christmas Cheer Turnabout, using your MISTI,  on a piece of cream cardstock in Versamark Watermark ink. (click on the picture for a bigger one)
  •  After stamping the 4 sides, add gold embossing powder and heat set.
  •  Using stitched dies or any rectangle and a square die, die-cut the background piece. At first, I just wanted the 3 big pieces, but then I have a "great moment" and decided to die-cut the little pieces as well for little tags {win, win}
  •  Adhere the stamped panel on a piece of red metallic cardstock. Here I use Scallop Rectangle  dies.
  •  Stamp sentiment on bottom part of cards in green and red ink.

Here are the cards!! Love how they turned out! I added gold snowflakes and bough to embellish the cards, both from "Take a Bough Die"
 And here you have the 2 little tags, I kept them super simple, just added snowflakes and bough to the corner, I used a brad I found on my stash (do you still use brads?)

I hope you like these projects! It took me 40 minutes to create this set, not too bad, right?

Have a fantastic day!!
Hugs!

Friday, December 15, 2017

Shine


We have all meet a person that makes everything shine.   Let's call these people Shiny.  What makes a person Shiny?  When Shiny people walk into the room, people smile.  Laughing begins and everyone want to bask in the rays of Shiny.  Shiny people make me want to be a better person.  Shiny people literally make the darkness disappear.   


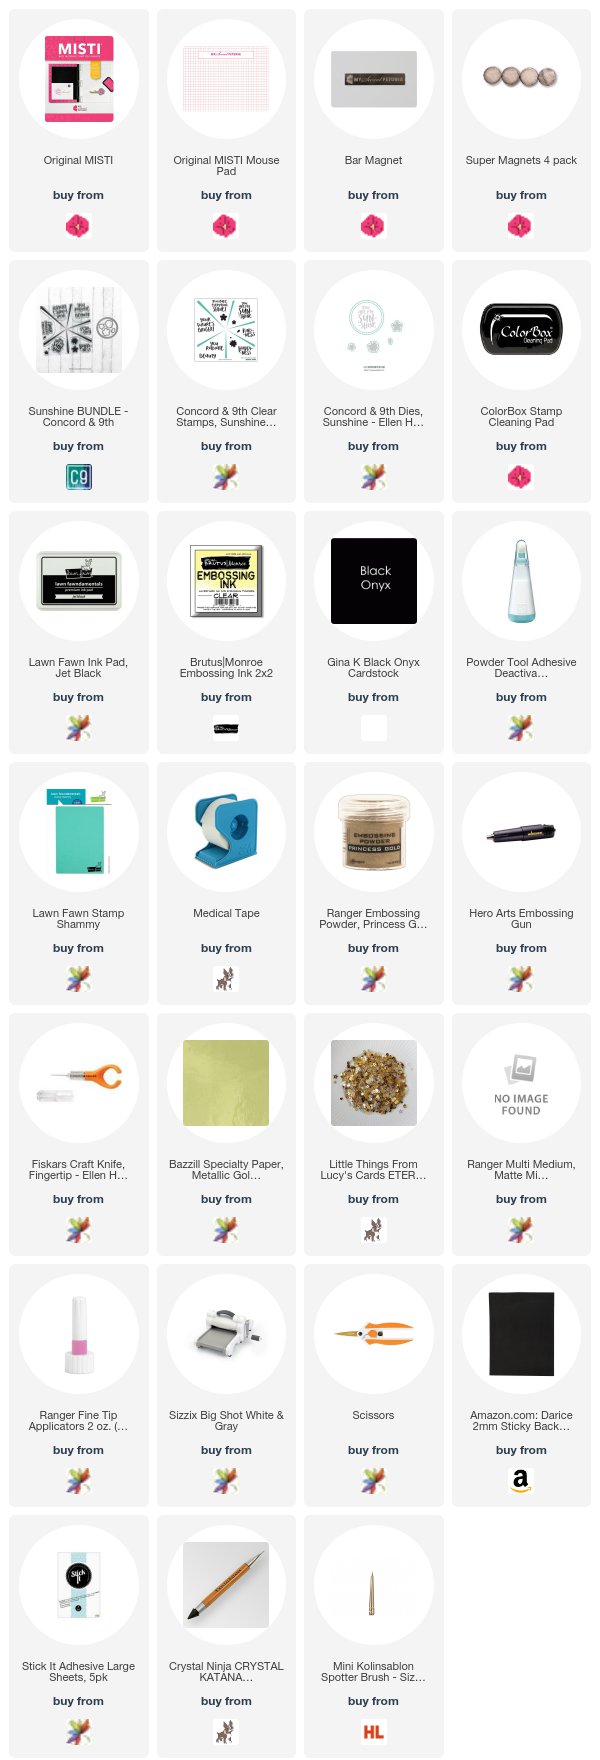
So when I saw this stamp set from Concord & 9th, I knew I need to use gold for my shiny card.  I stamped with my embossing ink and then added my gold embossing powder.  After heat setting it, I added the sentiment and embellished it with sequins. 

Please leave a comment below telling me who your Shiny person is.  Thanks for stopping by!


Affiliate links to supplies used:

Thursday, December 7, 2017

Merry Christmas


MERRY CHRISTMAS!!!!  I love how this card turned out.  I even got all fancy photographing it.  This year I actually got a head start.  All my church cards are complete and I am half way done with my cards.

I love the Concord & 9th Plaid background.  It is so versatile.  Change the color ink or change the  color cardstock and you get a totally new feel and appearance.   I started with some red cardstock and stamped it with Lawn Fawn Jet Black Ink.  Then I added the thin lines with Delicata Gold Glitz and used Ranger Princess Gold embossing powder.  Once I heat set it, I wiped off the residue from my embossing bag.

I die cut some black cardstock  with the Merry die  from Concord & 9th.  After stacking them I added one more layer with gold glitter paper.  Slapped on some gold sequence and I was done.

I hope you love this card as much as I do.  Be sure to watch the video to see what it would look like with gold foiled cardstock.

Thanks for stopping by!


Affiliate links to supplies used:

Tuesday, December 5, 2017

Team Tuesday with Ceal

Hi there! 
Welcome to Team Tuesday, it's Ceal here to share a shaker card with you today featuring some Concord & 9th products. 
If you are like me the Misti is a must have when using layering and background stamps.  Layering stamps for the life of me even though they are clear I cannot get them to line up without the Misti, background well I have small hands so it's pretty much impossible for me to hold that gianormous block. So the Misti is my best friend! 
To make my card I used the Original Misti and several Concord & 9th stamps. I started with the Blooms Fill In set, Versamark Ink and Gilded embossing powder by Brutus Monroe. I inked up the Fill In blooms background with Versamark ink and embossed it in gold. I love using the Misti when embossing because it allows me to get great coverage with the Versamark. 


Next I used some Catherine Pooler inks and again using the Misti to help me line up the layers I filled in all the flowers. Using the Creative Corners helped me be able to stamp the ones along the sides. 

I love the new Bar Magnets, you now how new stamps tend to lift your paper? well if you use two of them your paper doesn't move an inch!


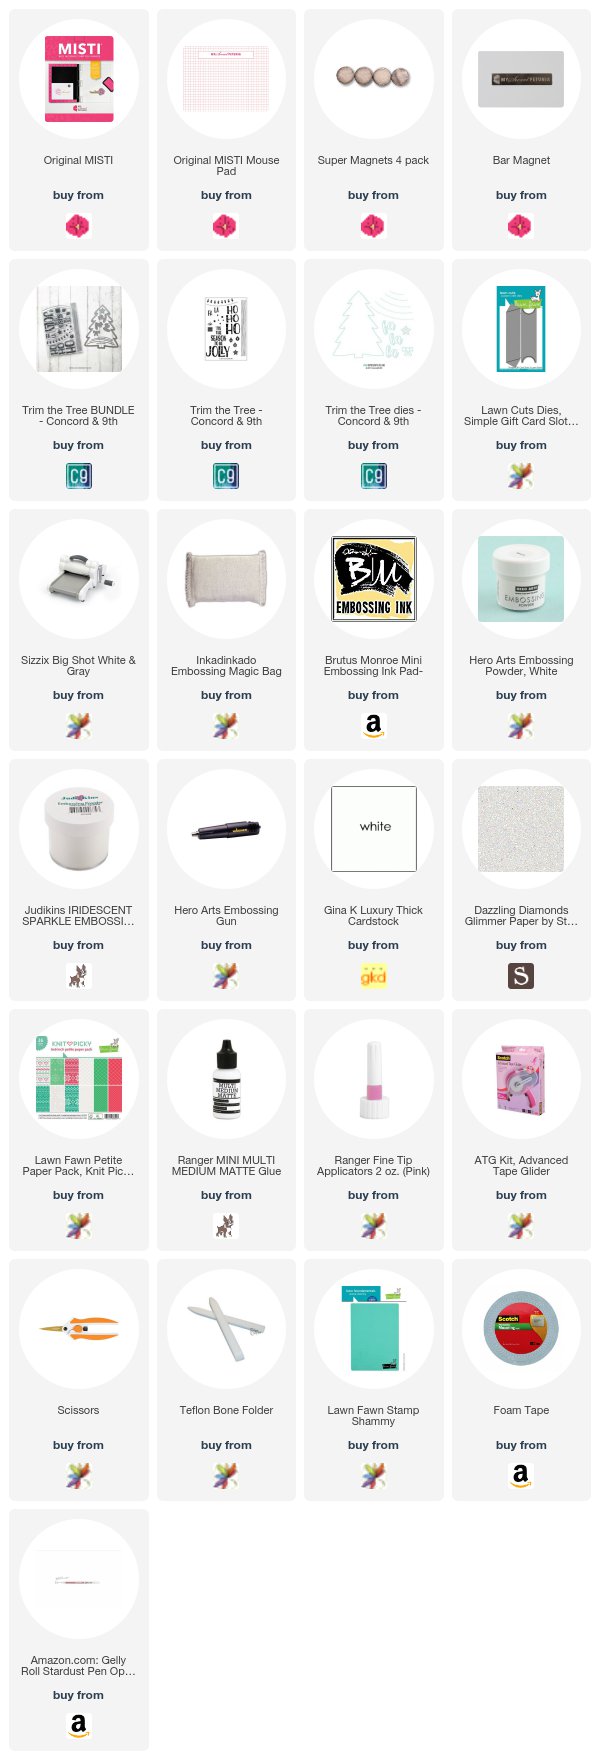
After I got all the stamping done on the blooms, I cut out theChristmas tree using the Trim The Tree dies. 

To finish the card, I stamped a background using the Plaid Background stamp and the greeting from the Trim the Tree set also using Catherine Pooler inks.
 I placed some acetate over the negative of the Christmas Tree and then added foam tape around the edges. I added some sequins on the plaid background and then placed the front on top.


Wanna know how I used the tree itself?  I am doing a series of 25 days of Christmas Inspiration on my blog, so Check my blog tomorrow and you'll see.


Tuesday, November 28, 2017

Birthday Gift Set

Hello everyone. Kia here with you today for Team Tuesday with My Sweet Petunia aka MISTI.

I have made a gift set for my friend who has a birthday close to Christmas. I always feel that December birthday celebrations get cheated ... but that is probably just me. But, to make this special for my very special best friend I did a fancy card with a matching gift box and envelope. I have also done a video showing the process, and will add a few pictures from that for a picture tutorial, as some have said they prefer that to videos, and we like to keep everyone happy.

First, my set.
Here are some close-ups to view, first the card,
then the box.
I started by stamping two of the Poinsettia images on Fabriano Hot Press 140lb watercolour paper using Tim Holtz Distress Blueprint Sketch Ink, that I heat embossed using clear embossing powder, and proceeded to watercolour using Fossilized Amber, Blueprint Sketch and Mowed Lawn.
I painted two as I wanted to use one of the cards to make my box, but mid way through my project I decided I wanted my painting to be attached on blue card stock. So, I cut both cards down along the fold, keeping the painted image. I added the blue card stock to my card, and cut another piece of the blue card stock for my box bottom. To ensure the box fits snugly, cut it 1/8th" smaller than the cover on one side. This will be enough to allow it to fit. 
I use the grid lines and creative corners in my Misti to find the exact centre of the base for the box bottom. That is to say, using a ruler on on the diagonal mark the centre by drawing a line in the centre of the card, then turn the card and using your ruler, corner to corner on the diagonal, make your second line, which forms an X in the centre of the card. As this is a square card, it does not matter what sides you use to cut, (as long as the cuts are done on opposite sides), make your cut to the fold line as shown in the picture above. Use your bone folder to make crisp folds. 
Add your adhesive to the small flaps as shown above. It is these flaps that will be together with the bottom flap coming up and glued to keep them in place. Do the same for the opposite side. This will form the box. Do the same using the the top of the box piece. 
Shown here, I am folding the edges up to the centre. Proceed the same way, then decorate both your card, box and envelope for a pretty gift set.

The video follows. I tried my best to keep it as short as I could. 


I hope you enjoy this project and thank you for joining us today.

Products: MISTI Original, Frantic Stamper Deckled Circles Die Set, CottageCutz Deer Die Set, Cheery Lynn Poinsettia Die Strip, Fabriano Hot Press 140lb Watercolour Paper, Bazzill Card stock, Silver Glitter Card stock, Vellum Paper, Stylus, Ranger Archival Manganese Blue Ink (for sentiment), Tim Holtz Distress Inks Fossilized Amber, Blueprint Sketch and Mowed Lawn, Aqua Brush, Kaiser Pearls.

Friday, November 24, 2017

Celebrate your unique talent day!

Lydia here - I'm sneaking in with a surprise blog hop for Iliana today!

I love those calendar sites that give you fun holidays for every day of the year.

I really need to keep one by my desk to keep some humor in my calendar.

Today is Celebrate Your Unique Talent Day, so I'm a guest in a hop with the My Sweet Petunia team, celebrating Iliana's unique talent as the inventor of the MISTI.

When I fell in love with stamping, I actually fell in love with stamping. Inking a stamp and putting it on paper. As I got more skilled, and got better tools, nothing replaced the love that has kept me making cards for more decades than I care to admit right now - stamps, ink and paper. You could take away my Big Shot, my heat gun - all of that, but the one thing you can't take away is my stamps and my MISTI.

The MISTI is the only thing I own that has actually revolutionized my one true love and made it EVEN MORE enjoyable, something I didn't used to think was possible.

So from the very bottom of my heart, I thank Iliana for changing not just my stamping, but for changing the crafting industry, and filling a need even the most experienced stampers didn't know we had. I'm even more thankful for her friendship, and so glad that this incredible tool brought a woman I love so much into my life. She has a very tender heart, a very large brain, and is one of the bravest people I know. She's one of those people I know I could call at 2 AM and she'd be there for me. (Not that I'm ever awake at 2 AM, and not that I ever make phone calls. But she'd be there!)

Her unique talent has greatly enriched my life, and Thanksgiving week is the perfect week to tell her that. So thank you, my friend. And y'all should all thank her for her storewide sale this week! The whole store is 20% off - no coupon needed. Sale runs through the 26th.

I also love pandas. That is a stone cold fact. So the card I made for Iliana today is featuring a set that made me scream in my hotel room in Salt Lake when I saw it - I'm surprised security didn't break down my door. It's the new Hi There Bear set from Concord & 9th. I paired the card with a BARC Wood envelope that I stamped with another image from the Hi There Bear set. Yes - the envelope is actually made of a beautiful wood veneer. I used the size linked below, which is smaller than an A2 - but I liked it because it made the bear more prominent. The self adhesive sequins (SQUEE) and the striped paper are from the upcoming Occasions catalog. Click here if you'd like a copy in the mail.
Hi There Bear BUNDLE
[ C&9 | SSS | ELH ]
Doodlebug EERIE EYES Sprinkles Shapes...
[ SSS ]
Stewart Superior Memories India Ink...
[ AMZUS ]
Arc BIRCH WOOD ENVELOPES 4 Bar ARCBW55
[ SSS | ELH | AMZUS ]
Whisper White Cardstock - Thick
[ SUP ]
MISTI Stamping Tool
[ MSW | SSS | ELH | SBC ]
Rotatrim Professional Series Cutter -...
[ BLIC | AMZUS ]
Absorber - Synthetic Cleaning Cloth
[ AMZUS ]
Multipurpose Liquid Glue by Stampin' Up!
[ SUP ]
Big Shot by Stampin' Up!
[ SUP ]
Since I have a voice this week, I thought I'd do a video of the process for you, and share some thoughts about bears.


I hope you had a wonderful Thanksgiving! Since you're probably still in your stretchy pants, why not visit all the other blogs in the hop for your chance to win an original or mini MISTI - your choice!
you are here >>Lydia<< you are here


Also - I've updated my searchable sentiment database to include the Occasions catalog, so if you are already subscribed, you're all set. If you aren't - you can do so here. Thanks for stopping by today! Please leave in the comments what YOUR unique talent is - I look forward to reading them! Loveyameanitbye.

Tuesday, November 21, 2017

Team Tuesday with Ilina and Storewide SALE!

Hi stampers!
It's Ilina and Happy Tuesday! Tuesday over here means that one of the My Sweet Petunia Design team members is taking over the blog and sharing their creations. So, today it my turn.

However before I go into my eye candy, I wanted to let you know that My Sweet Petunia is having a store wide sale this week. 20% off everything in the store. No code is necessary and the discount will be applied at checkout! So, if you have been on the verge of getting your first MISTI, or the 2nd or your 10th, now it's the time! You can visit the store HERE

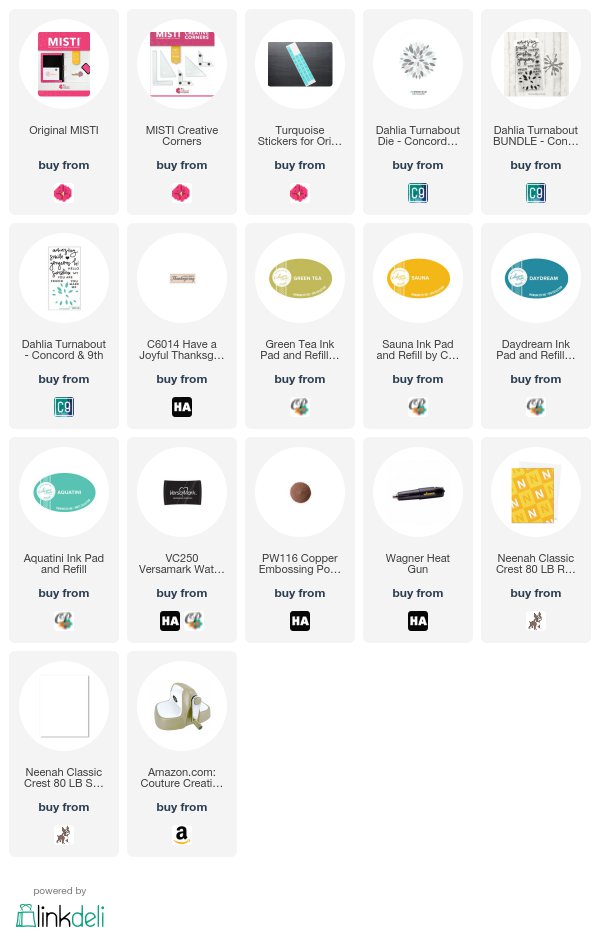
And, now it's time to move to the eye candy. I have two cards for you today and a video! Since Thanksgiving is in couple days (in the US) I decided to go with Fall/Thanksgiving theme and used the Concord and 9th Dahlia turnabout stamp set and dies, the Hero Arts Have a Joyful thanksgiving wood mount stamp and the new Catherine Pooler Spa Collection inks! 
The Concord and 9th turnabout stamps are designed to be used with the MISTI. So I stamped the dahlia three times with Sauna, Daydream and Green tea inks, then for the 4th I stamped with Versamark ink and embossed with Hero Arts Copper Embossing powder. Then using 2 sets of Creative corners I created little positioning tool for wood mount stamps and the MISTI and magnets on the corners helped keep it in place in the MISTI, so stamping was a breeze. Watch the video below on how I did that. For my 2 card I did almost the same process, except for the last step of the dahlia instead of stamping, I die cut it, using the coordinating dies. 
I kept my cards simple because I wanted the focus to be on the Dahlia and the sentiment.