Showing posts with label sticky mat. Show all posts

Tuesday, November 19, 2024

DIY Sticky Mat Templates For MISTI

Today I have an incredibly cool DIY project to share with you. Many years ago Maureen Wong shared how to use templates to get perfect stamping with die cut circles. Everyone loves border stamping a sentiment and these templates make it easy to get perfect stamped sentiments each time.

In today's video I will be expanding on Maureens ideas and sharing how to make your own DIY stamping templates from Sticky Mats.

Here's what you'll need:

  • Sharper Marker - Fine Point
  • New Sticky Mats Regular or Memory
  • Good scissors that can cut sticky mat 
  • MISTI T Square Ruler
  • Microfiber Cloth
  • Templates can be printed HERE.
I have linked to all the items below the video.


Step 1) Lay the Sticky Mat on top of the template with the acetate side facing down. You'll be tracing on the BACK of the Sticky Mat.


Step 2) After tracing all the lines, carefully cut out the template shape.


Step 3) Choose your circle and sentiment and start stamping.


SUPPLY LIST:
**links are affiliate links however there is no extra cost to you for using the links**
Thursday, October 31, 2024

Happy Haunting!

Happy Halloween! I hope you have a safe and sweet Halloween.  

The MISTI is a fantastic tool for everyday stamping and more! It did a spectacular job with the clear, solid stamps I used on this project. 

First, I masked the moon and blended Distress Ink over the entire cardstock. Then I placed a Sticky Mat and my inked cardstock in the MISTI. I positioned the haunted mansion in the center of the cardstock and picked up the stamp with the lid. Clear, solid stamps usually need to be stamped more than once, so I love that the Sticky Mat holds my paper in place for precision stamping every time!  I stamped the bats twice to get a dark impression and added the sentiment!  

Tools used in making this fun Halloween card:


The spooky stamp set is called Happy Haunting.

Thanks so much for looking!  

Tuesday, September 3, 2024

Team Tuesday with Pinkfresh Studio

(Our team uses affiliate links where possible)


Hey there crafty friends!
It's Ceal, here. Welcome to Team Tuesday, today I am sharing a couple cards using come holiday products from Pinkfresh Studio along with the Original Misti, Sticky Mat and Precision Glue Press. 
To make these cards, I started with a white top folding A2 card bases and a a couple of panels. I stamped the image on the panels using the Original Misti because it a cling stamp and you cannot see through it which means the Misti is a necessity to use this stamp.  After I got the images stamped, I placed the panel on a Sticky Mat inside the Misti so I could use the coordinating stencils to color the image. 


The first card, I actually created it second. Once I was done with the card below I realized I forgot to use the die and I had already cut the panel down so I created a second card (above). I cut several layers out so i could stack them for dimension. I also embossed the sentiment in gold to match the berries. 
The card below I added the stenciled panel on a panel of black and embossed the greeting on black with white embossing powder. 


The top one is my favorite, which one do you like best?


Here are the supplies I used 


Friday, August 30, 2024

Using Multiple MISTIs For Creating

 Today I am sharing two cards I created using both my Original MISTI and my Mini MISTI

For this card, I used the Mini MISTI and the sticky mats to get my stamping just right on this tiny piece of inked cardstock. I chose to heat emboss the sentiment and knew I would need to stamp multiple times on this tiny piece of paper.

Using the sticky mat is the perfect solution for stamping on small bits of cardstock. For all the items glued together, I used the Precision Glue Press.


For the second card, I used my Original MISTI to stamp the turnabout stamp. Unfortunately, I did not have the correct products to use the turnabout correctly, but I was able to make it work with the help of the MISTI.

After creating this background I cut it down to use for smaller pieces on the card base.


Here is the supply list for these cards:


Thursday, July 18, 2024

Waiting for Your Sparkle

**Our team uses affiliate links at no charge to you!**

Hello! Today I share several ways the MISTI adds sparkle to a creative session!  

First, I made a background by placing a Grid Mat inside my Original Black MISTI. Next, I put a piece of cardstock in the middle of the Grid Mat. Then I placed the dotted stencil over the cardstock and pressed the stencil edges onto the Grid Mat. I love this technique for stenciling because it holds the stencil in place without tapes or sprays! When the mat is very new, I press the mat away from the cardstock to remove the cardstock without tearing.  

The MISTI absolutely sparkles during the next step. I placed the silhouette stamp on the stenciled background. Since this is a clear stamp, it takes multiple stampings to achieve a solid image. I would never have been able to stamp this image repeatedly with precision using an acrylic block! Last, I used my Mini MISTI for the sentiment.   


  MISTI is celebrating 10 years with a sale!  


Thanks for stopping by!

Supply List:


Tuesday, May 7, 2024

Multiple Tags All At Once

 Today I am sharing the simplicity of stamping multiple projects all at the same time. These cute little die cut tags are from Honey Bee Stamps free"bee" goodies. 

I have several May birthdays to celebrate and I enjoy making my own tags and gift wrapping as often as possible. However, I didn't want to spend hours creating the tags. Simplicity was my goal.


Using the sticky mat in my Original MISTI was the trick to making these tags quick and easy. I lined up all of my tags and then added the sentiments to get everything arranged perfectly.


I stamped the sentiments two times. This is the magic of the MISTI. I was able to stamp these sentiments once and get perfect stamping using my MISTI. 

In just a few seconds I stamped 3 tags. After that, I just decorated them using a few simple elements.


 Here is a list of supplies used for these cute little tags. The dies are not listed because they were a free gift from Honey Bee.

Thursday, January 11, 2024

Hug in a Mug and an Announcement!

***Our team uses affiliate links at no charge to you!***

Greetings! Angie here, with a cozy coffee card to share.  

But first, an important announcement! The Precision Glue Press is currently back in stock, and more will be available in February! 

I utilize My Sweet Petunia tools for every project, regardless of how simple or complex it may be! For this project, I used the Black Original MISTI to stamp the coffee cup and the Mini MISTI to stamp the sentiment.  Because the mini is small and light, it takes up very little space on my desk, which is why I always like to use it for sentiments.

I die-cut two tiny hearts from pink card stock, then colored them to match the stamped image.  I placed them on a well-loved Sticky Mat to color them. Since my sticky mat is not new, therefor less sticky, the hearts stuck to the mat well enough to color but came off the mat easily.

I use my Alignment Grids every time I stamp.  They are useful in making sure everything is precisely aligned. My final step in creating a card is to add the sentiment. I arrange the sentiment where I think it looks best, and then I gently place an alignment grid over the top without pressing the sentiment down. In this manner, I can make sentiment adjustments beneath the grid to ensure everything is precisely aligned.

I have attached Lydia's excellent video with tips on maximizing the Precision Glue Press's functionality. 


The stamp set used today is Cozy Vibes.  All card elements are listed on my blog and can be found at Impression Obsession.

Thanks so much for stopping by!
 

Tuesday, April 18, 2023

Team Tuesday with Concord & 9th

(Our team uses affiliate links at no extra cost to you) 


Hey y'all!
It's Ceal, here. Today I am sharing some spring cards using Concord & 9th products. 
To make these cards I started with white card bases, black panels and white panels for the backgrounds. 
The first card uses a stencil. The Sticky Mats are a go to when I used stencils, you don't have to use any tape that could potentially mess up your card when you pull it off. 
The second card uses a turnabout which were made especially for the Original Misti. 
I place it in the misti and turned it 4 times using four different colors.

All products are listed below. 


Until next time <3

Tuesday, February 21, 2023

Team Tuesday with Gina K Designs

 This post uses affiliate links 

Hello everyone!
It's Ceal, here with another edition of Team Tuesday! 
Today I am playing with some Gina k Designs products with my MISTI.

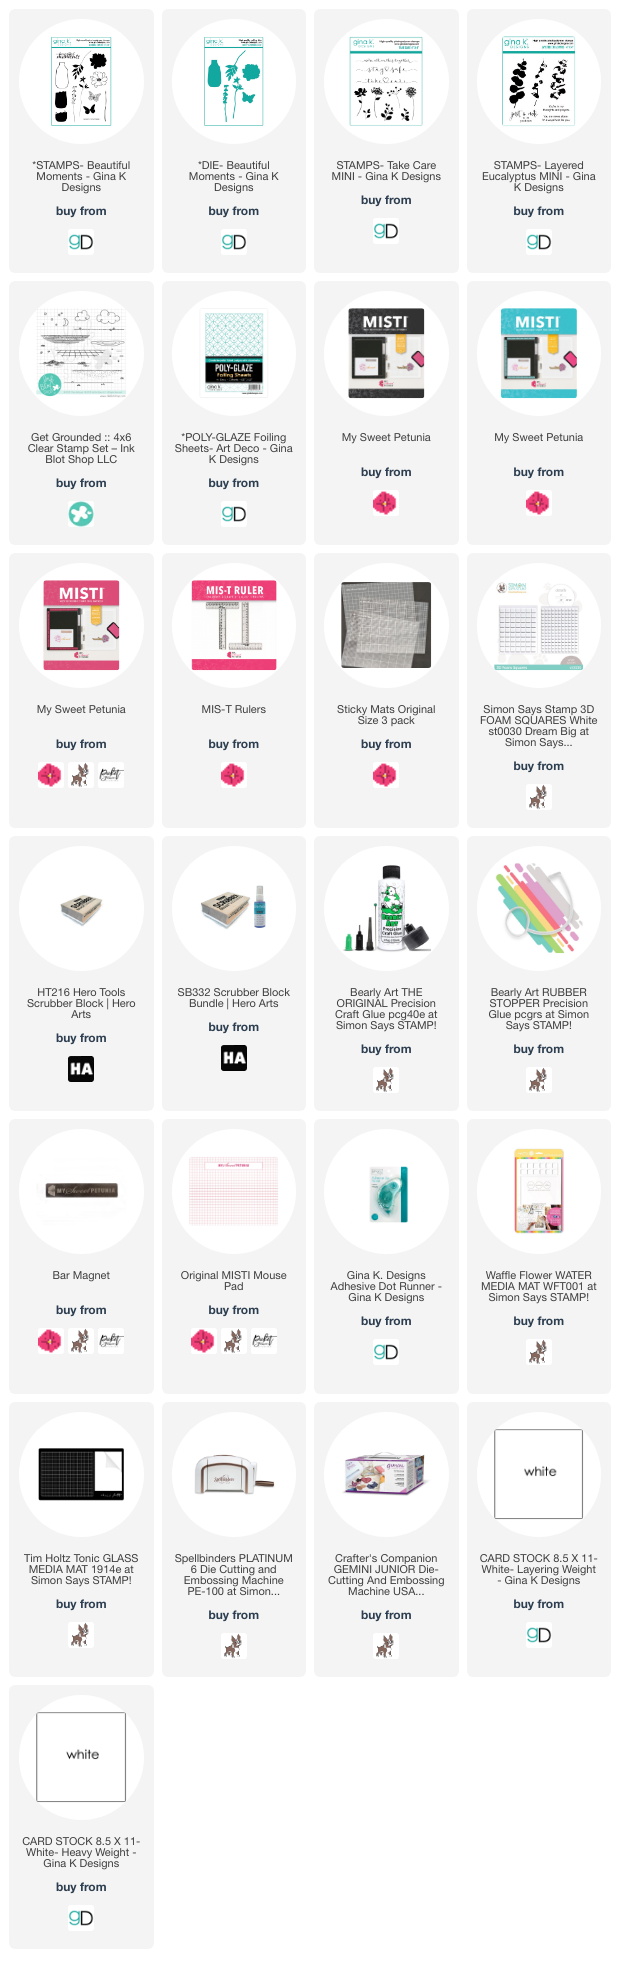
To make this card I started with a white top folding card base and a white panel. I placed a panel of the new Poly Glaze foiling sheets in the Original MISTI and stamped the vase on it and then ran it through the Minc. Next I placed the vase die cut on the sticky mat and stamped the water and the stems. 
To finish the card I made a table on the white panel by using a set by Ink Blot Shop and added the stems and then placed the vase down.  


Look how shiny! 


Thursday, February 9, 2023

Here For You

Hi everyone, Angie here! The project I am sharing today features a background stamp and the fun "desk set" stamp set, Hold it Together, by Impression Obsession.  This was a fun and easy project, thanks to the MISTI tools!  


****
Affiliate links are used when possible at no charge to you!
*****

I placed the Shiplap background stamp in the Teal Original MISTI and inked the stamp with several inks. Next, I put a Sticky MAT inside the MISTI to keep the cardstock in place. Sticky Mats work wonders when repeat inking is required! 

To stamp the paper clips and sentiments, I used a Mini MISTI. Since my desk always has limited space, I love the ease and small size of the Mini MISTI! I always leave stamps in the MISTIs until I finish my project; if I make a mistake, the MISTI is still set up for a quick redo!  

Thanks so much for stopping by!  

The following are direct links to all products used to make this card!

MY SWEET PETUNIA


Impression Obsession


Thursday, December 22, 2022

Make it Happy

Hi everyone!
Ilina here! I can't believe it's almost Christmas and also the end of the year! 
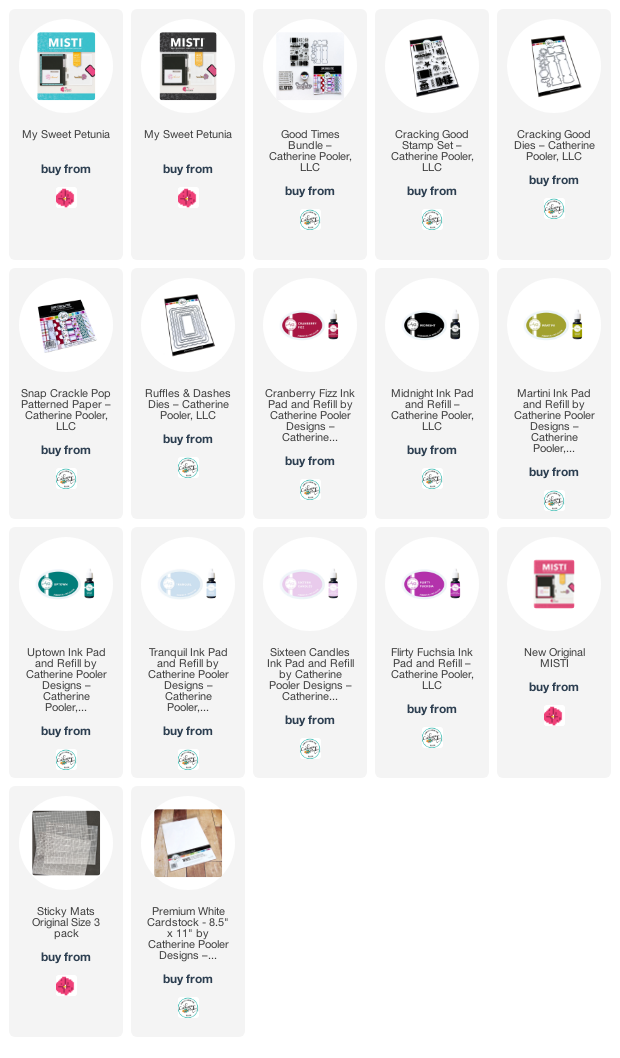
Today I am sharing a cheery card using the Cracking good stamp set and coordinating dies from Catherine Pooler Designs. 
This set is perfect to make New Years cards!!! I also used a coordinating paper pad called Snap Crackle Pop for my background.


To make the card, start by die cutting and stamping bunch of firecrakers:
  • die cut the fire crackers from white cardstock. 
  • Die cut a negative from contrasting color (I usually use black, navy, dark green etc) to use it as a template. 
  • Place sticky mat in your MISTI and place your template for the die cuts. Make sure it's nice and secure. Put a bar magnet to keep the sticky mat in place
  • Remove all the stamps from the printed acetate sheet (the sheet with the stamp images)
  • Place one of the white die cuts into the template. 
  • Position the stamp acetate sheet over it to line up the image with the die cut. Secure in place.
  • Line up the stamp on top. Close the door of the MISTI to pick up the stamp. 
  • Remove the acetate sheet and stamp :) 
  • Repeat for all the images 
Next die cut a rectangle from the Ruffles and Dashes die set. Arrange firecrackers, adhere with foam tape and trim off the excess. Die cut a ruffled rectangle , to use as a mat for the firecrackers panel. Adhere them together.
Stamp sentiment in black and trim to a strip. Adhere to one of the firecrackers using foam tape. 
Cut patterned paper panel measuring 4" x 5 1/4" and adhere the stamped panel to it in an angle. Trim the excess and adhere to a top folding note card! 


You are DONE ;) 

All supplies are listed at the bottom. (affiliate links may be used at absolutely no cost to you)

 Thank you so much for stopping by! Hope you have an amazing day! 

SUPPLIES (Affiliate links may be used at absolutely no cost to you)

Tuesday, July 12, 2022

Christmas in July


(when possible Affiliate links are used in the post  at no cost to you) 

Hello Friends! 
Welcome to another Team Tuesday post!  
I have been on a Christmas card kick since so many of the challenges in July are Christmas . This is a good thing for me because it helps me build my stash. I make Christmas cards to give to the local rehab/nursing home so I usually need about 200. 
Today's card uses a stamp/stencil combo by Taylored Expressions. 
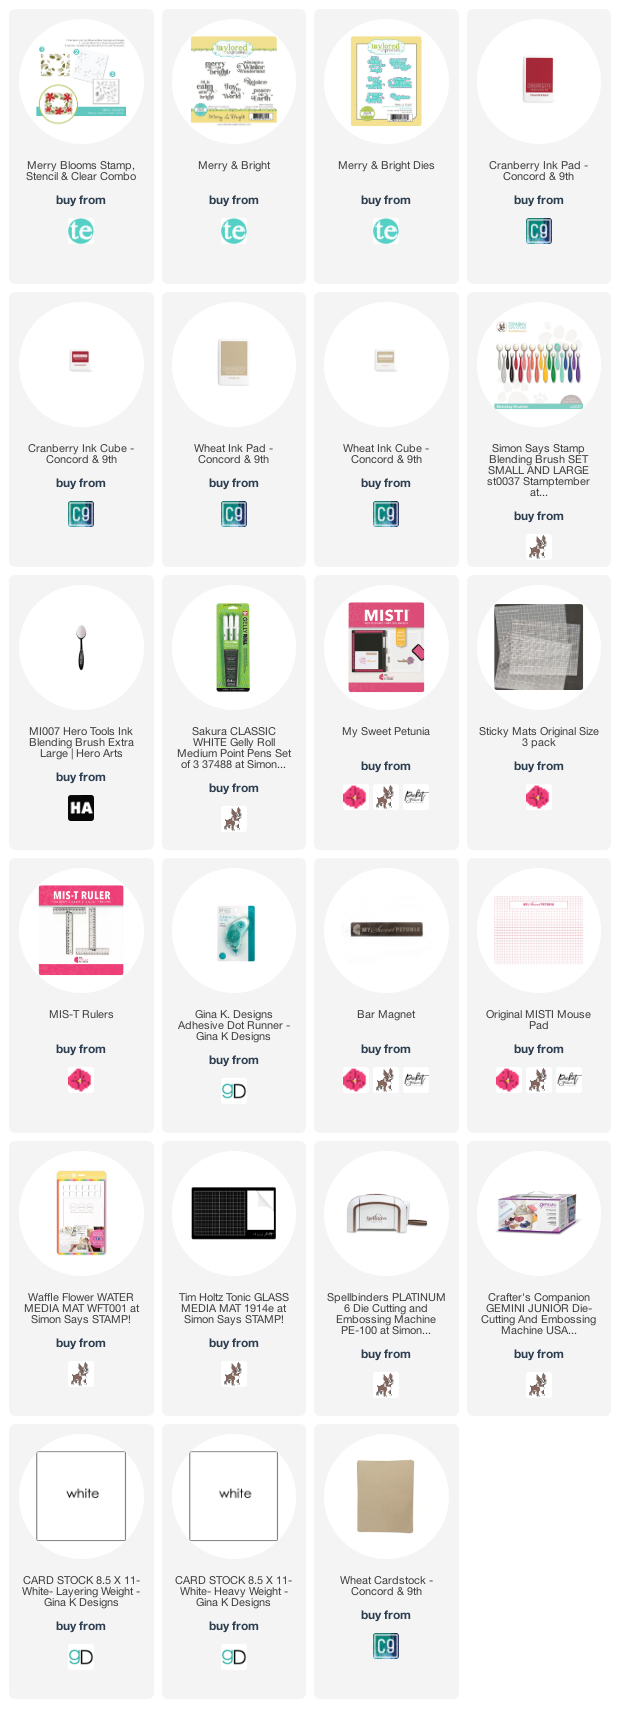
To make this card I started with a white top folding card base, a kraft panel and white cardstock for the scalloped frame. I placed a sticky mat in the Original MISTI and then placed my kraft panel down in the middle and stamped the background. Next still using the sticky mat I placed the stencil over the panel in the proper alignment for the poinsettias. To give the card some interest I added some accents using a white gel pen. To finish it I added the embossed greeting and the white scalloped frame. 

Below you will find links to the products used. Click the picture to start shopping. Compensated Affiliate links are used at no additional cost to you. Your support helps me to keep bringing you new projects and I appreciate that so much!  

Thank you! 


Thursday, April 21, 2022

A Little Bit of Spring

 **Affiliate links used when possible at no charge to you**

Hello, and happy Spring!  As is usual for this time of year, the temps are bouncing from one extreme to the other. However, regardless of the temps, everything is greening up nicely in our area. Speaking of Spring, the April Limited Edition Kit from IO is a beautiful celebration of Spring.  The MISTI tool makes stamping artwork like this a breeze as it needs to be stamped several times for a rich image.  I chose this small solid tag die for the sentiment. Since the die is solid it had to be cut before stamping the sentiment. Next, I placed the tag on a Sticky Mat in the MISTI.  The Sticky Mat held the die cut in place for perfect alignment when stamping.  


You can find more of my projects at I Would Rather Be Stamping.  Thanks for stopping by!


Wednesday, April 20, 2022

Take Nothing For Granted

I've been thinking a lot lately, as I am sure you are as well, about the things I take for granted. Safety, shelter, food, family. So I wanted to make a card of hope, and one with a reminder to take nothing for granted, as things can vanish quickly. The heart colors are a reminder to support and pray for the people of Ukraine.


I had not ever used the rainbow dies before, and wanted to see what different color combinations I would like. I kept knocking them around on my desk, and got out a Sticky Mat to keep the different bands of color in place while I played! It worked great for me to change colors in and out and see what I liked best. I used my Original MISTI to stamp the sentiment on my cloud, making sure it was in the middle!

Products used: 
  • Original MISTI and Sticky Mats
  • Rainbow Card Front Die (Concord & 9th)
  • Heart Dies (Paper Smooches)
  • sentiment from Group Hugs (Paper Smooches) 
  • Cloud Dies (SNSS)
  • white, pink, magenta, yellow, lime, aqua cardstock (various) 
  • Glitter Paper (Concord & 9th)

You can see more of my projects at my Instgram account: @joy_in_a_jar. Thanks for stopping by!

Tuesday, April 19, 2022

Stencils and Sticky Mats


Hello!
It's Ceal, here for another edition of team Tuesday. Today I am sharing a card  created with Altenew Products.
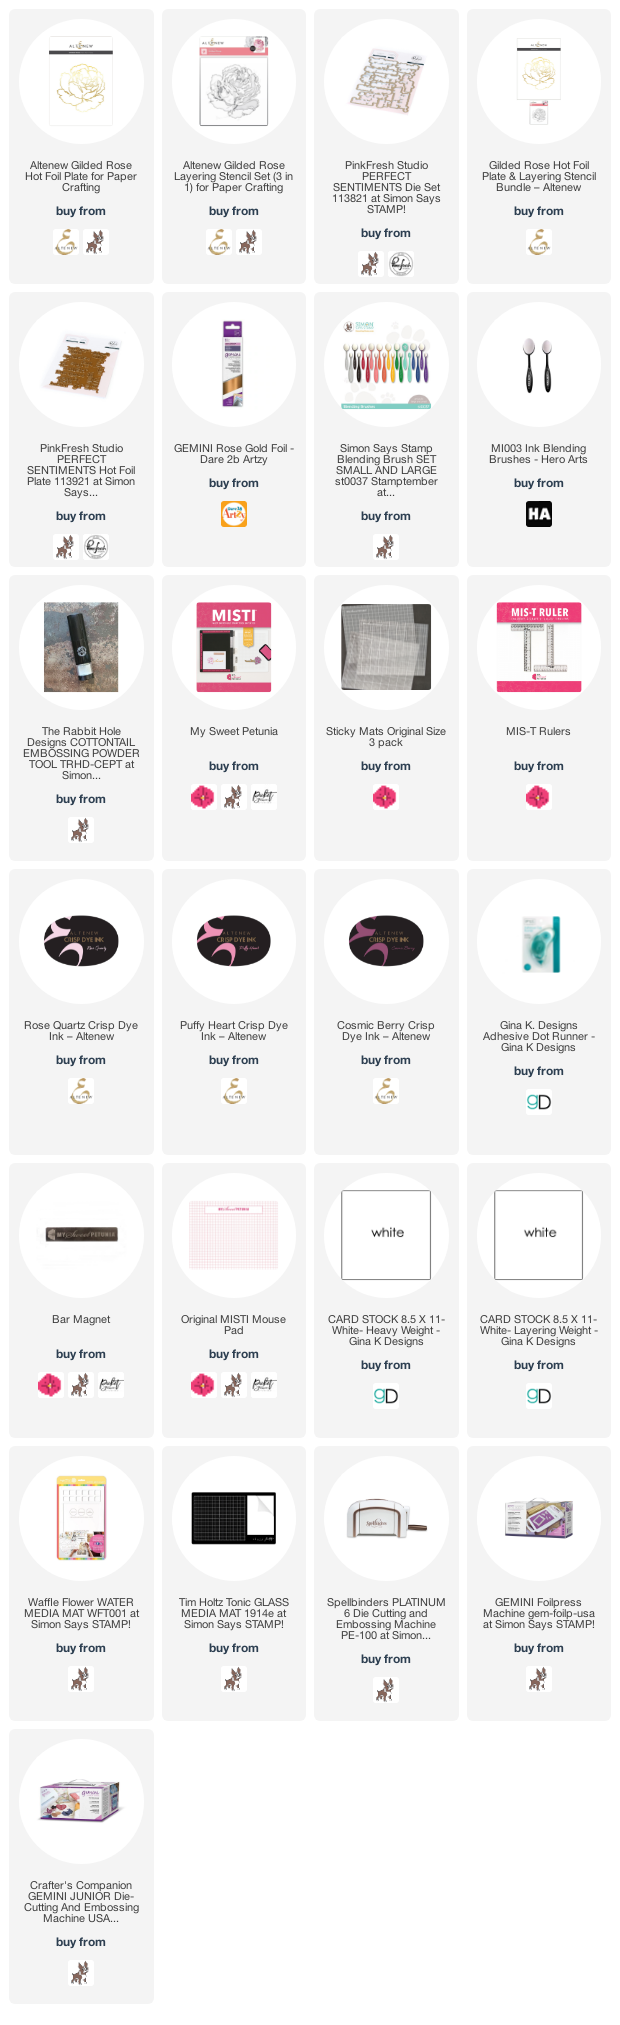
To make this card I started with a white top folding card base and a white panel. I foiled the rose outline and then placed the panel on the Sticky Mat then used the coordinating stencil to color it using blending brushes. 
The sentiment is by Pinkfresh Studios, all products are linked below using affiliate links at no extra cost to you.

The mat is super easy to clean after I have used it to ink blend I gently wash it with dish soap and then let it air dry and it is sticky again and ready for my next project. 

Now when I make a card I have one more thing I can't stamp without and its the sticky mat. I always use my Misti because I don't know how I stamped without it and I also use my Misti to put my card together as well.


This Post uses compensated affiliate links where possible. When you place an order after clicking one of my links, I receive a small commission at no additional cost to you. Thanks so much for shopping from my links and supporting my work

Thursday, April 14, 2022

Use Your Sticky Mat to Assemble Die Cuts

Hi everyone!
Ilina here! 
Did you know that you can use your Sticky Mat and MISTI not just for stamping, but also for die cuts. It makes multi layer die cuts so much easier to assemble. 
I put the main layer on my sticky mat and it holds it nice and secure while I adhere the rest of the layers on top. It prevents the base layer for sliding all over the place or moving and it's also great for mass assembling die cuts.

For the card below that is basically what I did, I used the Spellbinders Open House collection (the base door and Spring add ) and die cut all the elements I needed.
Let's be honest, I did die cut way more than I needed. I always do this and then save the extras for later use.
I stuck first the base door to the sticky mat and adhered the layers on top, I did same for the wreath, door mat and the bunny. Once I had all the elements together, I added the wreath to the door (while the door was still on the sticky mat) and then assembled my mini slimline card.
Isn't this bunny just the cutest? And it's perfect for spring! 

 Thank you so much for stopping by. Hope you have an amazing day!

SUPPLIES (affiliate links may be used at no cost to you)