Showing posts with label #concord&9th. Show all posts

Tuesday, July 9, 2024

Team Tuesday With Concord & 9th

(our team uses affiliate links when possible)


Hey there crafty friends! 
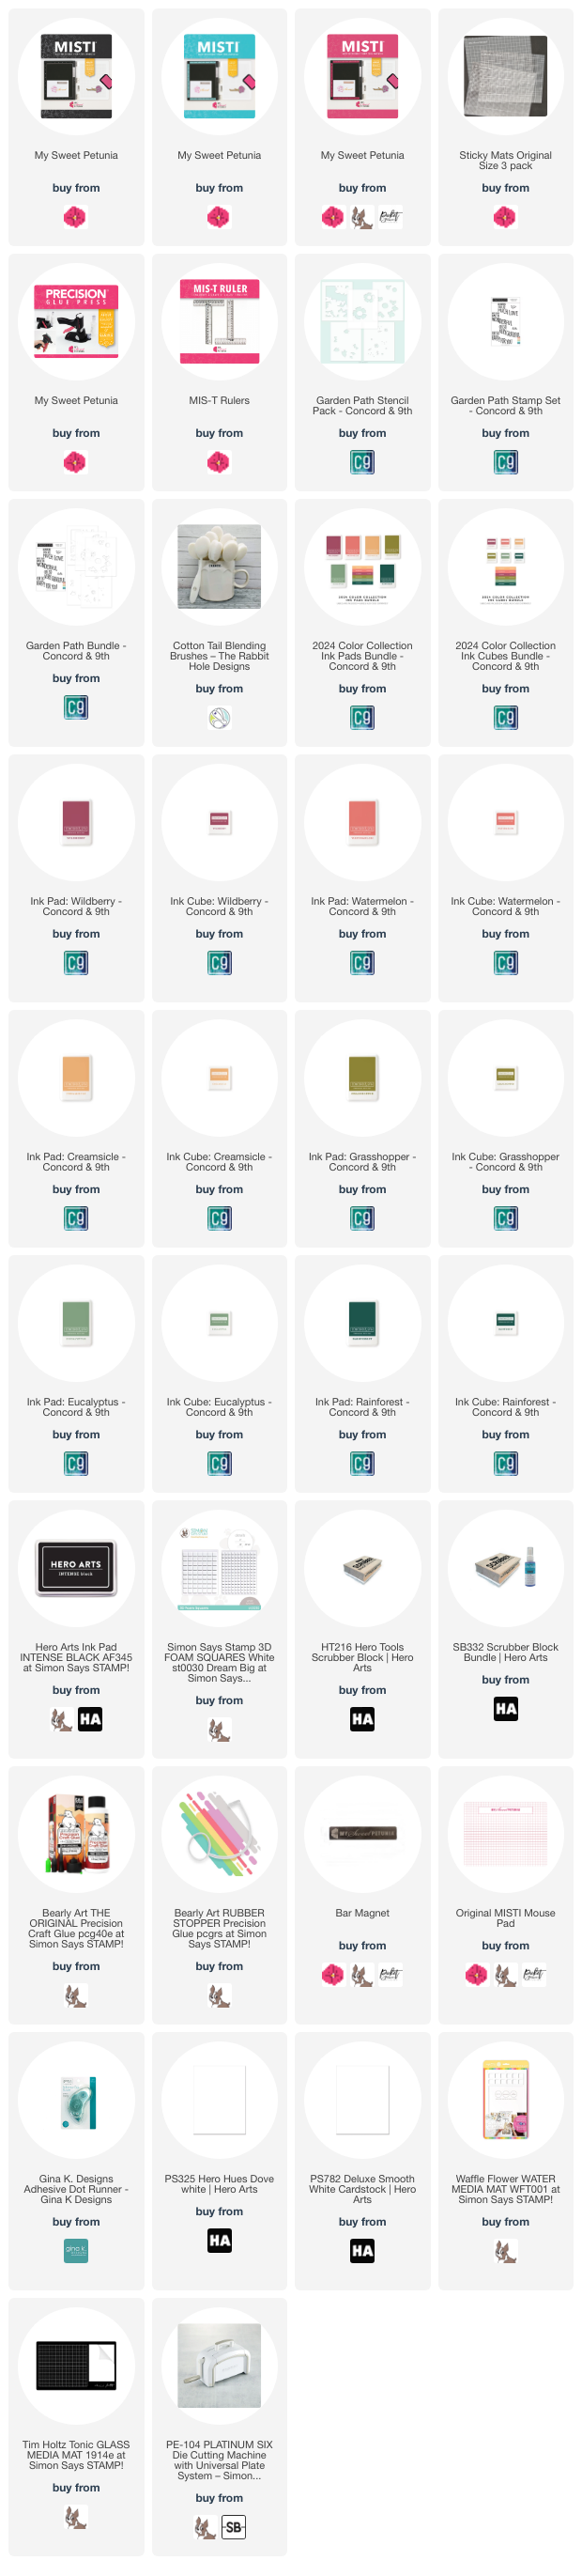
It's Ceal, here. Today I am sharing a card that I made when MISTI and the Precision Glue Press went to camp. 
I attended the C9 Summer camp and this card uses a set that was in our kit and it's my favorite!
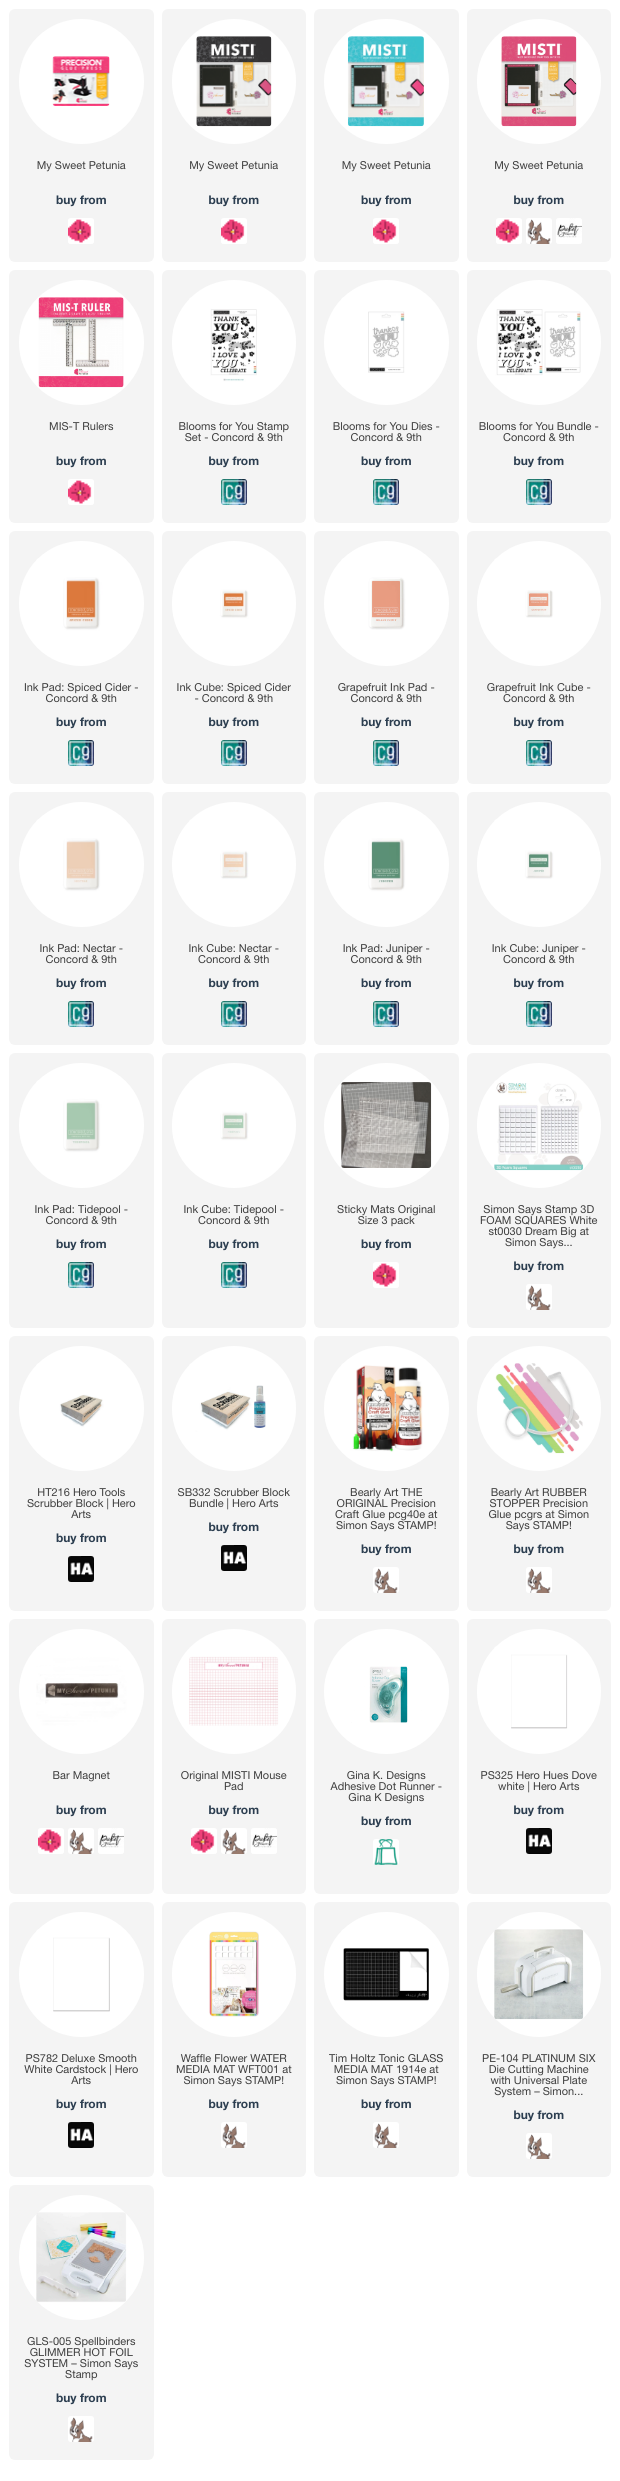
I couldn't have made this card without products by My Sweet Petunia. I started with a white top folding A2 card base and a panel cut to the same size. I placed the panel in the Original MISTI and stamped the floral image on all four corners. After I got the stamping done, I added a Sticky Mat to the Original MISTI and placed the panel on the Sticky Mat so I could ink blend with a stencil and the panel not move. 
After I got the floral images colored by using the stencil, I cut out the words and added them to the front of the card by using the Precision Glue Press which made it a breeze even though they are so delicate.

This set is exclusive to C9 summer camp but I have linked a similar set below. 

All products are linked below when possible. I appreciate you using my links as it helps me earn a little commission at no extra cost to you. Please accept the cookies because that is how they track the sales. 

Thanks so much! 

Tuesday, January 23, 2024

Team Tuesday with Concord & 9th

***Our team uses affiliate links at no cost to you***

Hey crafty friends! 
It's Ceal, here. Today I am sharing this masculine birthday card using the Original Misti, the Precision Glue Press and some Concord and 9th products. 
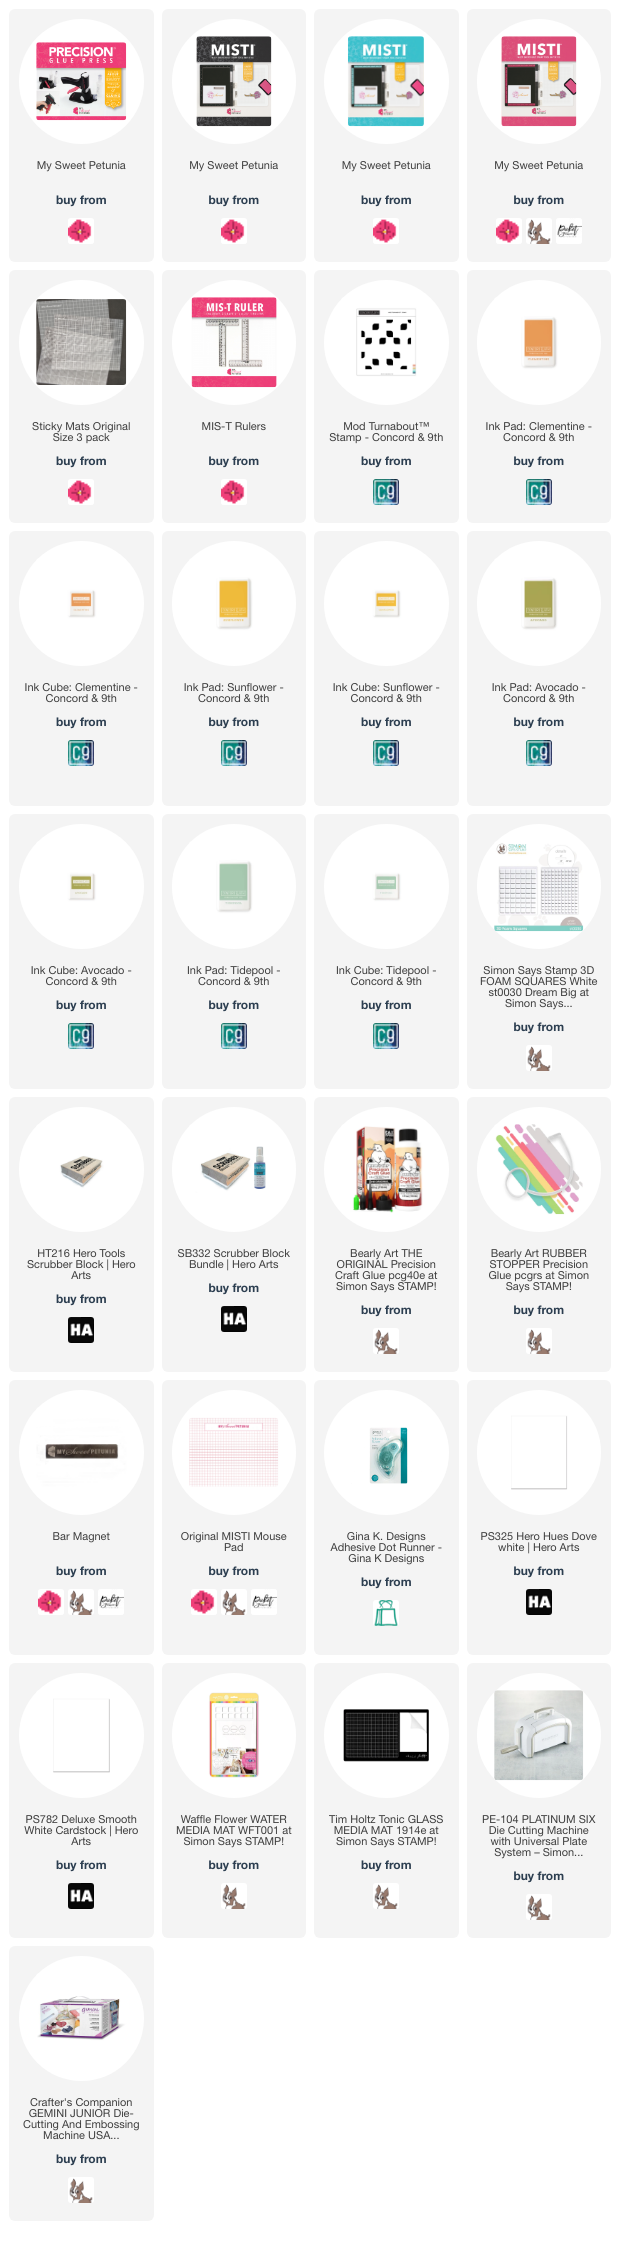
I started with a white top folding A2 card base and a white panel. I placed the panel in the Original Misti and used the Mod Turnabout stamp which were originally designed for the Original Misti. I stamped it in four different colors turning it 4 times. After I got it stamped out I ran it through the diecutting machine using a cover plate to add some texture.  
I cut two of the happy birthday to you out of 110lb cardstock and adhered them together with the Precision Glue Press. 

All products are linked below 


Tuesday, October 31, 2023

Team Tuesday with Concord & 9th

(our team uses affiliate links)


Hey there crafty friends!
It's Ceal, here. Today I am sharing a card that you definitely need a Misti to make. 
To make this card, I started with a white top folding A2 card base and a white panel cut down a quarter of an inch smaller. 
I placed the panel the original Misti and stamped the two step border on one end and then flipping the paper stamped on the other end. The Misti makes this super easy because it stamps in the same place. Next I stamped the sentiment which is also two step but again so easy with the misti because of it stamping in the same place.
This is a card design that I will be making 32 of as a thank you note for those who participated in an outreach event at church. I love that the Misti allows you to mass produce with such ease and precision. 


Tuesday, October 3, 2023

Team Tuesday with Ceal

(our team uses affiliate links)


Hey y'all 
It's Ceal here. Today I am sharing a card using some Sweet 'n Sassy products and that amazing Precision Glue Press! Just like the Misti, the Glue press is a must have.. That is all! 


Tuesday, September 5, 2023

Team Tuesday with The Precision Glue Press

 (All products are linked below using affiliate links )


Welcome to Team Tuesday, today I am sharing a card using some Concord & 9th products and the gamechanger Precision Glue Press.

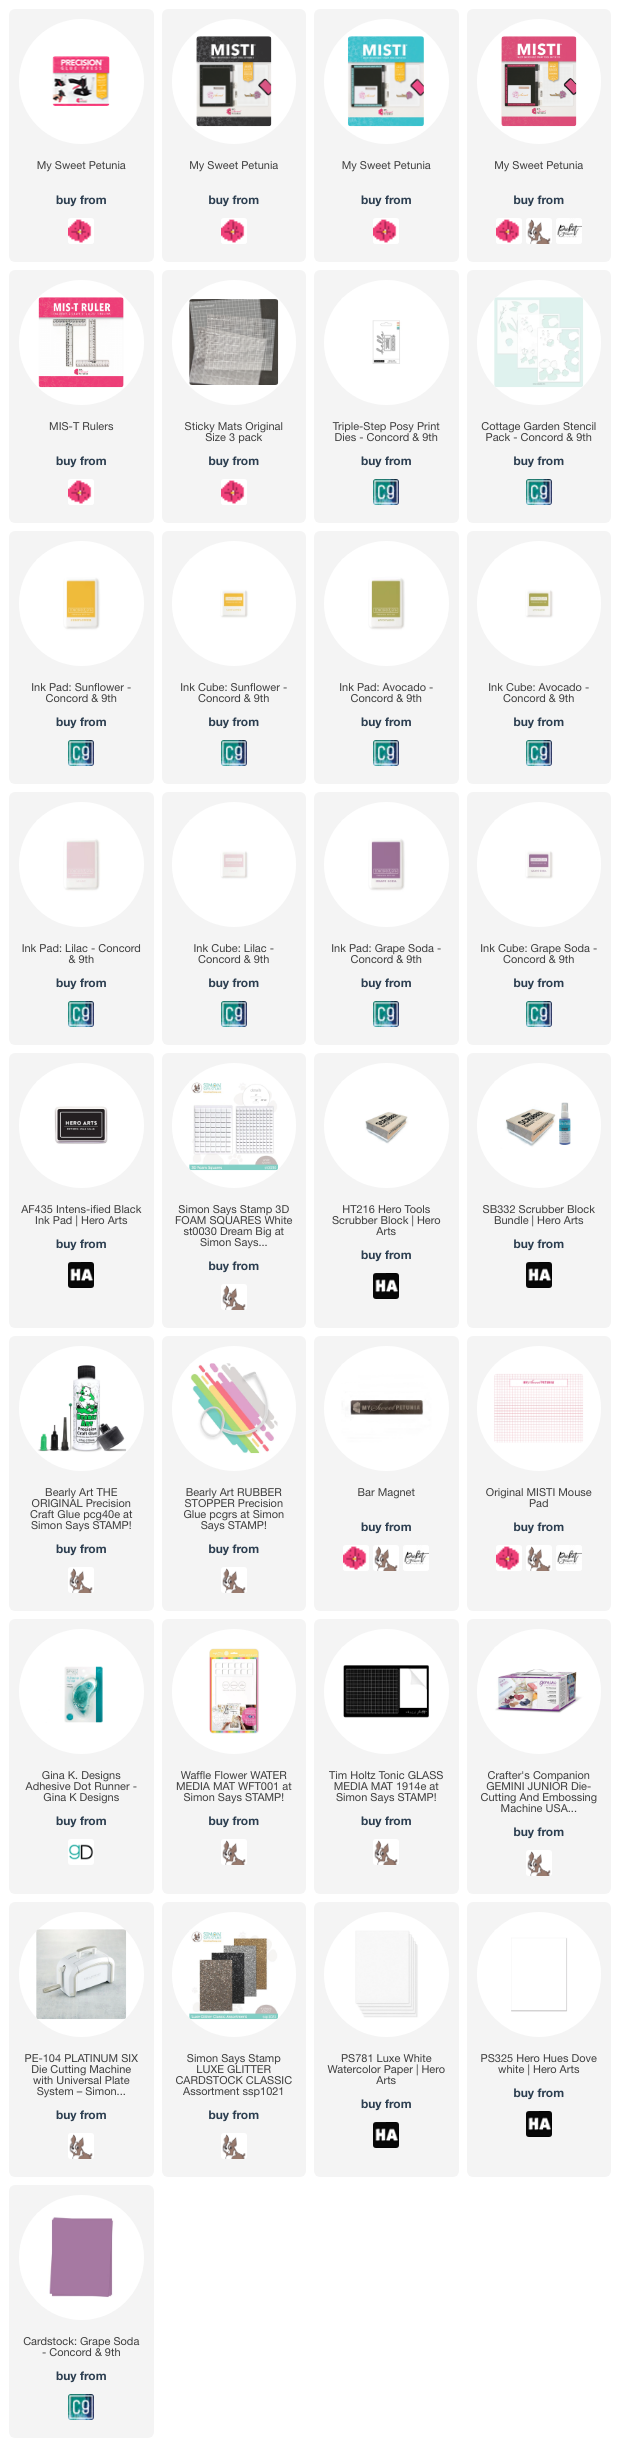
To make this card, I started with a white top folding A2 card base, a Grape Soda panel and a white panel. I created a background by using a stencil with the Sticky Mat. To finish the card I added this super skinny greeting which I love and I adhered it with no mess at all because of the Precision Glue Press! 


Y'all just like the MISTI the Precision Glue Press is a game changer. 
I have not made a card without using it since I got it, and I would make such a mess with skinny diecuts trying to get glue on them, that is not the case with the Precision Glue Press, it is Amazing!!!


Tuesday, April 18, 2023

Team Tuesday with Concord & 9th

(Our team uses affiliate links at no extra cost to you) 


Hey y'all!
It's Ceal, here. Today I am sharing some spring cards using Concord & 9th products. 
To make these cards I started with white card bases, black panels and white panels for the backgrounds. 
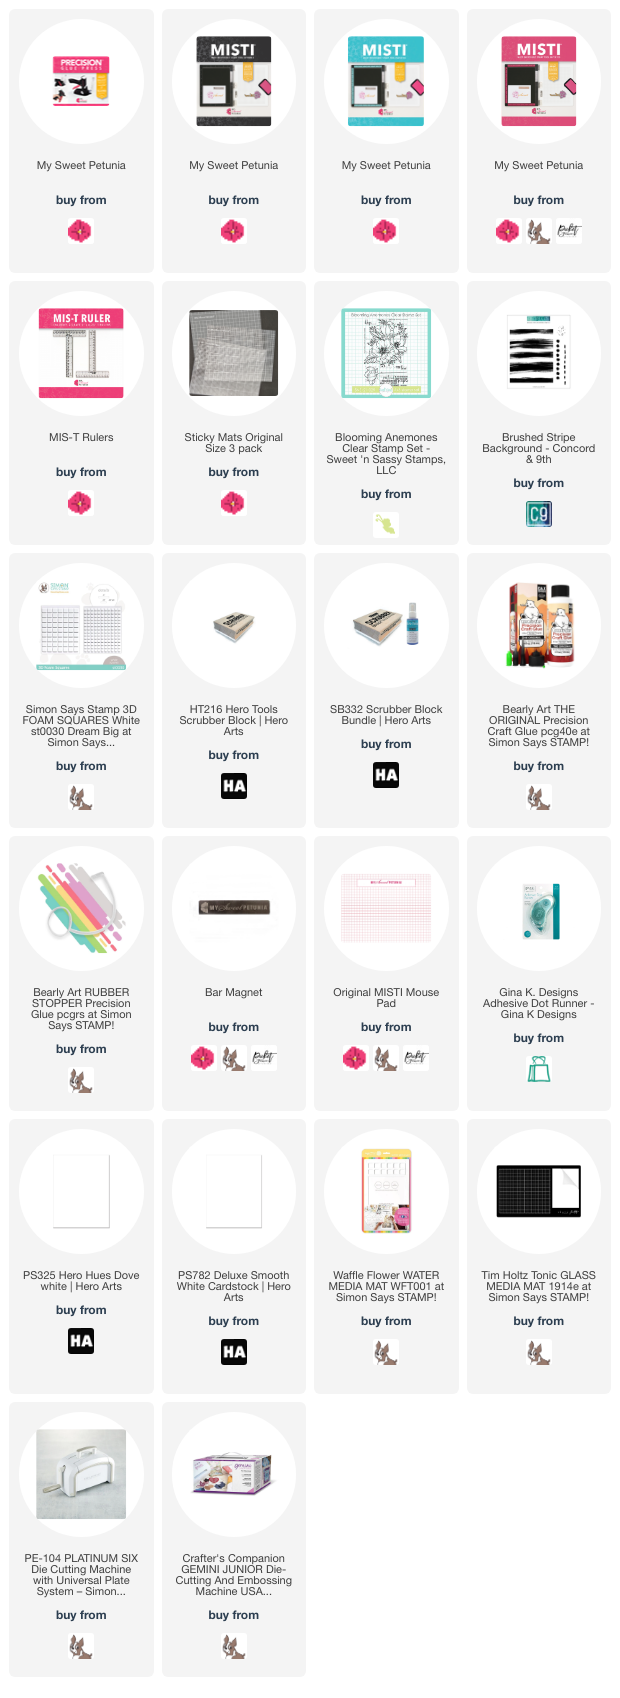
The first card uses a stencil. The Sticky Mats are a go to when I used stencils, you don't have to use any tape that could potentially mess up your card when you pull it off. 
The second card uses a turnabout which were made especially for the Original Misti. 
I place it in the misti and turned it 4 times using four different colors.

All products are listed below. 


Until next time <3

Tuesday, June 14, 2022

Team Tuesday with Ceal


Hello friends! 
It's Ceal, here. Welcome to team tuesday! 
Today I am sharing a card using a mix of Concord & 9th and Pinkfresh Studio. 
I have linked to the products below using affiliate links where possible. 

To make this card I started with a white top folding ard basem a white panel and a black panel. 
The stamp set I used is a set that has a layering stencil to go with it and makes it super quick to make a card. 
I stamped the floral image down the used the stencil to color it. When coloring with Layering stencils I use Sticky Mat along the Original MISTI . I place my cardstock in the corner, this allows me to line up each stencil perfectly.  Next I cut out all the pieces which was also super easy because it all cuts out at the same time, used some of them and added a little to my floral images. 
I used a cover plate by Concord & 9th cut out of white paper to contrast the black. 
I finished the card with a sentiment also by C9. 


Below you will find links to the products used. Click the picture to start shopping. Compensated Affiliate links are used at no additional cost to you. Your support helps me to keep bringing you new projects and I appreciate that so much!  
Thank you! 

Tuesday, December 28, 2021

Team Tuesday with Ceal


Hello Misti loving friends! 
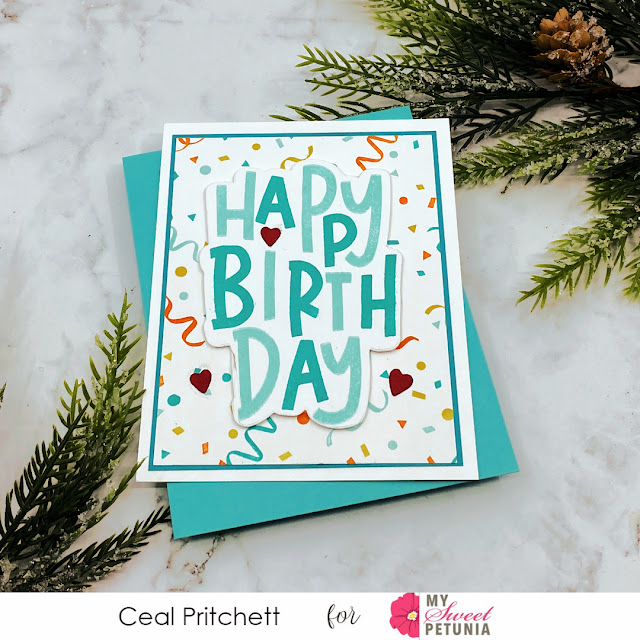
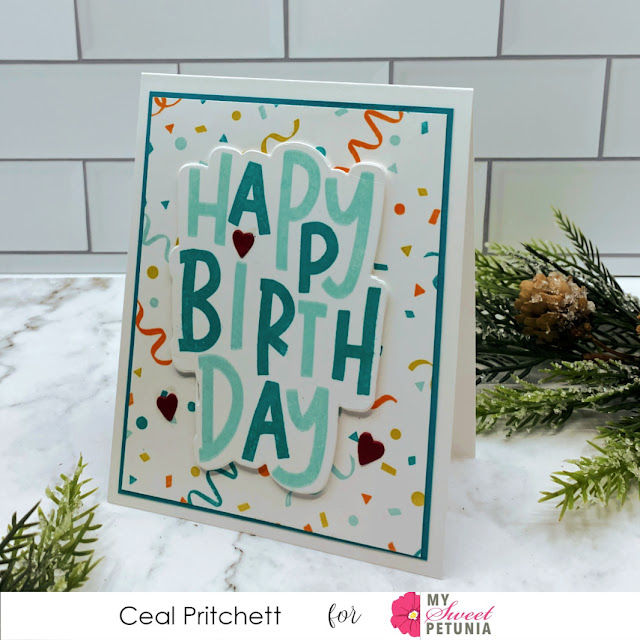
It's Ceal, here. Today I am sharing a card made with the newest Turnabout. If you know me, you know that I love Turnabouts.  The Turnabout stamps were especially made for a MISTI and the best thing that I love about it is, when you are done with your turning session you could end up with tons of backgrounds just by changing your colors.  I am only showing one card but I ended up with 6 backgrounds from this one session. I am also leaving this turnabout stamp set up in one of my Mistis because I am planning on making a new years card with it as well. 

To make this card I started with a top folding white card base, a white panel and an oceanside panel for the mat. Using the MISTI 2.0 and the Celebrations Turnabout, I turned it four times inking in Marmalade, Stardust, Oceanside and Aqua Sky. 

Next I inked up the Birthday Scoops set using Oceanside and Aqua Sky. This is a two step stamp so the Misti comes in handy with it also.  After I Stamped out the Happy Birthday, I cut it out with the coordinating dies and also cut out the three hearts using the die set. 


This Post uses compensated affiliate links where possible. When you place an order after clicking one of my links, I receive a small commission at no additional cost to you. Thanks so much for shopping from my links and supporting me ðŸ’™ 


Tuesday, September 7, 2021

So Blessed


Hello Friends!
It's Ceal here for team Tuesday. 
Today's card uses this gorgeous set by Concord & 9th and their new liquid watercolors. 

To create this card I started with a white top folding card base and a watercolor paper panel. I placed the watercolor paper in the Original MISTI and stamped the image several times with Fadeout ink. I love being able to get a great impression on watercolor paper by using the MISTI. It is a necessity when using watercolor paper because of the texture.
I used the new liquid watercolors to color the image and then placed the panel back in the MISTI to stamp the sentiment 


Tuesday, June 15, 2021

Fluttering Butterflies with Ceal


 Hello everyone! 

It's Ceal, Here. Welcome to another edition of Team Tuesday. Today I am sharing the newest turnabout stamp by Concord & 9th made especially for the Misti. This one is the Fluttering By Turnabout and I love it! 


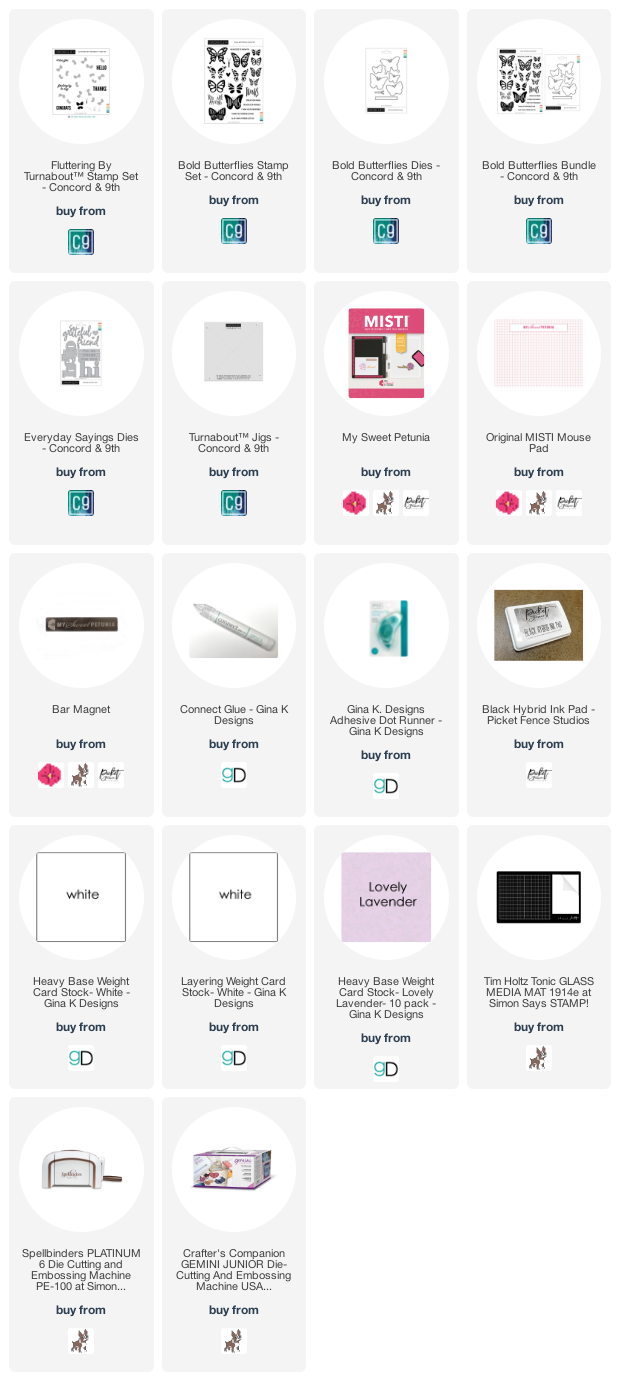
To create this card I placed the Turnabout Jig inside of the Original Misti and then placed the alignment guide that comes with the stamp on top of the jig and lined up the lines of the x. I stamped it four times rotating the jig after each color. 

I used the Hi die from the Everyday Sayings die set and cut it out of the finished background. Next I placed the background on a piece of Lovely Lavender cardstock and then placed the positive die back in the negative space popped up with foam tape for the eclipse technique. 


To finish the card I added a sentiment from the Bold Butterflies stamp set. 


Supply List:

Tuesday, April 20, 2021

Banner Builders with Ceal


Hello friends and welcome to another edition of Team Tuesday! 
It's Ceal, here and today I am sharing a couple cards and some backgrounds using Concord & 9th products. 


To create these two cards I started with a top folding white card bases and  white panels. I used the Lets Party Turnabout stamping both of them in four turns to create the backgrounds and the Banner Builder Bundle for the sentiments. 
The Misiti is a must have for Turnabout stamping. The Turnabouts were actually designed to use in a Misti stamping tool.

For the first card I placed the Let's Party Turnabout in the Original Misti  and stamped in the following colors Dove, Midnight, Sprout and Stardust, then adhered the background on a Midnight panel. 
I placed the Banner Builder Sentiment in the Original Misti and stamped the greeting in black and then cut them out with the Coordinating dies. These dies cut out the sentiments separately so that you can mix and match your sentiments for the banners. I used Midnight cardstock to cut out the banner itself. 
 To finish the card I added a balloon cut out of Sprout and covered with vellum to give it a more realistic look from the Happy Balloons dies. 


The second card I created the same way as the first and stamped in Sprout, Buttercup, Honeysuckle, and Aqua Sky and then adhered it to a Honeysuckle Panel. I also cut the banner out of Honeysuckle as well and to finish the card added a balloon cut out of Buttercup and added to the front. 
For a little fun I used some bakers twine as the balloon strings on both cards. 


When I am using a Turnabout stamp I love to make at least 5 background to use on future cards so I will have them on hand when I need a quick card and I love that with the Banner Builder set you end up with lots of banner sentiments to go with those backgrounds you have created. 

Here are the color combos for the three other backgrounds I created
1. Midnight, Sprout, Marmalade, Oceanside
2. Dove, Seaglass, Stardust, Sorbet
3. Peacock, Poppy, Sprout, Stardust


Thanks for stopping by and until next time. 
Happy Turning! 


Supply List:


Tuesday, March 23, 2021

Exotic Tulips with Ceal

Hello Everyone!
 Ceal here, welcome to Team Tuesday!
Today I am sharing a card using the Exotic Tulips layering stamp set by Altenew.
 and a few other companies.  


To create this card I used products from several different companies. I started with stamping the tulips from the Exotic Tulips set by Altenew using the Original Misti onto white cardstock. The cover die is the Plaid Card Front Thin die by Concord & 9th and the Sentiment is the Simple Strips- Birthday by Taylored Expressions. 


Below you will find links to the products used. Click the picture to start shopping. Compensated Affiliate links are used at no additional cost to you. Your support helps me to keep bringing you new projects and I appreciate that so much!  

Thank you! 


Tuesday, January 26, 2021

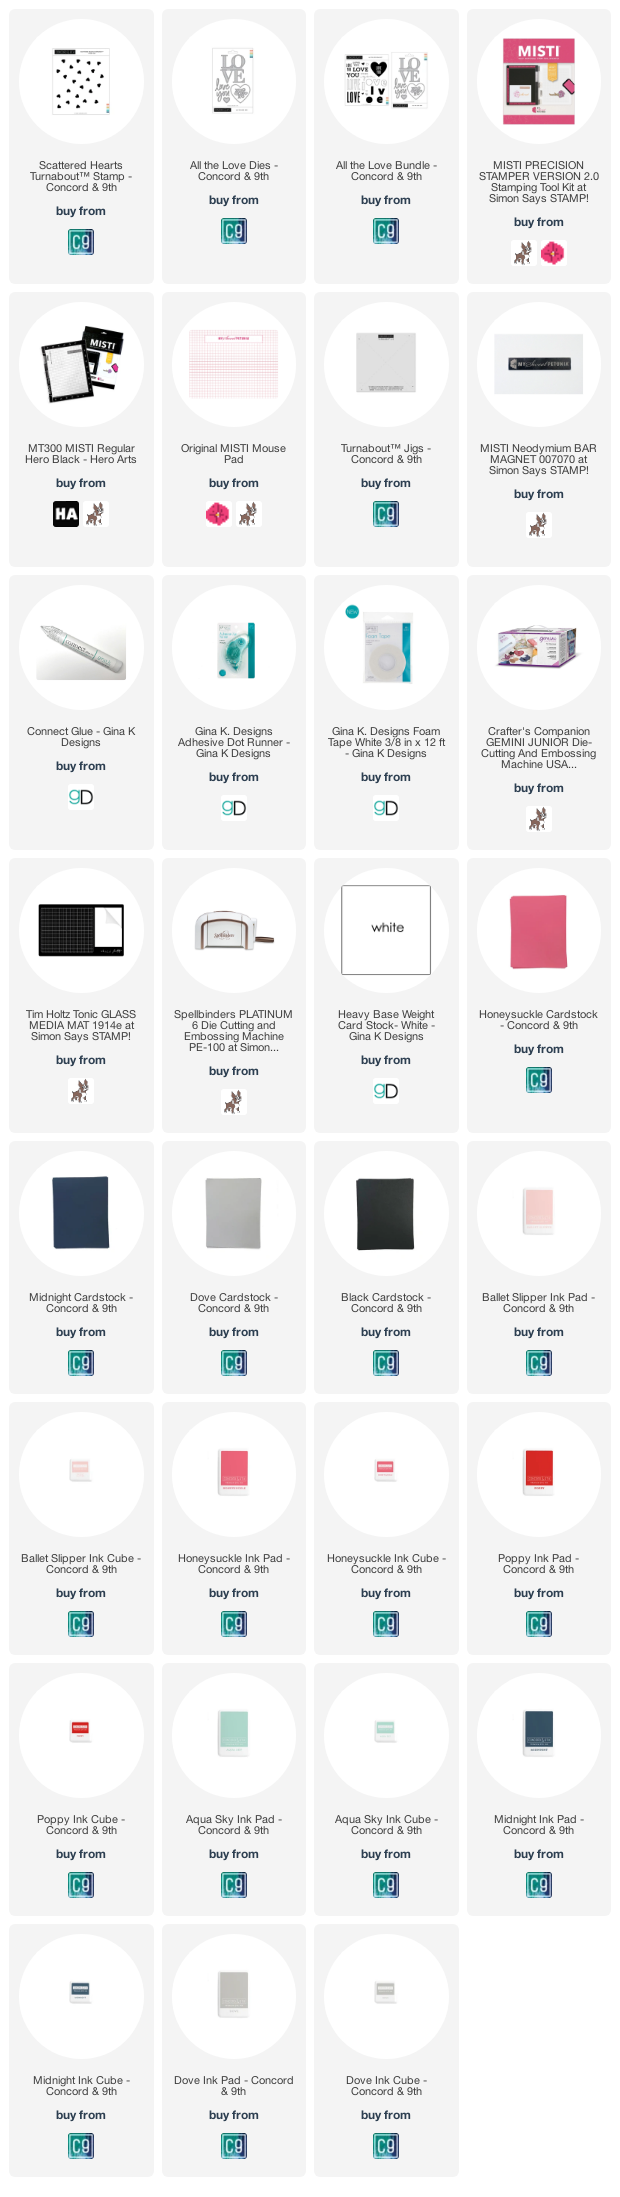
Scattered Hearts Turnabout With Ceal


Hey Y'all!
Welcome to Team Tuesday! 
It's Ceal here to share a couple cards with you today using some new products by Concord & 9th. 
I love Turnabout stamps. Did you know that they were created specifically for the Misti? They are so much fun and so easy. They now come with an alignment guide which makes turning even easier. 


To create these two cards I used the Original Misti and some inks by Concord & 9th. (all listed below) I placed the turnabout jig in the corner of the Original MIsti, aligned the stamp up with it using the alignment guide and then the fun began. 
For both of these cards I only turned three times because I wanted more white space. 
I am currently doing a valentines series on my blog so I decided to create a masculine and feminine version of this card for my series.  
Until next time, stay crafty! 


Below you will find links to the products used. Click the picture to start shopping. Compensated Affiliate links are used at no additional cost to you. Your support helps me to keep bringing you new projects and I appreciate that so much!  

Thank you!


Tuesday, October 6, 2020

Concord & 9th Christmas with Ceal Pritchett

Hello everyone, It's Ceal here to share with you and today I am sharing products from the September release by Concord & 9th. 
With it being September already I have to get a jump start on my holiday card making and these products along with your MISTI will help you to move right along. 


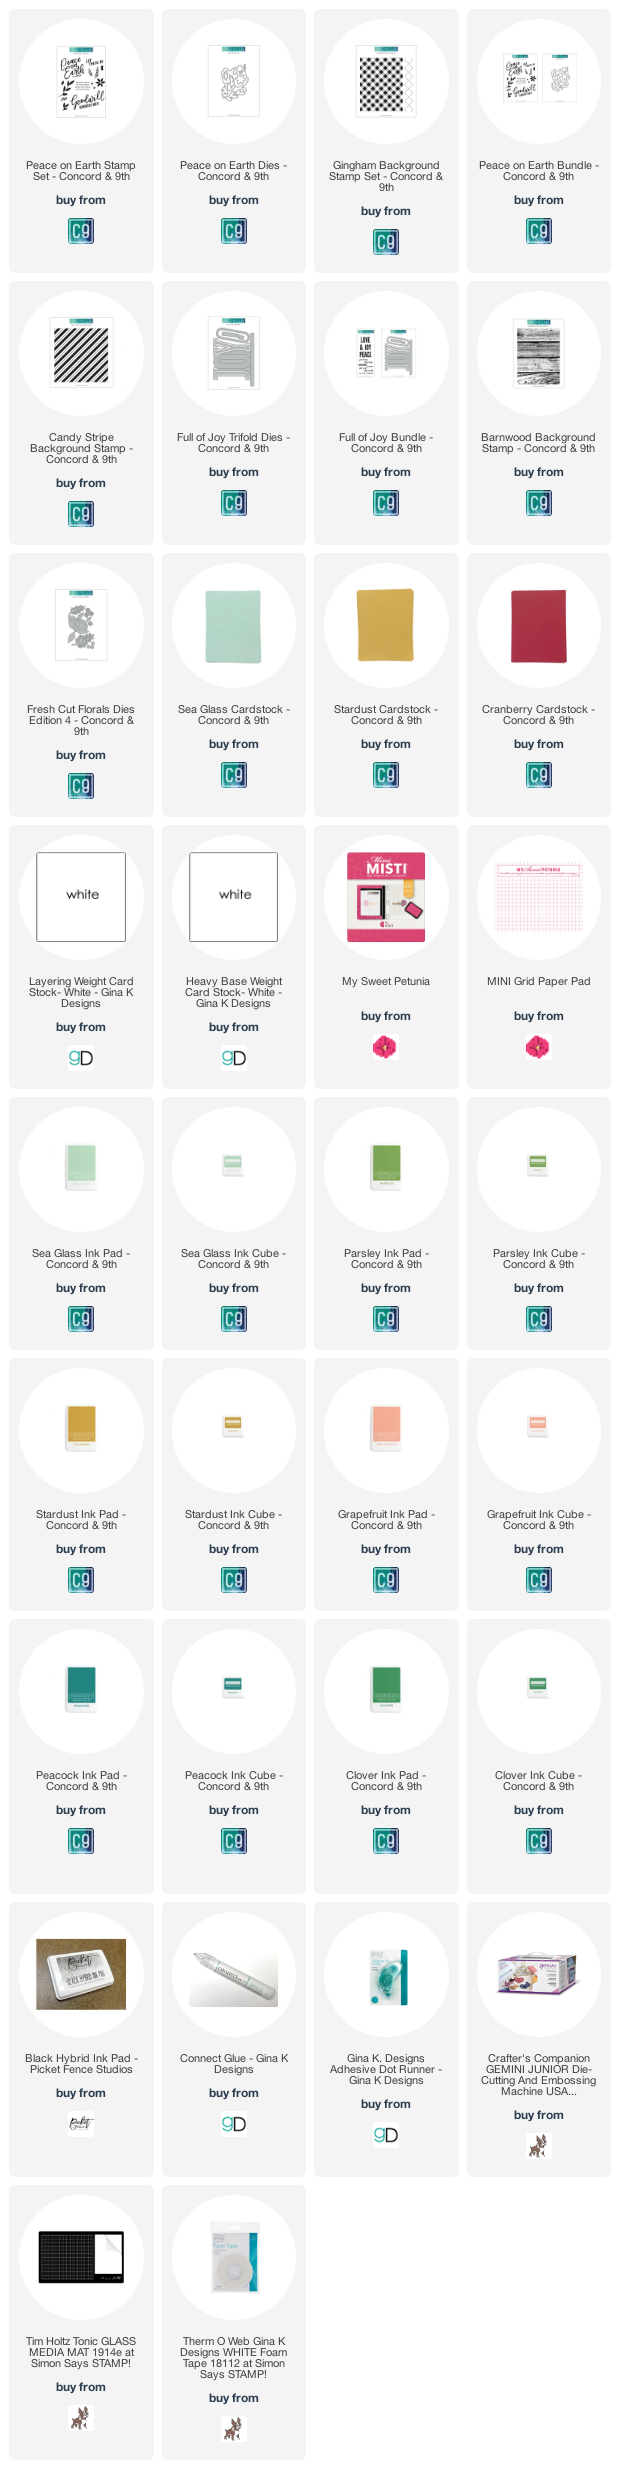
To make the top card I started by stamping the Gingham Background on a white panel using Sea Glass ink, adhered that to a Stardust panel and then adhered to the white card base. I die cut the pieces I wanted to use from the Peace on Earth die set and then placed them back in the negative space to stamped them with the them in the different colors. I love to die cut first because with the Misti this gives you perfect placement. After they were all stamped I added them to the card front


The second card also requires a MISTI, to make this card I stamped the Candy Stripe Background in Stardust then turned my cardstock one turn and stamped it again to give me that plaid pattern. The Full of Joy Trifold die is so fun. I cut it out of white cardstock and then I cut the "O" out of glitter paper. I added a little greenery at the top to hold it up when closed. 


 To make my last card I stamped the Barnwood Background, (which is a favorite) in Wheat ink and adhered it to a Cranberry panel and then to the base. I used the Fresh Cut Florals dies Edition 4 to create the wreath and the J and Y from the Full of Joy Trifold Die. To finish it I added some sequins. 


Below I have links to the products used. Click the picture to start shopping. Compensated Affiliate links are used at no additional cost to you. Your support helps me to keep bringing you new projects and I appreciate that so much!  

Thank you!


Thursday, August 13, 2020

Concord and 9th Hello Friend with Ilina

 Hi everyone.

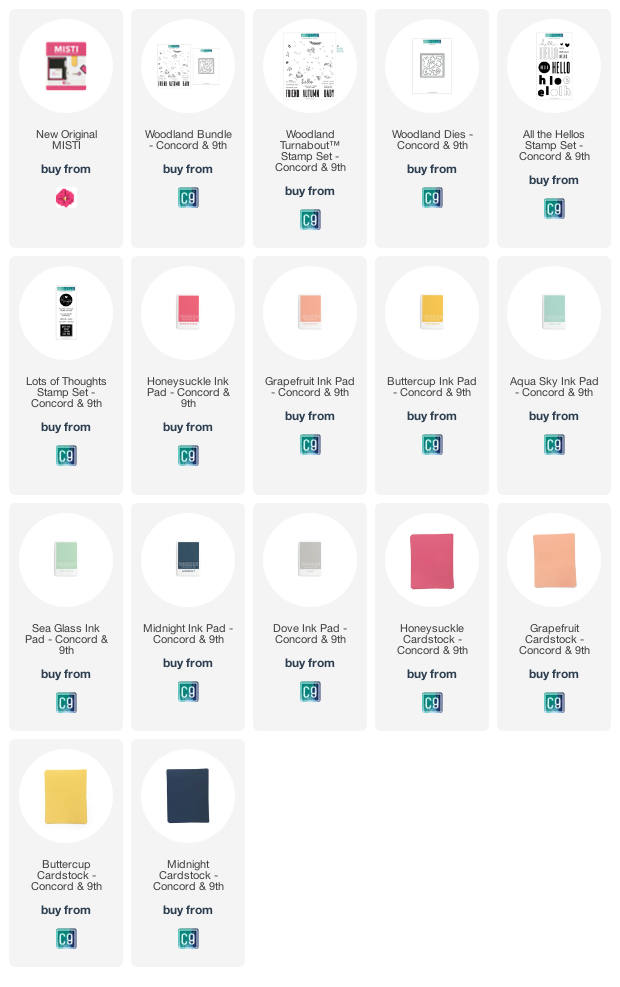
Ilina here. Today I am sharing few super fun cards using few new sets from Concord and 9th. I used the new Woodland Turnabout set along with the coordinating dies, All the Hellos set and Lots of Thoughts.
Since I had the turnabout set positioned in my MISTI I decided to stamp few background and make few cards using different colors. Once the backgrounds were stamped I trimmed them to 4" x 5 1/4" 
Next I stamped the sentiment using (each part of it is from different stamp set) and die cut it with the stitched square die from the Woodland dies. Also I die cut the mat from Midnight cardstock. 
I die cut coordinating color hearts and assembled my cards adding navy twine to add something little extra. 
All supplies are listed on the bottom