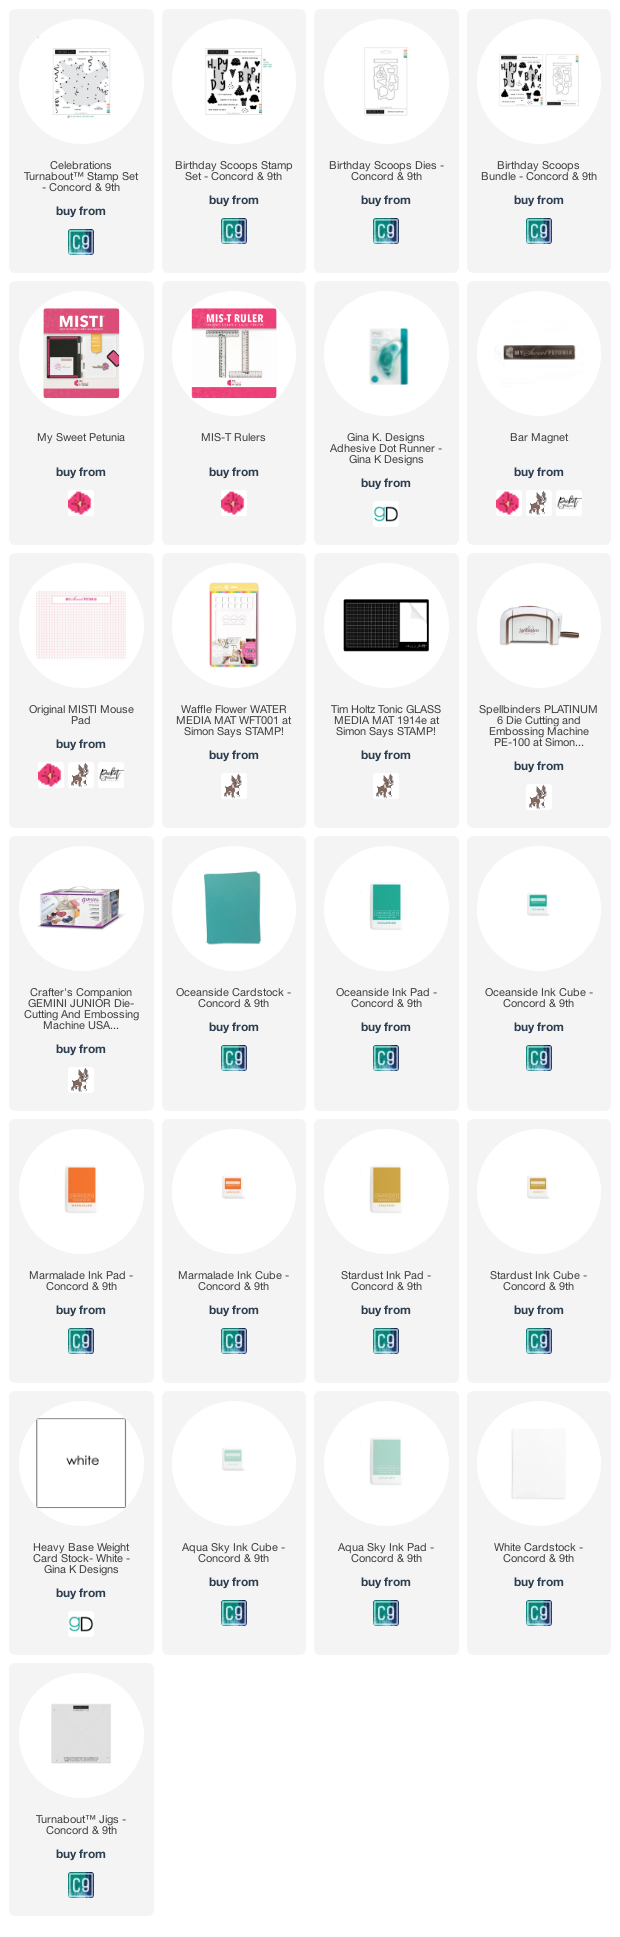
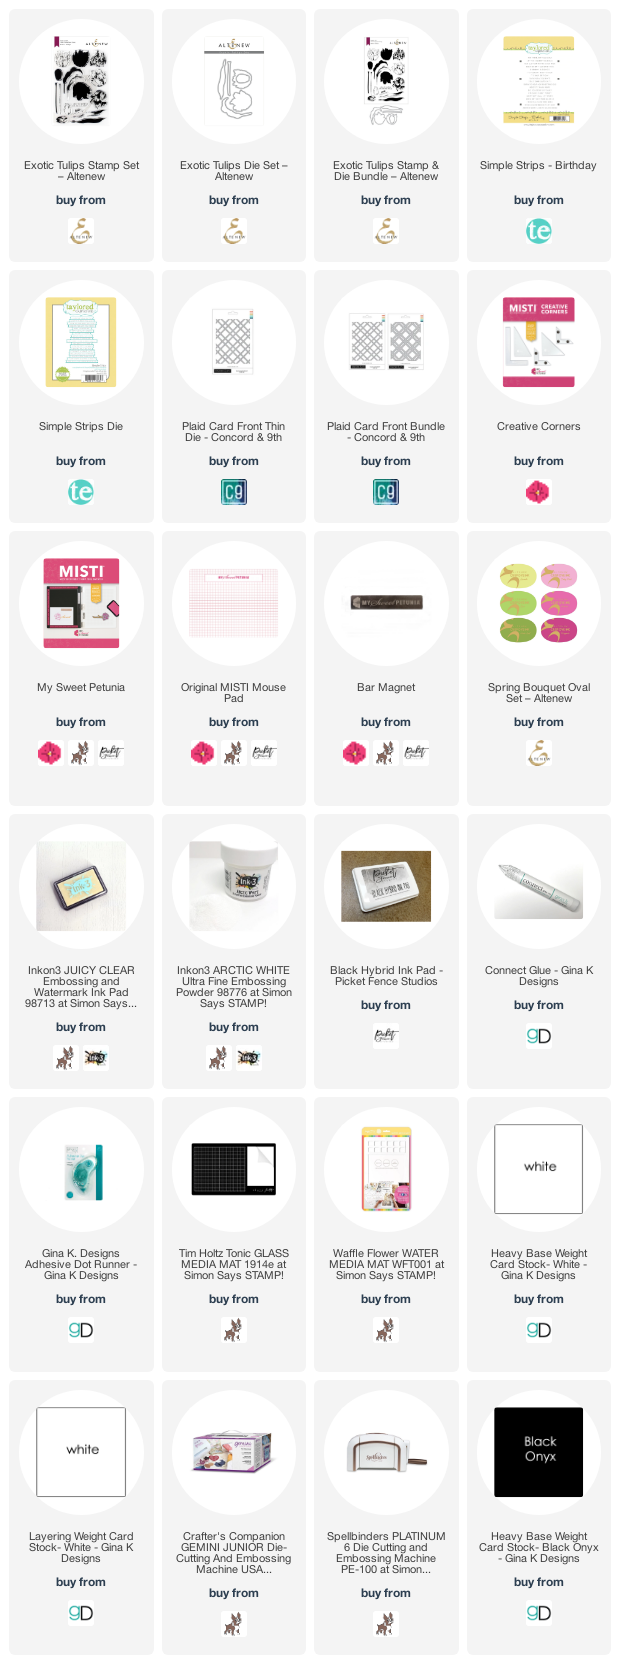
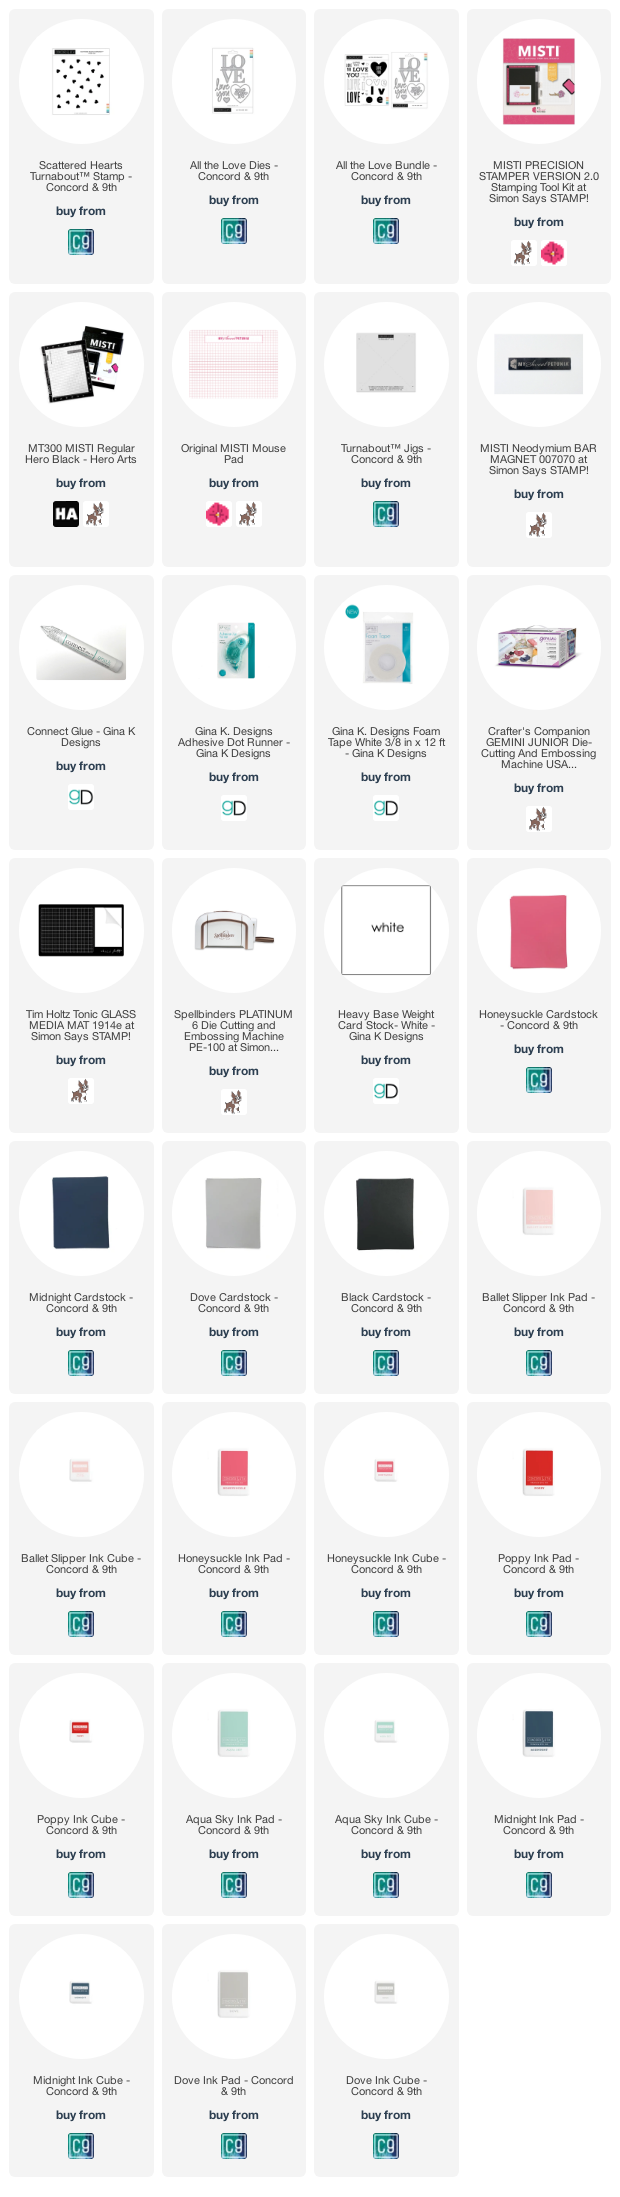
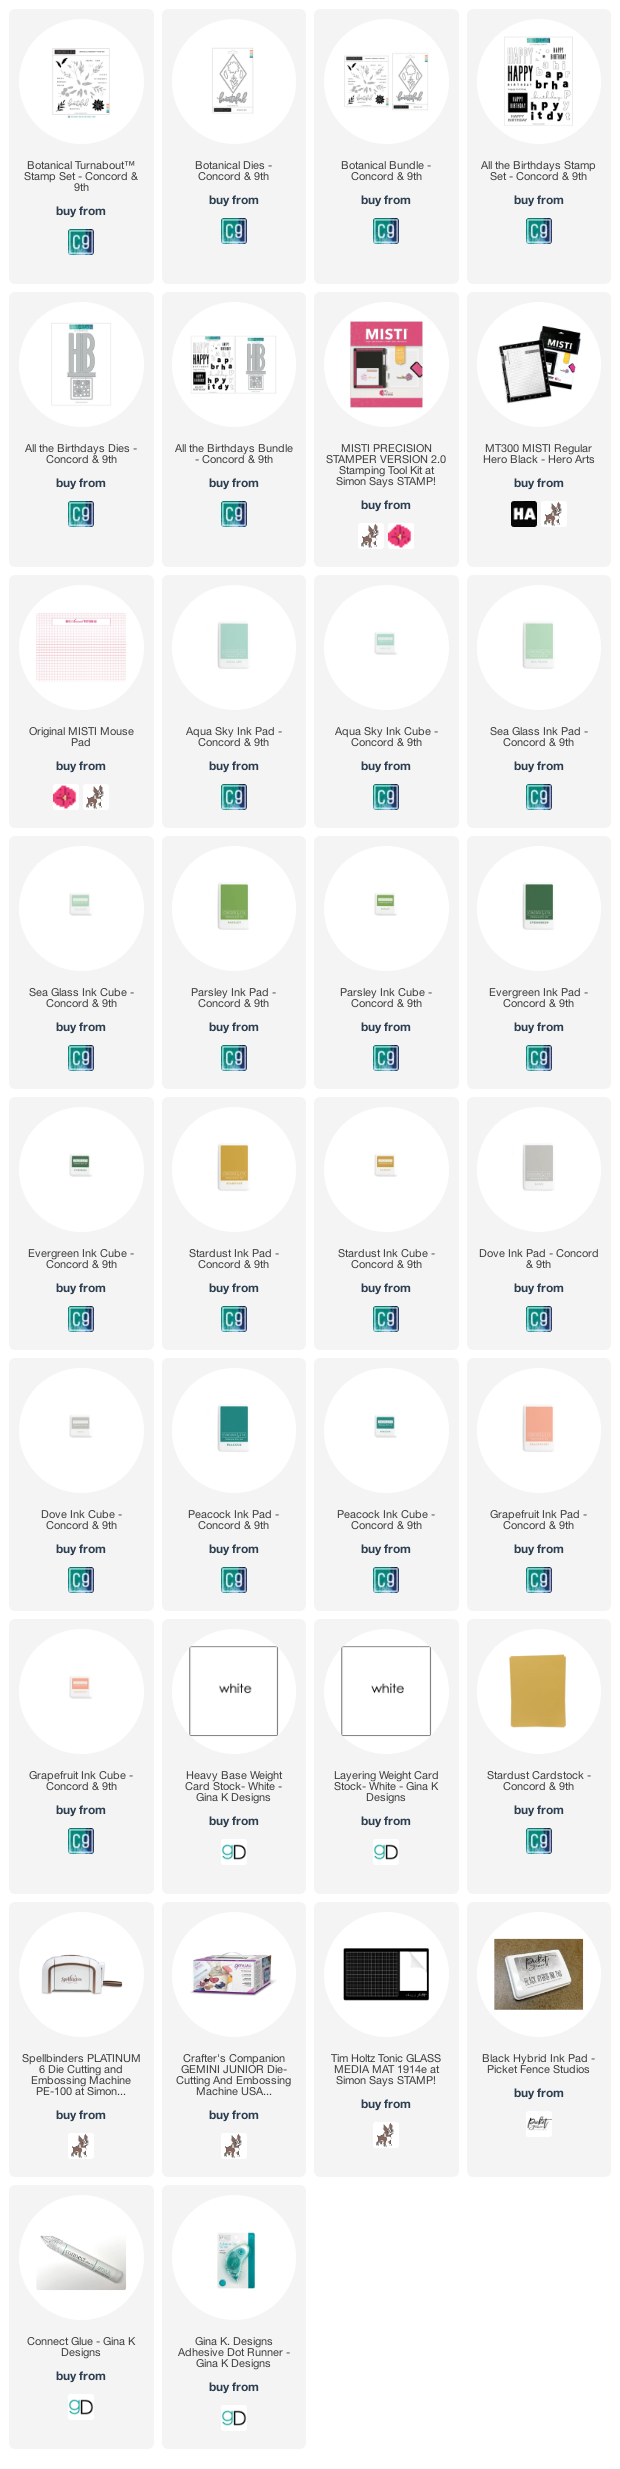
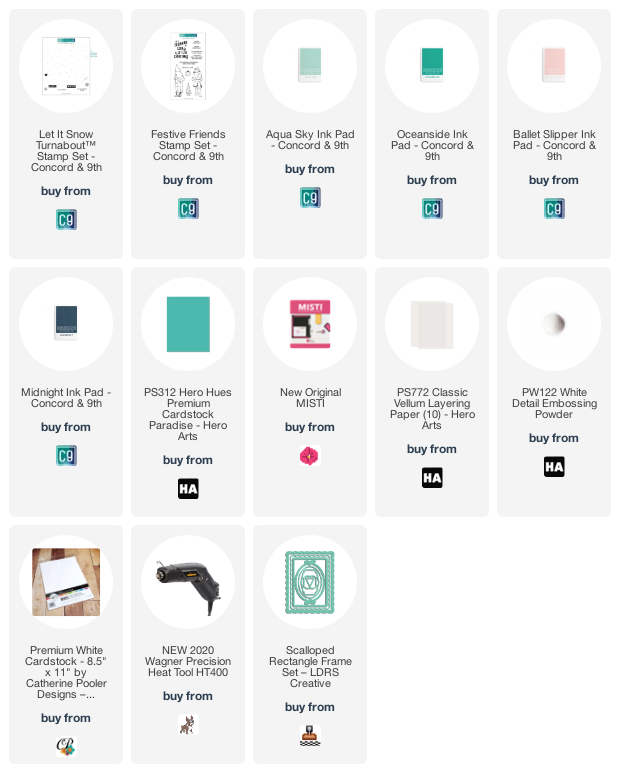
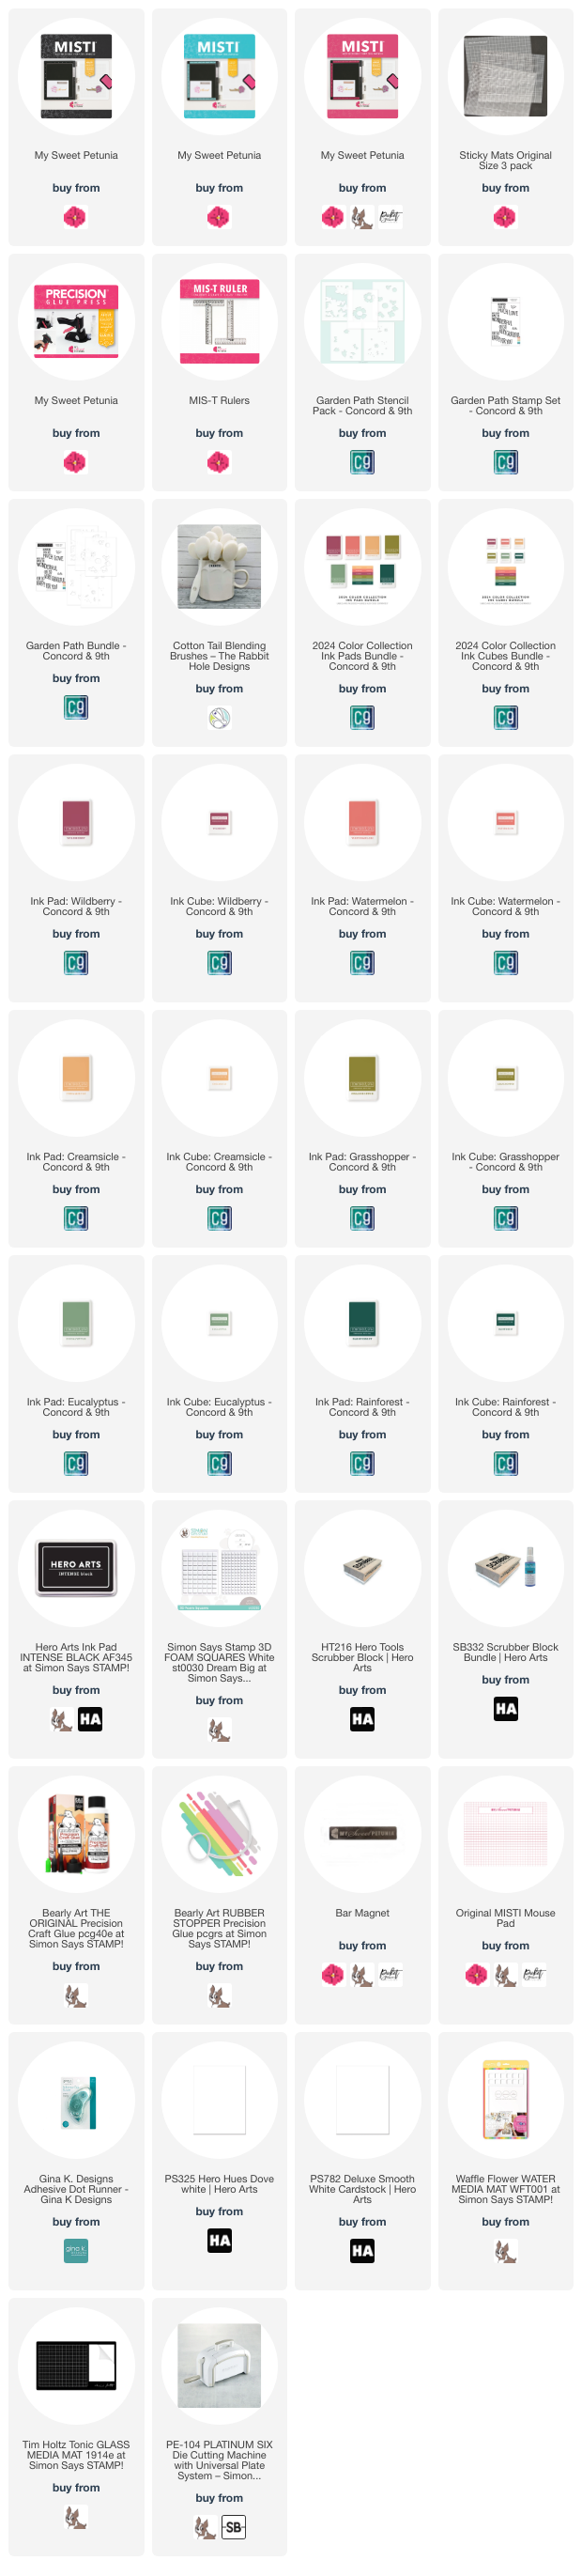
All products are linked below when possible. I appreciate you using my links as it helps me earn a little commission at no extra cost to you. Please accept the cookies because that is how they track the sales.
Thanks so much!
All products are linked below when possible. I appreciate you using my links as it helps me earn a little commission at no extra cost to you. Please accept the cookies because that is how they track the sales.
Thanks so much!
(All products are linked below using affiliate links )
***Affiliate links are used when possible at no charge to you!***
Hi there
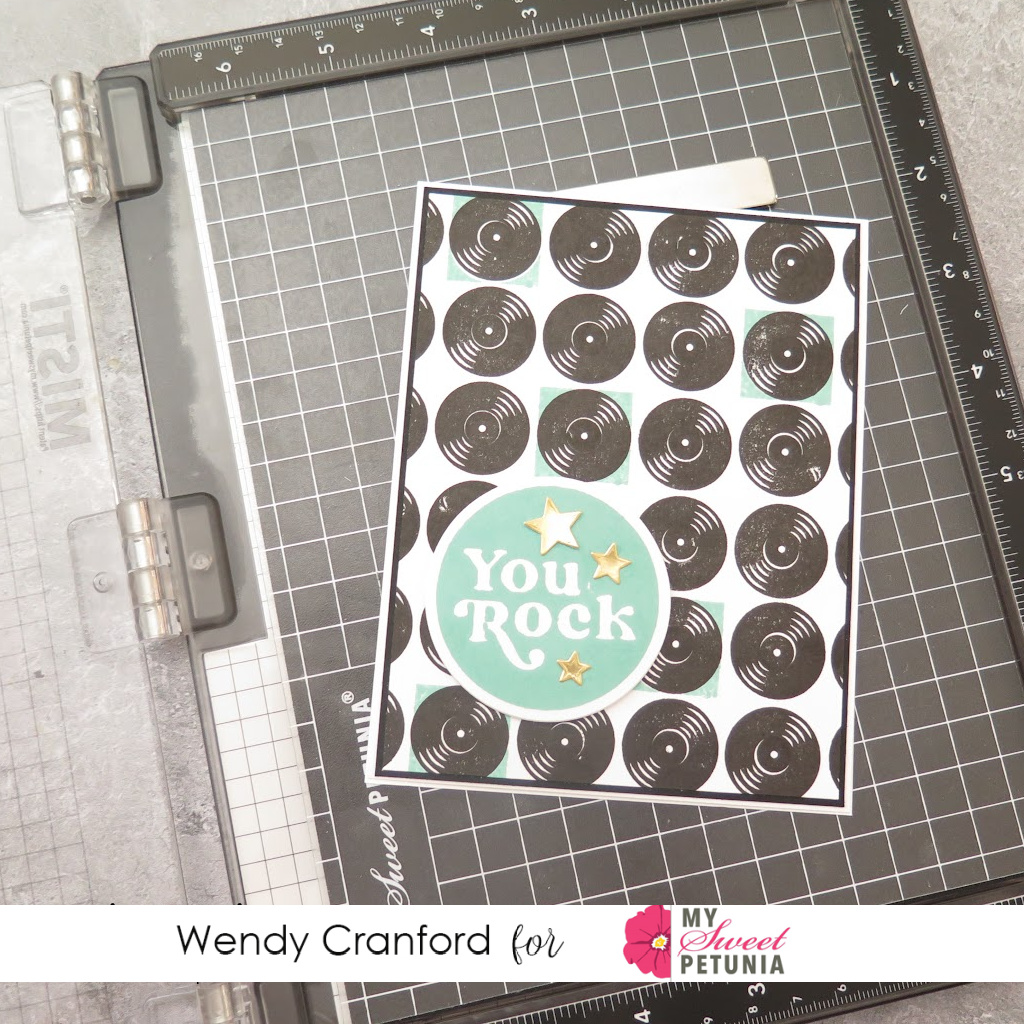
This is Wendy. I cannot tell you how much I love the MISTI, particularly for solid images.
For the background of this card, I used the Concord & 9th, For The Record, stamp set. All of the little black record players would have been a problem if it weren't for having a MISTI. I was able to stamp and restamp perfectly to get my black records as even and dark as I needed them to be.
(Our team uses affiliate links at no extra cost to you)
This post uses affiliate links at no additional cost to you.
It's Ceal, here with a Christmas card for team tuesday.
To create this card I started with a top folding white card base and a white panel and some stamp sets by Concord & 9th.
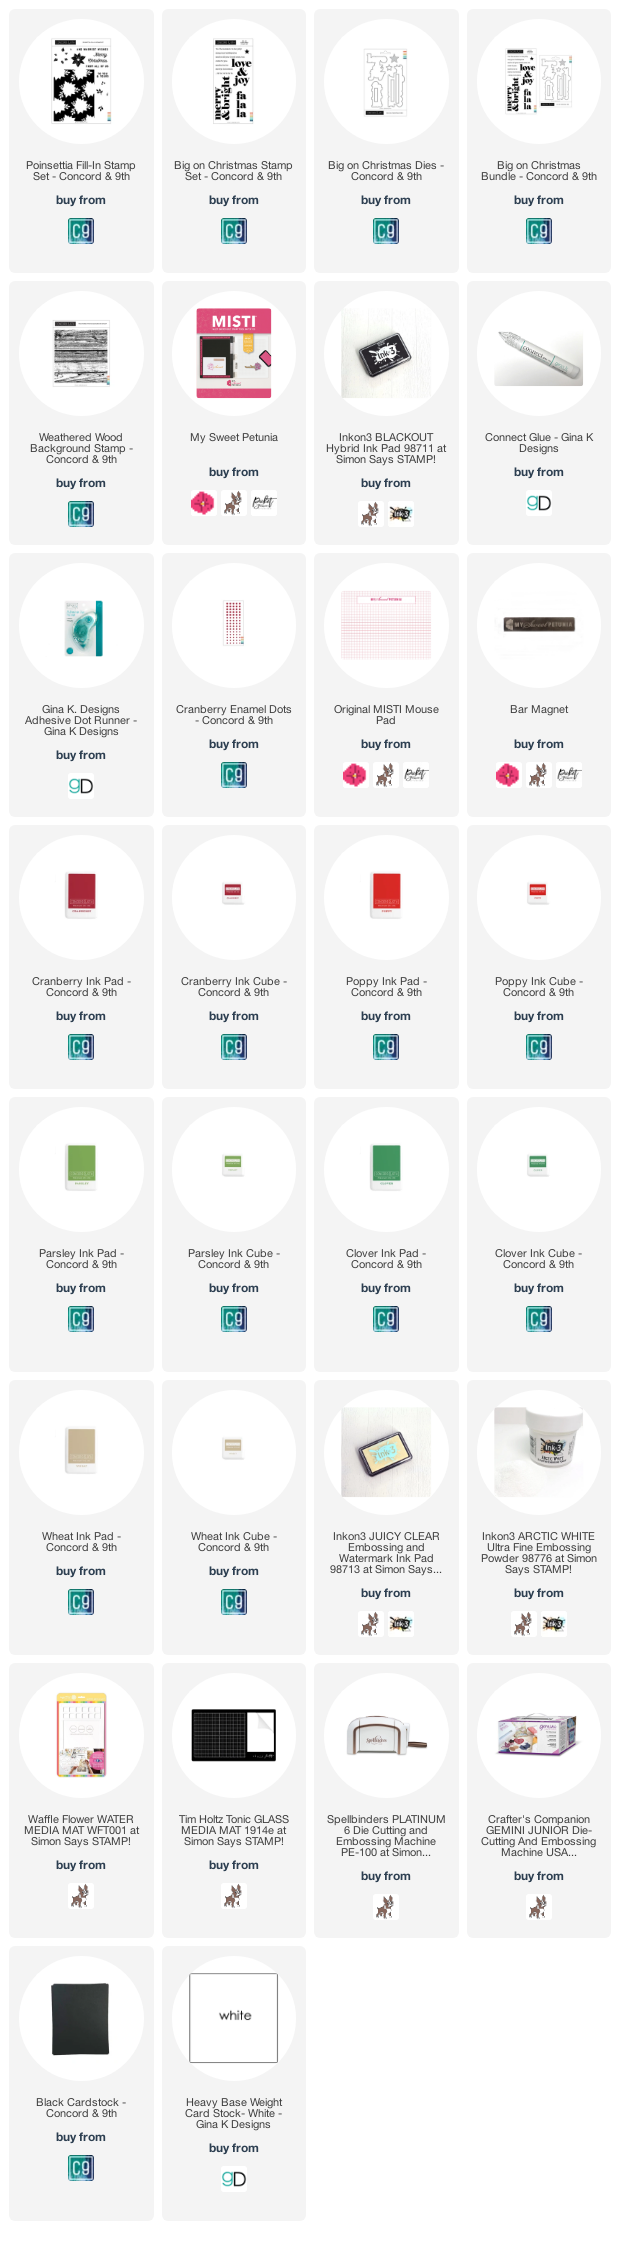
I inked up the image from the Fill in Poinsettia set with Wheat ink and then used the Weathered Wood background stamp to kiss it (laid it on top and removed it). Next using the Misti 2.0 I filled in the flowers, leaves and berries. I tell ya if I didn't have a Misti, there is no way I could have used this set as it was tough for me even with the Misti. The greeting I used is from the Big on Christmas stamp set and i added some enamel dots to finish the card.
It's Ceal, Here. Welcome to another edition of Team Tuesday. Today I am sharing the newest turnabout stamp by Concord & 9th made especially for the Misti. This one is the Fluttering By Turnabout and I love it!
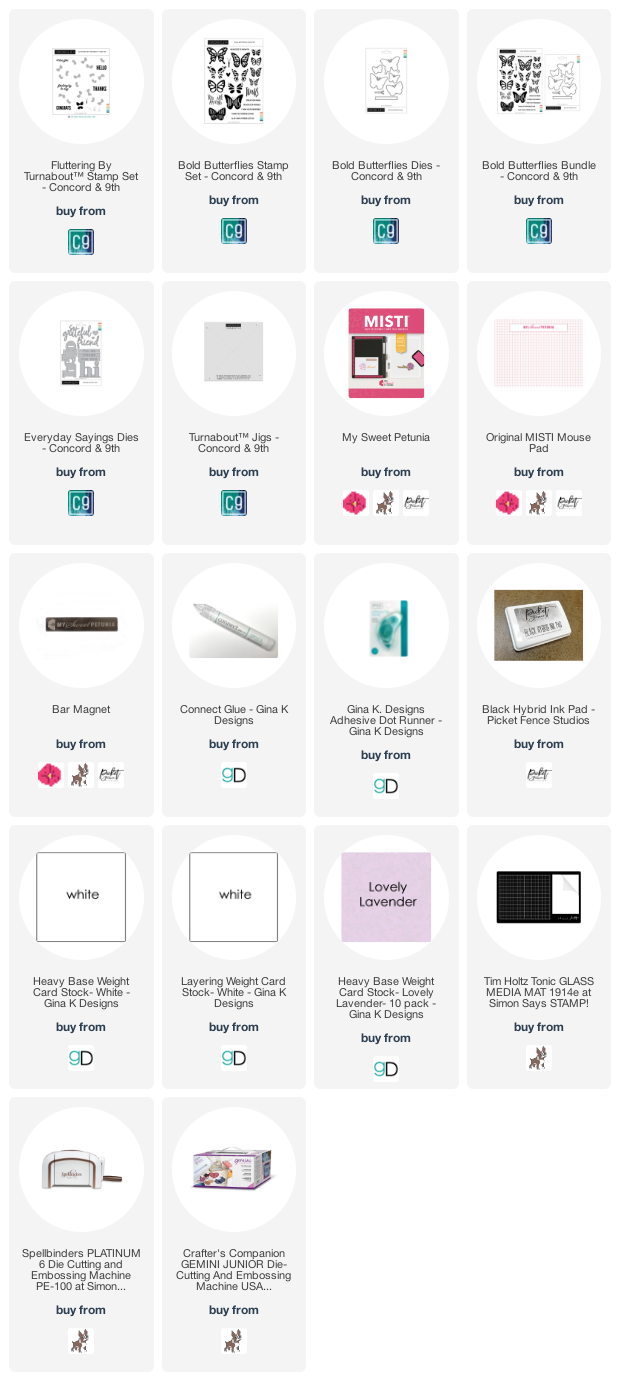
To create this card I placed the Turnabout Jig inside of the Original Misti and then placed the alignment guide that comes with the stamp on top of the jig and lined up the lines of the x. I stamped it four times rotating the jig after each color.
I used the Hi die from the Everyday Sayings die set and cut it out of the finished background. Next I placed the background on a piece of Lovely Lavender cardstock and then placed the positive die back in the negative space popped up with foam tape for the eclipse technique.
To finish the card I added a sentiment from the Bold Butterflies stamp set.
Below you will find links to the products used. Click the picture to start shopping. Compensated Affiliate links are used at no additional cost to you. Your support helps me to keep bringing you new projects and I appreciate that so much!
Thank you!
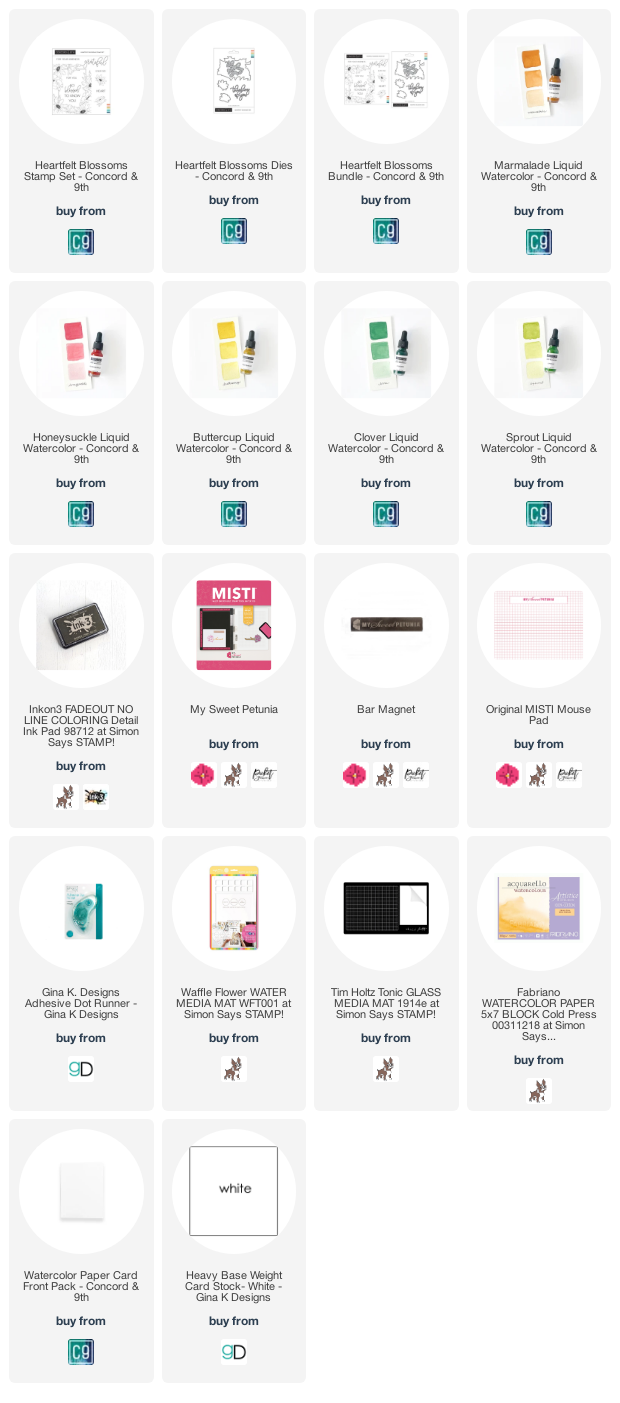
Below you will find links to the products used. Click the picture to start shopping. Compensated Affiliate links are used at no additional cost to you. Your support helps me to keep bringing you new projects and I appreciate that so much!
Thank you!