Wendy here to share with you a new way to use your MISTI Stamping Templates. Not too long ago I created some fun stamping templates using the MISTI Sticky Mats.
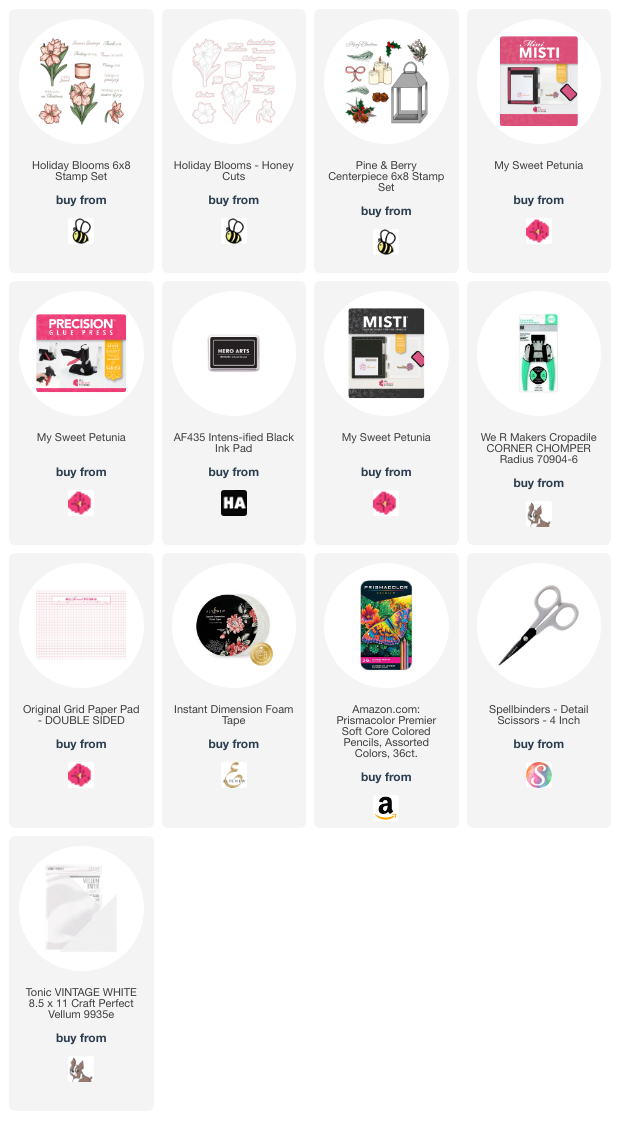
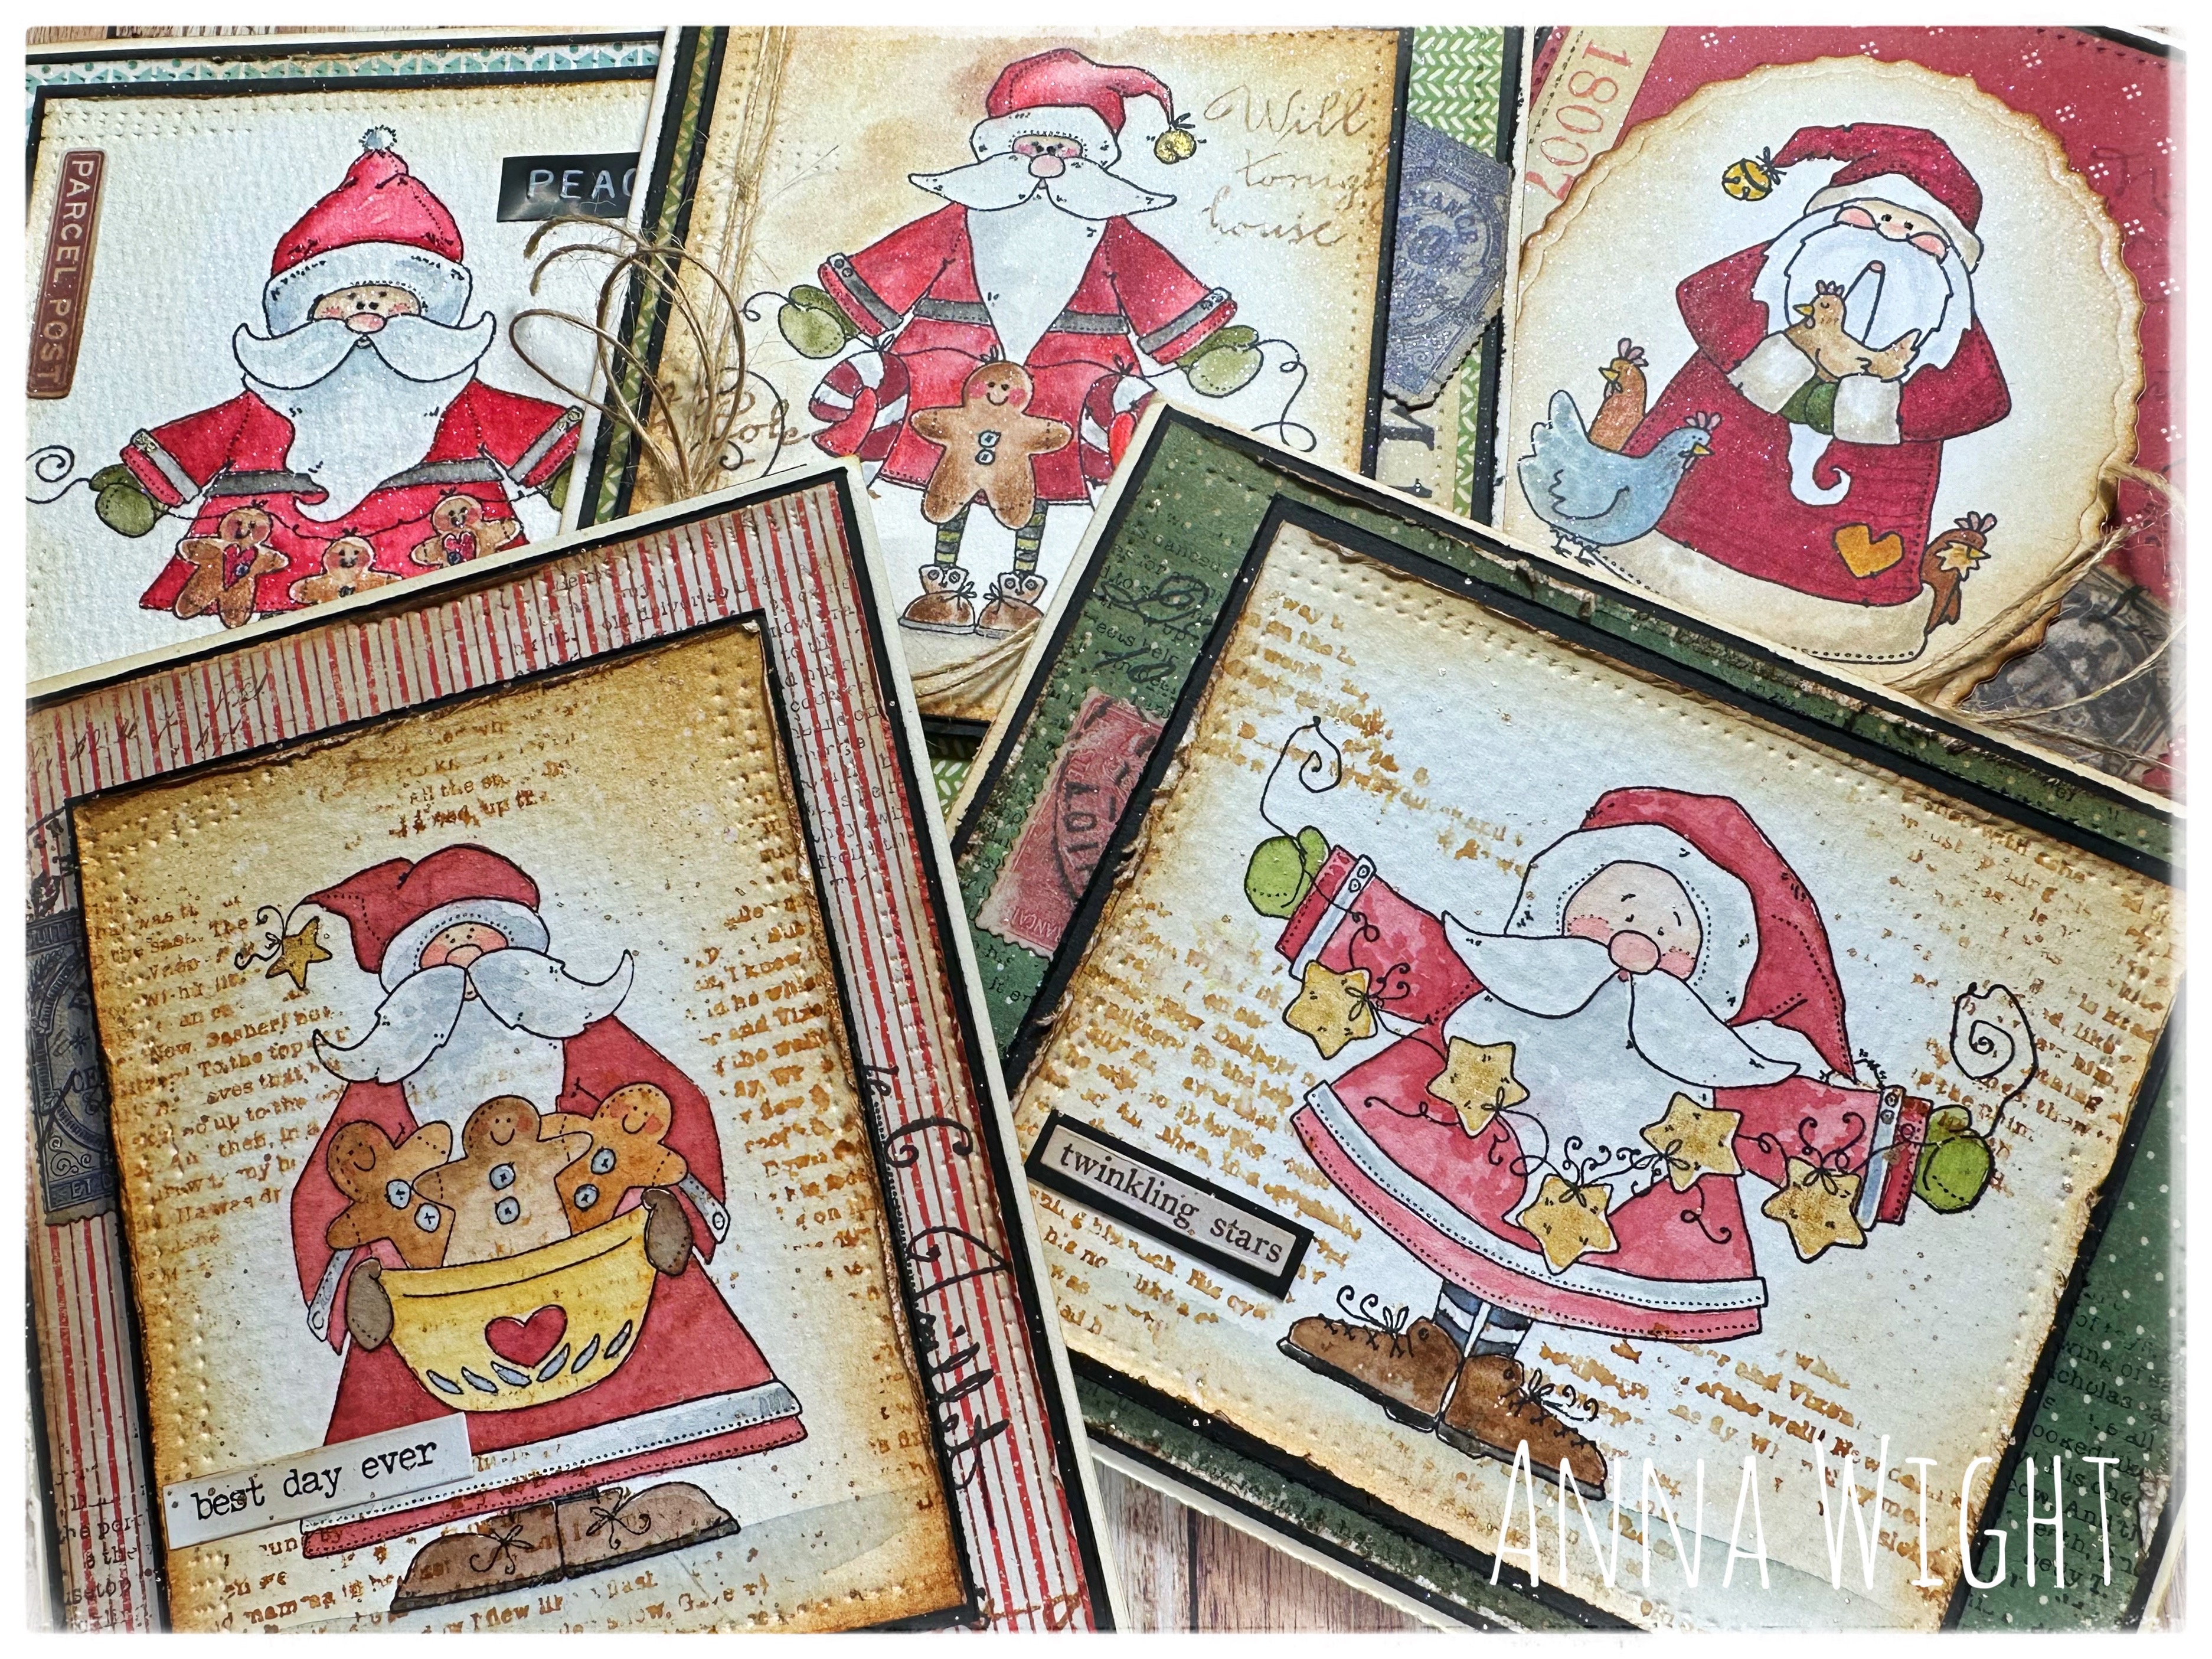
Hello everyone! Anna here, with greetings from a chilly pacific northwest! I don’t know about you, but I’ve got Santa on the brain! :) We have a bit longer to pull out all of our cute holiday Santa images and put together some cards to celebrate the season.
I love how theMini MISTIallows me to stamp perfect images on textured watercolor paper, every time! On card panels or on smaller sentiment banners, I can stamp with precision every time, giving me the perfect placement and impression for every project! Sentiments are stamped perfectly too, and stamped images on watercolor paper (or other textured papers) are a breeze!
Hello friends, with the MISTI artistic dreams can take flight! I love to watercolor my stamped images, but instead of a dream taking flight, often it would be crash and burn time. Essentially, time and paper were wasted by poor impressions. With the invention of the MISTI, that changed, and artsy dreams can now take flight!
I placed a Sticky Mat in the Black MISTI, then the textured paper. I stamped the image several times for a perfect impression. After coloring and splattering the image, I placed the card in a Mini MISTI to stamp the sentiment.
**When possible, affiliate links are used, but there is no extra charge to you.***
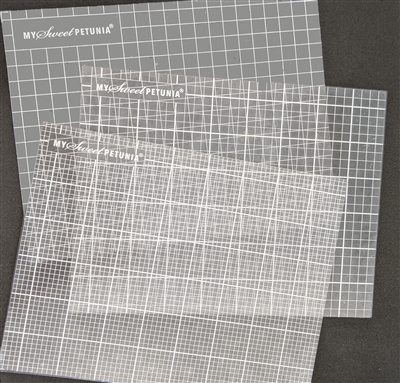
Today I have an incredibly cool DIY project to share with you. Many years ago Maureen Wong shared how to use templates to get perfect stamping with die cut circles. Everyone loves border stamping a sentiment and these templates make it easy to get perfect stamped sentiments each time.
In today's video I will be expanding on Maureens ideas and sharing how to make your own DIY stamping templates from Sticky Mats.
Hey there!! Here is an easy card that can easily be made in to a fall birthday card. You can jump right in and enjoy the video. Products used will be at the end of this post and in the video description on YouTube.
Happy Halloween! I hope you have a safe and sweet Halloween.
The MISTI is a fantastic tool for everyday stamping and more! It did a spectacular job with the clear, solid stamps I used on this project.
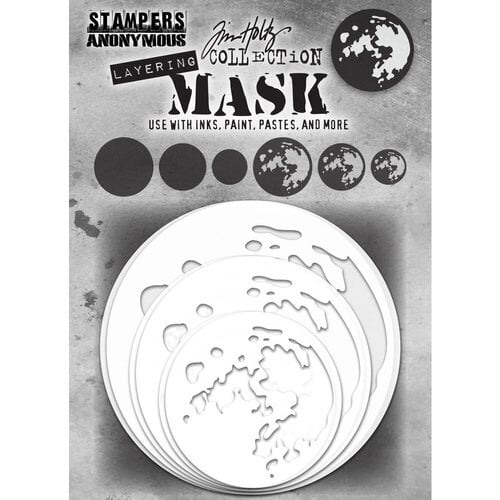
First, I masked the moon and blended Distress Ink over the entire cardstock. Then I placed a Sticky Mat and my inked cardstock in the MISTI. I positioned the haunted mansion in the center of the cardstock and picked up the stamp with the lid. Clear, solid stamps usually need to be stamped more than once, so I love that the Sticky Mat holds my paper in place for precision stamping every time! I stamped the bats twice to get a dark impression and added the sentiment!
Hello everyone! Anna here, with greetings from the pacific northwest! The card I’m sharing today was made using the recently released Get Well Bug limited edition clear stamp set fromWhipper Snapper Designs. Since I was stamping on watercolor paper, I needed to be able to stamp the images and sentiment multiple times to ensure a great impression! I used to Mini Misti to stamp the happy bug and his trail lines in various places on the watercolor panel. The Mini Misti also allowed me to precisely place the sentiment and stamp it several times to get a great impression!
I love how theMini MISTIallows me to stamp perfectly, every time! On card panels or on smaller sentiment banners, I can stamp with precision every time, giving me the perfect placement and impression for every project. Sentiments are stamped perfectly placed, and stamped images on watercolor paper (or other textured papers) are a breeze to create!
I just love my MISTI Sticky Mats for holding in place smaller die cuts, or large pieces of cardstock to stamp a large image.
When your stamp must cover your entire cardstock piece, slip in a sticky mat and you're all set.
In this example, my cardstock is cut at 3-1/4" x 8-1/4" for a slimline layer. The adorable stamp from Trinity Stamps is just slightly larger than this piece of cardstock, leaving no space for the magnet on the cardstock to hold it in place.
Insert a sticky mat and add your magnet to the sticky mat to hold it in place and you're ready to stamp.
Hello everyone!!! I know it has been a long time since I have posted. I had to share this card. In September, I went to a craft retreat and meet a new friend named Tara. She created an amazing background. I was so inspired, I had to go get all the supplies to make it. I had actually never made a Halloween card, so I had to get Halloween themed supplies.
You know me, I like to keep posts short so here is the video - supplies are below!