Showing posts with label Precision Glue Press. Show all posts

Thursday, October 2, 2025

A Thankful Bloom with Precision Placement

 ✂️🌸 When a single flower says it all, the right tools make the details shine!

Hello friends! Today I’m sharing a CAS card featuring two of my favorite crafty companions: the MISTI and the Precision Glue Press from My Sweet Petunia.

I’ve always admired the look of colorful strip borders, but honestly? Adhering those tiny pieces used to be a gluey, crooked mess. Enter the Precision Glue Press—game changer! Even with the narrowest strips, it places glue exactly where I need it, no smudges, no stress. I recently made a card with strips half the size of these, and the Glue Press handled it beautifully.

And here’s something that really amazed me: during a hectic stretch this past year, I misplaced the glue cap. Several weeks went by where I didn’t use the Glue Press, but because the bottle sat snugly in its stand, the glue still flowed when I came back! At most, I had to clear the nozzle with a quick pin, and it was good as new. Dependability like that is essential in our craft rooms!  

For this card, I stamped a tall flower using my MISTI (with the sticky mat inside), which made it easy to adjust the bloom until the script “thankful” stem lined up just right. From there, I cut strips of cardstock in maroon, pink, yellow, dark teal, and light blue, and thanks to the Precision Glue Press, it was effortless to adhere them perfectly side by side. No juggling caps, no sticky fingers—just clean placement every time.


To finish, I sprinkled a few yellow and black gems around the flower for a touch of sparkle.


I’m so grateful for tools that make the creative process smoother—and more fun. Thanks for stopping by, and happy stamping (and gluing)! 💛

Tuesday, May 13, 2025

Team Tuesday With Taylored Expressions


Hello crafty friends!
It's Ceal, here. Today I am sharing a card using some Taylored Expressions products and of course the MISTI. I don't know about you, but I use the Misti and the Glue Press on every single card I make. 
For this card, I started with a white top folding card base, a panel of Pebble cardstock and a panel of the Perforated paper by Taylored Expressions. This paper is made to look like cross stitch cloth and it certainly does. I created a faux cross stitch panel but I tell ya this paper is super thick and if you wanted you could actually use floss. 
If you decide to do a faux stitching, you will need a Misti to stamp on it.
I stamped the floral image and used the coordinating stencils to color it. 
I had originally stamped the greeting directly on the paper but didn't care for that look so I restamped it on regular cardstock and placed it over the one I stamped. 


Thursday, October 31, 2024

Happy Haunting!

Happy Halloween! I hope you have a safe and sweet Halloween.  

The MISTI is a fantastic tool for everyday stamping and more! It did a spectacular job with the clear, solid stamps I used on this project. 

First, I masked the moon and blended Distress Ink over the entire cardstock. Then I placed a Sticky Mat and my inked cardstock in the MISTI. I positioned the haunted mansion in the center of the cardstock and picked up the stamp with the lid. Clear, solid stamps usually need to be stamped more than once, so I love that the Sticky Mat holds my paper in place for precision stamping every time!  I stamped the bats twice to get a dark impression and added the sentiment!  

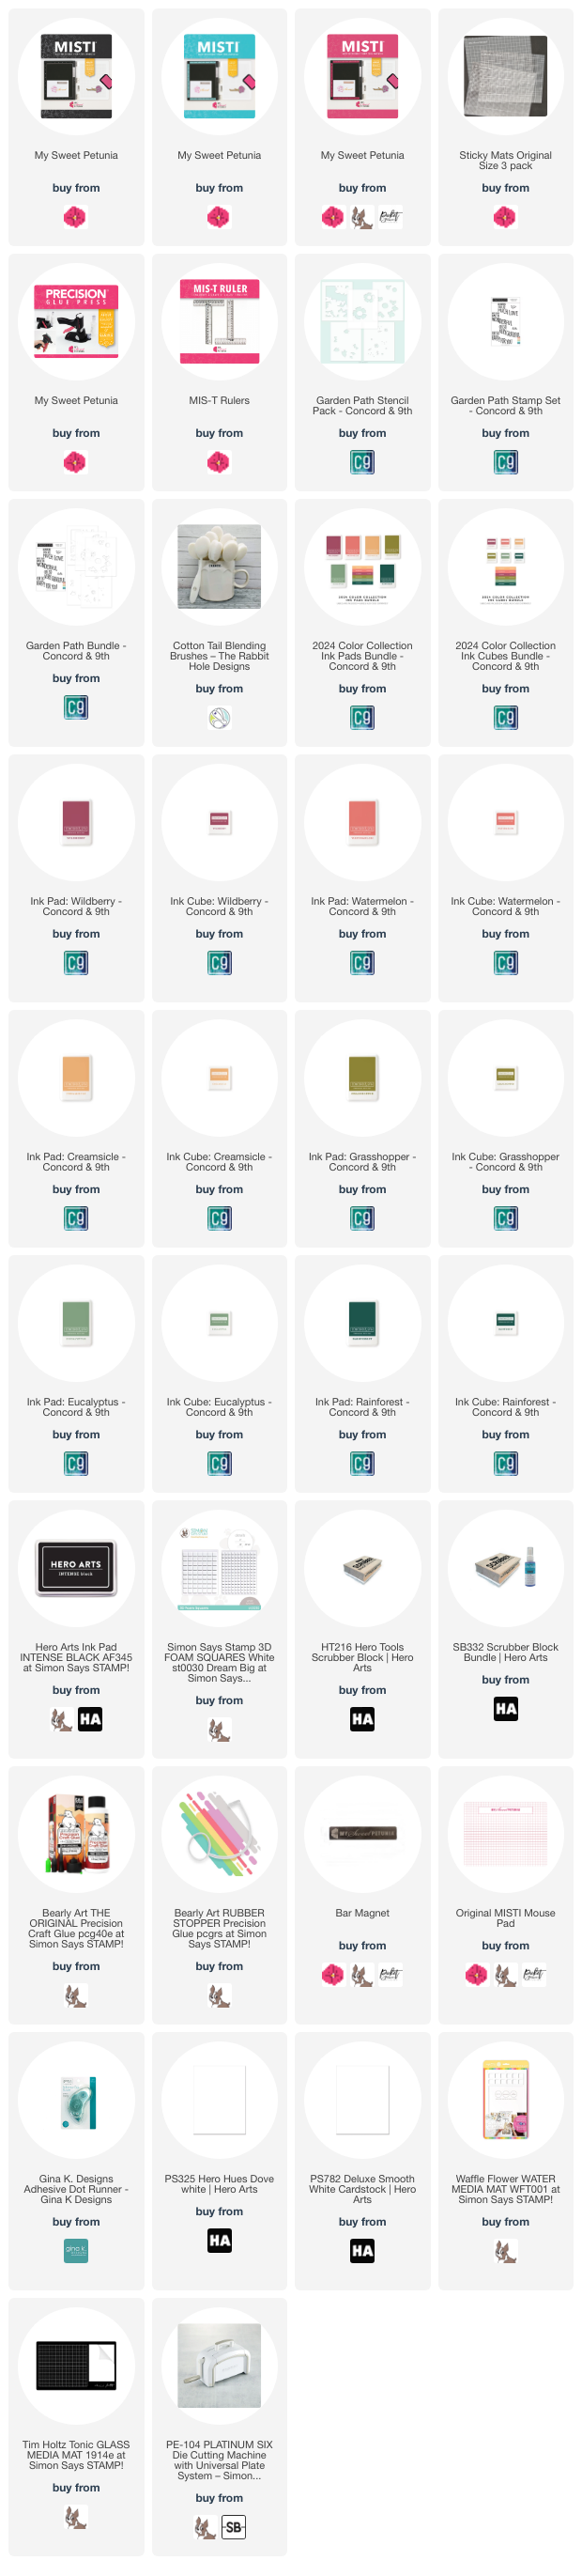
Tools used in making this fun Halloween card:


The spooky stamp set is called Happy Haunting.

Thanks so much for looking!  

Tuesday, September 3, 2024

Team Tuesday with Pinkfresh Studio

(Our team uses affiliate links where possible)


Hey there crafty friends!
It's Ceal, here. Welcome to Team Tuesday, today I am sharing a couple cards using come holiday products from Pinkfresh Studio along with the Original Misti, Sticky Mat and Precision Glue Press. 
To make these cards, I started with a white top folding A2 card bases and a a couple of panels. I stamped the image on the panels using the Original Misti because it a cling stamp and you cannot see through it which means the Misti is a necessity to use this stamp.  After I got the images stamped, I placed the panel on a Sticky Mat inside the Misti so I could use the coordinating stencils to color the image. 


The first card, I actually created it second. Once I was done with the card below I realized I forgot to use the die and I had already cut the panel down so I created a second card (above). I cut several layers out so i could stack them for dimension. I also embossed the sentiment in gold to match the berries. 
The card below I added the stenciled panel on a panel of black and embossed the greeting on black with white embossing powder. 


The top one is my favorite, which one do you like best?


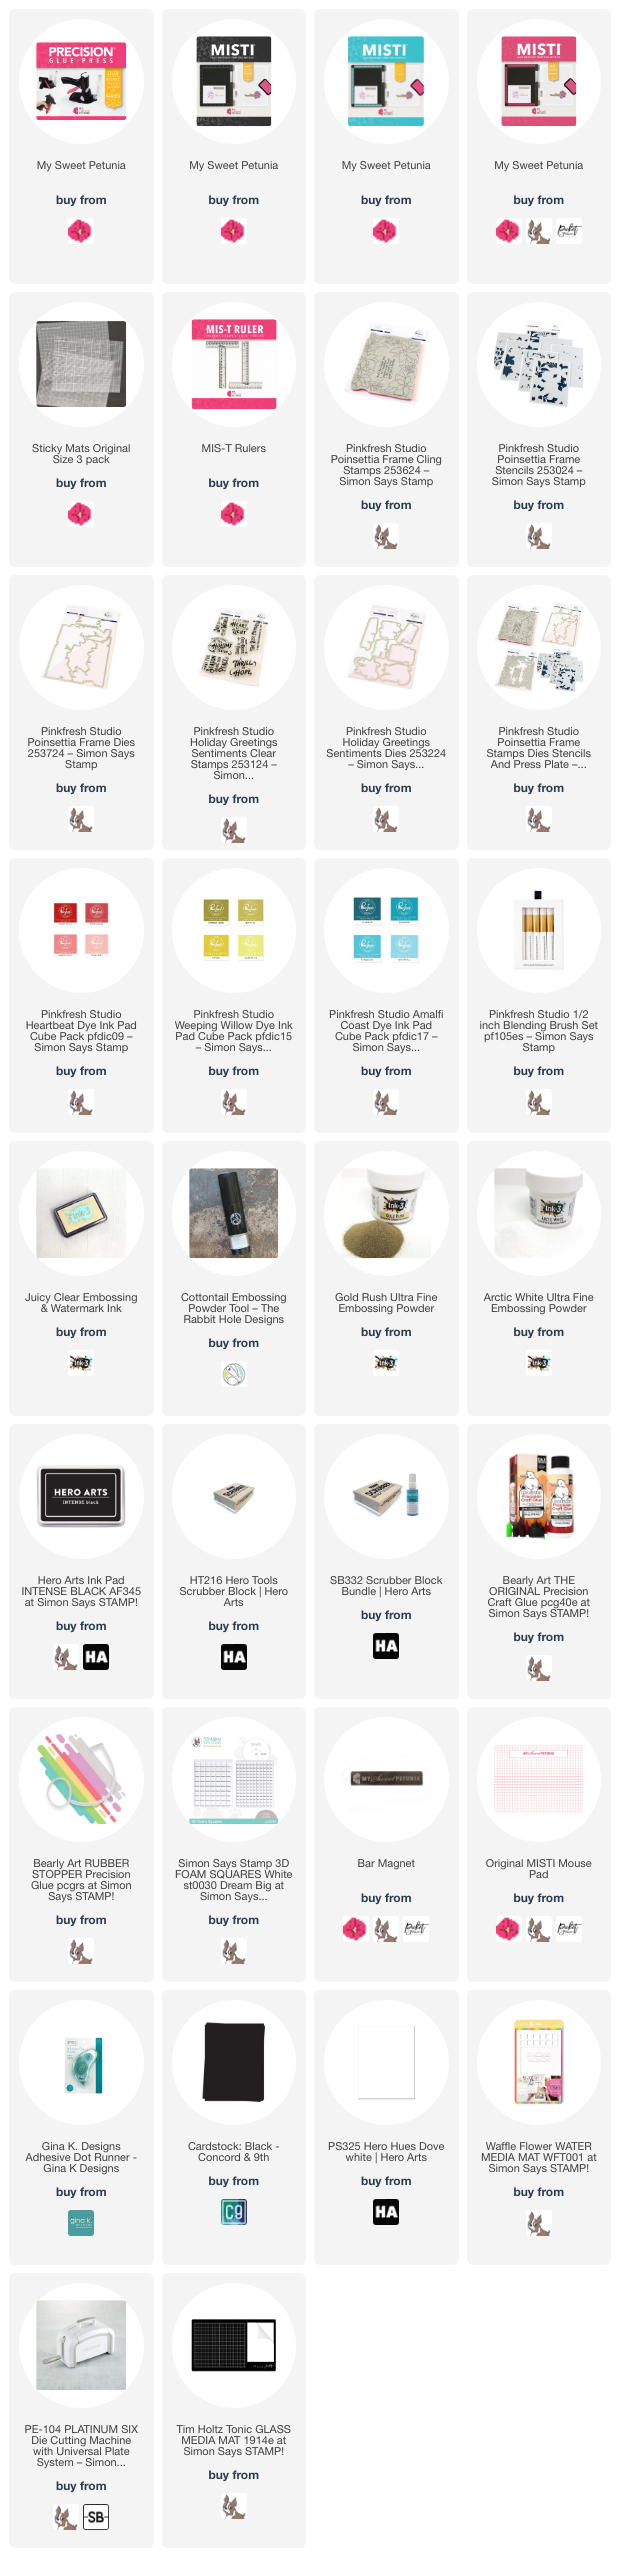
Here are the supplies I used 


Tuesday, July 9, 2024

Team Tuesday With Concord & 9th

(our team uses affiliate links when possible)


Hey there crafty friends! 
It's Ceal, here. Today I am sharing a card that I made when MISTI and the Precision Glue Press went to camp. 
I attended the C9 Summer camp and this card uses a set that was in our kit and it's my favorite!
I couldn't have made this card without products by My Sweet Petunia. I started with a white top folding A2 card base and a panel cut to the same size. I placed the panel in the Original MISTI and stamped the floral image on all four corners. After I got the stamping done, I added a Sticky Mat to the Original MISTI and placed the panel on the Sticky Mat so I could ink blend with a stencil and the panel not move. 
After I got the floral images colored by using the stencil, I cut out the words and added them to the front of the card by using the Precision Glue Press which made it a breeze even though they are so delicate.

This set is exclusive to C9 summer camp but I have linked a similar set below. 

All products are linked below when possible. I appreciate you using my links as it helps me earn a little commission at no extra cost to you. Please accept the cookies because that is how they track the sales. 

Thanks so much! 


Tuesday, April 16, 2024

Team Tuesday with Altenew

 (Our team uses affiliate links at no cost to you)


Hello crafty friends!

It's Ceal, here. Today I am channeling my inner Jaycee Gasper with an Altenew die set and ink blending.

I watched a live with Jennifer and Jaycee using this die set and I just had to order it, it's so beautiful. I went back and watched the replay and crafted along with them. Jaycee has a way with ink blending like no other. I love how you get the colors with ink blending rather than colored cardstock. I am a fan! 

To make this card, I started with a white to folding A2 card base and a piece of white cardstock for the die cuts. I placed a Sticky Mat in the Original Misti to hold the die cut pieces as I ink blended. I didn't have the ink colors that they used on the live so I substituted distress inks. After I got all the pieces ink blended, I cut the outline pieces of the flowers and leaves out of goil foil paper.    

The outlines pieces to the flowers are very thin and delicate but they were so easy to add with the Precision Glue Press

To finish the card, I added the thanks sentiment cut twice out of white for dimension and glued it to a gold backer. 


Tuesday, February 20, 2024

Team Tuesday with The Rabbit Hole Designs

(Our team uses affiliate links at no extra cost to you)


Hello crafty friends!
It's Ceal, here. Today I am sharing an encouragement card using products by The Rabbit Hole Designs and Sweet 'n Sassy Stamps.
To make this card, I started with a white top folding A2 card base and a white panel. I placed the panel in the original MISTI andstamped the floral images. I colored them using OLO markers, then cut them out with the coordinating die. 
I added a sentiment to the center of the card base and then added the floral images at the top and bottom using the Precision Glue Press. 


Tuesday, January 23, 2024

Team Tuesday with Concord & 9th

***Our team uses affiliate links at no cost to you***

Hey crafty friends! 
It's Ceal, here. Today I am sharing this masculine birthday card using the Original Misti, the Precision Glue Press and some Concord and 9th products. 
I started with a white top folding A2 card base and a white panel. I placed the panel in the Original Misti and used the Mod Turnabout stamp which were originally designed for the Original Misti. I stamped it in four different colors turning it 4 times. After I got it stamped out I ran it through the diecutting machine using a cover plate to add some texture.  
I cut two of the happy birthday to you out of 110lb cardstock and adhered them together with the Precision Glue Press. 

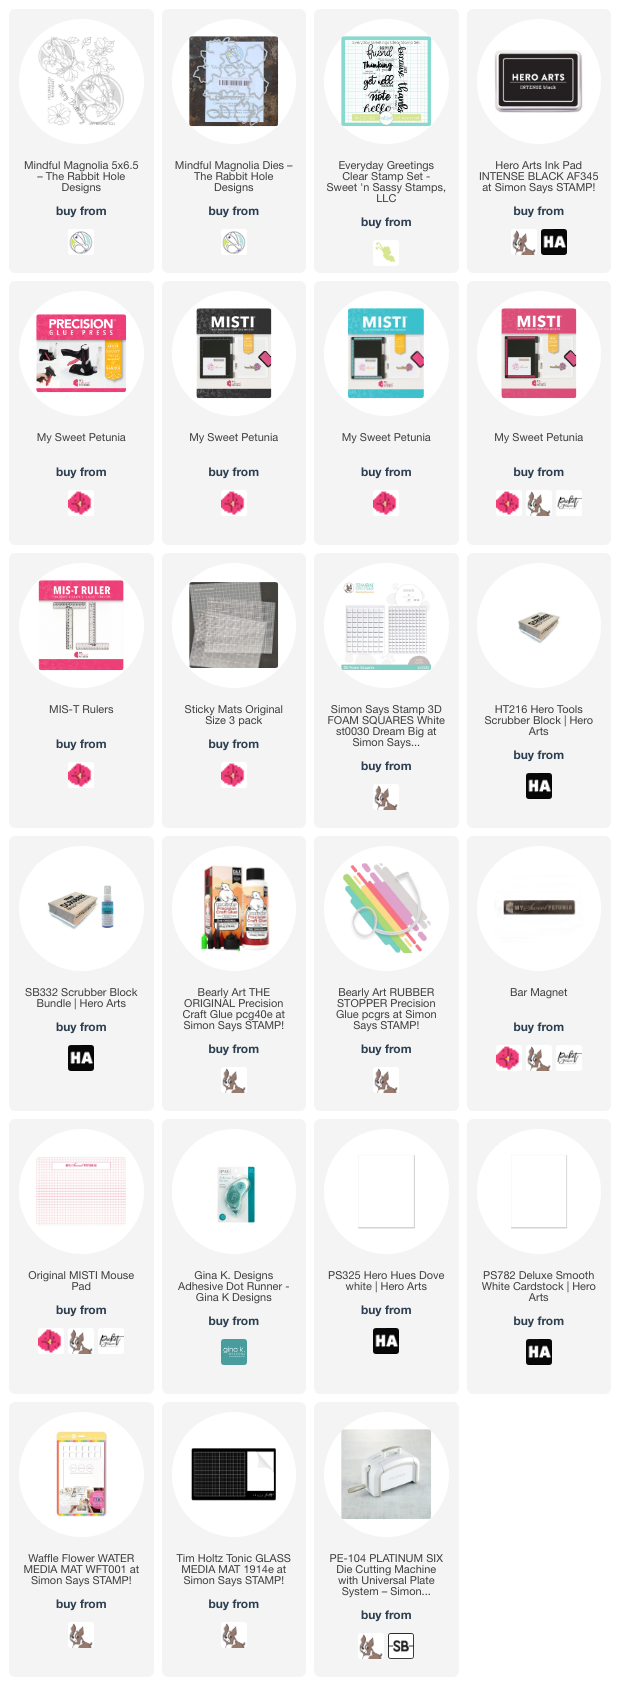
All products are linked below 


Tuesday, December 26, 2023

Team Tuesday with Ceal and Alex Syberia

(Our team uses affiliate links)


Hello crafty friends!
It's Ceal here with you today for Team Tuesday.  I hope everyone that celebrates it had a great Christmas. 
Today I am sharing a card made with the Alex Syberia Designs poinsettia stamp. I have had this stamp for a couple months now but never had the time to ink it up until now. 

To make this card, I started with a white top folding A2 card base, a white panel and another white panel for the image. I placed the poinsettia stamp in the Original Misti to make sure I get a good impression and stamped it with black ink.  I colored the image with OLO markers and added some details with a white gel pen, then cut it out with the coordinating die. 
I used a cover plate from Pinkfresh Studio for the background. 
To finish the card, I added a greeting embossed with gold powder also by Pinkfresh Studio.


I have linked all products below.


Tuesday, December 19, 2023

Fun Shape Shaker Christmas Card

Today I am excited to share this fun shape shaker Christmas card. This card was so much fun to create and of course using the Mini MISTI and the Precision Glue Press made it so much easier. 

I created this card using the Pine and Berry Centerpiece stamp set from Honey Bee Stamps. On Thursday 12/21 I will have a video on my YouTube channel sharing how I created this card.


I hope you enjoyed this fun card and give a shape shaker card a try.

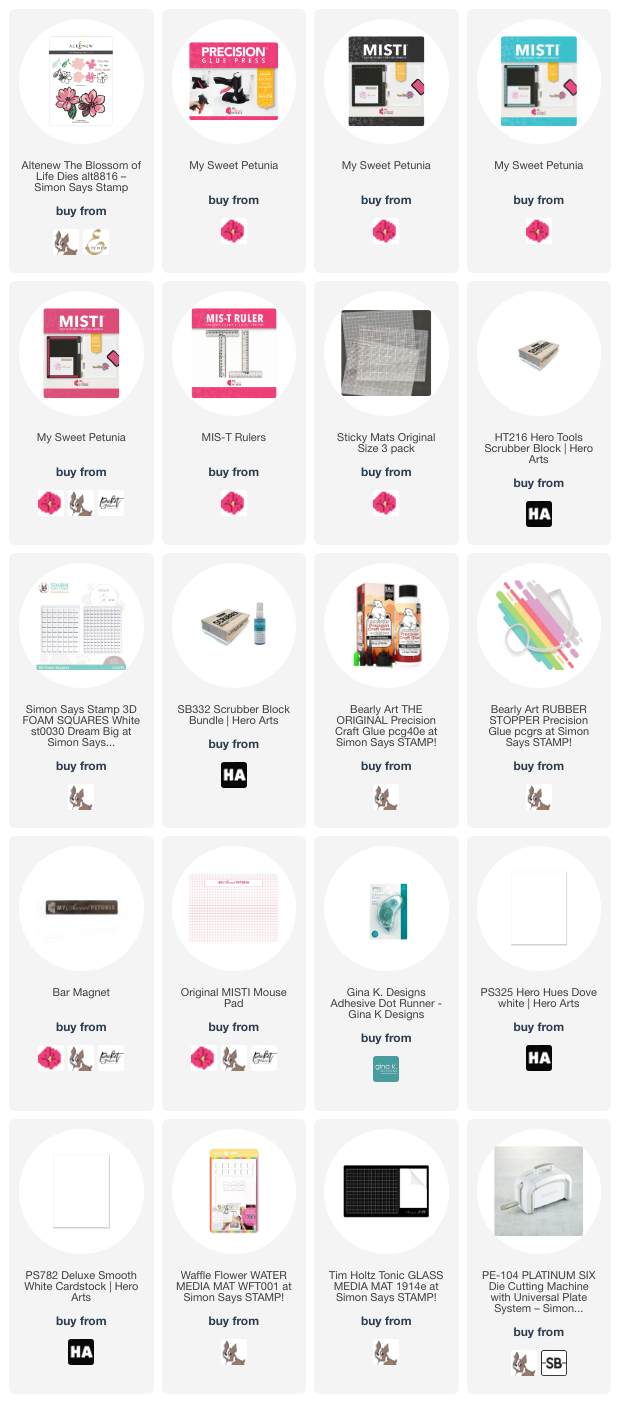
Here's my supply list:

Tuesday, October 31, 2023

Team Tuesday with Concord & 9th

(our team uses affiliate links)


Hey there crafty friends!
It's Ceal, here. Today I am sharing a card that you definitely need a Misti to make. 
To make this card, I started with a white top folding A2 card base and a white panel cut down a quarter of an inch smaller. 
I placed the panel the original Misti and stamped the two step border on one end and then flipping the paper stamped on the other end. The Misti makes this super easy because it stamps in the same place. Next I stamped the sentiment which is also two step but again so easy with the misti because of it stamping in the same place.
This is a card design that I will be making 32 of as a thank you note for those who participated in an outreach event at church. I love that the Misti allows you to mass produce with such ease and precision. 


Tuesday, September 26, 2023

How Did We Survive Without The MISTI?

 (All products are linked below using affiliate links )


Hi Friends,
Wendy here. I am so pleased with how this card turned out. The dies and sentiment is from HoneyBee Stamps. 

I stamped the sentiment for this card 3 times... BEFORE I grabbed my MISTI and realized I was having a momentary relapse to archaic stamping days.

When I couldn't get the sentiment to stamp nice and dark and clean and clear I immediately grabbed my Original Black MISTI and bam. Perfect sentiment stamping. 

How did we ever stamp before the MISTI?

AND... How did we ever glue these teeny tiny pieces before the Precision Glue Press? I don't know it's a mystery to me too.


Thanks for checking in and hanging out for a few minutes. I hope you enjoy this card. All the products are linked below.

Hugs

Wendy

www.luvinstampin.com