Showing posts with label misti. Show all posts

Tuesday, February 11, 2025

Lucky To Have You As A Friend

I created a fun card using the MISTI to do stamping after I assembled the card.

Stamping sentiments and images after the card is created is dicey without a MISTI tool.


To create the pink ombre ink blending I used Tim Holtz Distress inks in Festive Berries, Worn Lipstick, Saltwater Taffy and Tattered Rose.


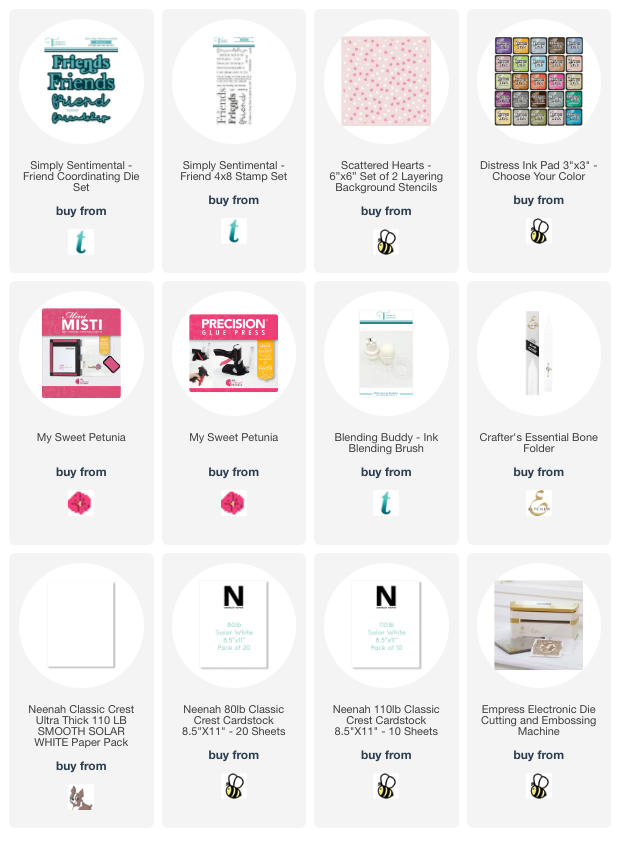
SUPPLY LIST:

Tuesday, January 14, 2025

Precision Stamping with the MISTI

 Creating a card with layered stamping is so much easier using the MISTI. Each of the boots on this card require multiple stamps to create a finished image.


For the base of the boot I stamped the color in full pigment, for the layers I stamped off once on MISTI grid paper and then stamped to the card base. Using the MISTI made the process faster and more precise.


If you have any questions please feel free to reach out. CLICK HERE to visit my blog for contact info.

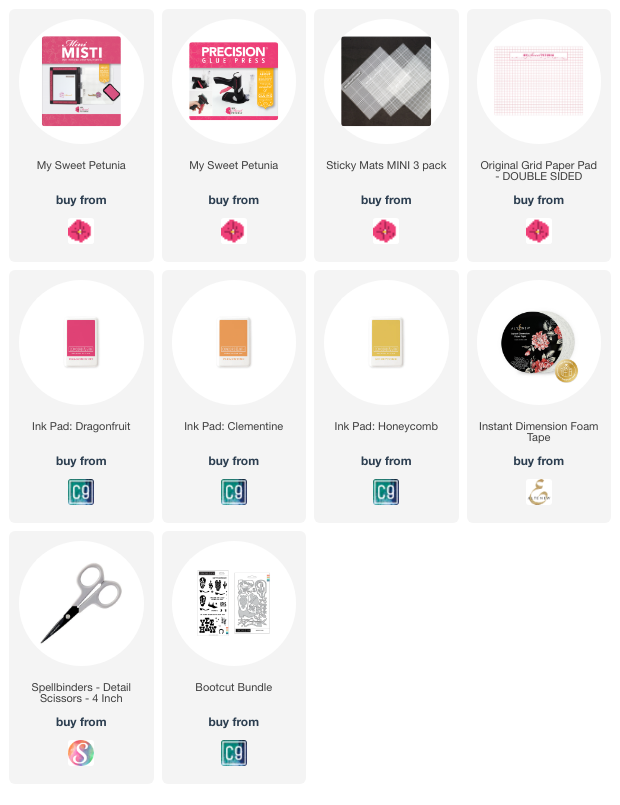
Supplies used to create this fun card are listed here:

Tuesday, November 19, 2024

DIY Sticky Mat Templates For MISTI

Today I have an incredibly cool DIY project to share with you. Many years ago Maureen Wong shared how to use templates to get perfect stamping with die cut circles. Everyone loves border stamping a sentiment and these templates make it easy to get perfect stamped sentiments each time.

In today's video I will be expanding on Maureens ideas and sharing how to make your own DIY stamping templates from Sticky Mats.

Here's what you'll need:

  • Sharper Marker - Fine Point
  • New Sticky Mats Regular or Memory
  • Good scissors that can cut sticky mat 
  • MISTI T Square Ruler
  • Microfiber Cloth
  • Templates can be printed HERE.
I have linked to all the items below the video.


Step 1) Lay the Sticky Mat on top of the template with the acetate side facing down. You'll be tracing on the BACK of the Sticky Mat.


Step 2) After tracing all the lines, carefully cut out the template shape.


Step 3) Choose your circle and sentiment and start stamping.


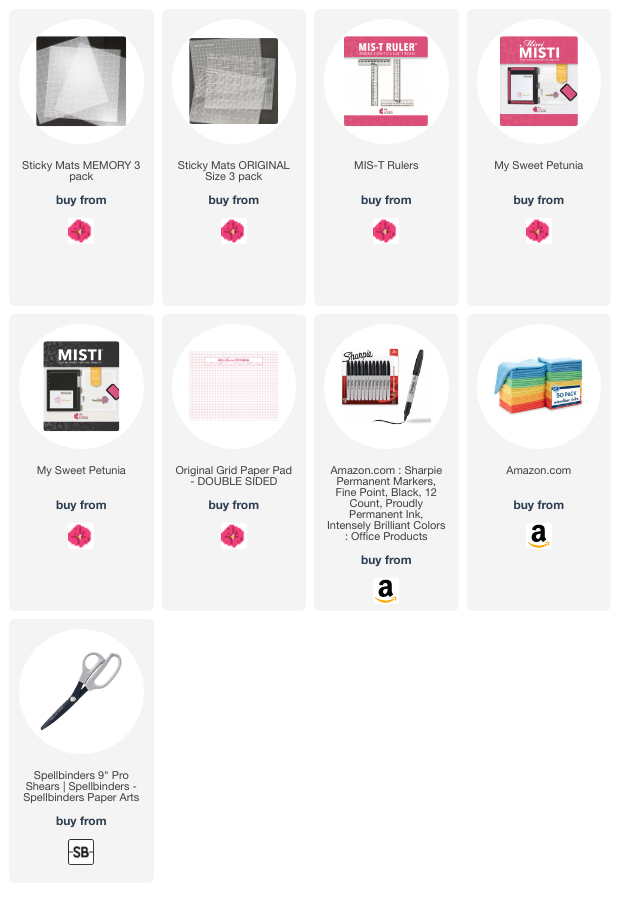
SUPPLY LIST:
**links are affiliate links however there is no extra cost to you for using the links**

Thursday, October 31, 2024

Happy Haunting!

Happy Halloween! I hope you have a safe and sweet Halloween.  

The MISTI is a fantastic tool for everyday stamping and more! It did a spectacular job with the clear, solid stamps I used on this project. 

First, I masked the moon and blended Distress Ink over the entire cardstock. Then I placed a Sticky Mat and my inked cardstock in the MISTI. I positioned the haunted mansion in the center of the cardstock and picked up the stamp with the lid. Clear, solid stamps usually need to be stamped more than once, so I love that the Sticky Mat holds my paper in place for precision stamping every time!  I stamped the bats twice to get a dark impression and added the sentiment!  

Tools used in making this fun Halloween card:


The spooky stamp set is called Happy Haunting.

Thanks so much for looking!  

Tuesday, October 22, 2024

Fantastic Use of the Sticky Mat

 Hello friends, 

I just love my MISTI Sticky Mats for holding in place smaller die cuts, or large pieces of cardstock to stamp a large image.

When your stamp must cover your entire cardstock piece, slip in a sticky mat and you're all set.


In this example, my cardstock is cut at 3-1/4" x 8-1/4" for a slimline layer. The adorable stamp from Trinity Stamps is just slightly larger than this piece of cardstock, leaving no space for the magnet on the cardstock to hold it in place. 

Insert a sticky mat and add your magnet to the sticky mat to hold it in place and you're ready to stamp.


I created this fun card using the Beary Cute Layered Mug die set.


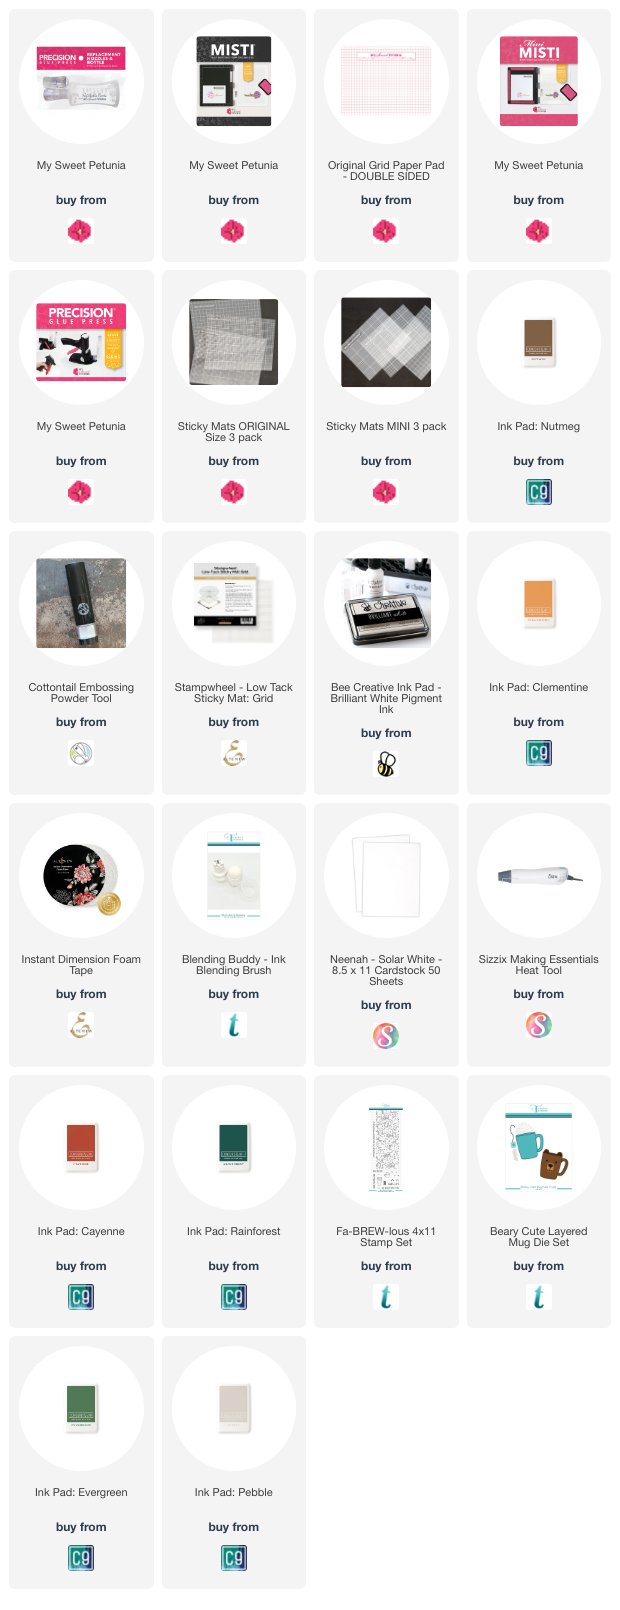
The full product list for this card is below.

Tuesday, September 24, 2024

Lots of Stamping All At Once

 One of my very favorite things about the MISTI is the ability to stamp many images at one time.

For today's cards, I created a fun fall shaker card and a second card using the arch cut out of the gold foil for the shaker card.


I stamped and colored all the pumpkins, wagon and foxes with copic markers. The inside background of the shaker is colored with a very light blue copic marker. All of the copic markers used are listed at the bottom of this blog post.


I hope you're busy making some fun fall shaker cards this season and using the MISTI to stamp all your gorgeous images.


Here is the supply list for these cards:
Copic Colors Used:

Pumpkin YR09, YR04, Y19, Y15, Y13

Main Zinnia Flower R59, R29, R27, R22

Greenery YG95, YG93, YG91

Orange Flowers YR09, YR04, Y38, Y35

Yellow Flowers Y19, Y18, Y15, Y11

Foxes E17, E15, E13, E11

Wagon E49, E37, E35, E33 Wheels and Handle C5, C3, C1

Sky Background B01, B00, B0000

Tuesday, July 30, 2024

Using Creative Corners For Pattern Paper & Sentiment

The Creative Corners from My Sweet Petunia are a fantastic addition to your MISTI collection. I created fun thank you cards for friends featuring pattern paper and a sentiment that I wanted to stamp and share on a diagonal.


Place one of the spacers in the lower corner of the MISTI to cut the pattern paper at the right size and angle. Next, lay the pattern paper against the spacer and lay the creative corner on top of the pattern paper. Make a line with a pencil across the pattern paper. This is the cut line. Cut the pattern paper on the pencil line.


After gluing the pattern paper to the cardstock, lay the entire piece back in the MISTI and place the Creative Corner back on top. Line the sentiment against the creative corner, close the MISTI door, and pick up the stamp. Remove the Creative Corner and stamp the sentiment.


Here are all the fun finished cards. I love how they turned out and I will definitely be using the Creative Corners more often.


Here are the supplies I used for the cards. I could not find the Newton's Nook pattern paper that I used available anywhere.

Tuesday, May 7, 2024

Multiple Tags All At Once

 Today I am sharing the simplicity of stamping multiple projects all at the same time. These cute little die cut tags are from Honey Bee Stamps free"bee" goodies. 

I have several May birthdays to celebrate and I enjoy making my own tags and gift wrapping as often as possible. However, I didn't want to spend hours creating the tags. Simplicity was my goal.


Using the sticky mat in my Original MISTI was the trick to making these tags quick and easy. I lined up all of my tags and then added the sentiments to get everything arranged perfectly.


I stamped the sentiments two times. This is the magic of the MISTI. I was able to stamp these sentiments once and get perfect stamping using my MISTI. 

In just a few seconds I stamped 3 tags. After that, I just decorated them using a few simple elements.


 Here is a list of supplies used for these cute little tags. The dies are not listed because they were a free gift from Honey Bee.

Tuesday, April 9, 2024

Do You Need Two Different MISTI Sizes?

Hello Friends,

I am excited to be back this month to share a fun card with you featuring some beautiful products. 


For this card, I used Copic Markers to color the floral arrangement and the beautiful Lovely Layers Hummingbird. I ink blended in Villainous Potion around the floral arrangement and heat embossed the sentiment in white.


Do you need two different MISTI sizes? Well need is an interesting word. For this card, I stamped my sentiment on the front using my Mini MISTI and it worked great.

However, after I completed the card I realized I wanted to stamp my name on the back of the card. When I tried to do this in the Mini MISTI with the card folded I could tell it was going to be an issue. I had already added the hummingbird and it was popped up on foam tape. 

So Original MISTI to the rescue. All my stamping still came out perfectly.


Here is the supply list for the items I used.


Tuesday, March 12, 2024

Perfect Placement with Perfect Rulers

Using the T-Square rulers from My Sweet Petunia will help you get the masterful placement of your sentiments every single time for all your cards. 


These sweet little love birds are from the Lovely Layers: Love Birds and Lovely Layers: Birdcage and By Your Side stamp set from Honey Bee Stamps.


I used the cute little T-Square rulers from My Sweet Petunia to get the fabulous placement of my sentiment. I measured it to be centered and then used it to be straight.

Did you know you could use the My Sweet Petunia rulers in the MISTI? Pretty cool right?


Tuesday, January 16, 2024

Valentine's Easel Fun Fold Card


Hello Friends,
I am sharing a fun Valentine's Easel Fun Fold Card. The MISTI came in so handy for stamping my penguin and my sentiment. 

This cute little penguin image is from the Flippin Best stamp set by the Pajama Crafter Stamps. 


The best part of stamping your sentiment with the MISTI is perfect placement and perfect images. It really doesn't get any easier or any better.


Thank you for stopping by today and I hope you enjoyed my card.
Here are all the products I used to create this card.


Tuesday, September 26, 2023

How Did We Survive Without The MISTI?

 (All products are linked below using affiliate links )


Hi Friends,
Wendy here. I am so pleased with how this card turned out. The dies and sentiment is from HoneyBee Stamps. 

I stamped the sentiment for this card 3 times... BEFORE I grabbed my MISTI and realized I was having a momentary relapse to archaic stamping days.

When I couldn't get the sentiment to stamp nice and dark and clean and clear I immediately grabbed my Original Black MISTI and bam. Perfect sentiment stamping. 

How did we ever stamp before the MISTI?

AND... How did we ever glue these teeny tiny pieces before the Precision Glue Press? I don't know it's a mystery to me too.


Thanks for checking in and hanging out for a few minutes. I hope you enjoy this card. All the products are linked below.

Hugs

Wendy

www.luvinstampin.com

Tuesday, August 29, 2023

Perfect Sentiment For Fall


I created this cute card using the Fall Foxes stamp set and my Original Black MISTI. One of my favorite things about the MISTI is the etched-in gridlines for the perfect alignment of sentiments.

For the background on this card, I used The Rabbit Hole Designs Clouds In My Coffee stencil. I created the clouds by ink blending in a beautiful blue and then used one of the open cloud cut outs to create the bushes. It's fun to use products in an unexpected way to get more bang for your buck.

I hope you enjoyed this card.

Hugs

Wendy