Showing posts with label spellbinders. Show all posts

Thursday, April 14, 2022

Use Your Sticky Mat to Assemble Die Cuts

Hi everyone!
Ilina here! 
Did you know that you can use your Sticky Mat and MISTI not just for stamping, but also for die cuts. It makes multi layer die cuts so much easier to assemble. 
I put the main layer on my sticky mat and it holds it nice and secure while I adhere the rest of the layers on top. It prevents the base layer for sliding all over the place or moving and it's also great for mass assembling die cuts.

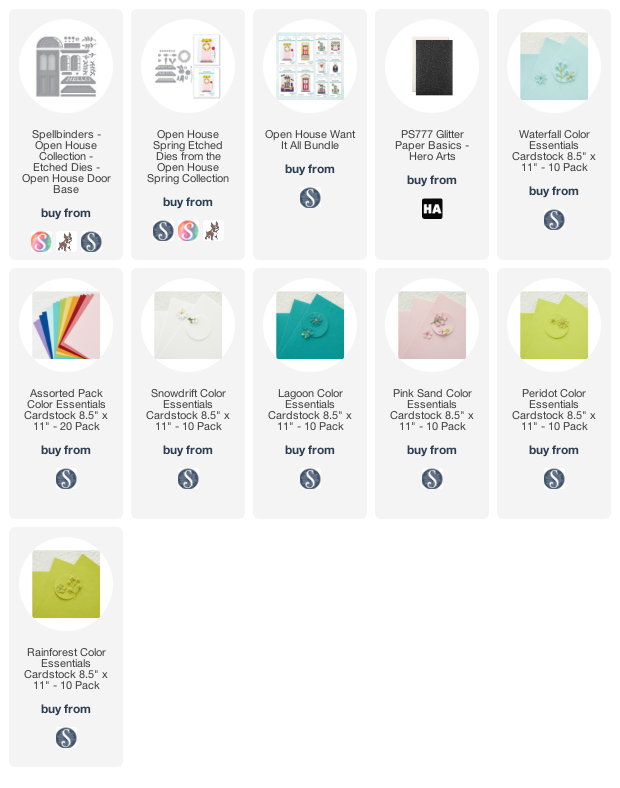
For the card below that is basically what I did, I used the Spellbinders Open House collection (the base door and Spring add ) and die cut all the elements I needed.
Let's be honest, I did die cut way more than I needed. I always do this and then save the extras for later use.
I stuck first the base door to the sticky mat and adhered the layers on top, I did same for the wreath, door mat and the bunny. Once I had all the elements together, I added the wreath to the door (while the door was still on the sticky mat) and then assembled my mini slimline card.
Isn't this bunny just the cutest? And it's perfect for spring! 

 Thank you so much for stopping by. Hope you have an amazing day!

SUPPLIES (affiliate links may be used at no cost to you)
Thursday, September 16, 2021

Bird of the Woods- Mass Producing cards

 Hi everyone! 

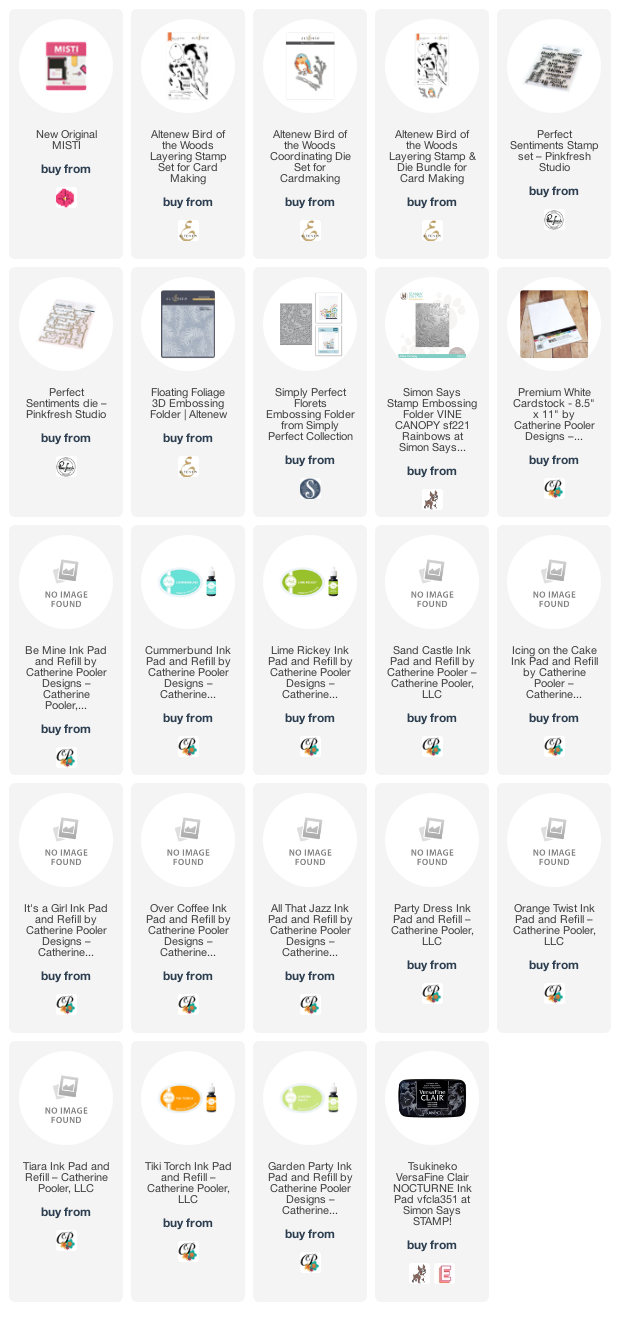
Ilina here. Today I am sharing easy to mass produce super colorful cards. All you need is your layering set, sentiment set, embossing folder, your MISTI and colorful inks.

For my cards I combined products from several companies. 

To make the cards I started by die cutting bunch of bird die cuts from white card stock. I used the Bird of the Woods stamp and die set from Altenew. Next with help of my MISTI and the negative space of one of the die cuts I stamped all the layers on the birds starting with the black outline. 

Once the birds were done I set them aside. For each stamped bird I cut 3 additional die cuts from white card stock that I didn't stamp on. I use these for stacking.

Next I stamped bunch of sentiments from the Perfect Sentiments stamp set from Pinkfresh Studio. Die cut them, along with just plain die cuts (for stacking) and set them aside.

Then using different embossing folders I embossed white panels and cut them to 4" x 5 1/4". 

Adhered the stacked birds and stacked sentiment, then adhered the whole panel to a white note card. I again stacked card stock on the back to add more sturdiness and dimension. But you can use craft foam or foam tape. 

Tuesday, November 5, 2019

Kaleidoscope Snowflakes with Mindy Eggen


Welcome everyone! Mindy Eggen here with you today and I’m excited to share with you some inspiration using the Spellbinders Small Die of the Month for November 2019, the Kaleidoscope Snowflake.
Sign up to be a club member and never miss out on these amazing deals! You can read all about becoming a member (HERE).
VIDEO DETAILS
I have a video creating these two cards that you can view down below or (HERE) on my Youtube channel.
The Kaleidoscope Snowflake Small Die of the Month comes with 7 individual dies. You can use them separately or layer together to create beautiful dimension snowflakes.
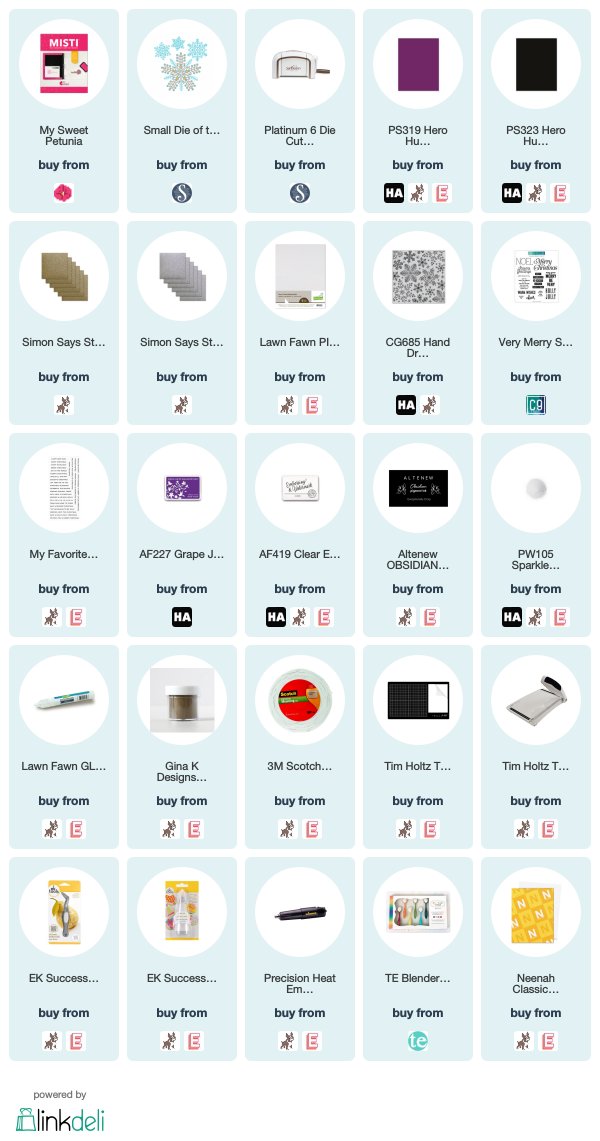
For this first card, I layered together the pieces to create a large snowflake for my card front. I die cut the pieces from Pixie Dust card stock and Gold Glitter card stock and layered together with Lawn Fawn Liquid Glue.
My background is created by stamping the Hand-Drawn Snowflake stamp from Hero Arts onto Plum card stock with embossing ink using my Original Misti. Then heat embossing Sparkle Embossing powder.


I attached my snowflake to the top of the card with liquid glue.
The sentiment is from the Bitty Holiday Wishes stamp set. I heat embossed it in Gold Embossing Powder onto Pitch Black card stock and trimmed down to a thin strip. I attached the sentiment to the center of my snowflake using foam tape.


My next card is featuring the actual snowflake dies from the Small Die of the Month. These can layer together up to 3 times but I only did 2 layers. I die cut the pieces from Pixie Dust card stock and Silver Glitter card stock. Then used my Lawn Fawn Liquid Glue to adhere together.
I created a very simple background for this card which would be really easy to recreate in quantities. I ink blended Grape Juice Ink onto the edges of Plum card stock using a blending brush.
Then added my snowflakes to the card front with liquid glue.
The sentiment is from the Very Merry Sentiments from Concord & 9th. I stamped the sentiment in Altenew Obsidian Ink using my Misti tool and then trimmed them down into individual strips. I love the look of the labels.
I attached foam tape to the back of each strip and added to my card front.


Can I say I am really loving this Plum card stock from Hero Arts! Such a unique color for Holiday cards!
I hope you enjoyed today’s inspiration!


SUPPLIES

Below you will find links to the new release. Click the icon to start shopping. Compensated Affiliate links are used at no additional cost to you. Your support helps me to keep bringing you new projects and videos. Thank you!