Showing posts with label Gina K. Designs. Show all posts

Wednesday, August 9, 2023

Awesome Friend!

(Our team uses affiliate links)


Hey y'all and welcome to another edition of eam tuesday!

Today I am sharing a card using a new kit by Gina K Designs that the Sticky Mat is a necessity when making this card.
I started with a top folding white A2 card base and a white panel. I placed the Sticky mat inside of the Original Misti and then the panel of white cardstock, I used a stencil to create the background. 
I stamped the butterflies on a separate piece of cardstock, then used the stencil to color them and cut them out with the coordinating die. 
I also use this tip with every card I make. I take out the foam piece and place the card base in the corner of the Misti and this helps me be able to place the panel on straight. 


Here is a list of supplies I used which includes affiliate links. 

Tuesday, February 21, 2023

Team Tuesday with Gina K Designs

 This post uses affiliate links 

Hello everyone!
It's Ceal, here with another edition of Team Tuesday! 
Today I am playing with some Gina k Designs products with my MISTI.

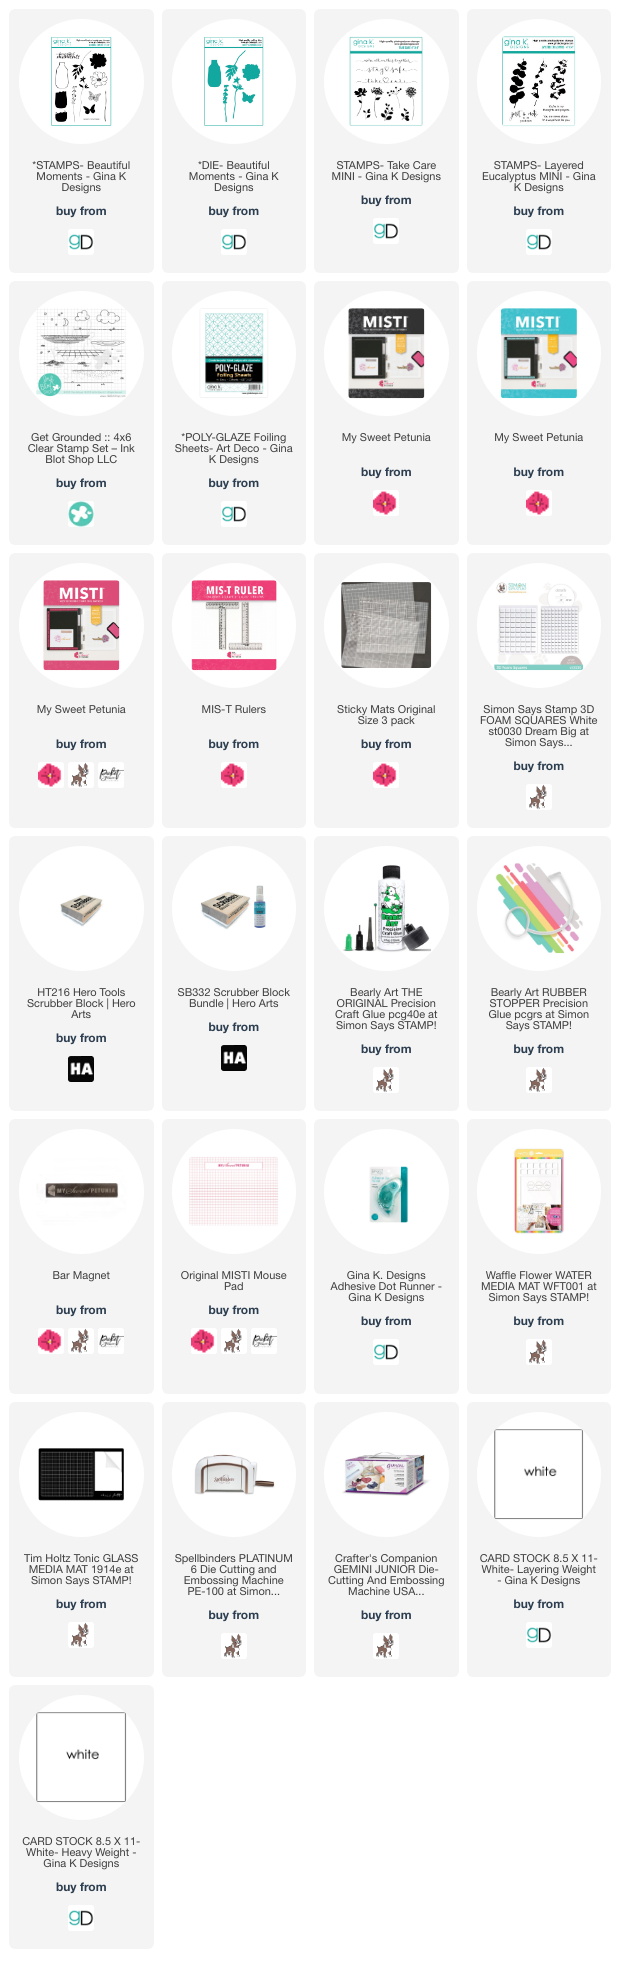
To make this card I started with a white top folding card base and a white panel. I placed a panel of the new Poly Glaze foiling sheets in the Original MISTI and stamped the vase on it and then ran it through the Minc. Next I placed the vase die cut on the sticky mat and stamped the water and the stems. 
To finish the card I made a table on the white panel by using a set by Ink Blot Shop and added the stems and then placed the vase down.  


Look how shiny! 


Wednesday, November 2, 2022

Winter Scene With Ceal Pritchett


Hello Everyone!
It's Ceal, here on a wednesday for Team Tuesday. Today I am sharing this card made using my new Teal and Black Mistis, Sticky Mats and products from three different companies and all will be linked below as our team uses affiliate links at no extra cost to you but when used they help create a little revenue for us.

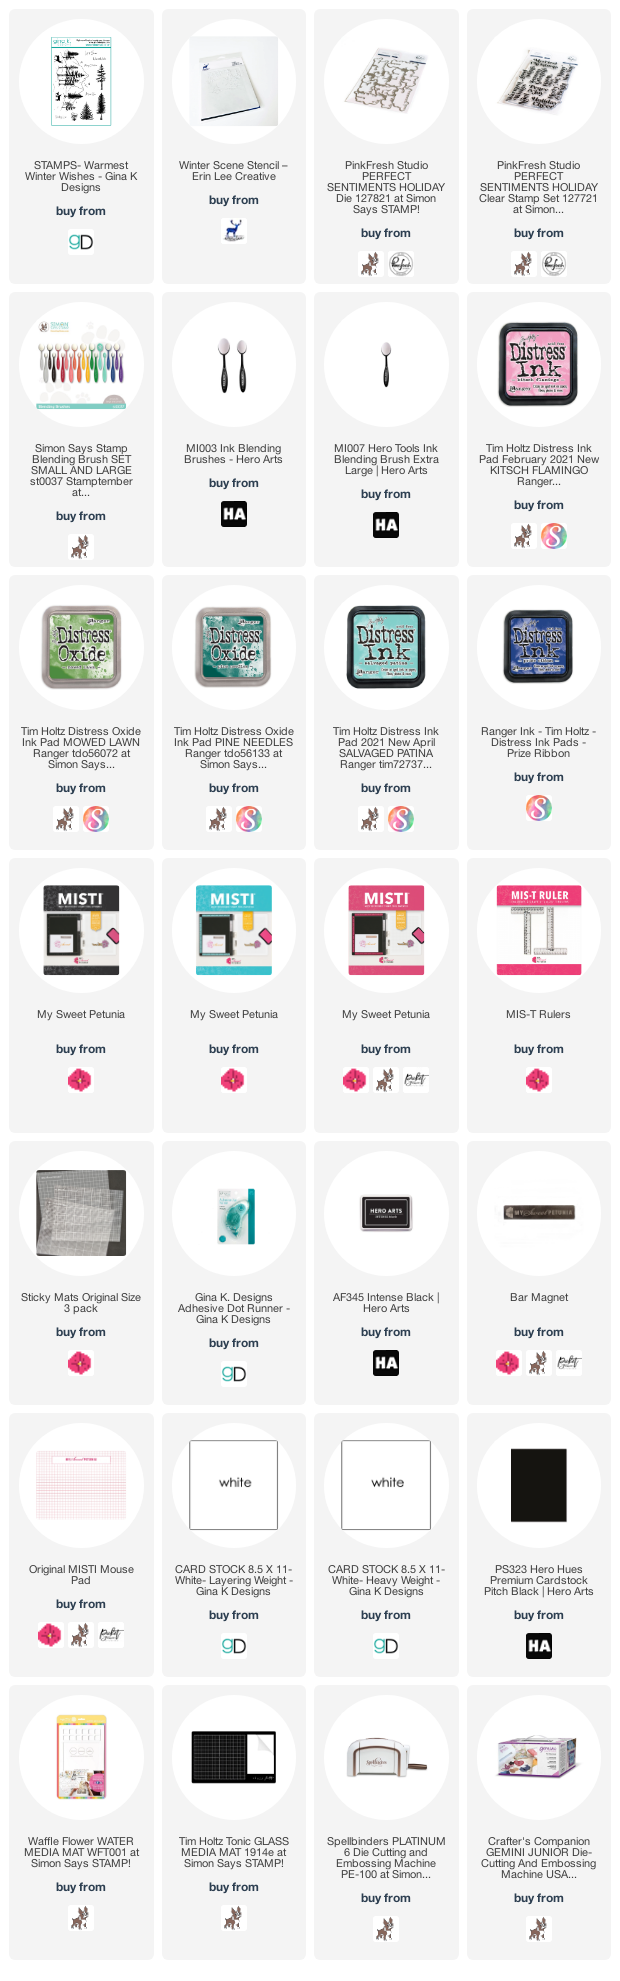
For the details of my card I started with a white top folding card base and a white panel. I placed the panel down on a sticky mat and then added ink, The sticky mat holds the panel in place while you blend. I did this for all six stencils. 
After I got it all blended I used a stamp set by Pinkfresh Studio set for the greeting that I received in a retreat I participated in so it may not be available to the public yet but I linked another that is close it. I embossed the greeting in silver powder and then cut it out with the coordinating die. 
The deer is from a Gina K Designs set and was stamped multiple times using the Misti to get good coverage since I had ink blended the tree first. Seems like the set I used with the deer has been discontinued  but I linked another that was close to it. 


Tuesday, August 9, 2022

Ink Blending, Silhouettes and Sticky Mats


Hello and welcome to Team Tuesday! 
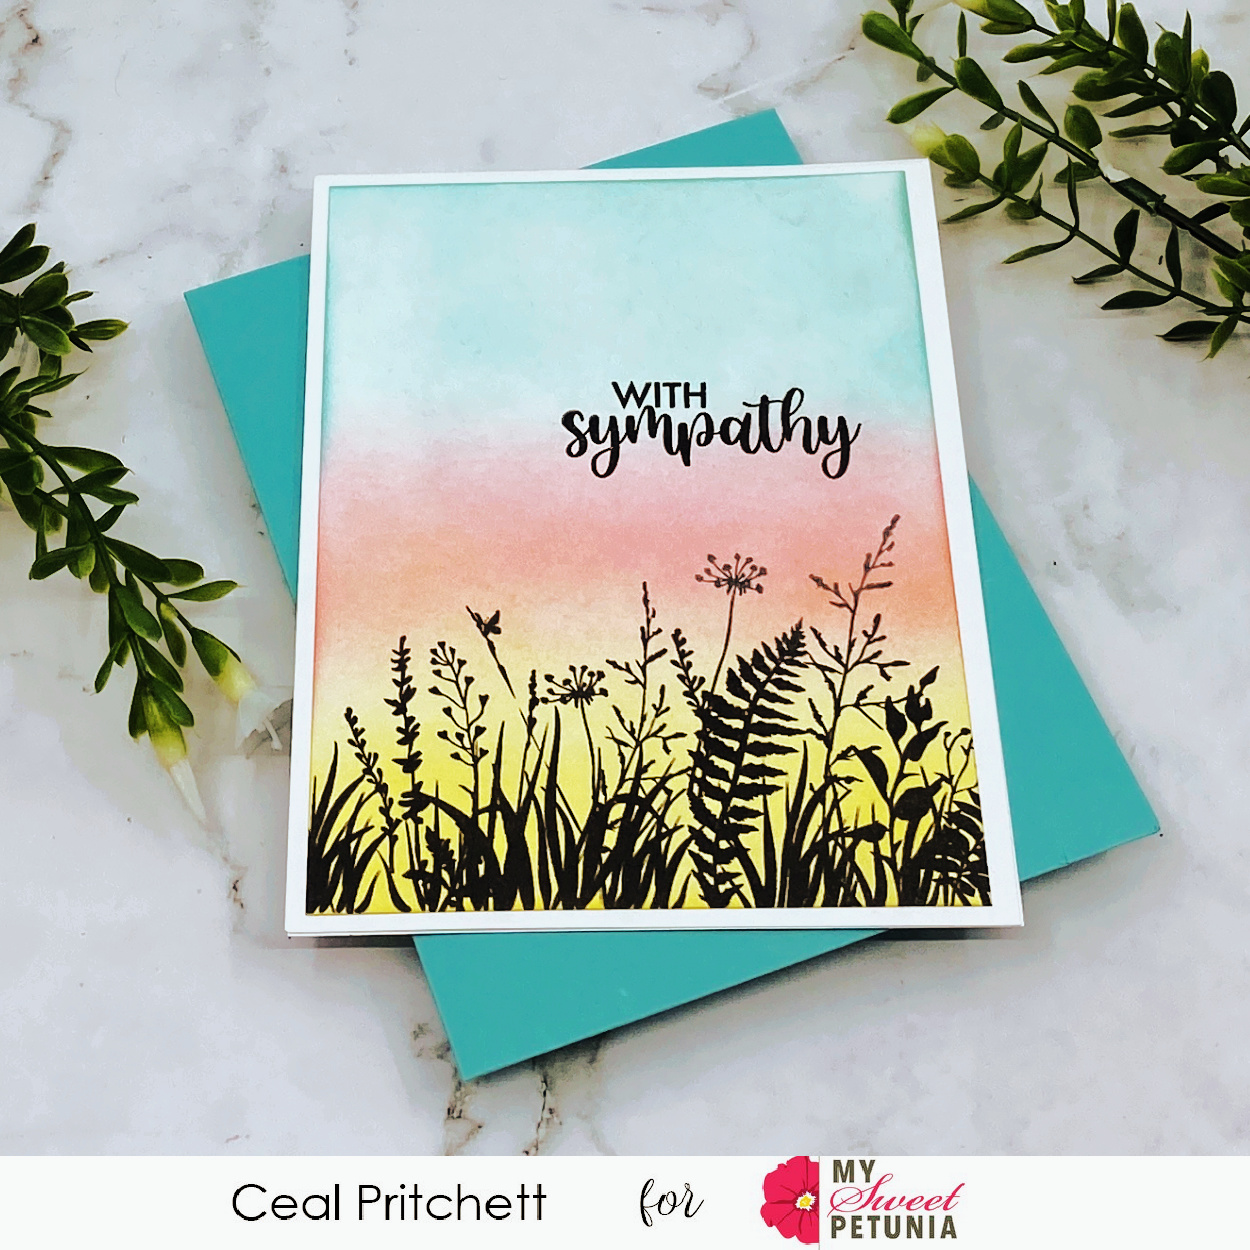
It's Ceal, here and today I am sharing a sympathy card made with a couple of sets by Gina K Designs. 
Sympathy cards can be very hard to create because of the nature of the card itself.
The Summer Silhouettes set by Gina K to me makes a pretty sympathy card, in fact I think any floral silhouette would make a pretty sympathy card. 
To make this card I started with a top folding white card base and a white panel.
I got out my Original Misti and a sticky mat that I have designated for ink blending. 
When you order the sticky mats you get three in the package and I have one of them that I ink blend on because it holds your paper and you don't have to worry about inky fingers. 
I placed the blended panel in the Misti and stamped the silhouette. I always use the Misti for silhouette stamping because if I used a block there is no way I could line it back up to stamp it again if I needed to, which is usually the case because of the blending.
To finish the card I added the sympathy greeting from the sympathy and love set also by Gina K. 

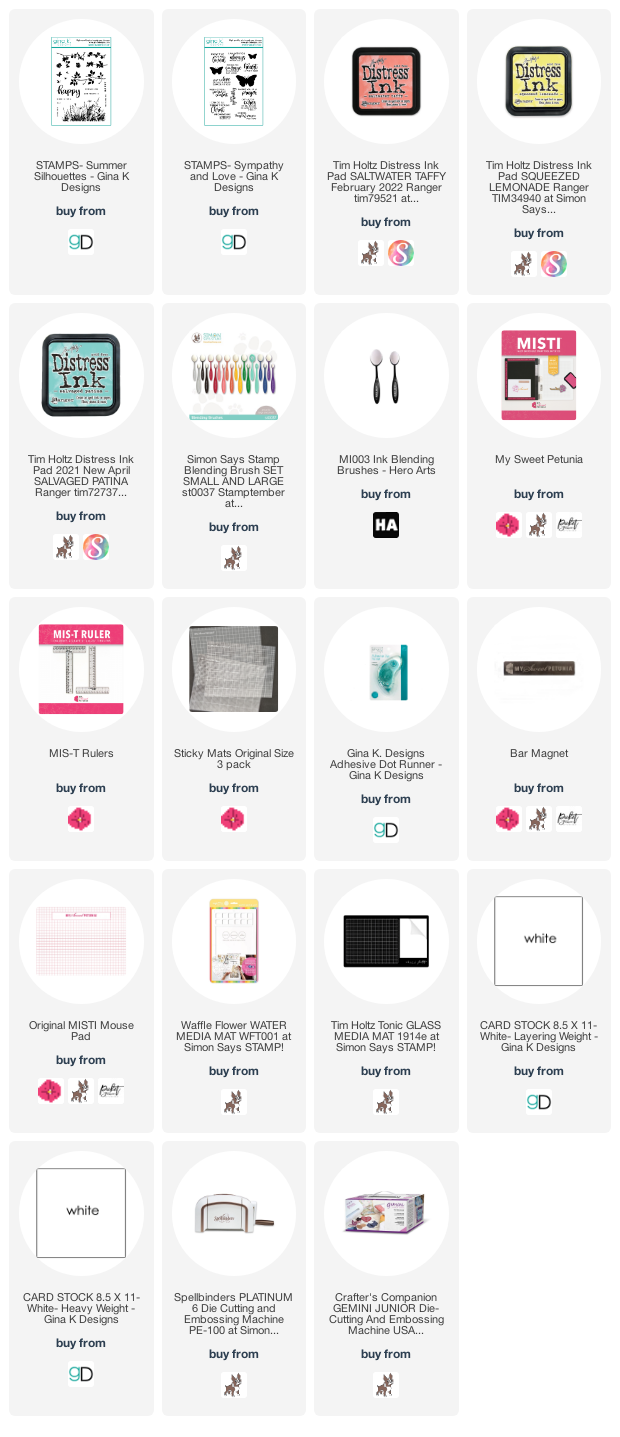
I have linked all the products below using compensated affiliate links at no extra cost to you. 


Below you will find links to the products used. Click the picture to start shopping. Compensated Affiliate links are used at no additional cost to you. Your support helps me to keep bringing you new projects and I appreciate that so much!  

Thank you! 

Tuesday, July 13, 2021

Sending Love


Hey Y'all!
It' Ceal, here. For today's edition of Team Tuesday I am sharing a mini slim card using a Simon Says Stamp set, Spring Bouquets. 

To create this card I placed the stamp in the Original Misti and stamped the image with a black hybrid ink, then colored it using alcohol markers.  I left the stamp in the Misti so when I was done coloring I could overstamp it with embossing ink. 
When using alcohol markers you do not want to emboss first because when you color it will mess up the nib of your marker. This is another reason to have a Misti stamping tool, I don't know what I would do without it. 


Supplies are pictured below along with affiliate links with no additional cost to you but a small commission for me. thank you for your support! 


Tuesday, February 23, 2021

Team Tuesday with Ceal


\

Hey Y'all!
It's Ceal, here. Today I am sharing a card where the MISTI is a must have. 
Today I am sharing a card that uses a technique that I learned a few years ago when I took Kathy Racoosin's class at Junkiefest. 


To create this card, I started with a white top folding card base and a white express it panel for the copic coloring. 
I placed the stamp in the Original MISTI and stamped the floral image from the Wild Peonies set by Picket Fence Studios in Prickly Pear ink by Gina K Designs. I left the stamp in the MISTI because I will need to stamp again after I finish the coloring.
I colored my entire panel except the flowers with Copic markers in RV14, RV17 and RV19 to get the ombre' effect. 
Next using a small piece of terry cloth and some Copic colorless blender I picked up some of the ink all over the panel to get the texture, then placed the panel back in the misti and over stamped the peonies with embossing ink and embossed them with gold powder. 
To finish the card I cut the Hello out of gold foil paper and placed it on a vellum backing and adhered to the front of the card. 


Supplies: Compensated links at no extra cost to you

Tuesday, November 3, 2020

Team Tuesday and a Winner


Hello everyone! 
It's Ceal here for today's edition of Team Tuesday.
First up let me announce our winner from the collaboration bloghop with Dare 2B Artzy. Drum roll please, the $20 gift card winner to the My Sweet Petunia shop is....
Mary-Ann V
Be sure to contact info at my sweet  petunia. com to claim your prize. The sale code Fall10 is still active until Novenmber 8th so feel free to shop at both shops using that code for 10% off your order.

Now for the deets on my card. I used the Fresh Flowers stamp set illustrated by Arjita Singh for Gina K Designs from her latest release. I received this in the mail yesterday and had to immediately ink it up because it's so gorgeous.
I started with a top folding piece of bristol cardstock, a black panel and a bristol panel. I placed the poinsettia image in the Misti and inked it using embossing ink and embossed it with gold embossing powder. I pretty much use the Misti with every card I create, but I always, always use the Misti when I am embossing ot watercoloring becuase of the texture of the cardstock. I used Karin Markers to watercolor the image and then added some gold splatters as well. The sentiment is also from the same set. I embossed it with gold embossing powder and adhered it to a black strip of cardstock, I used the Cut-Align to help cut the strip to the correct size. 


Below you will find links to the products used. Click the picture to start shopping. Compensated Affiliate links are used at no additional cost to you. Your support helps me to keep bringing you new projects and I appreciate that so much!  
Thank you!


Thursday, June 18, 2020

Shine! Wreath Builder

Welcome everyone! Mindy Eggen here today to share a colorful card using the Mini Wreath Builder from Gina K Designs!

I love using the Wreath Builder to make cards because it's so easy to use and very relaxing. I'm using the new Let's Celebrate stamp set from Gina K Designs. I fell in love with this small grouping of stars and stamped them in a variety of colors.

I matted my panel with black card stock and added to a small 3″ x 3″ notecard.
I wanted to fill in the card a little more so I added Angel Aura Rhinestones in between the larger stars.


Creating these little notecards are great because they are a perfect size to stuff in your purse if you want to hand some out. I know there are plenty of times I wish I would have had a card with me to give someone who looks like they need a smile.
I hope you enjoyed today’s inspiration!

SUPPLIES


Below you will find links to the products used. Click the icon to start shopping. Compensated Affiliate links are used at no additional cost to you. Your support helps me to keep bringing you new projects and videos. Thank you!


Tuesday, April 21, 2020

Team Tuesday with Ceal: Healthcare Heroes

Hello everyone!
It's Ceal, here to share with you today.
Our small group usually visits a local nursing home once a month. Since the whole social distancing thing, we haven't been able to go and the activities director told us that they miss us terribly. So what we decided to do was to dress silly (not as clowns, because clowns are creepy) and make signs to hold at their windows to let the know they are loved and we miss them too.
They absolutely loved it, by the second window everyone was either standing or sitting by their window smiling and waving. It's the little things yall. 
no worries there weren't that many of us and we stayed over 6 feet apart going from one window to the next.
I should have taken pictures to insert here so I'll insert another one of the cards


I got to thinking that lots of cardmakers (including myself) are making cards to be sent to hospitals, well the people that work here at the nursing home are on the front lies as well so I decided to make them a card to say thanks. 
This is when you are so thankful for Iliana inventing the Misti.
 I had 130 cards to make so I made a simple design that could be mass produced. After I got done with the stamping I thought they needed a bit of color. Not only can you use the Misti for stamping but also for stenciling. I placed the stencil in the corner of the Misti and taped it down and then just placed my card under the stencil and added color with the Life Changing Blender Brushes.
I used a stamp set that I earned free by taylored Expressions and several stencils and the Life Changing Blender Brushes by Picket Fence Studios.


Tuesday, March 24, 2020

Team Tuesday with Mindy Eggen: Stamping Die cuts


Welcome everyone! It's Mindy Eggen here with you today to share a bright and glittery project with you today.

I'm working with the new Neon Glitz Glitter Gel from Rina K Designs and Thermoweb and how to use them on dark colored card stock.

I have a video that you can view down below or HERE on my Youtube channel.


Since these images have multiple layer to them, I die cut the images first. I then used the Misti to stamp my layers in a variety of Neon colors. In the video I only show a couple of the popsicles but when I really sit down to play, I stamp a TON of these all at once. 


Be sure the watch the video on all the tips and tricks on applying the glitz glitter gel to dark cardstock. 


I tied everything together by stamping a sentiment in an embossing ink and heat embossing with white embossing powder. 

Below you will find links to the products used. Click the icon to start shopping. Compensated Affiliate links are used at no additional cost to you. Your support helps me to keep bringing you new projects and videos. Thank you!


Tuesday, December 10, 2019

Team Tuesday with Mindy Eggen!

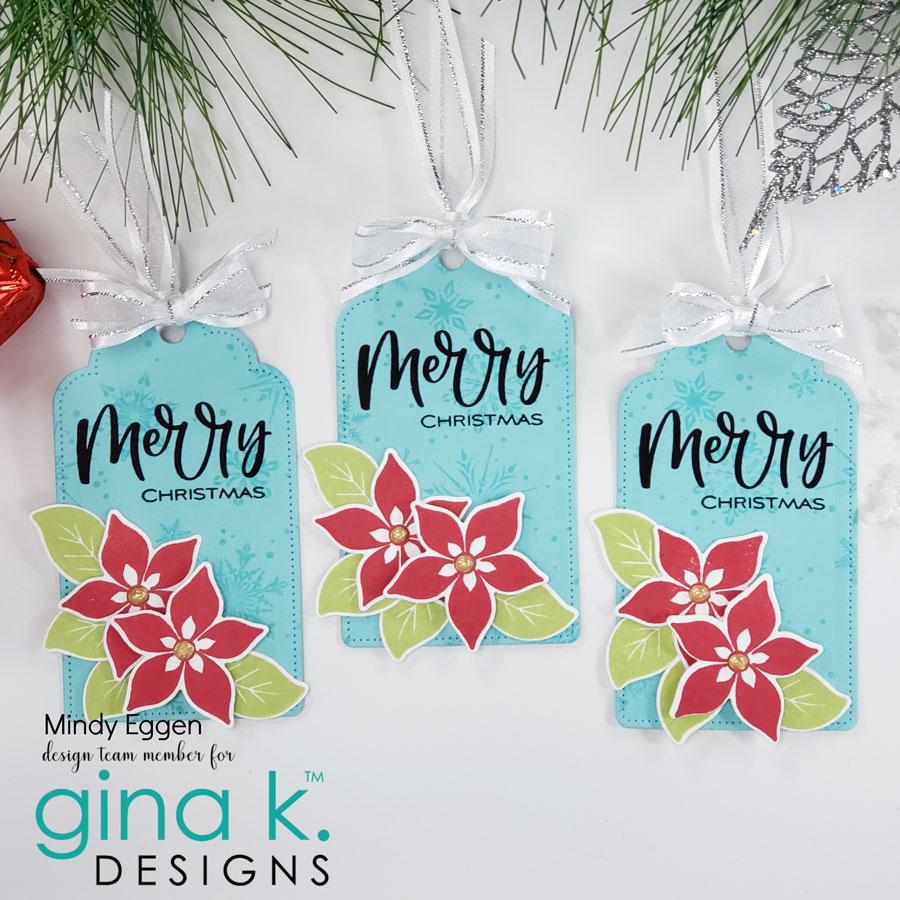
Welcome everyone! I'm hosting the December 2019 Challenge over at Gina K Designs and the challenge this month is... Tag! You're It! Sounds fun right?!

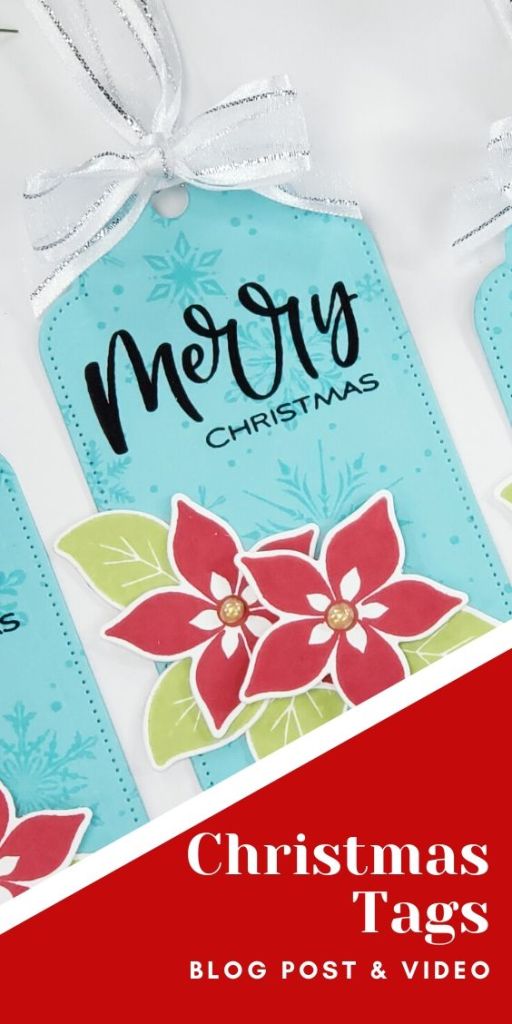
All you need to do to enter is create a tag. That's it! It can be any theme. I happen to create some Christmas tags but feel free to use whatever Gina K Designs products you have on hand.

VIDEO DETAILS


I have a video showing how I created my tags that you can view down below or HERE on my Youtube channel.


CARD DETAILS


For my cards, I'm stamping the Delicate Snowflake Background stamp onto Sea Glass cardstock using Turquoise Sea ink with my Misti Tool.


I die cut out my tags using the Decorative Tag die.


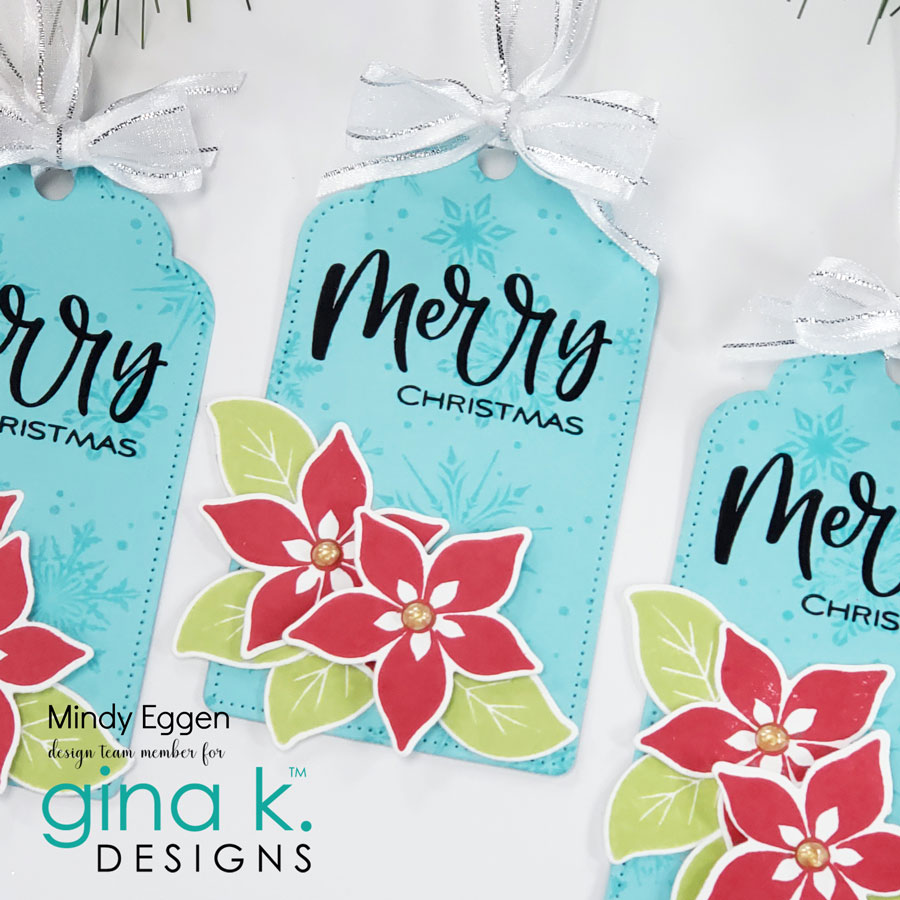
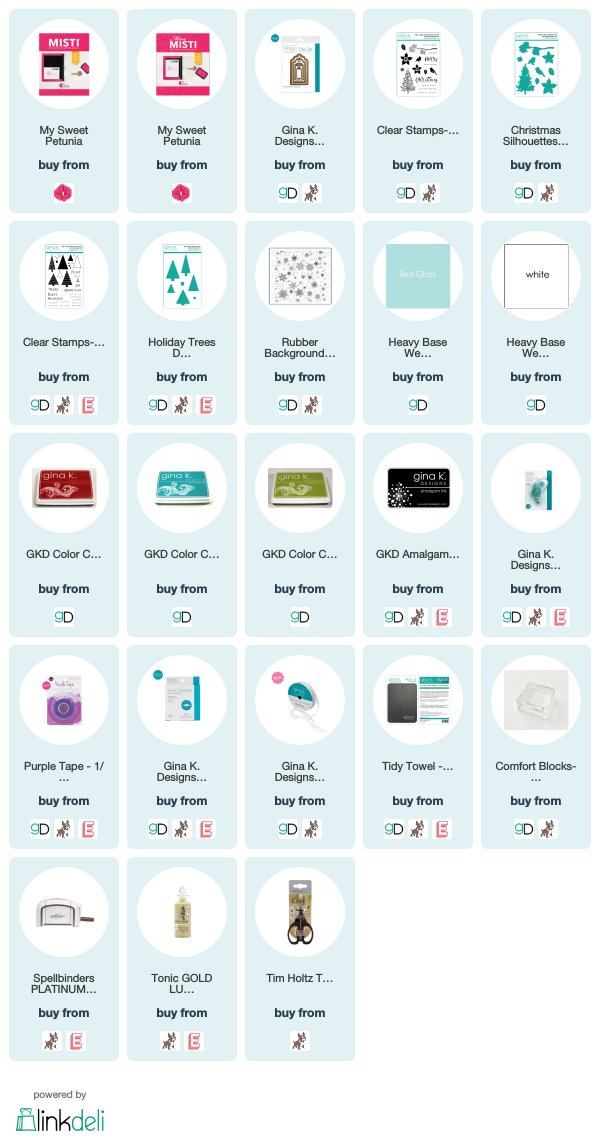
On White Heavy Base Weight cardstock, I stamp the flowers from the Christmas Silhouettes stamp set using Cherry Red and Jelly Bean Green Ink. I use the coordinating die to cut out my images. The Misti is so helpful when I need to stamp multiples of the same image. I do a type of assembly line when stamping.


Before attaching my images, I'm going to stamp my greeting in Obsidian Black ink. I use the "Merry" from Christmas Silhouettes and the "Christmas" from Holiday Trees.


After stamping my greetings, I can attach my images using a dot runner.


I'll add the Sheer Satin Fancy Ribbon to my tag. If you haven't checked out this ribbon, I highly recommend it. It's gorgeous and perfect for tags!


I finish off my tags by adding Dream Drops in Gold Luxe to the centers of my flowers.

I hope you'll join us this month! Be sure to head over to the Gina K Designs Blog to find out how to link up your project and be eligible to win a gift certificate to the Gina K Designs store!

SUPPLIES


Tuesday, September 24, 2019

Team Tuesday with Ceal


Hello Everyone!
It's Ceal, here to share with you today for Team Tuesday. Yesterday was officially fall and fall means it's sweater weather and I love it. 
I thought it would be appropriate to use the Sweater Weather Turnabout by Concord & 9th for my cards. 
The turnabout stamps were created specifically with the MISTI in mind and I love them. Now they also come with an alignment sheet so no more drawing the X on the back of your stamp and it also makes it super easy to line up. 
Even though I used the same stamp, both my cards have a totally different look. 

My first card I placed the Sweater Weather Turnabout in the Original Misti and a stamped it all four turns in Gina K Designs Chocolate Truffle Amalgam ink and then colored it alcohol markers. I used the Large Turnabout Jig to hold my paper. I used the coordinating dies for the greeting and the other elements. 


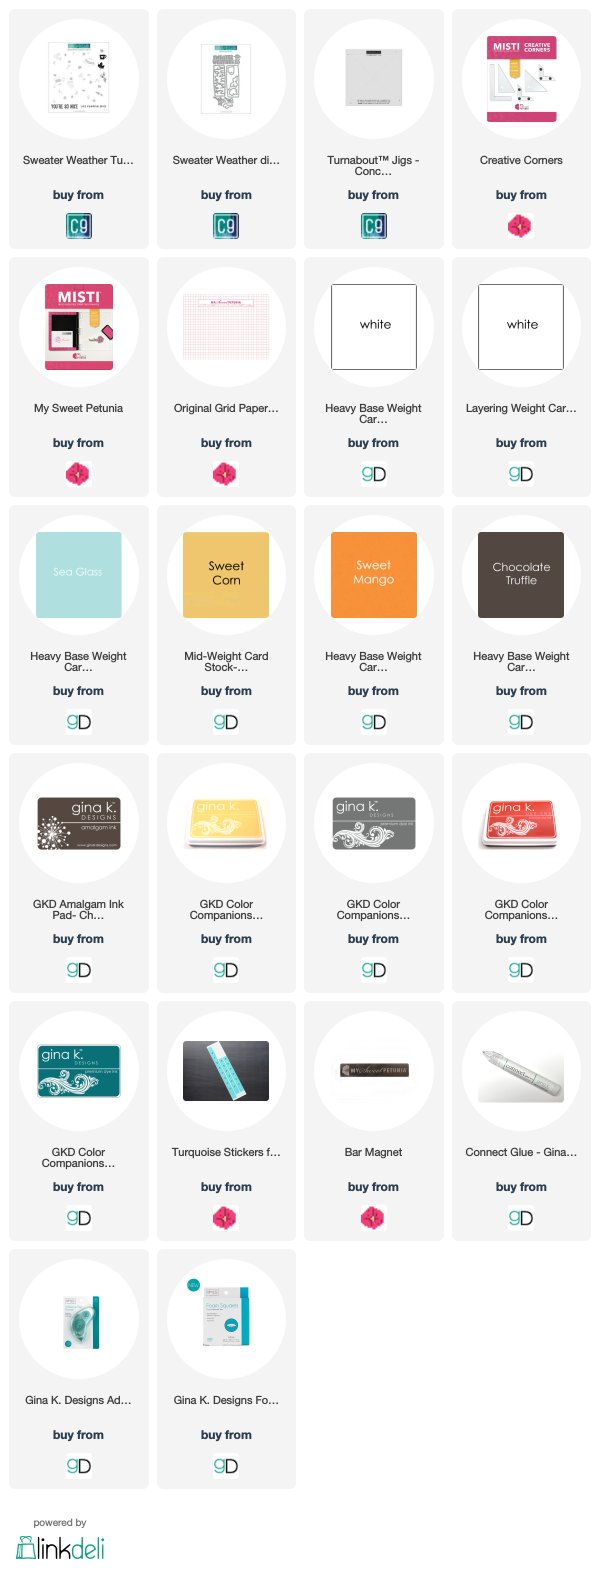
I created the second card the same as the first but I stamped the Sweater Weather Turnabout four turns in different colors, Sweet Corn, Soft Stone, Faded Brick and Tranquil Teal All by Gina K Designs. This time I stamped a greeting that is also in the set and used the ruler from the Creative Corners to line it up and the coordinating dies to cut it out. 


Tuesday, August 27, 2019

Team Tuesday with Stephanie - Stencil Masking

Today I'm sharing some cards using my Memory MISTI and products from Gina K. Designs.

But first ... drum roll ... the winner of the $50 My Sweet Petunia Gift Certificate from the My Sweet Petunia and Sweet 'n Sassy Stamps Blog Hop is ... Tanya Terrones with this comment


Great masculine feel for the card. I like the texture stamps.
Tanya - e-mail your information to hello@mysweetpetunia.com

Here is the first one featuring a masked stencil technique


I started by cutting one of the Ovals from Gina K. Designs Oval Dies using Gina K. Designs Masking Magic, which has the perfect thickness and adhesive to make this technique flawless.  I find my Memory MISTI to be perfect for techniques like this one.


Next I adhered the mask to my my stone cardstock and then attached the Gina K. Designs Water Droplets Stencil using Pixie Spray (seriously this stuff is magic for stencils).


Next, I pulled out my Life Changing Blender Brush and three shades of Gina K. Designs Dye Ink - Blue Denim, Tranquil Teal & Turquoise Sea


I randomly applied the colors (I just used the same brush for all three) until I got the depth I wanted, then I removed the stencil and then removed the mask.


One more little trick with my MISTI ... I like to use the lines on the mouse pad to help me line-up embellishments like these gorgeous Love from Lizi Peel Off stickers that I added to finish the card.  I lined the largest one on the left line of the black ... the smallest on the right side of the block ... and then positioned the middle side between the two.

The sentiment is from the Gina K. Designs Have Faith Stamp Set stamped in Blue Denim Ink.


I re-used the same Masking Magic Oval for my second card.  It features the same technique, but this time I used Glitter Glitz Gel instead of ink.


Here was the look after removing both the stencil and the mask (I just used the blade of my craft knife to pry it up).  I combined Turquoise Sea and Grass Green Glitz Glitter gels, overlapping them on the corners using the Gina K. Designs Lovely Lace Stencil.


Seriously ... doesn't that gorgeous sparkle make you happy?  Stamped another sentiment from the Gina K. Designs Have Faith Stamp Set in the masked area.


I hope today's tutorial gave you some masking ideas ... I can't wait to see what you create.


Stephanie Severin