Showing posts with label Catherine Pooler designs. Show all posts

Thursday, December 22, 2022

Make it Happy

Hi everyone!
Ilina here! I can't believe it's almost Christmas and also the end of the year! 
Today I am sharing a cheery card using the Cracking good stamp set and coordinating dies from Catherine Pooler Designs. 
This set is perfect to make New Years cards!!! I also used a coordinating paper pad called Snap Crackle Pop for my background.


To make the card, start by die cutting and stamping bunch of firecrakers:
  • die cut the fire crackers from white cardstock. 
  • Die cut a negative from contrasting color (I usually use black, navy, dark green etc) to use it as a template. 
  • Place sticky mat in your MISTI and place your template for the die cuts. Make sure it's nice and secure. Put a bar magnet to keep the sticky mat in place
  • Remove all the stamps from the printed acetate sheet (the sheet with the stamp images)
  • Place one of the white die cuts into the template. 
  • Position the stamp acetate sheet over it to line up the image with the die cut. Secure in place.
  • Line up the stamp on top. Close the door of the MISTI to pick up the stamp. 
  • Remove the acetate sheet and stamp :) 
  • Repeat for all the images 
Next die cut a rectangle from the Ruffles and Dashes die set. Arrange firecrackers, adhere with foam tape and trim off the excess. Die cut a ruffled rectangle , to use as a mat for the firecrackers panel. Adhere them together.
Stamp sentiment in black and trim to a strip. Adhere to one of the firecrackers using foam tape. 
Cut patterned paper panel measuring 4" x 5 1/4" and adhere the stamped panel to it in an angle. Trim the excess and adhere to a top folding note card! 


You are DONE ;) 

All supplies are listed at the bottom. (affiliate links may be used at absolutely no cost to you)

 Thank you so much for stopping by! Hope you have an amazing day! 

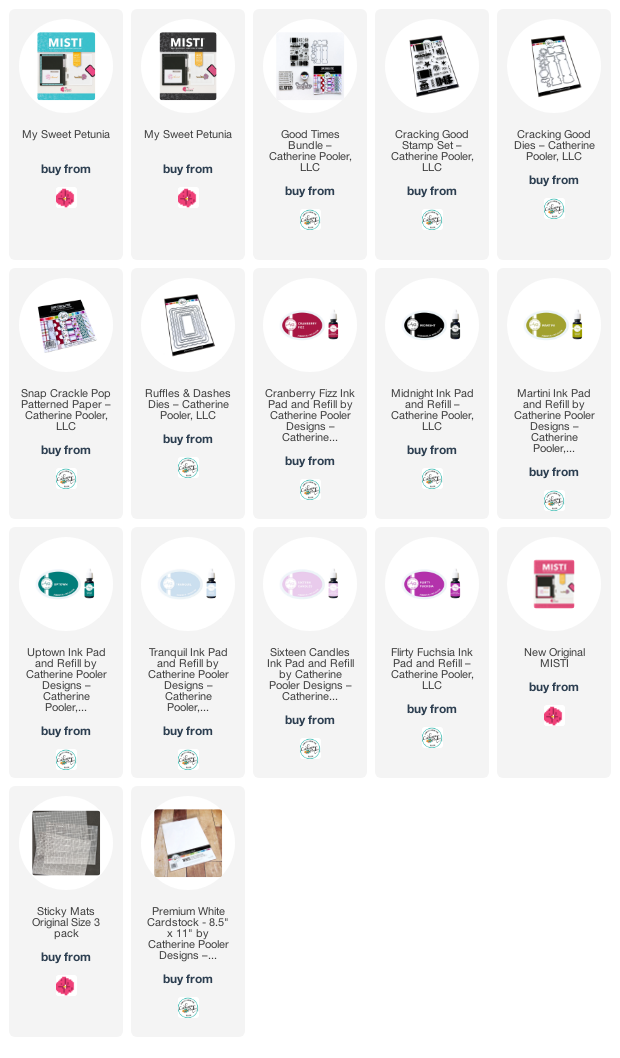
SUPPLIES (Affiliate links may be used at absolutely no cost to you)
Wednesday, September 7, 2022

Happy Birthday Sweetie Pie

Hi everyone!
Ilina here! I am excited that we are heading into fall and pie season, which for me means cooler weather. You may think it's a blasphemy, but I am not really a pie person in real life. I love pies on my cards, but not so much eating them. 
When I saw Catherine Pooler's set Pie Day I knew I had to have it. 
I used my MISTI to create a pattern of pies on an A2 white cardstock panel. Once I was done I trimmed it to 4" x 5 1/4" 
Next, stamped sentiment on brown cardstock and embossed it in white. Trimmed it to size and using foam tape added it to my panel. Next I added some Mazaltan sequins and adhered the panel to a top folding white note card. I was done!!! 
Scroll down for list of supplies (affiliate links may be used at absolutely no cost to you!)

 SUPPLIES (affiliate links may be used at no cost to you)

Thursday, May 26, 2022

Thank You Berry Much


Hi everyone,
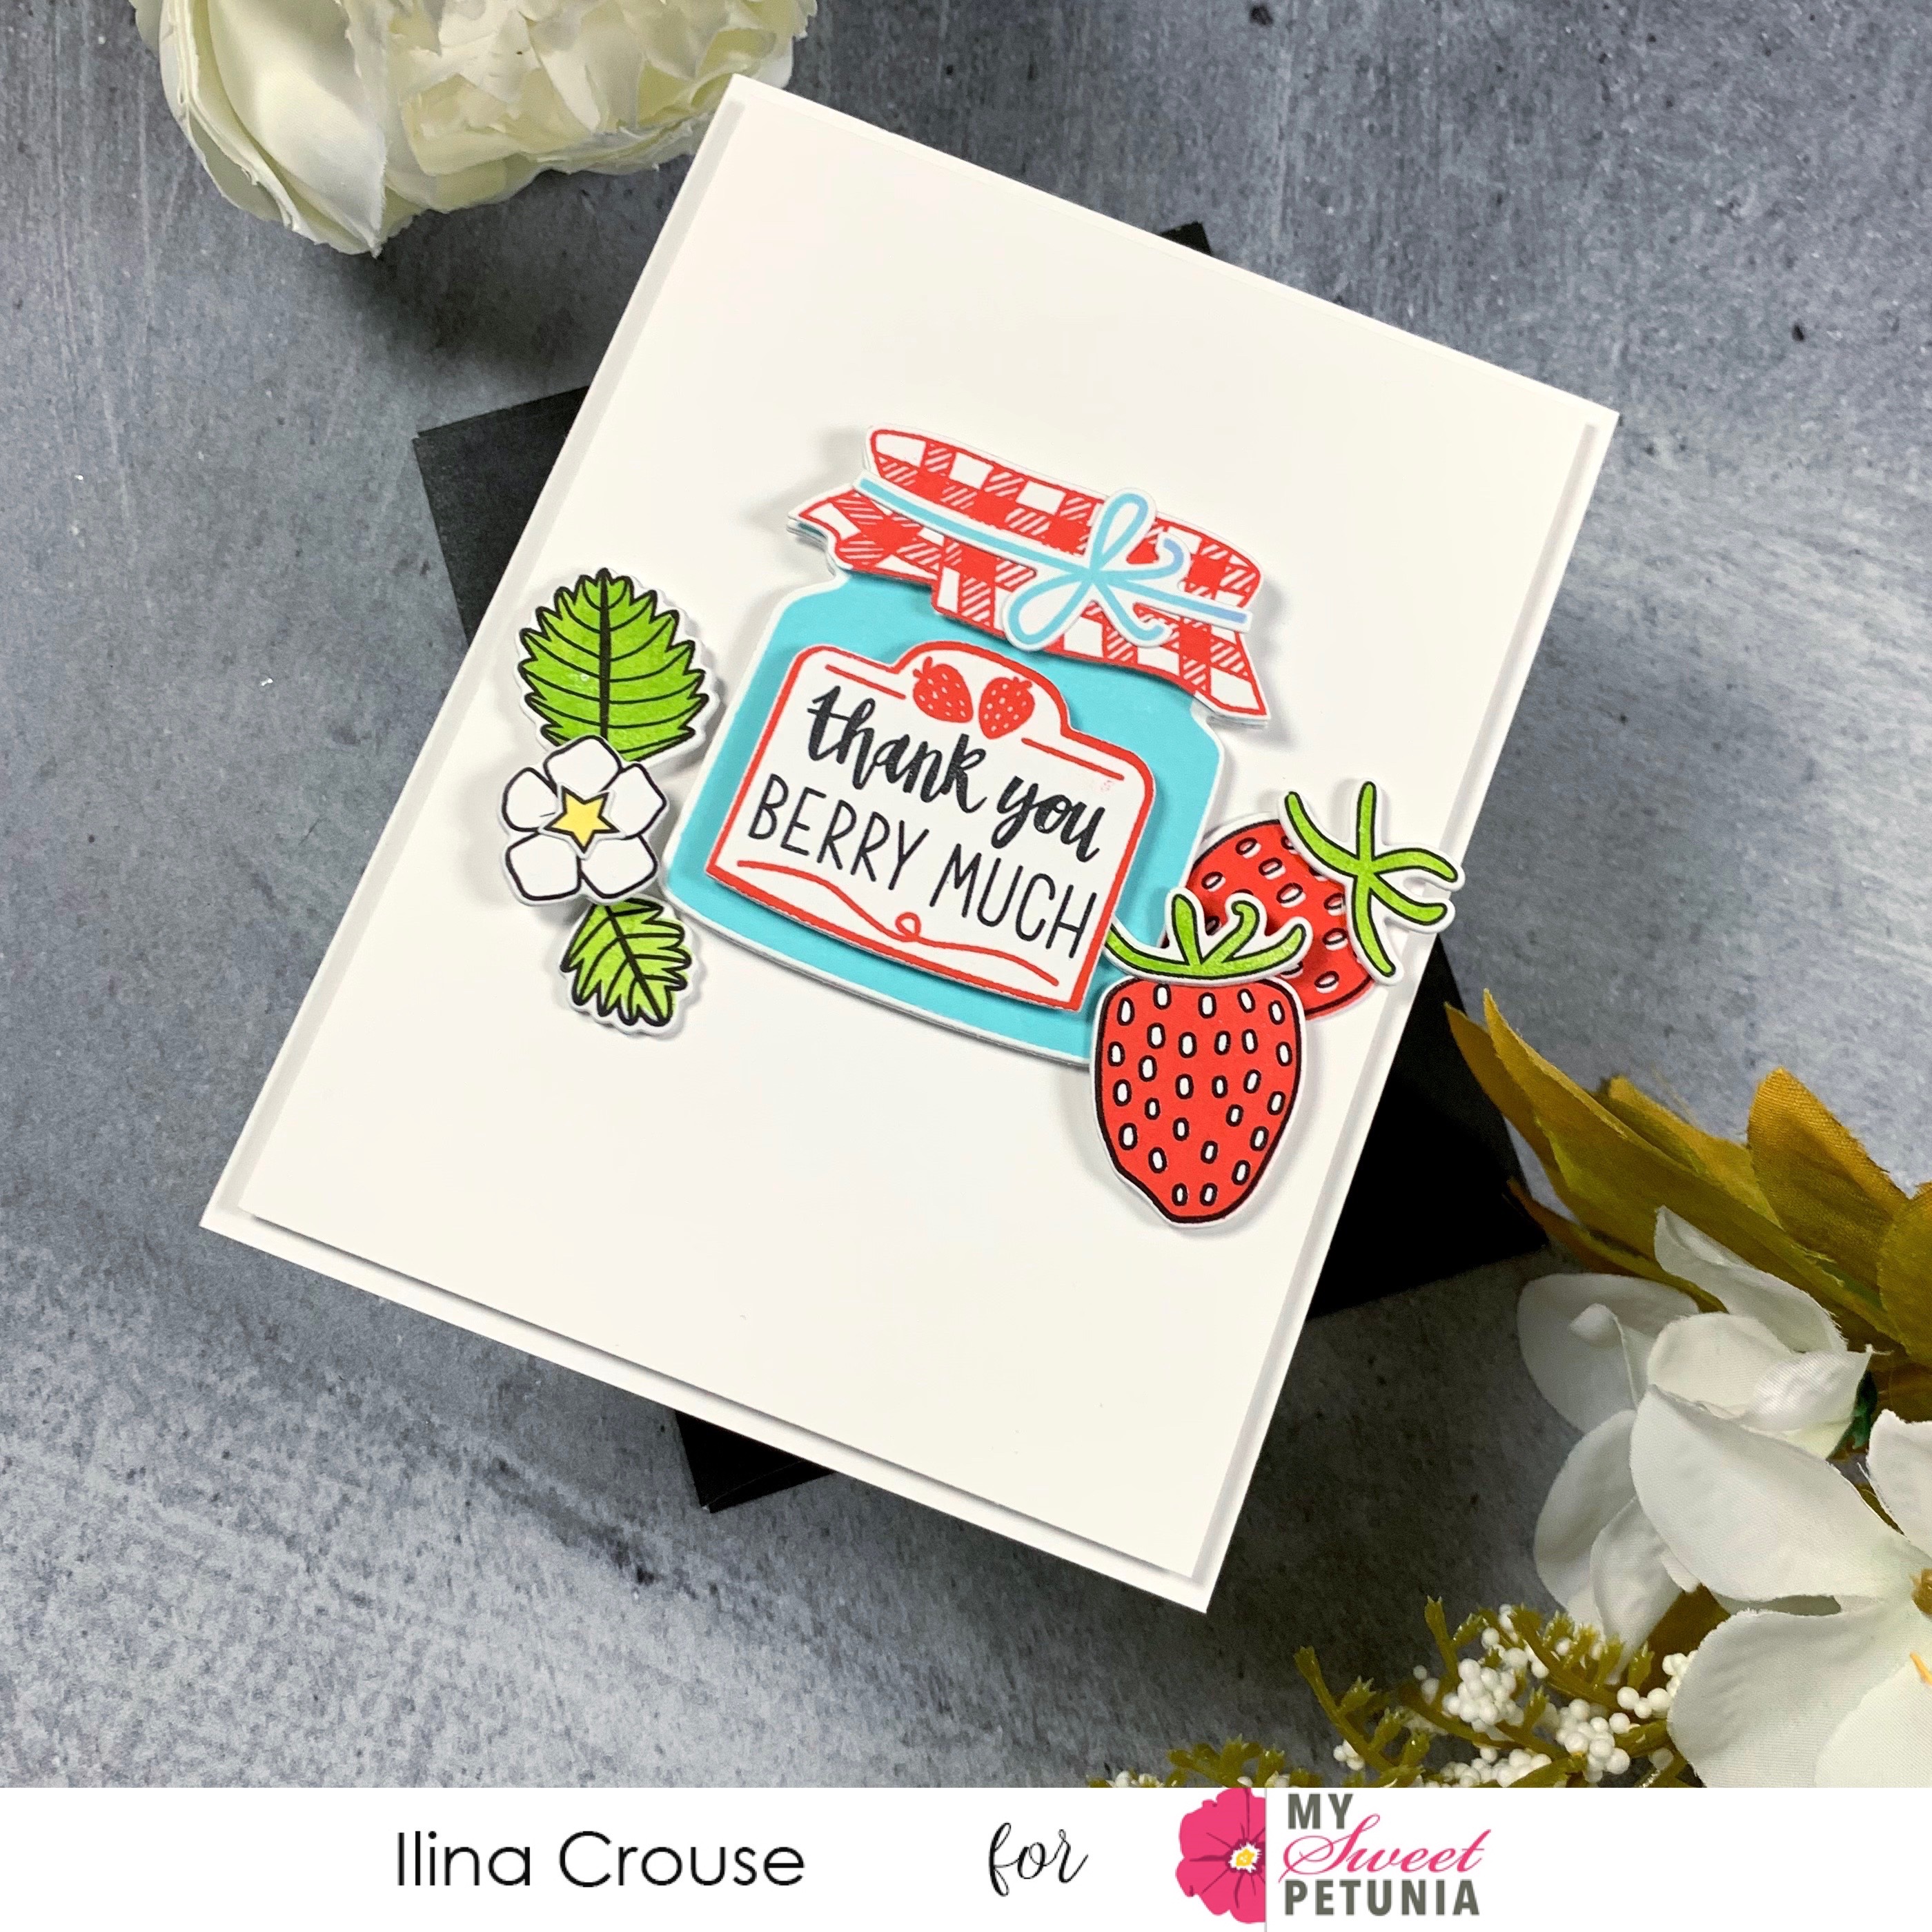
Ilina here taking over the My Sweet Petunia blog today and sharing a sweet card using the Catherine Pooler Designs Strawberries and Jam stamp set and dies.
To make the card I started by die cutting bunch of pieces from white card stock.
Once I die cut the amount of die cuts I needed I created a jig using darker cardstock from the negative space and placed it in my MISTI in which I previously placed a sticky mat.
I placed one white die cut in the negative space at a time and using the set acetate sheet with the printed image I positioned the stamp and picked it up with my MISTI door. Repeat for all images. Stamp all images using the desired colors.
Cut white panel measuring 4" x 5 1/4" and assemble the die cut elements. Adhere to white note card and you are done!
Hint: this method is great for mass producing!

SUPPLIES (affiliate links may be used at NO cost to you!) 

Thursday, March 3, 2022

Always Follow Your Dreams - Ombre Stamping

Hi everyone!
Ilina here! Today I am sharing a fun card using the February Club Sursee products from Catherine Pooler designs.
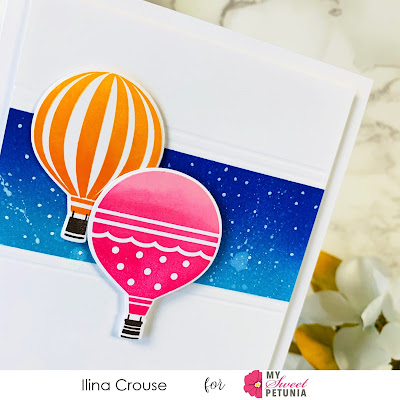
I thought these hot air balloons were perfect to do some ombre stamping using my MISTI tool.
To make the card I started by die cutting bunch of the balloons, I aways do this and then save some for later use. 
I used the negative from the die cuts to position my stamp on the door of the MISTI and used it as a template to pop in my die cuts, so everytime I got perfect placement! 
First I inked the images with the darker ink and used blending brush to soften the edges at the half way point. Then stamped it. Next I inked the other half of the stamp with lighter ink and also softened the edge using blender brush, then stamped....and voila!!! 
Created my background using some ink blending and scoring 2 lines above and below the ink blended area. Adhered the balloons and stamped my sentiment and added the "Dream" die cut.

Thursday, November 18, 2021

Thank You On Repeat with Ilina

Hi everyone!
Ilina here! Today I am sharing a clean and simple card using couple Catherine Pooler Stamp sets and of course my MISTI.
To make the card I started with a piece of Premium White card stock and using my MISTI stamped the Thank You sentiment from the Thank You Many ways set in the middle using Cummerbund, Shea Butter, It's a Girl and Midnight inks. Once stamped I trimmed the panel to 4" 5 1/4". Next I stamped a butterfly from the Take a Flight set in Midnight and die cut it. Added to the panel and adhered to a white note card. 
Thank you so much for stopping by. Hope you have an amazing day!

Thursday, August 5, 2021

One Year Awesomer

 Hi everyone!

Ilina here! And since this week I am in a rainbow mood, I am sharing a rainbow card. It's not really a rainbow, but the circles are stamped in rainbow order. 

For my card I used couple stamp sets from Catherine Pooler Designs: Circle Party and Toast to you. To make it I used my MISTI to position the two little circles and stamped repeatedly to create my pattern in rainbow color order. When I do pattern like this I started stamping in the center. I wanted the larger of the two circles to be in the center, so I positioned it in the center of my panel, then positioned the smaller one next to it. Moving my panel left, right, up and down in my MISTI I completed my pattern. 

Once I had all the circles I stamped the black ones in the middle or the larger ones. Trimmed the panel to 4" x 5 1/4". Next stamped the sentiments on black card stock and embossed in white. Trimmed to size and assembled my card.

Super fun and easy!!! 

Thursday, January 28, 2021

Hey There, Dumpling

 Hi everyone!

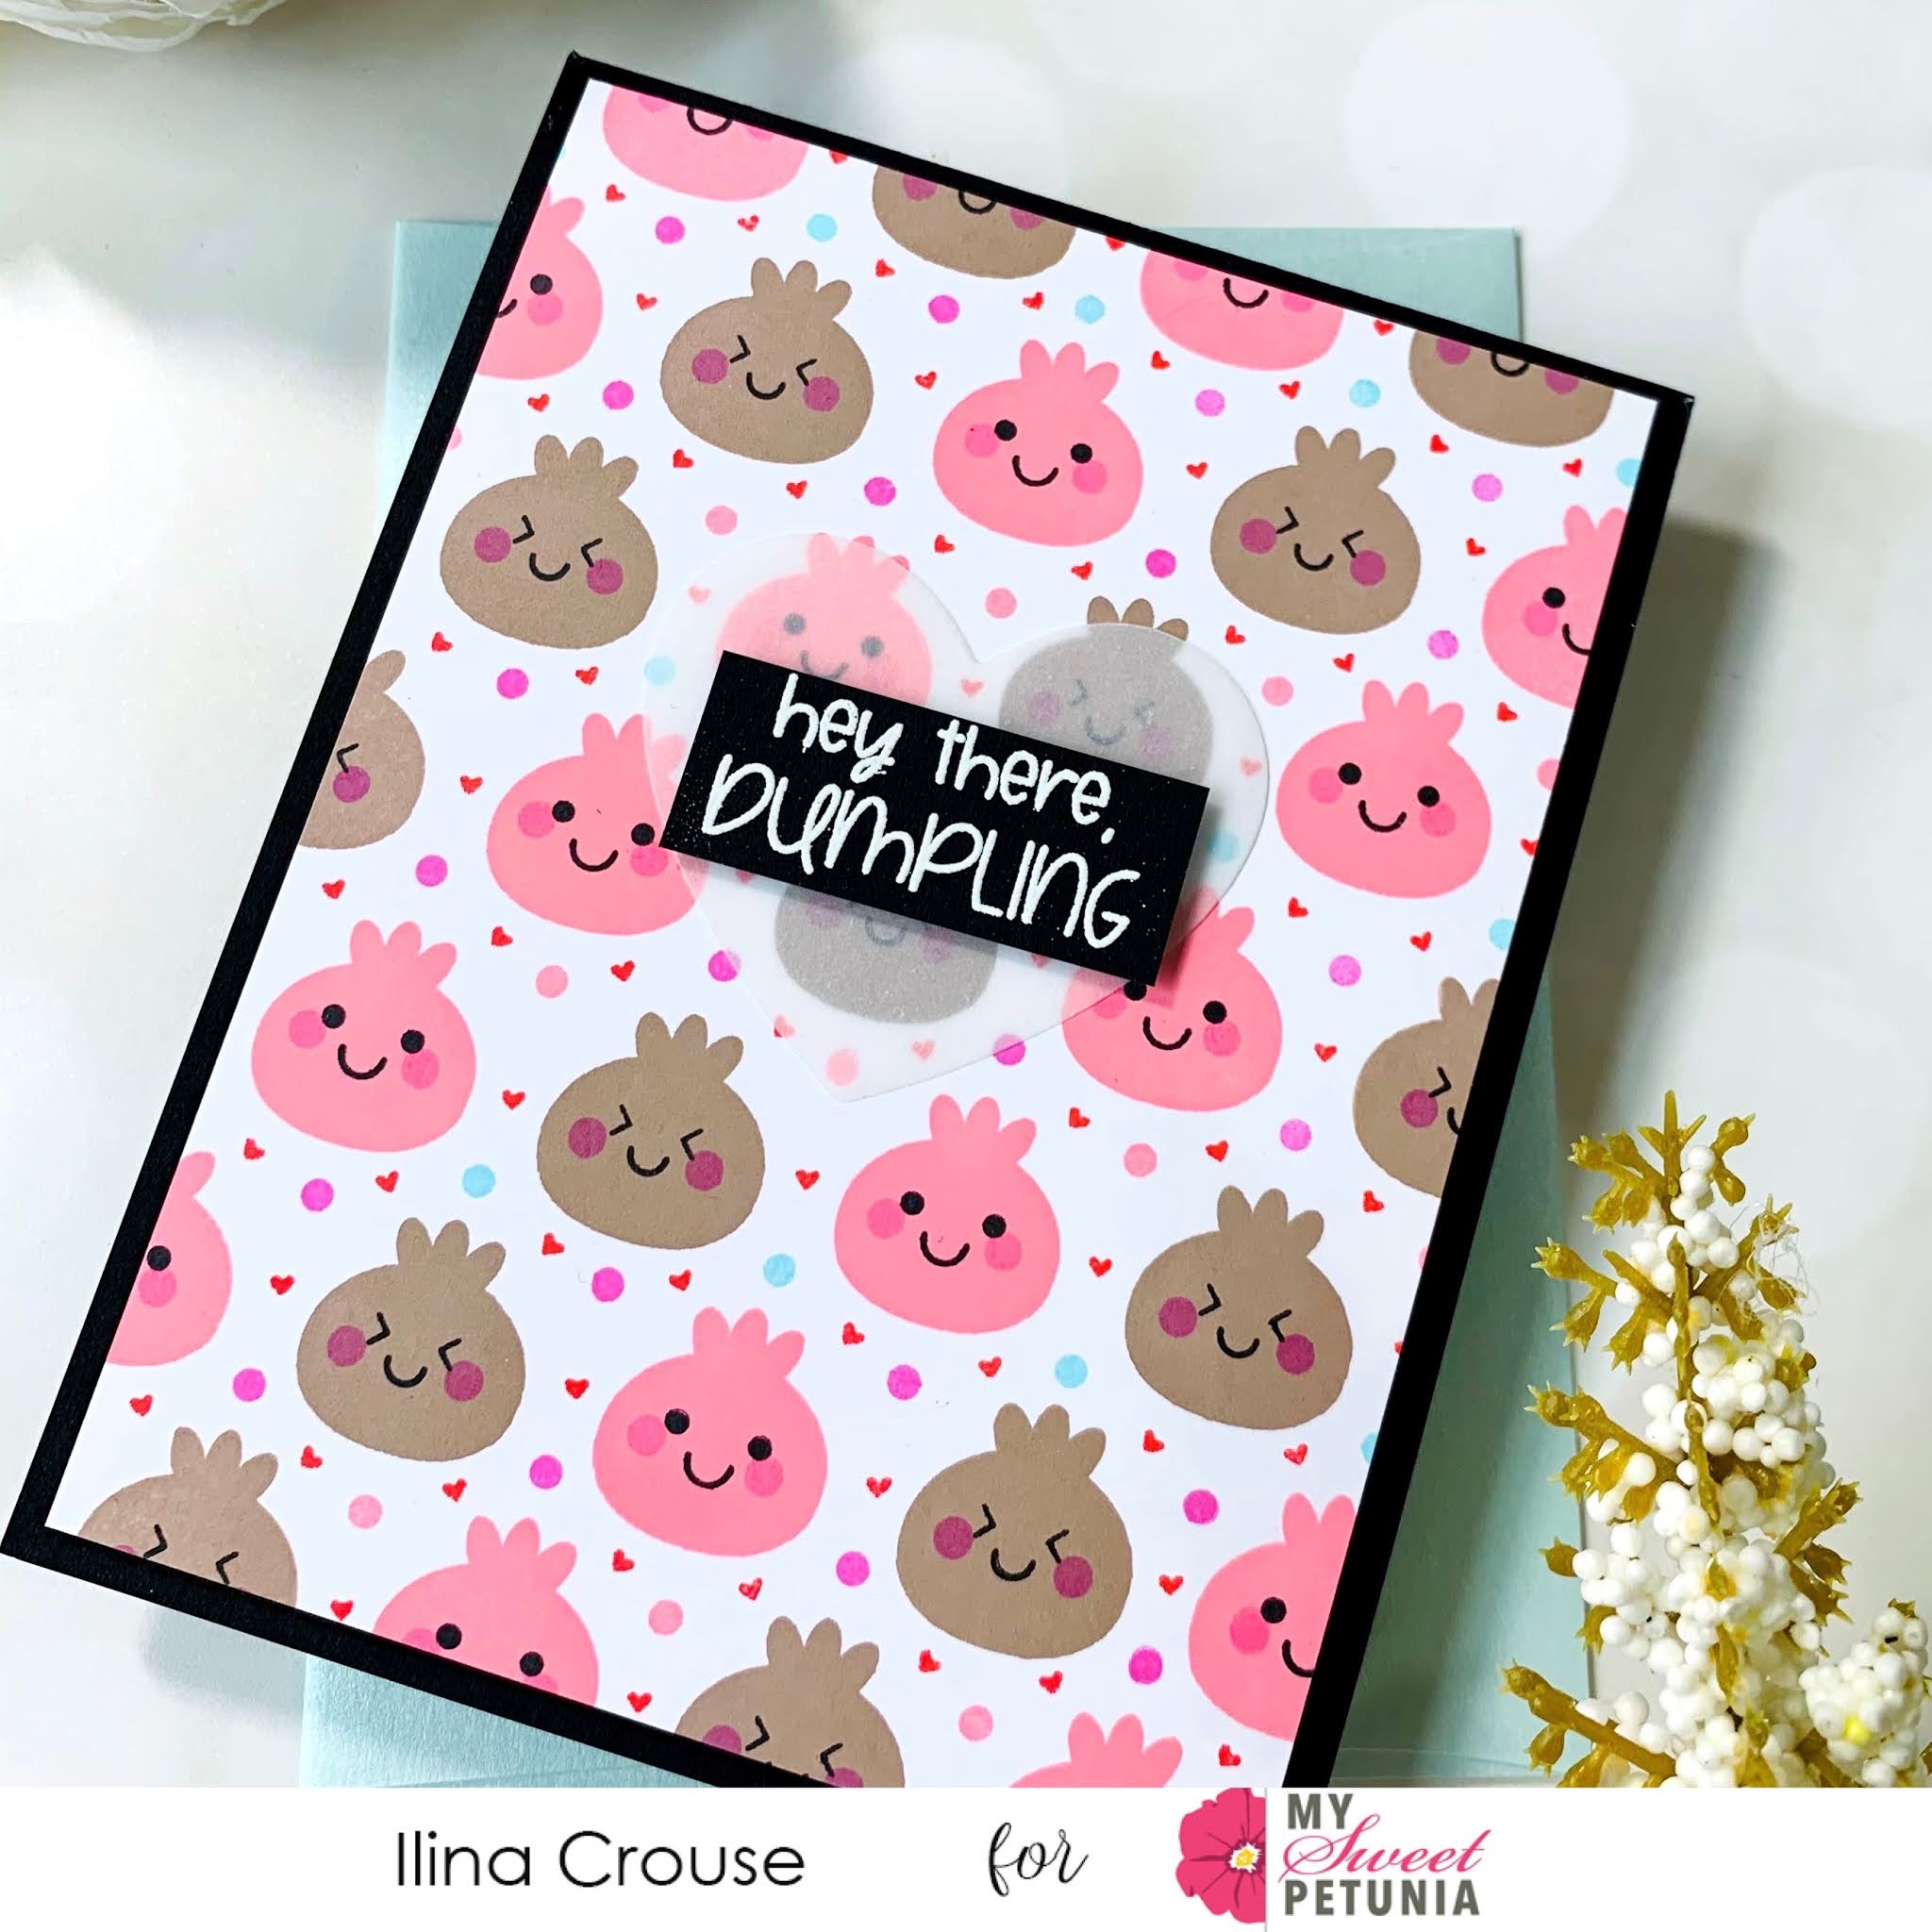
Ilina here. Today I am sharing super cute card using one of the new Catherine Pooler Designs Sets called Hey there dumpling.

To make the card I cut down a piece of white card stock A2 size and with the help of the MISTI I stamped all the dumplings in two different colors, Sand Castle and Do-Si-Do. Once I had stamped the dumplings I stamped the little faces the same way. Then the little cheeks and dots and hearts around it. Once I was satisfied with the result trimmed the panel to 4" x 5 1/4". 

Stamped the sentiment on black card stock and embossed in white. Die cut a vellum heart and assembled my card. 


Thursday, July 23, 2020

Oh, Baby

Hi everyone,
Ilina here. Today I am sharing super cute baby card using the new Catherine Pooler designs set Born to be Wild and the coordinating dies and the new A to Z Background stamp.

To make the card start by stamping the background using your MISTI to create the ombre look. Use soft towel or ink blending brushes to soften the edges of each section when you ink the stamp to have smoother transition between the colors.
Die cut the Zebra and keep the negative. Position the negative in your MISTI and the first layer stamp (striped). Stamp in black. Do the same thing for the second layer (feet and face) and stamp in pink. 
Die cut a circle from vellum and assemble your card.


Tuesday, December 24, 2019

Team Tuesday with Ilina

Hi everyone!
Ilina here! Today I am sharing a fun card using the new Catherine Pooler Designs set called My Kind Floral.
To make the card I started by stamping the border stamp repeatedly in my MISTI changing colors with each line. Then I skipped a border to leave space for the sentiment. Stamping with the MISTI allowed me to line those borders perfectly and have seamless transition and make it look like it's a continuous stamp.
Once done, I trimmer to size. Also I stamped the florals from the set in coordinating colors. First I die cut bunch of them from white card stock, then stamped with the help of the MISTI (I was stamping bunch at a time, so this method made it really fast. I used the negative space as a guide).
Once I decided which flowers I wanted to use I adhered them to the panel. Adhere to top folding note card and add sequins as a finishing touch!


Tuesday, November 19, 2019

Team Tuesday with Ilina

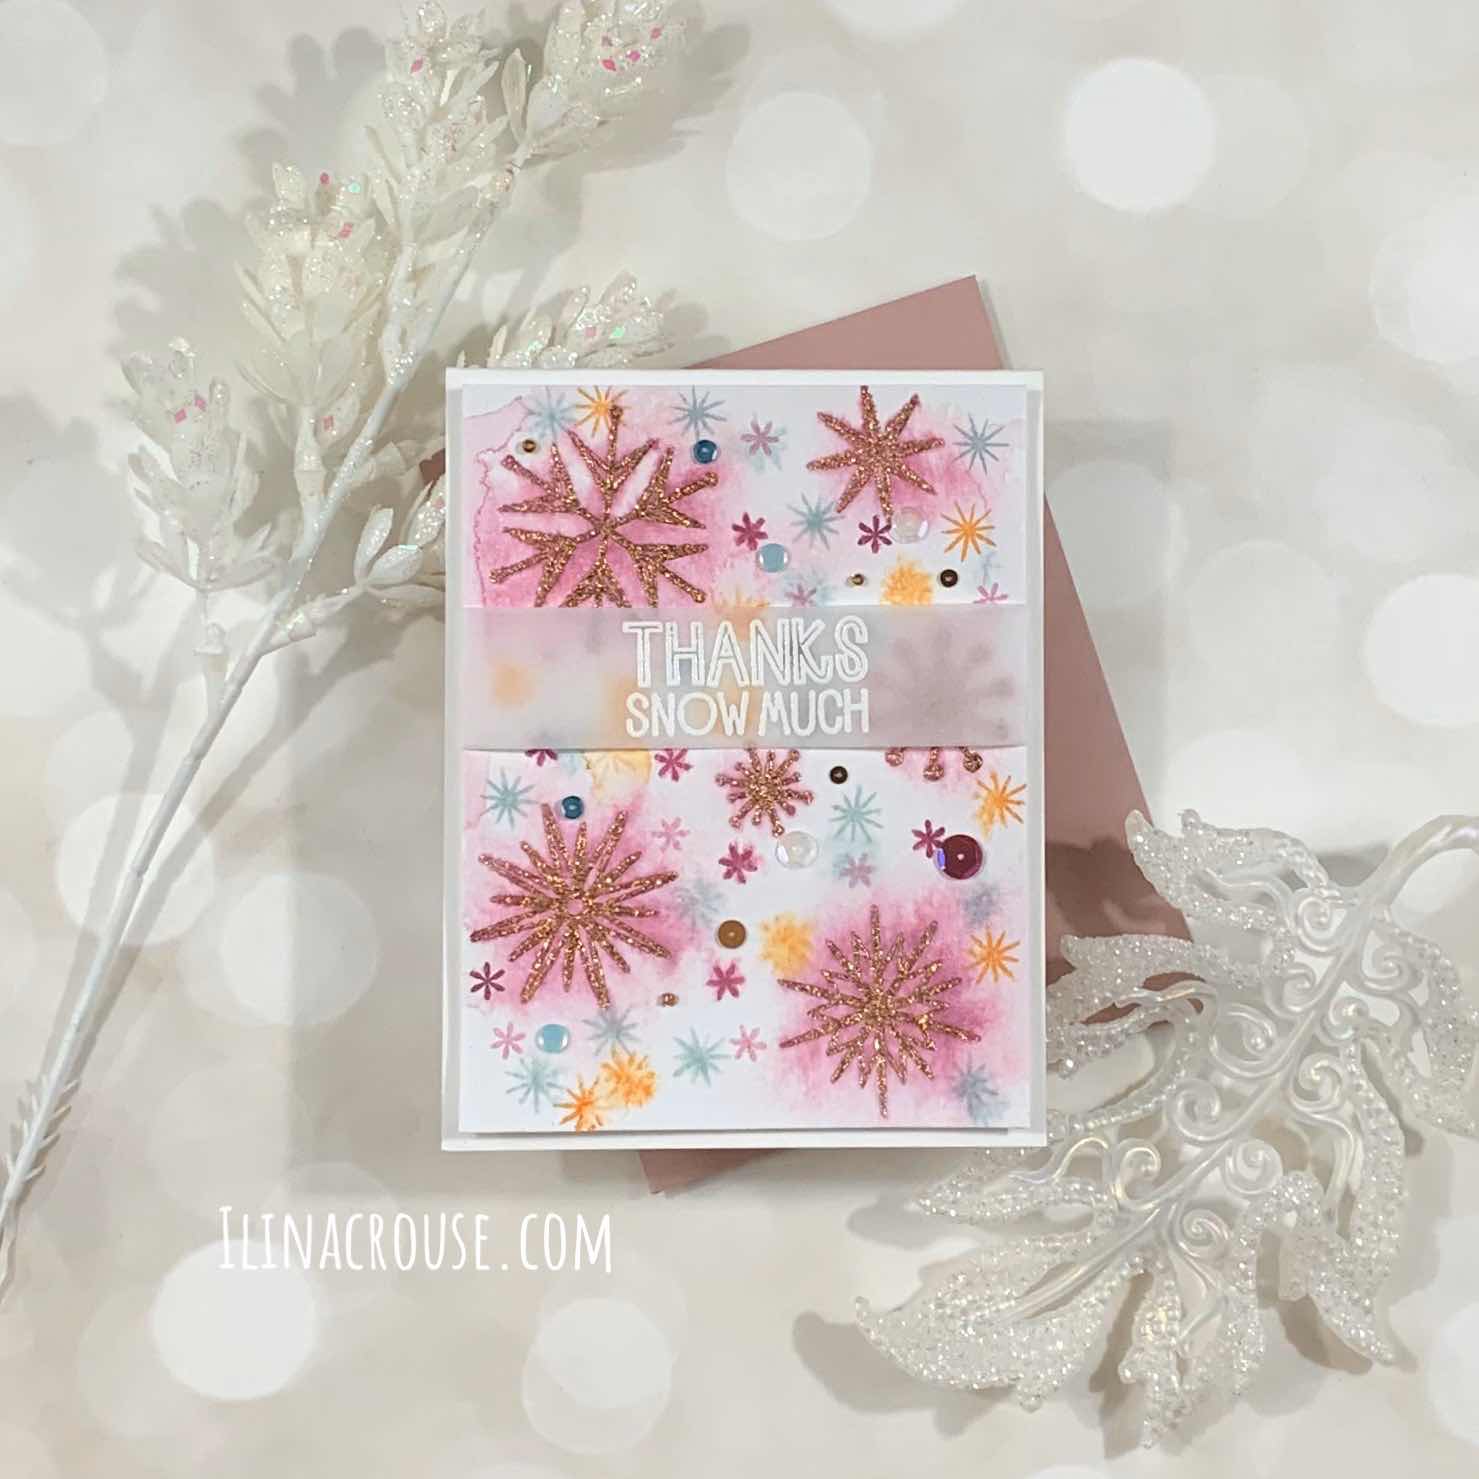
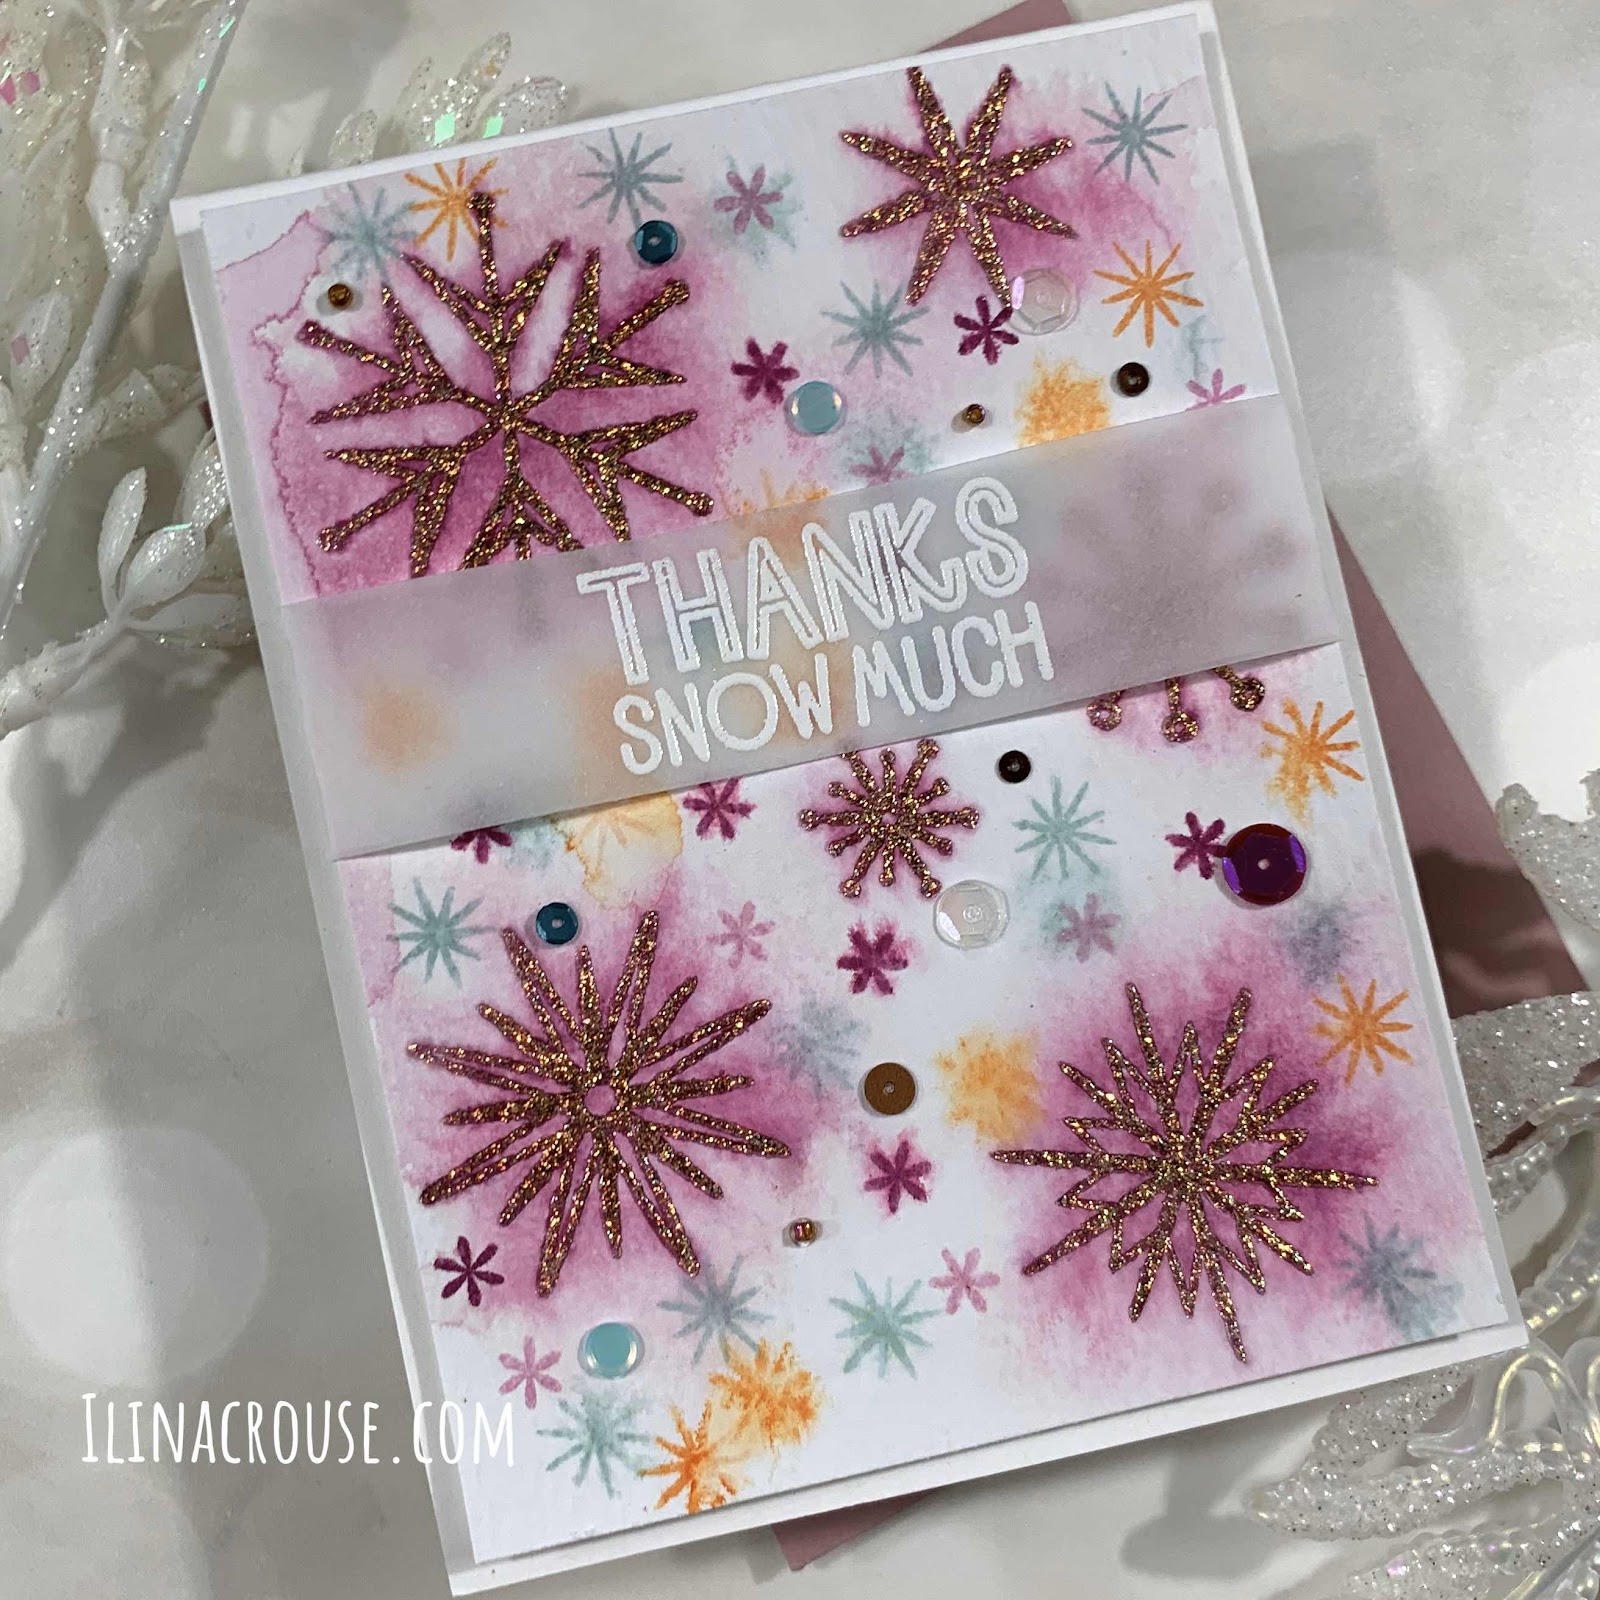
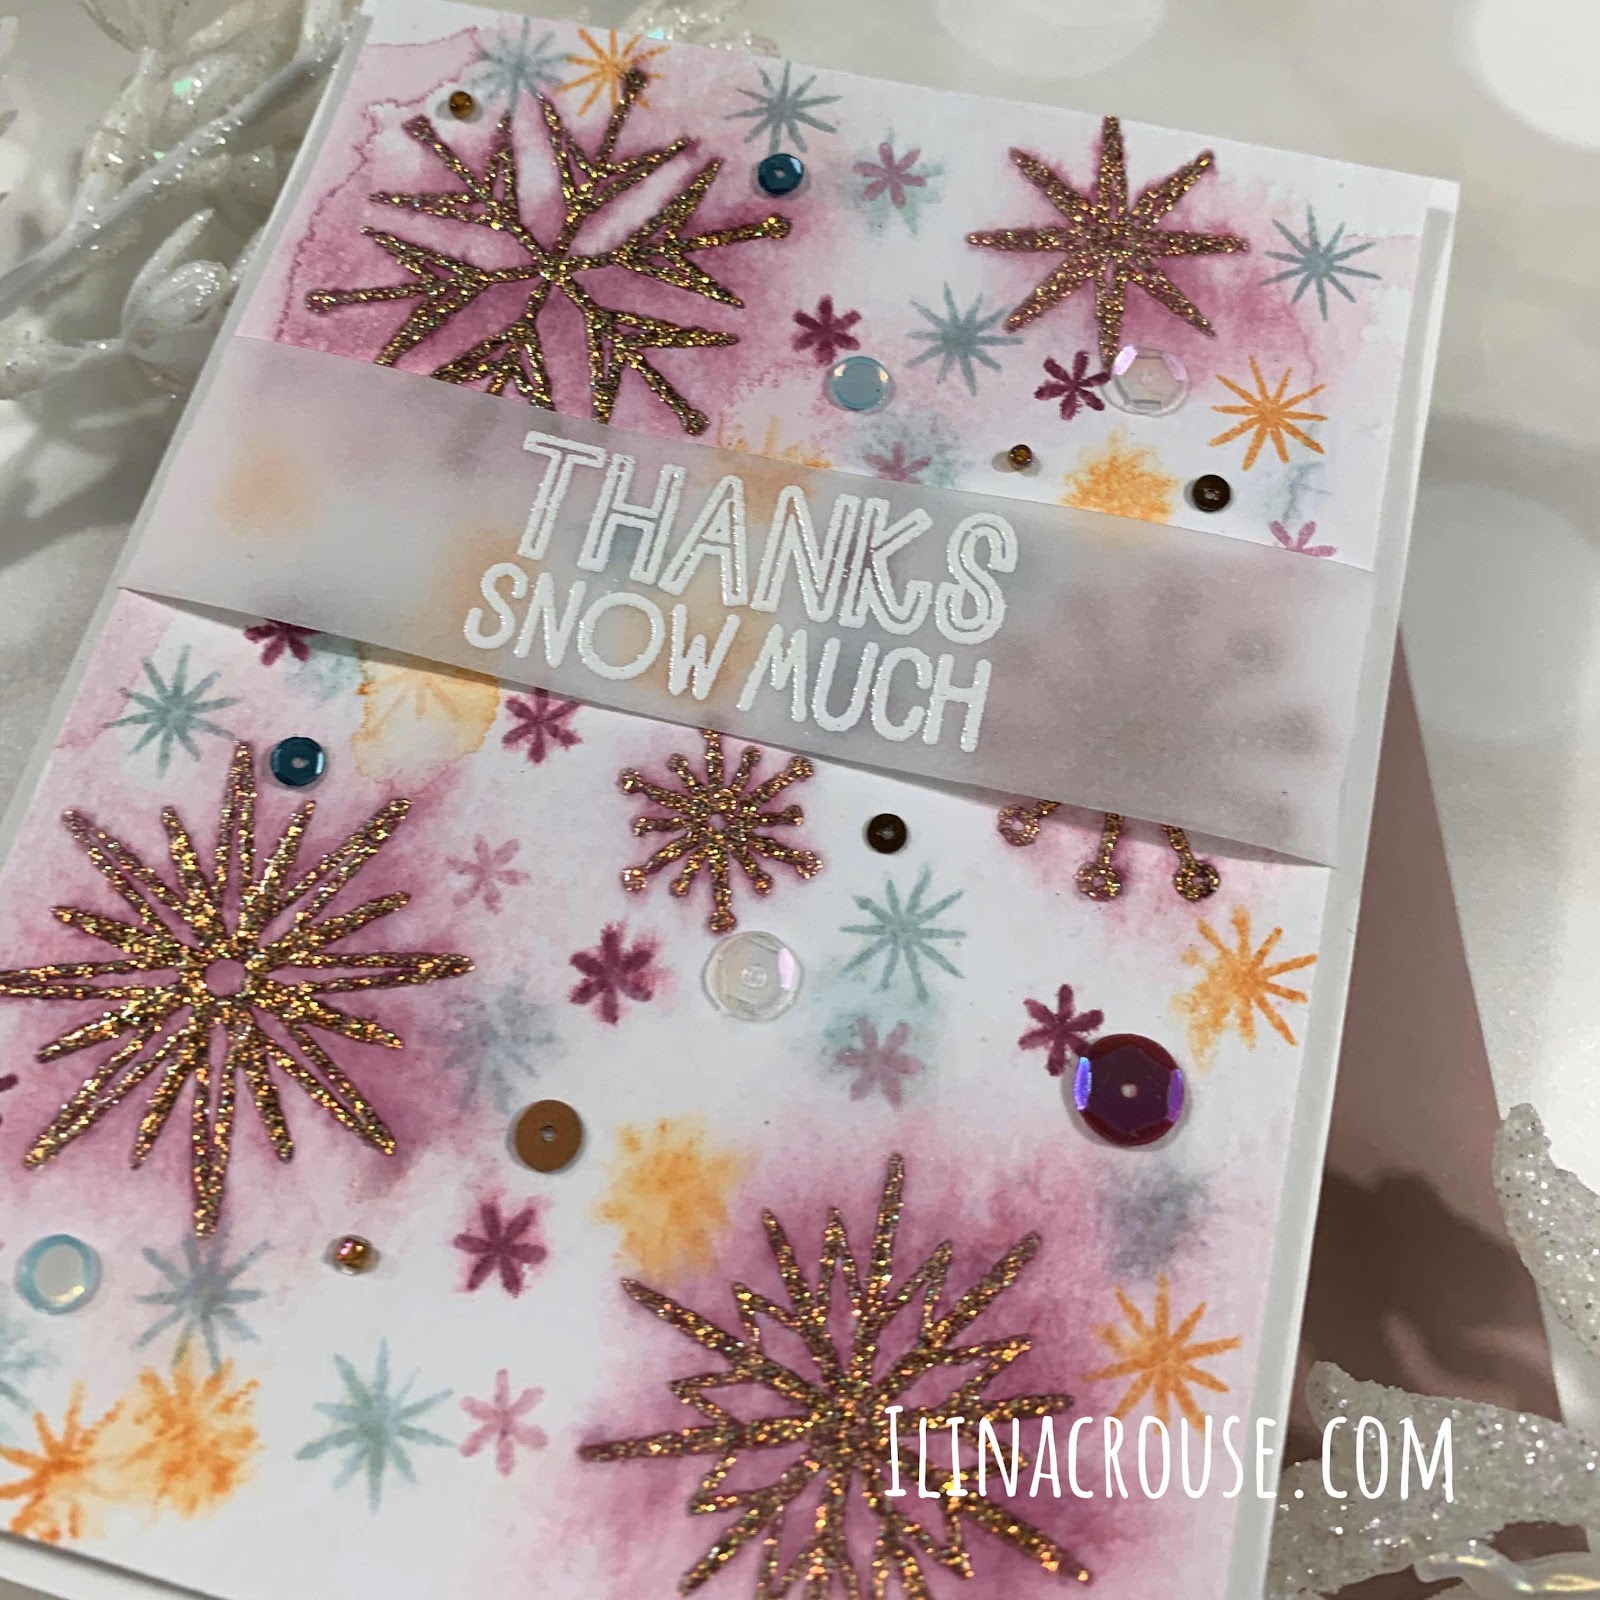
Hi everyone! Ilina here! Today I am taking over the blog and sharing a fun card using some Catherine Pooler Designs goodies and doing multi layered stamping using same images, as well as embossing. I started with watercolor paper panel and secured it in my MISTI. I arranged the large snowflakes on the door of the MISTI, sprayed the paper with water (so I achieve bleeding effect) and stamped with Pink Champagne ink few times. I dried the panel using heat tool and put it back in the MISTI. Now, I stamped the same snowflakes (didn't remove them from my MISTI) in Sangria. Repeated few times. Once dry, I stamped again with Versamark and embossed in Wanderlust embossing powder. Stamped again in Sangria and spritzed with water to get some more bleeding. Next I used one of the smaller snowflakes and while the paper was still wet I stamped them in Hot Tub and Orange peel. Dried the panel and stamped again. Stamped the smallest snowflake in Sangria and Pink Champagne. Once done, I put it back in the MISTI and stamped the snowflakes again in Versamark and embossed with Clear embossing powder. Trimmed the panel down to 4" x 5 1/4" and set it aside. Stamp sentiment in Versamark on Vellum and emboss in white. Trim to size. Wrap around panel and adhere the ends on the back. Add Cincinnati sequins and adhere to white note card and you are done ;)


Tuesday, December 5, 2017

Team Tuesday with Ceal

Hi there! 
Welcome to Team Tuesday, it's Ceal here to share a shaker card with you today featuring some Concord & 9th products. 
If you are like me the Misti is a must have when using layering and background stamps.  Layering stamps for the life of me even though they are clear I cannot get them to line up without the Misti, background well I have small hands so it's pretty much impossible for me to hold that gianormous block. So the Misti is my best friend! 
To make my card I used the Original Misti and several Concord & 9th stamps. I started with the Blooms Fill In set, Versamark Ink and Gilded embossing powder by Brutus Monroe. I inked up the Fill In blooms background with Versamark ink and embossed it in gold. I love using the Misti when embossing because it allows me to get great coverage with the Versamark. 


Next I used some Catherine Pooler inks and again using the Misti to help me line up the layers I filled in all the flowers. Using the Creative Corners helped me be able to stamp the ones along the sides. 

I love the new Bar Magnets, you now how new stamps tend to lift your paper? well if you use two of them your paper doesn't move an inch!


After I got all the stamping done on the blooms, I cut out theChristmas tree using the Trim The Tree dies. 

To finish the card, I stamped a background using the Plaid Background stamp and the greeting from the Trim the Tree set also using Catherine Pooler inks.
 I placed some acetate over the negative of the Christmas Tree and then added foam tape around the edges. I added some sequins on the plaid background and then placed the front on top.


Wanna know how I used the tree itself?  I am doing a series of 25 days of Christmas Inspiration on my blog, so Check my blog tomorrow and you'll see.


Tuesday, November 21, 2017

Team Tuesday with Ilina and Storewide SALE!

Hi stampers!
It's Ilina and Happy Tuesday! Tuesday over here means that one of the My Sweet Petunia Design team members is taking over the blog and sharing their creations. So, today it my turn.

However before I go into my eye candy, I wanted to let you know that My Sweet Petunia is having a store wide sale this week. 20% off everything in the store. No code is necessary and the discount will be applied at checkout! So, if you have been on the verge of getting your first MISTI, or the 2nd or your 10th, now it's the time! You can visit the store HERE

And, now it's time to move to the eye candy. I have two cards for you today and a video! Since Thanksgiving is in couple days (in the US) I decided to go with Fall/Thanksgiving theme and used the Concord and 9th Dahlia turnabout stamp set and dies, the Hero Arts Have a Joyful thanksgiving wood mount stamp and the new Catherine Pooler Spa Collection inks! 
The Concord and 9th turnabout stamps are designed to be used with the MISTI. So I stamped the dahlia three times with Sauna, Daydream and Green tea inks, then for the 4th I stamped with Versamark ink and embossed with Hero Arts Copper Embossing powder. Then using 2 sets of Creative corners I created little positioning tool for wood mount stamps and the MISTI and magnets on the corners helped keep it in place in the MISTI, so stamping was a breeze. Watch the video below on how I did that. For my 2 card I did almost the same process, except for the last step of the dahlia instead of stamping, I die cut it, using the coordinating dies. 
I kept my cards simple because I wanted the focus to be on the Dahlia and the sentiment.