Thursday, July 27, 2023

Hello, Sunshine!

***Affiliate links are used when possible at no charge to you!***


Hello, Sunshine! Angie here, hoping you are staying comfortable during the hot summer days! We are experiencing extra hot days, so a warm sunny card seems appropriate. 

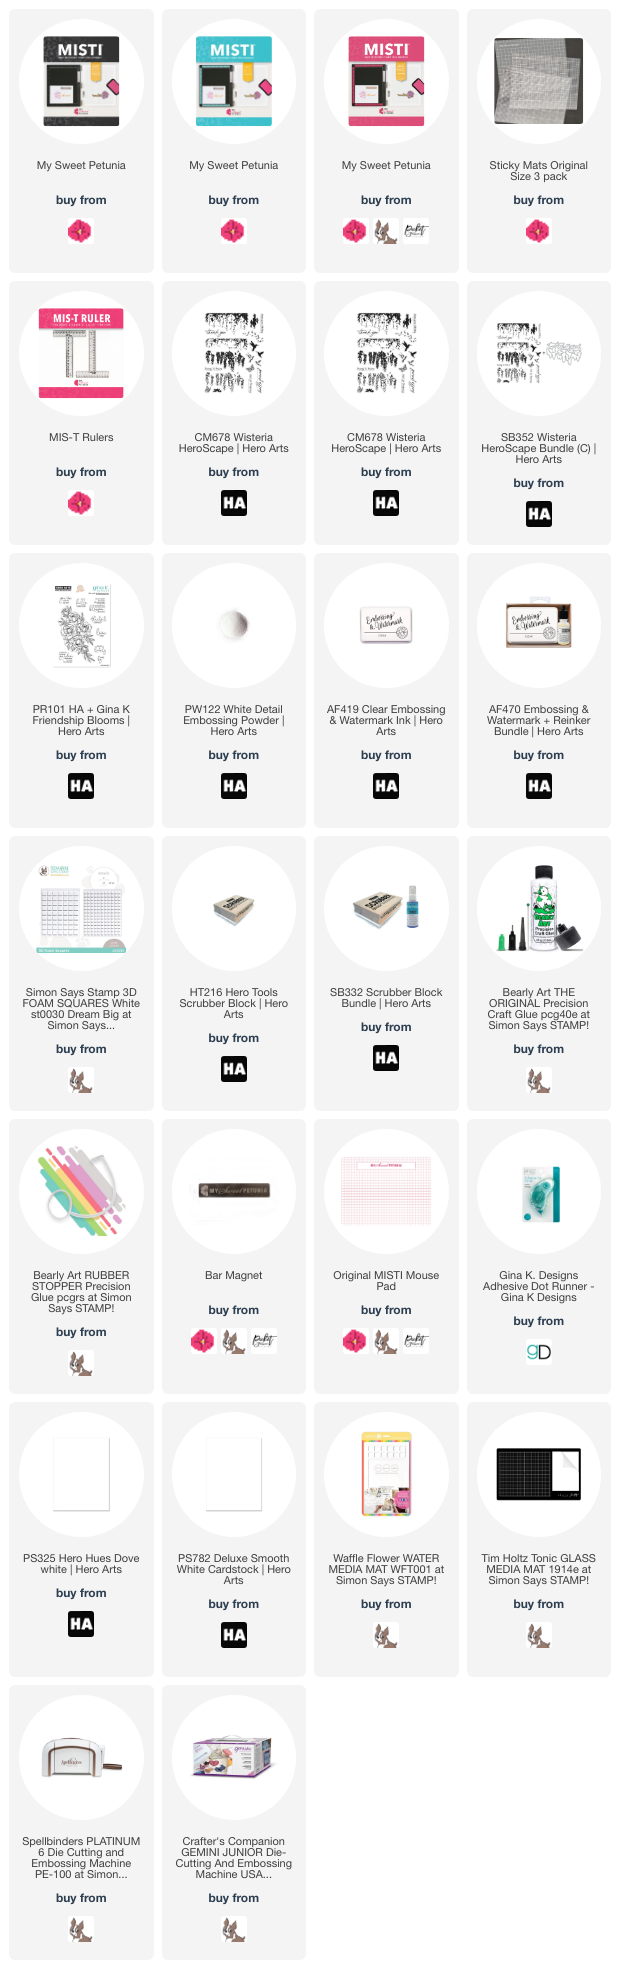
For the making of this card, I used the following items:

Cut Align Ruler (0 point end for precision alignment)


Have you tried the Alignment Grids yet?  I love the grids!  They are made of sturdy plastic, so they won't bend or crease when you clean them.  I also love that they are marked at an eighth of an inch for precision aligning! My favorite way to use the grids is to place them over the top of what I am working on to make sure I have layers precisely positioned before the glue dries.  

Using one of the Alignment grids, I taped my paper down in a horizontal line about halfway up the card. Next, I placed another grid over the top to ensure the tape was straight across the cardstock. Once I was certain my horizontal tape line was straight, I set the alignment grid aside.  Then I ink-blended a mustard seed sky.  Next, using the Cut Align Ruler, I found the center of the sun rays and positioned the stamp in the MISTI. I stamped the rays in Carved Pumpkin ink.  Then, I added more ink to the stamp and spritzed it with water.  Using the MISTI allowed me to stamp precisely in the same spot.  I repeated the steps several times until I was happy with the sunny background. Lastly,  I stamped the images and sentiment using the MISTI and die-cut them. I used the Cut Align ruler and an alignment grid to ensure my sentiment was straight.  

My inspiration was this week's Freshly Made Sketches.  

Thanks so much for taking a look!  

Wednesday, July 26, 2023

Joy!


 Hello everyone! Anna here, sneaking in one more Christmas in July card! The card I’m sharing today was made using a recently released stamp set from Impression Obsession. The set is filled with wonderful vintage inspired holiay themed images and sentiments perfect for making cards, especially Christmas cards.  

I stamped the image on watercolor paper using a permanent brown ink and watercolored the image with some regular and shimmering watercolors. I used a sentiment from the set to add a greeting.  Using a Mini MISTI is my favorite way to stamp on watercolor paper. The texture of watercolor paper can be challenging to get a good impression without making multiple impressions. Thankfully, the Mini MISTI allows me to stamp an image several times, giving me the perfect impression for every project! 

Thanks so much for joining me on the blog today!

Tuesday, July 11, 2023

A Two-fer for Team Tuesday


(Our team uses affiliate links)

Hey Y'all!
It's Ceal, here for another edition of Team Tuesday. Today I am using a technique that gives you two cards when you are done. 
To make this card, I started with a couple of white top folding A2 card bases, a couple of white panels, two strips of black cardstock and a Turquoise Sea panel. I placed the white panel in the Black Original Misti and stamped the floral image. I used OLO markers to color it. Next I placed the Turquoise Sea in the Black Original Misti and stamped the floral image and used colored pencils to color it this time. After I got both images colored I cut them down to 4 x 5.25 and then cut the panel in half. Next I stamped a greeting on a black trip and embossed it with white. 


Here they are together 


Thursday, July 6, 2023

MISTI Sunshine

Hello! This is Angie; I hope you are enjoying warm sunshine days! We had one of the loveliest Springs, but summer is here with a vengeance. Even though I am already looking forward to cooling Fall days, I love creating a bit of paper sunshine! 

**Affiliate links used when possible at no charge to you!**

Stamping with a MISTI is like stamping in the sunshine!  It's rare that I use just one MISTI for a project, even one as CAS as this. I used the Black Original MISTI for the images and the Mini MISTI to stamp the sentiment.  I leave the stamps in place until the project is finished to quickly begin again in case of mishaps. This is also a great way to stamp multiple cards at one time! In making this card, I also used the Sticky Mats, the Cut Align 0-point ruler, and the Double Dip notepads I use for most of my cardmaking.


The Black Original MISTI Laser Etched adds a touch of elegance to the craft room and has all the new features: rounded corners, molded rulers, an offset lid for easy opening and closing, and a space for the bar magnet.


The stamp set used is Hello Sunshine.

Thanks for stopping by!   

Tuesday, July 4, 2023

Stamp Two Cards At One Time

**Affiliate links used when possible at no charge to you**

Hello, friends!

Today I am sharing a couple of cute cards that I created for some interesting adventures going on in our lives.

I used the Original Black MISTI and the awesome sticky mats to create two cards at one time. I also used extra magnets to hold in place the extra pieces.

The stamp set I used on the first card is called Farm-Tastic from Your Next Stamp.


The Happy Birthday Buckaroo card was created just because. I know I'll have birthdays coming up and thought, why not stamp both images at the same time and make two different cards.


I was able to stamp all of these images very quickly and then could sit down and enjoy coloring.


For a video on how to make the piggy card and more details visit my blog, CLICK HERE.
Thanks for stopping by and happy stamping.
Wendy