Wendy here to share with you a new way to use your MISTI Stamping Templates. Not too long ago I created some fun stamping templates using the MISTI Sticky Mats.
Today I am sharing the simplicity of stamping multiple projects all at the same time. These cute little die cut tags are from Honey Bee Stamps free"bee" goodies.
I have several May birthdays to celebrate and I enjoy making my own tags and gift wrapping as often as possible. However, I didn't want to spend hours creating the tags. Simplicity was my goal.
Using the sticky mat in my Original MISTI was the trick to making these tags quick and easy. I lined up all of my tags and then added the sentiments to get everything arranged perfectly.
I stamped the sentiments two times. This is the magic of the MISTI. I was able to stamp these sentiments once and get perfect stamping using my MISTI.
In just a few seconds I stamped 3 tags. After that, I just decorated them using a few simple elements.
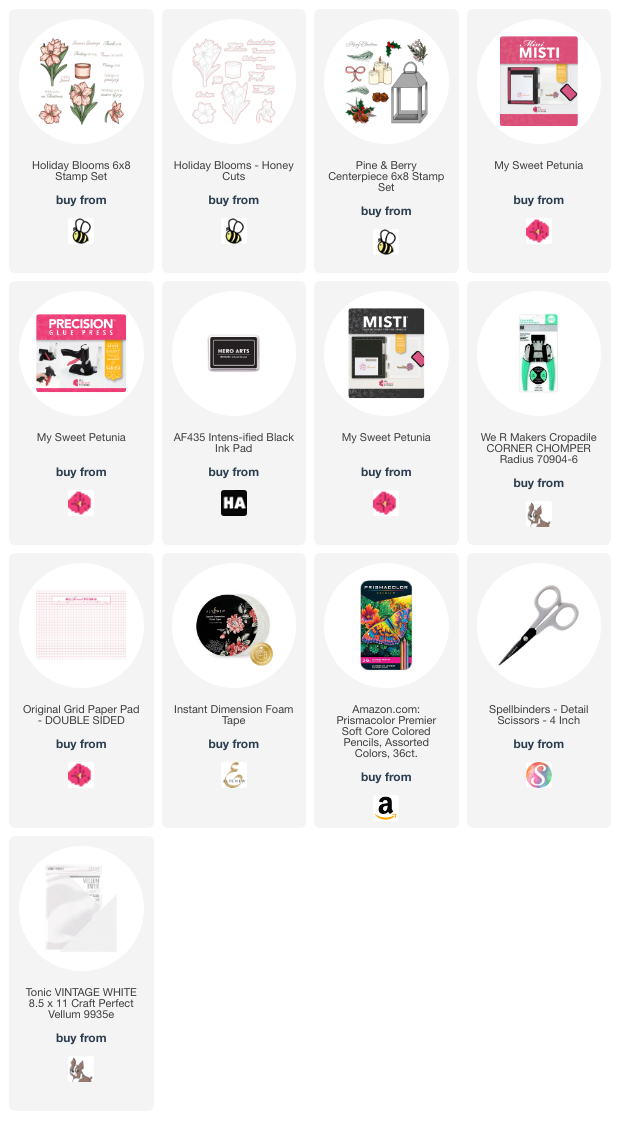
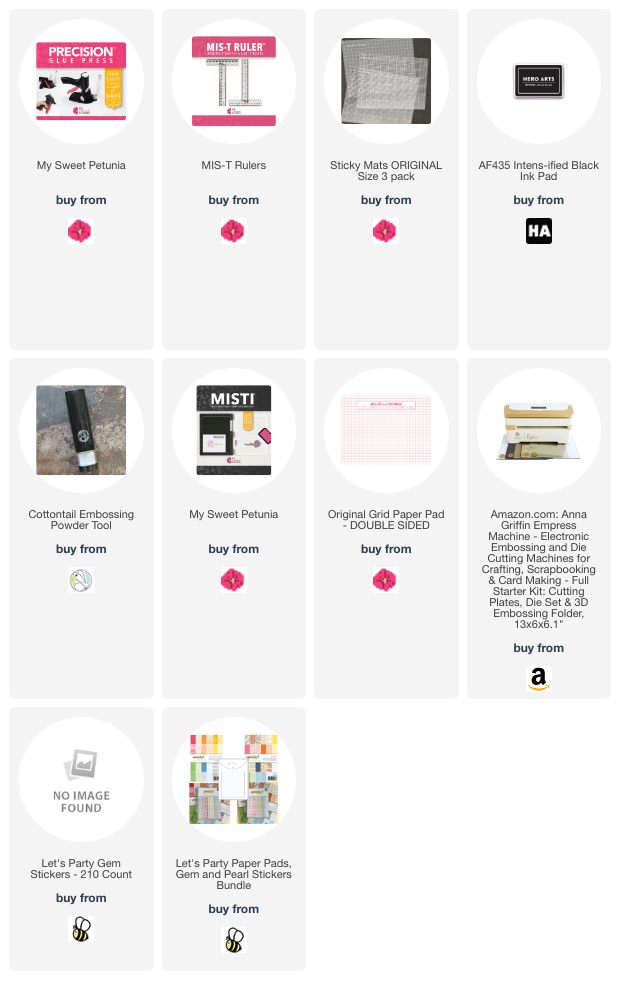
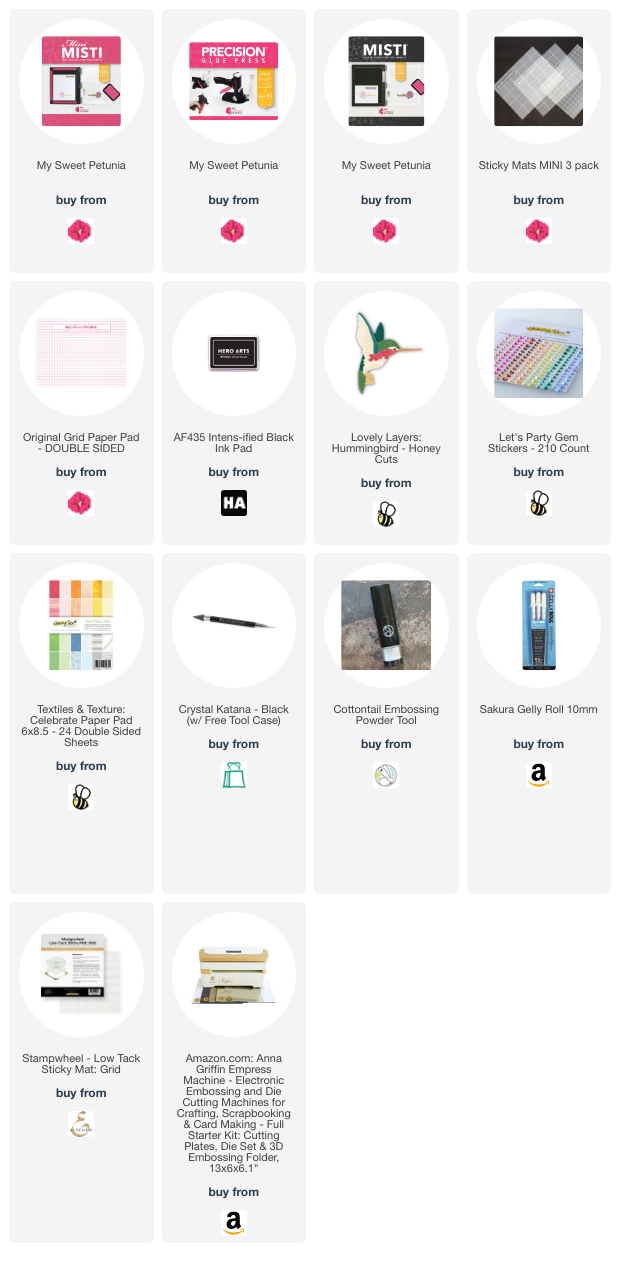
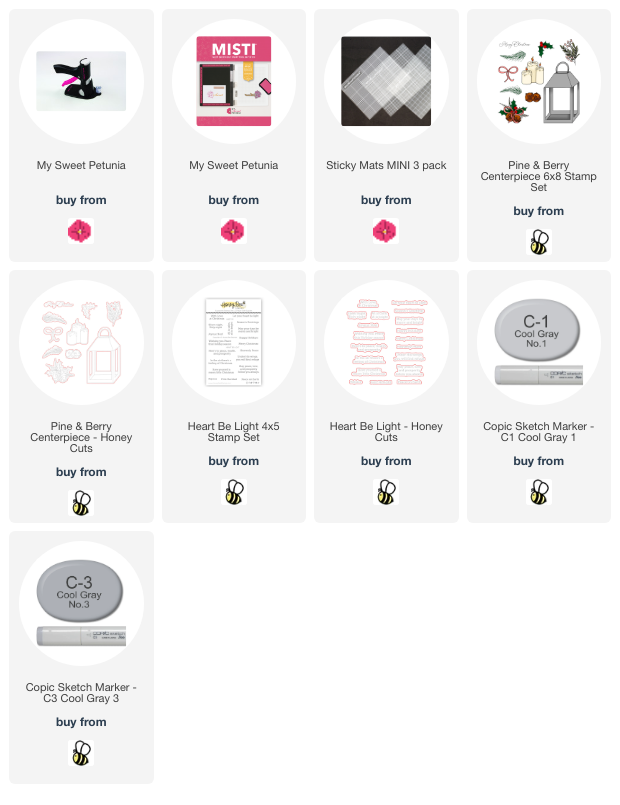
Here is a list of supplies used for these cute little tags. The dies are not listed because they were a free gift from Honey Bee.
I am excited to be back this month to share a fun card with you featuring some beautiful products.
For this card, I used Copic Markers to color the floral arrangement and the beautiful Lovely Layers Hummingbird. I ink blended in Villainous Potion around the floral arrangement and heat embossed the sentiment in white.
Do you need two different MISTI sizes? Well need is an interesting word. For this card, I stamped my sentiment on the front using my Mini MISTI and it worked great.
However, after I completed the card I realized I wanted to stamp my name on the back of the card. When I tried to do this in the Mini MISTI with the card folded I could tell it was going to be an issue. I had already added the hummingbird and it was popped up on foam tape.
So Original MISTI to the rescue. All my stamping still came out perfectly.
Today I am excited to share this fun shape shaker Christmas card. This card was so much fun to create and of course using the Mini MISTI and the Precision Glue Press made it so much easier.
I created this card using the Pine and Berry Centerpiece stamp set from Honey Bee Stamps. On Thursday 12/21 I will have a video on my YouTube channel sharing how I created this card.
I hope you enjoyed this fun card and give a shape shaker card a try.
(All products are linked below using affiliate links )
Hi Friends,
Wendy here. I am so pleased with how this card turned out. The dies and sentiment is from HoneyBee Stamps.
I stamped the sentiment for this card 3 times... BEFORE I grabbed my MISTI and realized I was having a momentary relapse to archaic stamping days.
When I couldn't get the sentiment to stamp nice and dark and clean and clear I immediately grabbed my Original Black MISTI and bam. Perfect sentiment stamping.
How did we ever stamp before the MISTI?
AND... How did we ever glue these teeny tiny pieces before the Precision Glue Press? I don't know it's a mystery to me too.
Thanks for checking in and hanging out for a few minutes. I hope you enjoy this card. All the products are linked below.
It's Ceal, here with another Team Tuesday post. Today I am sharing a card using a stamp/stencil combo from Honey bee Stamps.
To make this card, I started with a white top folding A2 card base and a couple of white panels. I Placed the panel on a sticky mat and created a background using a stencil and on the other panel I stamped the floral image. I never make a card without using the MISTI. When I stamped the floral image I didn't get a good impression so I had to restamp and with the Misti it was a breeze.
After I had a good impression with the image I used the set of matching stencils to color it using distress inks and the sticky mat to hold them in place.
To finish the card I added a greeting embossed in gold.
Hello friends! It's Channin here and today I have sweet little valentine share! I used the new Pretty Postage Stamp Set from Honey Bee Stamps to create this card.
To create this card I first stamped the main image from the Pretty Postage Stamp Set in Memento Tuxedo Black onto white cardstock.
I then copic colored the image and then die cut it out with the matching die.
Red Flowers: (inside) R24, R35, R29, R46
(outside) R35, R29, R46, R59
Flower Centers: Y11 & Y15
Mint Green: YG11 & YG41
Green: G43 & YG67
Envelope: R00, R20, R22
Next I die cut an 4 1/8” x 5 3/8” panel of light pink cardstock with the Quilted A2 Cover Plate Die. I then adhered the panel to an A2 top-folding white card base. Next, I adhered my image with foam adhesive. Lastly, I stamped, white heat-embossed, and die cut my sentiment and then adhered it to my card front with foam adhesive.
I hope you enjoyed my card! Thank you so much for stopping by!
Hello friends! It's Channin here and today I have a festive holiday card to share! Today’s card features the classic and super fun House Builder Dies and the new Toy Store Add-on stamps and dies all from Honey Bee Stamps!
To create this card I first die cut the card front, back and hinge out of heavy weight white cardstock using the House Builder Dies. I then adhered the card front and back together using the hinge and scor-tape. Next, I die cut another house front out of light green cardstock and a roof out of kraft and then adhered them both to the card front. I then used some shrub dies from the House Builder Die set to make snow and then adhered the snow to the base of the roof and the store.
Next, I die cut windows and window frames out of white and dark brown cardstock. I then taped the windows onto the MISTI mouse pad and stamped several toys from the Toy Store House Builder Add-on Stamp Set. I used several masks to create the illusion of depth and make some of toys appear to be in the background. Next, I stamped lights, columns, and more toys onto white cardstock, then copic colored all the images, and then die cut them out (except for the images on the windows) with the matching dies from the Toy Store House Builder Add-on Die Set.
I then die cut the store front, sign, door, chimney, wreath, garland, and pine trees out of white and colored cardstock using the Toy Store House Builder Add-on Dies. Next, I stamped “North Pole Toy Co.” onto the store sign and then finished the card by adhering all the die cuts as well as my colored images to my card front.
I hope you enjoyed my card! Thank you so much for stopping by!
Hello everyone!! It's Channin here with you today and I'm so excited to share with you a couple of cards that I created with one of my most favorite MISTI stamping techniques, pattern stamping!!
I learned this ingenious technique from the queen of techniques, Jennifer McGuire, and quickly became obsessed! Pattern stamping is such an incredibly quick and easy way to create beautiful full panel patterns!
Lovely Blossom Pattern Stamping with Channin
I have a video that you can view down below or on my YouTube channel.
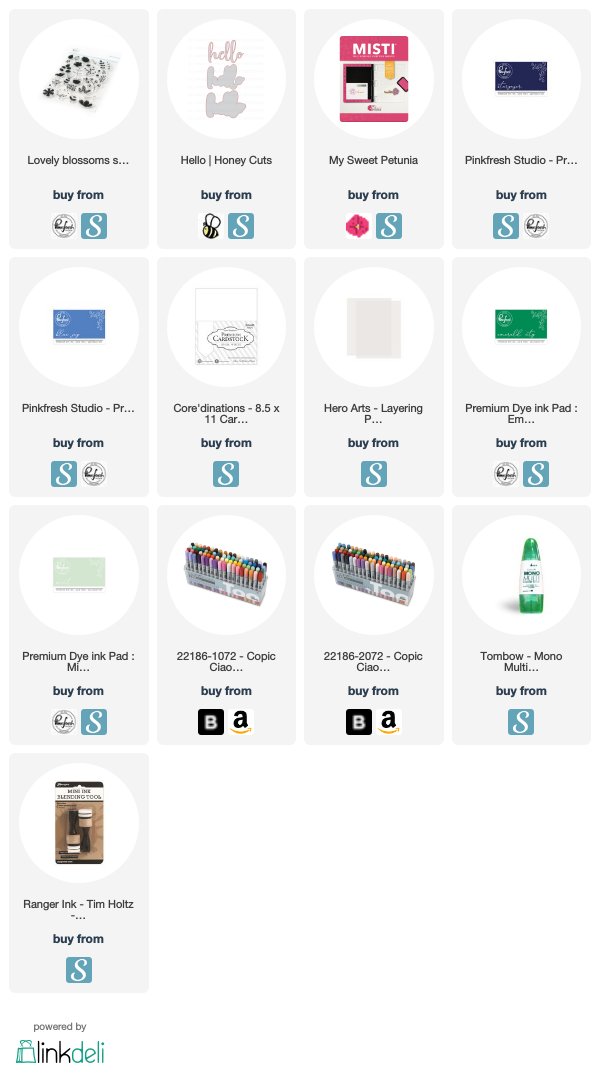
First, I arranged several stamps from the Lovely Blossoms Stamp Set from Pinkfresh Studio on the lower half an A2 panel. Lovely Blossoms is a layering stamp set so the first group of stamps that I arranged are the first layer for the images. I then picked them up with my MISTI and then stamped them in Stargazer dye ink. I then rotated my panel 180 degrees and stamped the other half. Next, I removed the stamps and positioned the second layer stamps. I then inked the stamps up in Blue Jay dye ink and stamped half of the panel. I then rotated the panel 180 degrees and stamped the other half.
Next, I decided to fill in some of the white space by making small dots with a copic marker (B32). Once I finished adding all the dots I then die cut a "hello" out of white cardstock 4 times. I adhered two of the "hello's" together and set aside. Next, I die cut a shadow layer out of vellum and adhered the two glued "hello's" to the underside of the vellum.
I then ink blended over one of the "hello's" with Stargazer and Blue Jay ink and then adhered it on top of the last "hello". I then adhered this pair on top of the vellum shadow layer. I then trimmed 1/8" off all the sides of my stamped panel and then adhered the panel on to an A2 top-folding card base. I then finished my card by adhering my sentiment.
I actually made my second card simultaneously with my first. After I stamped the first layer stamps onto my first panel and while I still had all the stamps arranged in my MISTI, I stamped a second A2 panel with them but this time used a green shade, Emerald City.
I then arranged the second layer stamps, stamped the first panel and then stamped my second panel in Mint. I used YG11 for the dots and then finished the card in the same manner just using Emerald City and Mint instead.
I hope you enjoyed! Thank you so much for stopping by!