Thursday, October 31, 2024

Happy Haunting!

Happy Halloween! I hope you have a safe and sweet Halloween.  

The MISTI is a fantastic tool for everyday stamping and more! It did a spectacular job with the clear, solid stamps I used on this project. 

First, I masked the moon and blended Distress Ink over the entire cardstock. Then I placed a Sticky Mat and my inked cardstock in the MISTI. I positioned the haunted mansion in the center of the cardstock and picked up the stamp with the lid. Clear, solid stamps usually need to be stamped more than once, so I love that the Sticky Mat holds my paper in place for precision stamping every time!  I stamped the bats twice to get a dark impression and added the sentiment!  

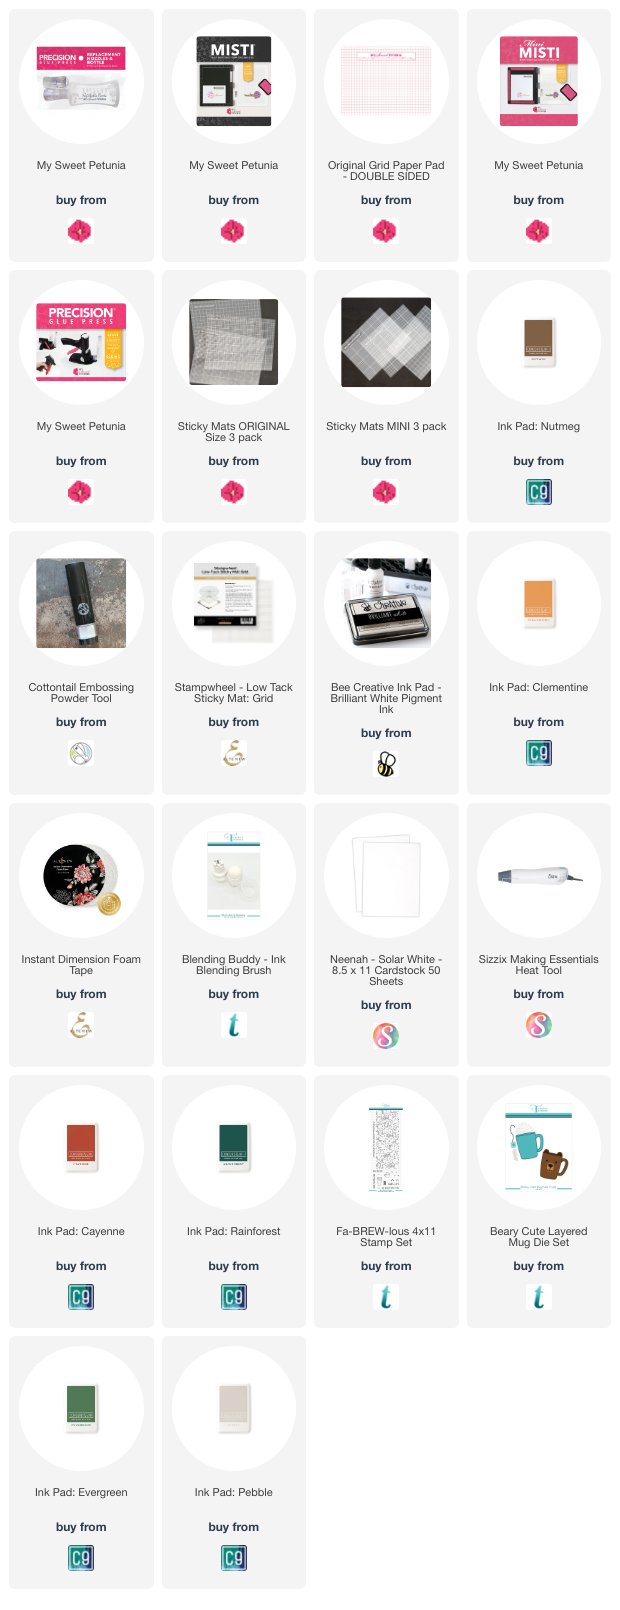
Tools used in making this fun Halloween card:


The spooky stamp set is called Happy Haunting.

Thanks so much for looking!  

Wednesday, October 30, 2024

Caught a Bug!


Hello everyone! Anna here, with greetings from the pacific northwest! The card I’m sharing today was made using the recently released Get Well Bug limited edition clear stamp set from Whipper Snapper Designs. Since I was stamping on watercolor paper, I needed to be able to stamp the images and sentiment multiple times to ensure a great impression! I used to Mini Misti to stamp the happy bug and his trail lines in various places on the watercolor panel. The Mini Misti also allowed me to precisely place the sentiment and stamp it several times to get a great impression!

I love how the Mini MISTI allows me to stamp perfectly, every time! On card panels or on smaller sentiment banners, I can stamp with precision every time, giving me the perfect placement and impression for every project.  Sentiments are stamped perfectly placed, and stamped images on watercolor paper (or other textured papers) are a breeze to create!

Thanks for joining me on the blog today!

Tuesday, October 22, 2024

Fantastic Use of the Sticky Mat

 Hello friends, 

I just love my MISTI Sticky Mats for holding in place smaller die cuts, or large pieces of cardstock to stamp a large image.

When your stamp must cover your entire cardstock piece, slip in a sticky mat and you're all set.


In this example, my cardstock is cut at 3-1/4" x 8-1/4" for a slimline layer. The adorable stamp from Trinity Stamps is just slightly larger than this piece of cardstock, leaving no space for the magnet on the cardstock to hold it in place. 

Insert a sticky mat and add your magnet to the sticky mat to hold it in place and you're ready to stamp.


I created this fun card using the Beary Cute Layered Mug die set.


The full product list for this card is below.

Sunday, October 13, 2024

Best Witch Halloween Card


Hello everyone!!!  I know it has been a long time since I have posted.  I had to share this card.  In September, I went to a craft retreat and meet a new friend named Tara.  She created an amazing background.  I was so inspired, I had to go get all the supplies to make it.  I had actually never made a Halloween card, so I had to get Halloween themed supplies.

You know me, I like to keep posts short so here is the video - supplies are below!  


NEW teal mini
[ MSP ]
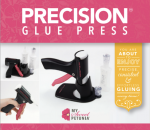
Precision Glue Press
[ MSP ]
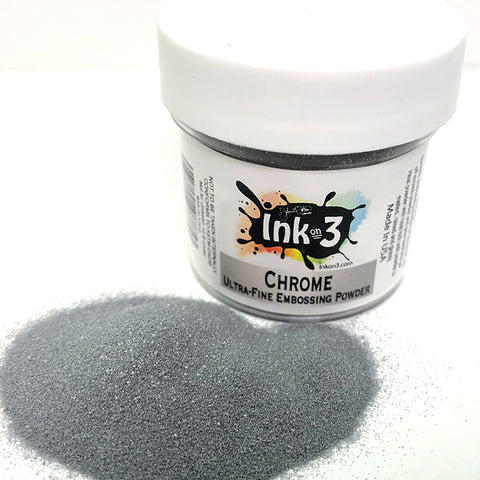
Chrome Embossing Powder
[ INK ]
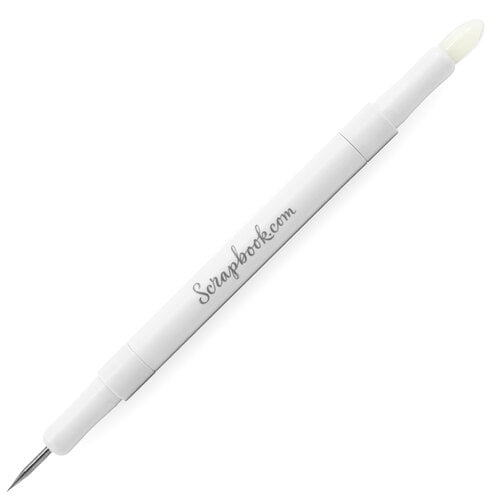
Craft Pick
[ SBC ]
Light Grey Ink
[ SBC ]
Stencil Extender
[ SBC ]
Mini Empress
[ SBC ]
Spiderweb Press Plate
[ SPL ]
Rainbow foil
[ SBC ]
Glimmer system
[ SBC ]
Black licorice cardstock
[ TE ]
Swiffer
[ AMZUS ]
Cut Align
[ MSP ]
Craft Knife
[ AMZUS ]
Circle Dies
[ HA ]
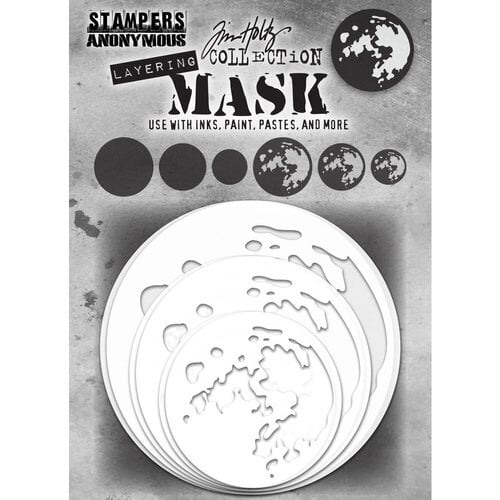
Moon Mask
[ SBC ]
Purple Tape
[ SBC ]
1 Inch Blending Brush
[ SBC ]
Scor-Buddy
[ SBC ]
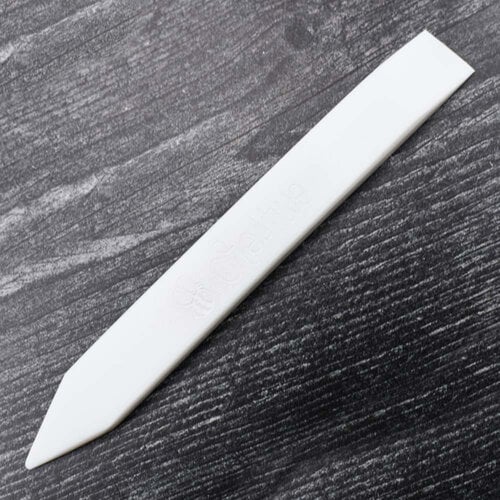
Teflon Folder
[ SBC ]
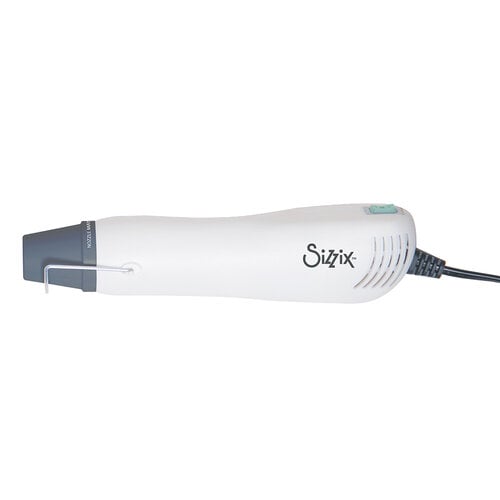
Heat tool
[ SBC ]
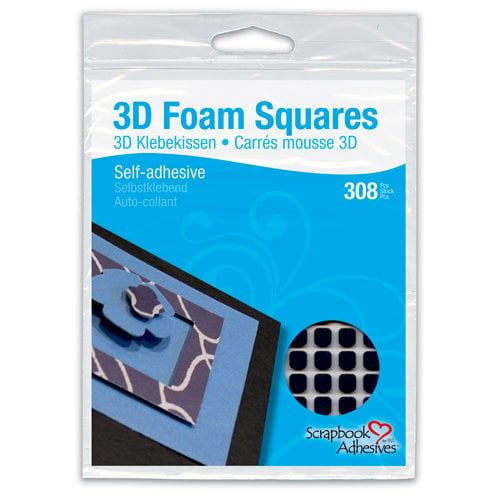
Black foam squares
[ SBC ]
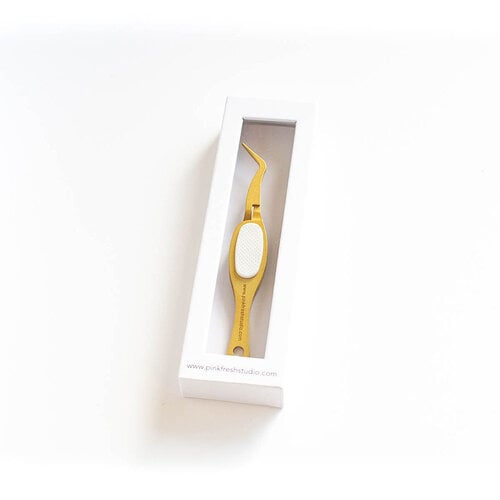
Tweezers
[ SBC ]
Sea Salt Cardstock
[ TE ]
Foam Strips
[ TE ]
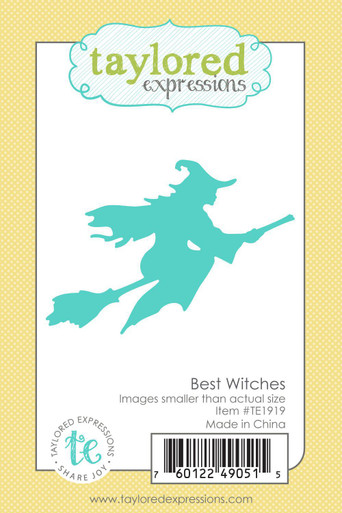
Best Witches
[ TE ]
Grid Paper
[ MSP ]
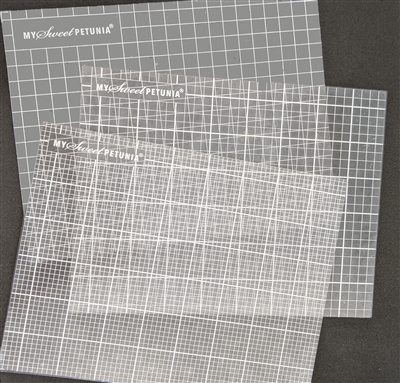
Sticky Mats Original Size 3 pack
[ MSP ]
My Sweet Petunia
[ MSP ]
Bar Magnet
[ MSP ]
Sheer Shimmer Sparkle
[ AMZUS ]
Pure Black
[ OLM ]