Tuesday, November 28, 2017

Birthday Gift Set

Hello everyone. Kia here with you today for Team Tuesday with My Sweet Petunia aka MISTI.

I have made a gift set for my friend who has a birthday close to Christmas. I always feel that December birthday celebrations get cheated ... but that is probably just me. But, to make this special for my very special best friend I did a fancy card with a matching gift box and envelope. I have also done a video showing the process, and will add a few pictures from that for a picture tutorial, as some have said they prefer that to videos, and we like to keep everyone happy.

First, my set.
Here are some close-ups to view, first the card,
then the box.
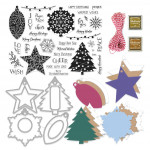
I started by stamping two of the Poinsettia images on Fabriano Hot Press 140lb watercolour paper using Tim Holtz Distress Blueprint Sketch Ink, that I heat embossed using clear embossing powder, and proceeded to watercolour using Fossilized Amber, Blueprint Sketch and Mowed Lawn.
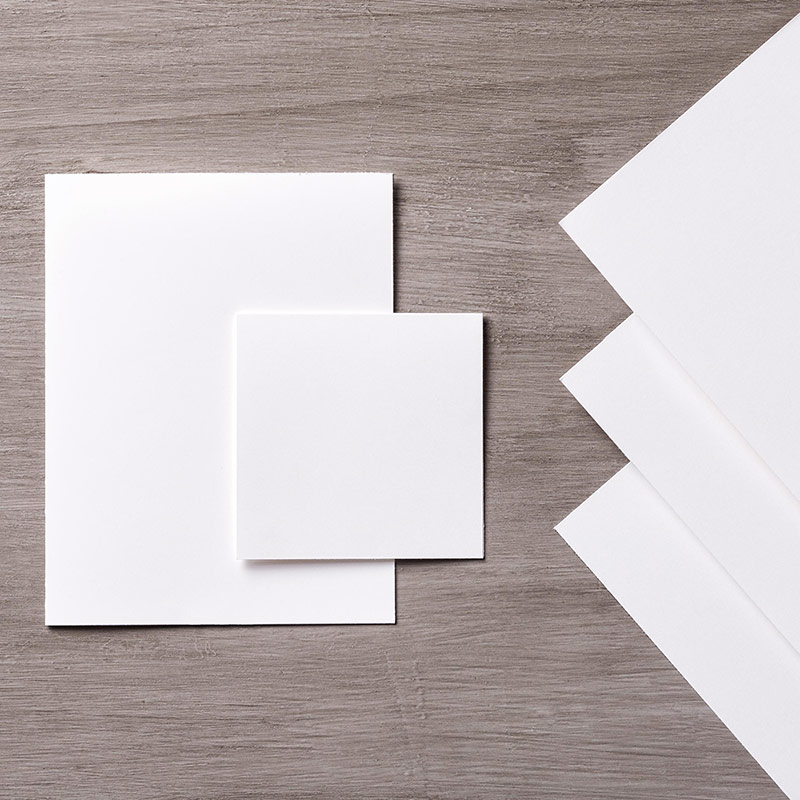
I painted two as I wanted to use one of the cards to make my box, but mid way through my project I decided I wanted my painting to be attached on blue card stock. So, I cut both cards down along the fold, keeping the painted image. I added the blue card stock to my card, and cut another piece of the blue card stock for my box bottom. To ensure the box fits snugly, cut it 1/8th" smaller than the cover on one side. This will be enough to allow it to fit. 
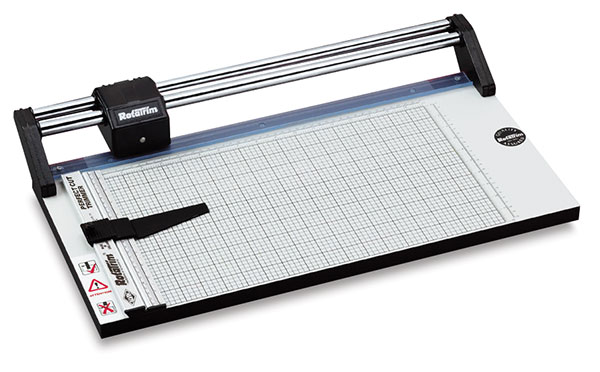
I use the grid lines and creative corners in my Misti to find the exact centre of the base for the box bottom. That is to say, using a ruler on on the diagonal mark the centre by drawing a line in the centre of the card, then turn the card and using your ruler, corner to corner on the diagonal, make your second line, which forms an X in the centre of the card. As this is a square card, it does not matter what sides you use to cut, (as long as the cuts are done on opposite sides), make your cut to the fold line as shown in the picture above. Use your bone folder to make crisp folds. 
Add your adhesive to the small flaps as shown above. It is these flaps that will be together with the bottom flap coming up and glued to keep them in place. Do the same for the opposite side. This will form the box. Do the same using the the top of the box piece. 
Shown here, I am folding the edges up to the centre. Proceed the same way, then decorate both your card, box and envelope for a pretty gift set.

The video follows. I tried my best to keep it as short as I could. 


I hope you enjoy this project and thank you for joining us today.

Products: MISTI Original, Frantic Stamper Deckled Circles Die Set, CottageCutz Deer Die Set, Cheery Lynn Poinsettia Die Strip, Fabriano Hot Press 140lb Watercolour Paper, Bazzill Card stock, Silver Glitter Card stock, Vellum Paper, Stylus, Ranger Archival Manganese Blue Ink (for sentiment), Tim Holtz Distress Inks Fossilized Amber, Blueprint Sketch and Mowed Lawn, Aqua Brush, Kaiser Pearls.

Friday, November 24, 2017

Celebrate your unique talent day!

Lydia here - I'm sneaking in with a surprise blog hop for Iliana today!

I love those calendar sites that give you fun holidays for every day of the year.

I really need to keep one by my desk to keep some humor in my calendar.

Today is Celebrate Your Unique Talent Day, so I'm a guest in a hop with the My Sweet Petunia team, celebrating Iliana's unique talent as the inventor of the MISTI.

When I fell in love with stamping, I actually fell in love with stamping. Inking a stamp and putting it on paper. As I got more skilled, and got better tools, nothing replaced the love that has kept me making cards for more decades than I care to admit right now - stamps, ink and paper. You could take away my Big Shot, my heat gun - all of that, but the one thing you can't take away is my stamps and my MISTI.

The MISTI is the only thing I own that has actually revolutionized my one true love and made it EVEN MORE enjoyable, something I didn't used to think was possible.

So from the very bottom of my heart, I thank Iliana for changing not just my stamping, but for changing the crafting industry, and filling a need even the most experienced stampers didn't know we had. I'm even more thankful for her friendship, and so glad that this incredible tool brought a woman I love so much into my life. She has a very tender heart, a very large brain, and is one of the bravest people I know. She's one of those people I know I could call at 2 AM and she'd be there for me. (Not that I'm ever awake at 2 AM, and not that I ever make phone calls. But she'd be there!)

Her unique talent has greatly enriched my life, and Thanksgiving week is the perfect week to tell her that. So thank you, my friend. And y'all should all thank her for her storewide sale this week! The whole store is 20% off - no coupon needed. Sale runs through the 26th.

I also love pandas. That is a stone cold fact. So the card I made for Iliana today is featuring a set that made me scream in my hotel room in Salt Lake when I saw it - I'm surprised security didn't break down my door. It's the new Hi There Bear set from Concord & 9th. I paired the card with a BARC Wood envelope that I stamped with another image from the Hi There Bear set. Yes - the envelope is actually made of a beautiful wood veneer. I used the size linked below, which is smaller than an A2 - but I liked it because it made the bear more prominent. The self adhesive sequins (SQUEE) and the striped paper are from the upcoming Occasions catalog. Click here if you'd like a copy in the mail.
Hi There Bear BUNDLE
[ C&9 | SSS | ELH ]
Doodlebug EERIE EYES Sprinkles Shapes...
[ SSS ]
Stewart Superior Memories India Ink...
[ AMZUS ]
Arc BIRCH WOOD ENVELOPES 4 Bar ARCBW55
[ SSS | ELH | AMZUS ]
Whisper White Cardstock - Thick
[ SUP ]
MISTI Stamping Tool
[ MSW | SSS | ELH | SBC ]
Rotatrim Professional Series Cutter -...
[ BLIC | AMZUS ]
Absorber - Synthetic Cleaning Cloth
[ AMZUS ]
Multipurpose Liquid Glue by Stampin' Up!
[ SUP ]
Big Shot by Stampin' Up!
[ SUP ]
Since I have a voice this week, I thought I'd do a video of the process for you, and share some thoughts about bears.


I hope you had a wonderful Thanksgiving! Since you're probably still in your stretchy pants, why not visit all the other blogs in the hop for your chance to win an original or mini MISTI - your choice!
you are here >>Lydia<< you are here


Also - I've updated my searchable sentiment database to include the Occasions catalog, so if you are already subscribed, you're all set. If you aren't - you can do so here. Thanks for stopping by today! Please leave in the comments what YOUR unique talent is - I look forward to reading them! Loveyameanitbye.

Tuesday, November 21, 2017

Team Tuesday with Ilina and Storewide SALE!

Hi stampers!
It's Ilina and Happy Tuesday! Tuesday over here means that one of the My Sweet Petunia Design team members is taking over the blog and sharing their creations. So, today it my turn.

However before I go into my eye candy, I wanted to let you know that My Sweet Petunia is having a store wide sale this week. 20% off everything in the store. No code is necessary and the discount will be applied at checkout! So, if you have been on the verge of getting your first MISTI, or the 2nd or your 10th, now it's the time! You can visit the store HERE

And, now it's time to move to the eye candy. I have two cards for you today and a video! Since Thanksgiving is in couple days (in the US) I decided to go with Fall/Thanksgiving theme and used the Concord and 9th Dahlia turnabout stamp set and dies, the Hero Arts Have a Joyful thanksgiving wood mount stamp and the new Catherine Pooler Spa Collection inks! 
The Concord and 9th turnabout stamps are designed to be used with the MISTI. So I stamped the dahlia three times with Sauna, Daydream and Green tea inks, then for the 4th I stamped with Versamark ink and embossed with Hero Arts Copper Embossing powder. Then using 2 sets of Creative corners I created little positioning tool for wood mount stamps and the MISTI and magnets on the corners helped keep it in place in the MISTI, so stamping was a breeze. Watch the video below on how I did that. For my 2 card I did almost the same process, except for the last step of the dahlia instead of stamping, I die cut it, using the coordinating dies. 
I kept my cards simple because I wanted the focus to be on the Dahlia and the sentiment. 


Tuesday, November 14, 2017

Team Tuesday with Stephanie ~ MISTI Marbled Courage

I bought the Layering Marble Stamps from Waffle Flower because I knew they would be super-fun to use with my MISTI.  The colors for my card were inspired by this Sunset Watercolor Marble Rug from Frontgate.

Front9

I started with Yellow Cardstock to build my base.  The Stamp set has three layers to create the marbled effect.  There is a cheat sheet on the website to show you how to line-up the layers.

WF1wm
I began with Wendy Vecchi's Pink Peony Ink for the first layer.  I positioned my stamps where I wanted them and then used my MISTI lid to pick them up.  

I love my 12" Memory MISTI for these types of projects because I have plenty of room to move things around.  And the Bar Magnets are awesome too.

WF2wm
Next I positioned the same three stamps to cover my cardstock with marbled goodness.

WF3wm
Then I remembered there was a fourth stamp, so I found it a home too.

WF4wm

Then I used Hero Arts Rose Madder Rose Hybrid Ink for my second layer of marble (in hindsight something slightly lighter would have provided more contrast to the third color, but I love the effect ... that's the fun of these stamps ... there are so many possibilities).

WF5wm

Finally, I stamped the third layer in Cherry Pop and then went back and re-stamped several of the elements to fill out my design a bit more.

WF6wm

I used a sketch from The Paper Craft Crew Challenge blog for my layout with a sentiment from Essentials by Ellen Courage.

IC622wm

I love how the colors matched one of my ceramic fish ash trays in my studio.

IC622-2wm

Stephanie from 

Monday, November 13, 2017

Howdy - Lydia here today. I was a guest over at Gel Press last week and I have a fun experiment for you today. Normally when you gel print, you're using acrylic paint, which is opaque. The layer that goes onto the Gel Press first, and then becomes the bottom layer of paint, is actually the layer that will appear on top of your print. So you're sort of always thinking about your design backwards. Or you're just experimenting and not thinking about it at all - my method :). But transparent, non-alcohol mediums don't work that well on the surface of the Gel Press, because they are water-based and just pool on the gel. That is, until now! I have a little trick for you for using dye-based reinkers with your Gel Press! I didn't do anything fancy - just layered stencil printing using my MISTI, but this trick opens up a world of possibility with all sorts of transparent mediums and the Gel Press - watercolors, inks, anything you can think of. So I made a birthday card out of my experiment, with the help of this month's My Monthly Hero Kit, a fun stencil and some Neat & Tangled dies.
Gel Press Reinker technique by Understand Blue
My Monthly Hero Kit - November 2017
[ HA ]
The Crafter's Workshop MINI CUBIST...
[ SSS | JGG ]
Gel Press 3 x 5 REUSABLE GEL PRINTING...
[ SSS | JGG | BLIC | AMZUS ]
Hooray Word - Nice and Neat Dies
[ N&T | SSS | SBC ]
Hooray
[ N&T | SSS | SBC ]
Daffodil Delight Classic Stampin' Ink...
[ SUP ]
Lemon Lime Twist Classic Stampin' Ink...
[ SUP ]
Versamark Refill by Stampin' Up!
[ SUP ]
Tempting Turquoise Classic Stampin'...
[ SUP ]
Golden Taklon Wash Brush Set Sizes...
[ AMZUS ]
Amazon.com | 1 Dz White Porcelain...
[ AMZUS ]
Whisper White Cardstock - Thick
[ SUP ]
Lemon Lime Twist 8-1/2" X 11"...
[ SUP ]
Merry Little Christmas Designer...
[ SUP ]
MISTI Stamping Tool
[ MSW | SSS | SBC ]
Absorber - Synthetic Cleaning Cloth
[ AMZUS ]
Hero Arts Intense Black Ink
[ HA ]
Isn't that festive? I love the layered inks - especially in the spots where you can see all three colors. So want to see what I did? Here's a quick video of the process - enjoy!