Showing posts with label #pinkfreshstudio. Show all posts

Tuesday, September 3, 2024

Team Tuesday with Pinkfresh Studio

(Our team uses affiliate links where possible)


Hey there crafty friends!
It's Ceal, here. Welcome to Team Tuesday, today I am sharing a couple cards using come holiday products from Pinkfresh Studio along with the Original Misti, Sticky Mat and Precision Glue Press. 
To make these cards, I started with a white top folding A2 card bases and a a couple of panels. I stamped the image on the panels using the Original Misti because it a cling stamp and you cannot see through it which means the Misti is a necessity to use this stamp.  After I got the images stamped, I placed the panel on a Sticky Mat inside the Misti so I could use the coordinating stencils to color the image. 


The first card, I actually created it second. Once I was done with the card below I realized I forgot to use the die and I had already cut the panel down so I created a second card (above). I cut several layers out so i could stack them for dimension. I also embossed the sentiment in gold to match the berries. 
The card below I added the stenciled panel on a panel of black and embossed the greeting on black with white embossing powder. 


The top one is my favorite, which one do you like best?
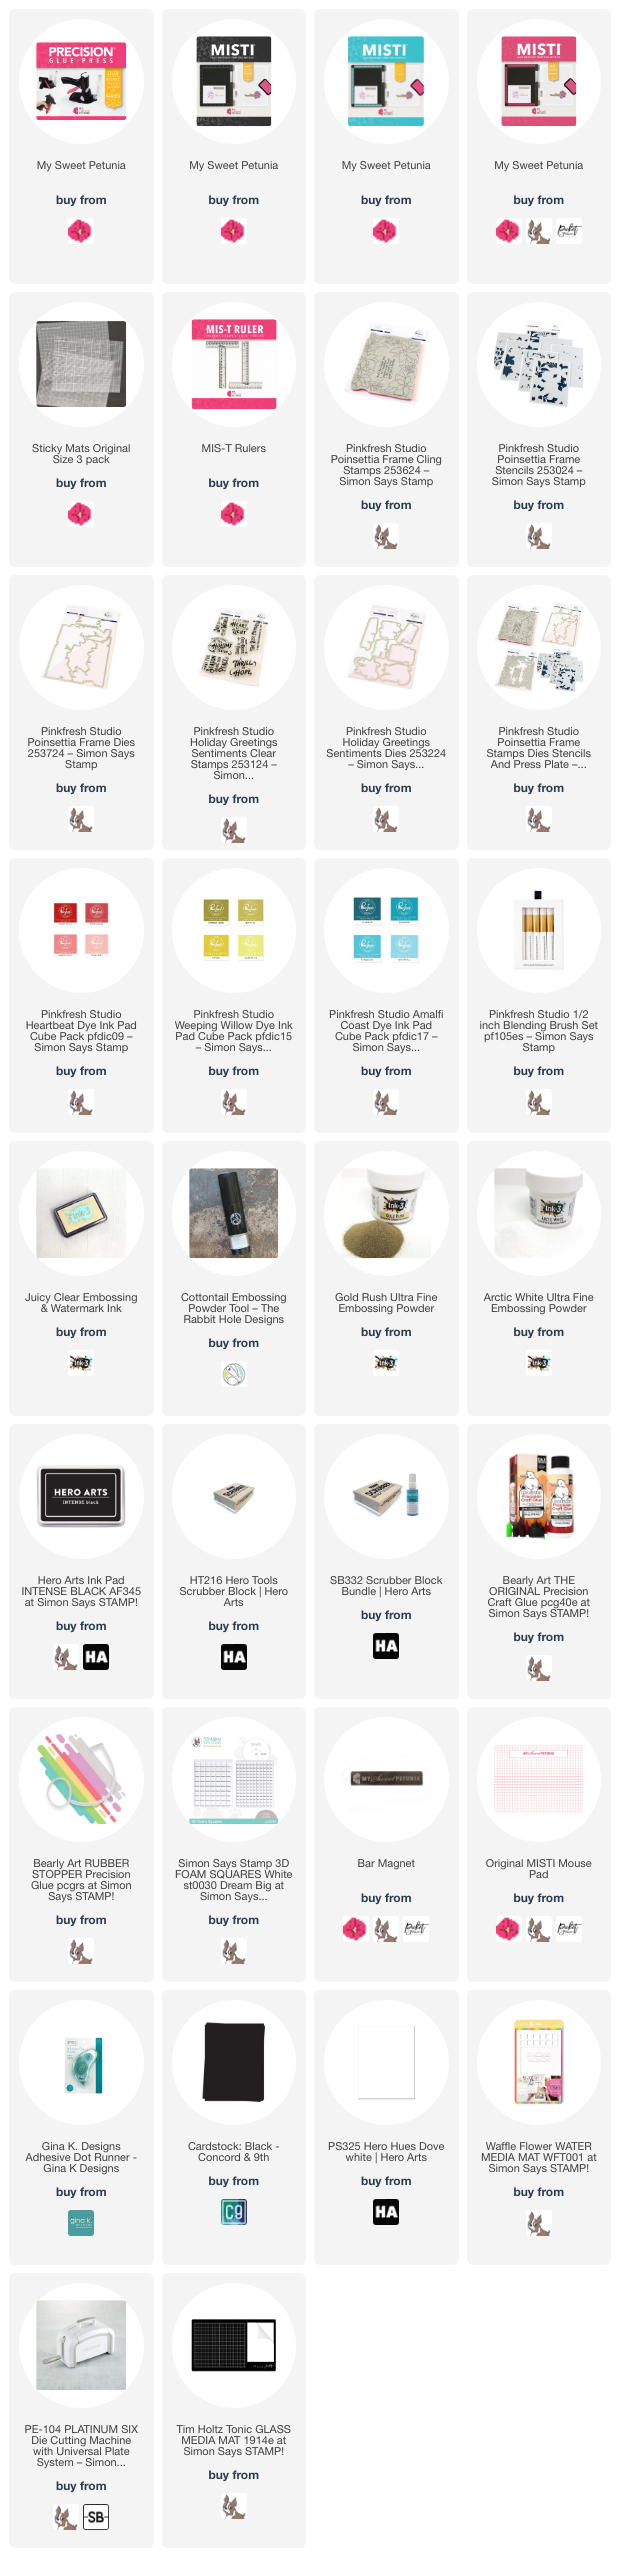

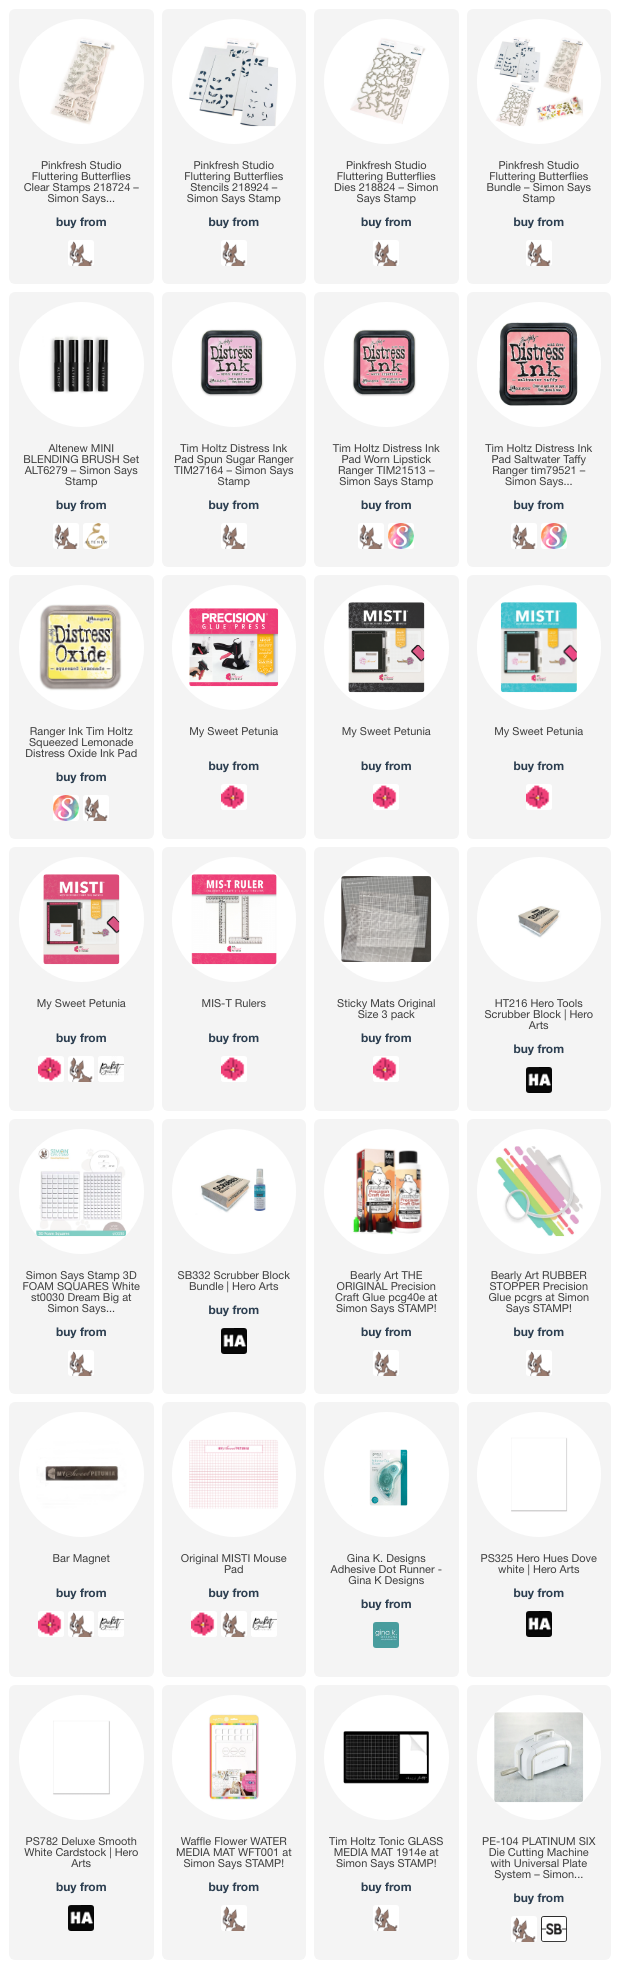
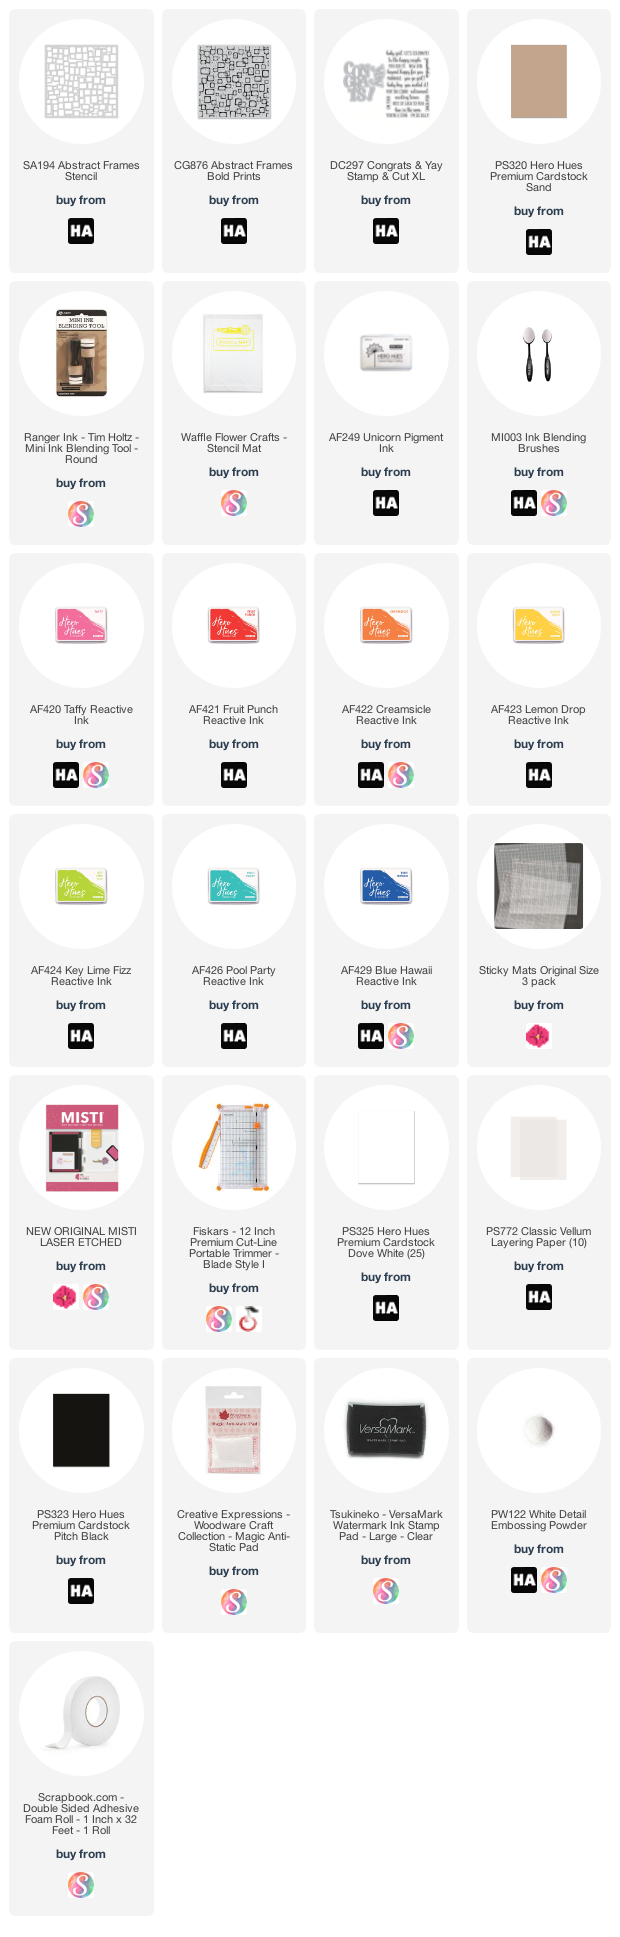
Here are the supplies I used 


Tuesday, May 14, 2024

Team Tuesay with Pinkfresh Studio

(Our team uses affiliate links where possible.)  

Welcome to Team Tuesday!
it's Ceal, here. Today I am sharing a card using a Pinkfresh set that has coordinating stencils dies and even washi tape.
To make this card, I started with a white top folding A2 card base, a  couple white panels and a white piece of half sheet of cardstock cut to 8.5 x 5.5 
I placed half sheet of white cardstock in the Original MISTI and stamped the butterflies and leaves (which is all one stamp btw). I used distress inks and the coordinating stencil to color them and cut them out with the die which cuts them all at once. 
Next I used the Rounded and Braided rectangles die set to cut the decorative panel and I used a stitched rectangle die set to cut the other panel.
To finish the card, I added a die cut sentiment to the decorative panel. 


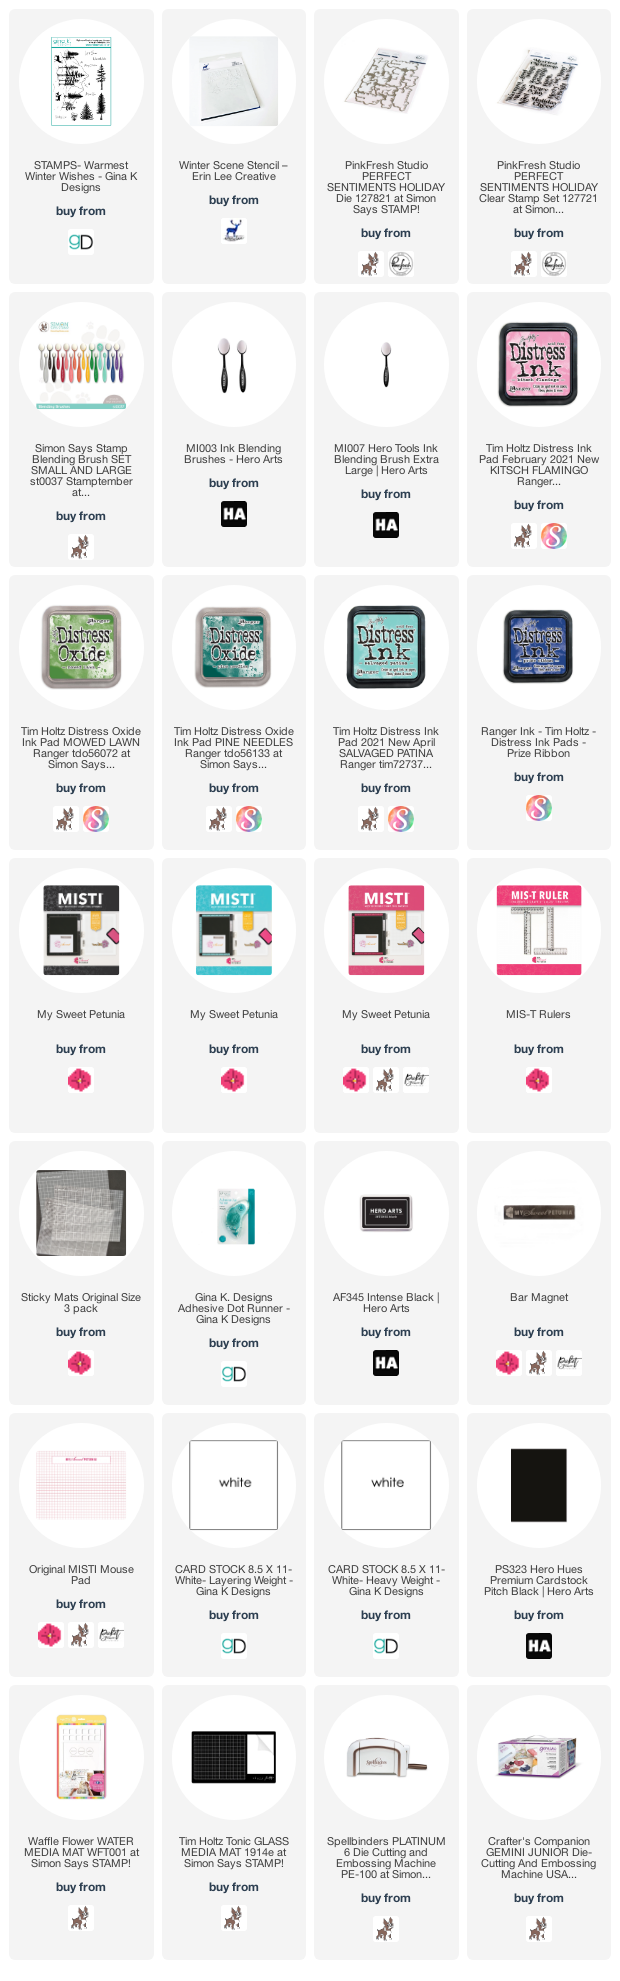
All products are linked below when possible. I appreciate you using my links as it helps me earn a little commission at no extra cost to you. Please accept the cookies because that is how they track the sales. 

Thanks so much! 

Until next time <3

Wednesday, November 2, 2022

Winter Scene With Ceal Pritchett


Hello Everyone!
It's Ceal, here on a wednesday for Team Tuesday. Today I am sharing this card made using my new Teal and Black Mistis, Sticky Mats and products from three different companies and all will be linked below as our team uses affiliate links at no extra cost to you but when used they help create a little revenue for us.

For the details of my card I started with a white top folding card base and a white panel. I placed the panel down on a sticky mat and then added ink, The sticky mat holds the panel in place while you blend. I did this for all six stencils. 
After I got it all blended I used a stamp set by Pinkfresh Studio set for the greeting that I received in a retreat I participated in so it may not be available to the public yet but I linked another that is close it. I embossed the greeting in silver powder and then cut it out with the coordinating die. 
The deer is from a Gina K Designs set and was stamped multiple times using the Misti to get good coverage since I had ink blended the tree first. Seems like the set I used with the deer has been discontinued  but I linked another that was close to it. 


Tuesday, June 14, 2022

Team Tuesday with Ceal


Hello friends! 
It's Ceal, here. Welcome to team tuesday! 
Today I am sharing a card using a mix of Concord & 9th and Pinkfresh Studio. 
I have linked to the products below using affiliate links where possible. 

To make this card I started with a white top folding ard basem a white panel and a black panel. 
The stamp set I used is a set that has a layering stencil to go with it and makes it super quick to make a card. 
I stamped the floral image down the used the stencil to color it. When coloring with Layering stencils I use Sticky Mat along the Original MISTI . I place my cardstock in the corner, this allows me to line up each stencil perfectly.  Next I cut out all the pieces which was also super easy because it all cuts out at the same time, used some of them and added a little to my floral images. 
I used a cover plate by Concord & 9th cut out of white paper to contrast the black. 
I finished the card with a sentiment also by C9. 


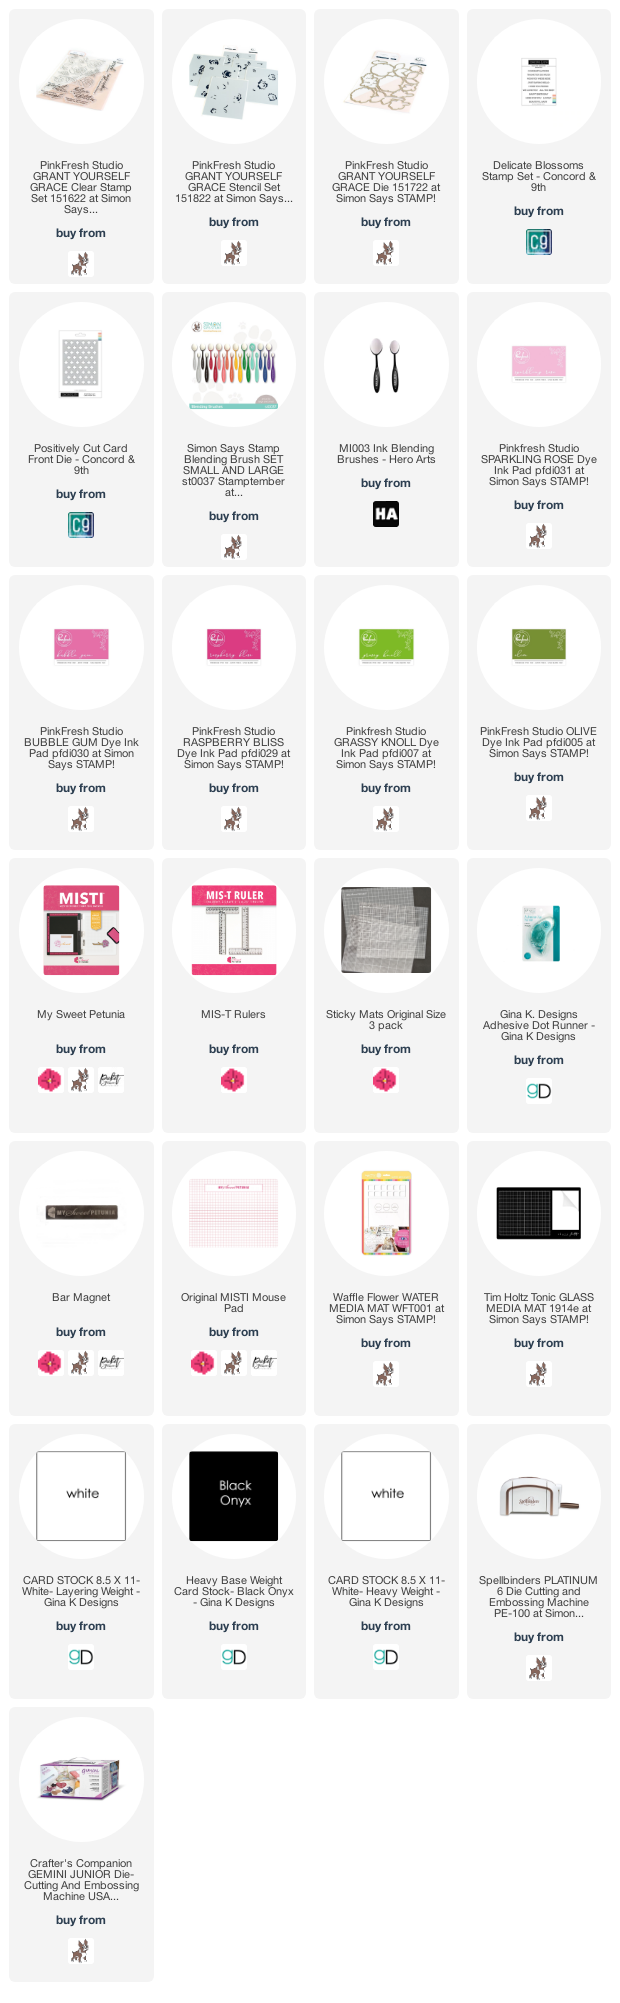
Below you will find links to the products used. Click the picture to start shopping. Compensated Affiliate links are used at no additional cost to you. Your support helps me to keep bringing you new projects and I appreciate that so much!  

Thank you! 

Tuesday, May 17, 2022

Spring card Camp meets Team Tuesday


Hello friends and welcome to Team Tuesday. It's Ceal, here. 
Today I am sharing a couple cards that I created using a technique that I learned when taking the Spring Card Camp. 

The technique is ink lifting and for the first card I used a background by Erin Lee Creative and the second card is a background stamp by Simon Says Stamp. 
To make these cards I started with white top folding card bases, black panels for mats and a white panel to ink blend on. 
I placed the panel on the Sticky Mat in the Original MISTI and laid the background stamp over it and then picked it up with the door of the Misti. I inked up the stamp with embossing ink and then stamped it down twice to get good coverage and embossed it with white powder.

If I tried this technique without a MISTI, I would be throwing away a lot of panels.
If you haven't bought yourself a Sticky Mat yet I would advise you to go buy one right away, they come three to the set and to me they are a necessity in the craft room. 


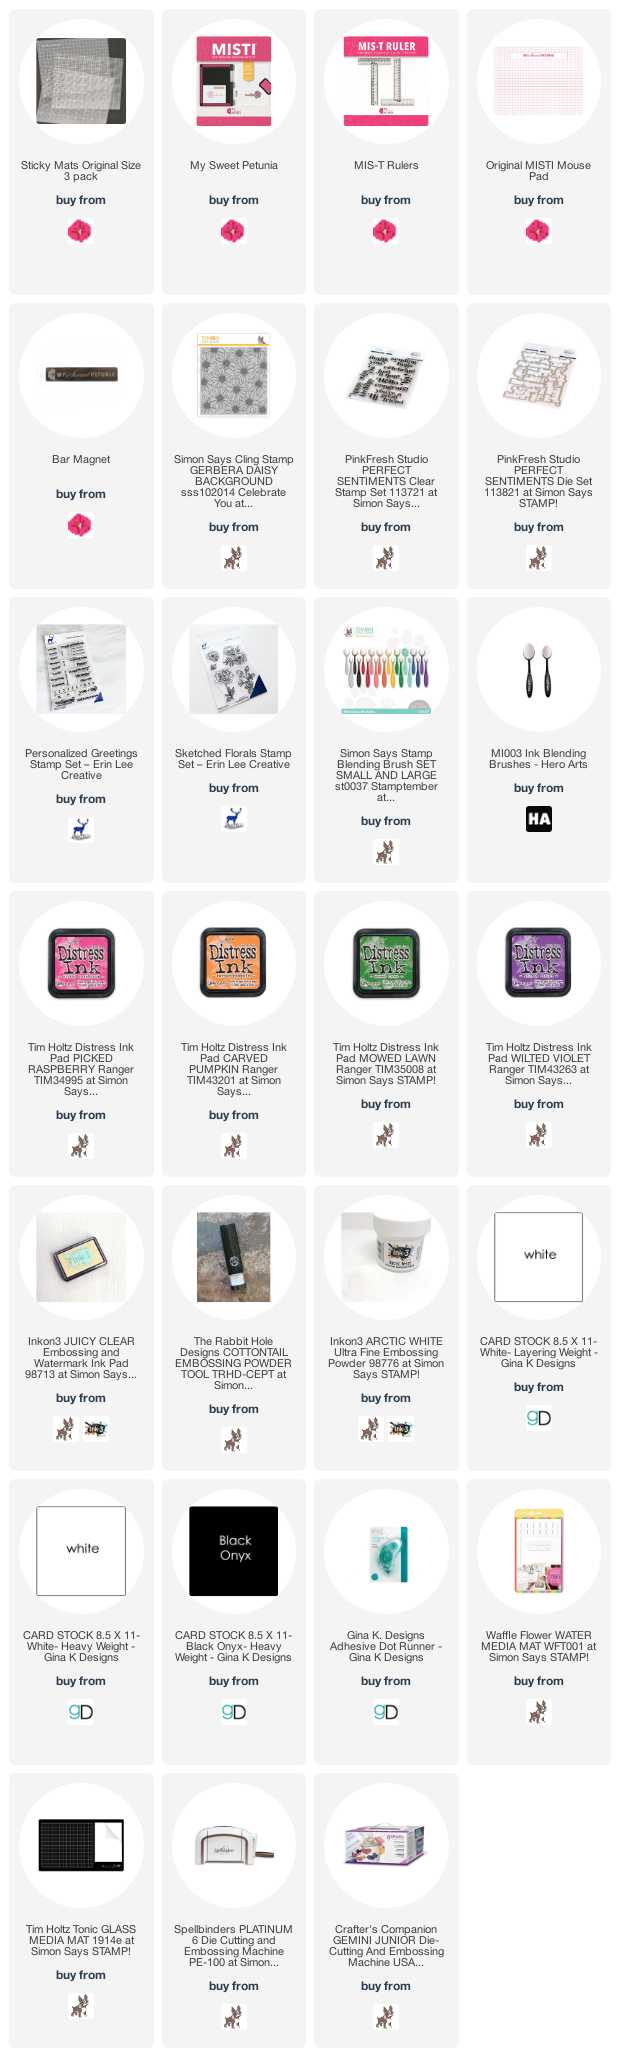
This Post uses compensated affiliate links where possible. When you place an order after clicking one of my links, I receive a small commission at no additional cost to you. Thanks so much for shopping from my links and supporting me <3


Tuesday, March 1, 2022

Pattern Stamping with the MISTI


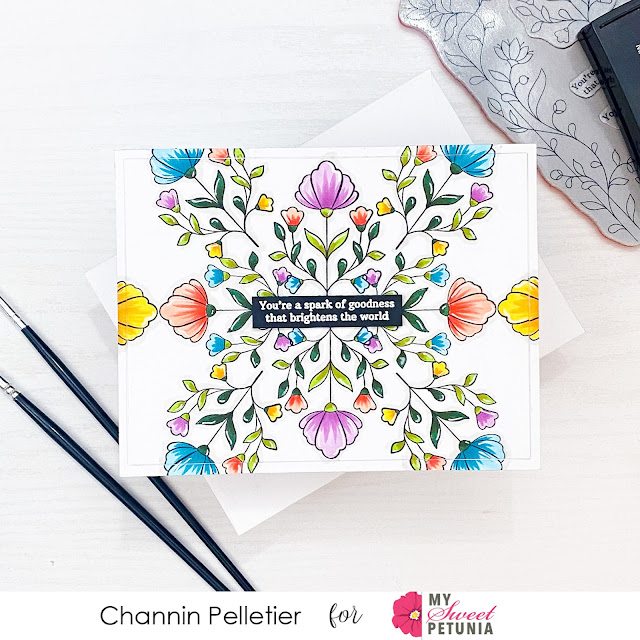
Hello friends!! It’s Channin here and today I’m once again sharing a favorite MISTI stamping technique! Using a single stamp I’ll create a beautiful floral background with a few turns!


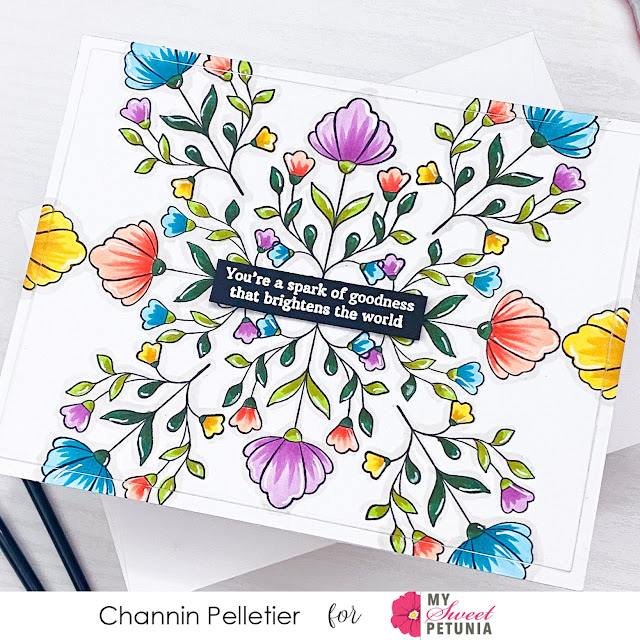
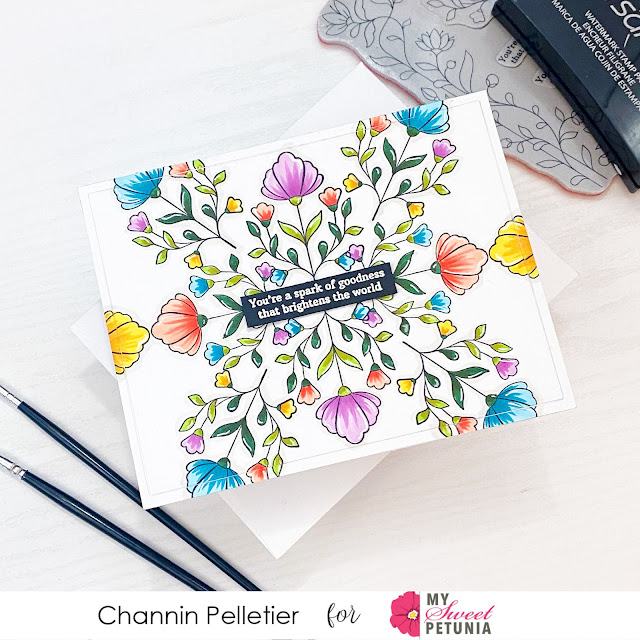
To create this card I first stamped a floral stamp from the Spark of Goodness Floral Frame stamp set onto an A2 panel of white cardstock in Memento Tuxedo Black. I positioned this stamp centered and in the upper half of my panel. Next, I left the stamp in place in the MISTI and then turned the panel 180 degrees and then stamped the panel again to add the floral image to the lower half. I then repositioned the stamp and stamped the left side of the panel and then rotated the panel 180 degrees and stamped the right side of the panel. I repeated this process a few more times till I had completed the pattern. 


Next I copic colored all the images and even added a shadow around all the images as well to create more depth. I then finished coloring the images by adding some white gel pen accents. 


Next, I die cut the panel with a rectangle die to create a frame. I then adhered the two panel pieces to the front of an A2 top-folding white card base. Lastly, I finished the card by stamping and white heat-embossing a sentiment onto black cardstock and then adding the sentiment to the card front with foam adhesive. 


I hope you enjoyed my card! Thank you so much for stopping by!


~Channin


Supplies: 

Tuesday, February 1, 2022

Rainbow with Gradation/Ombre Stamping

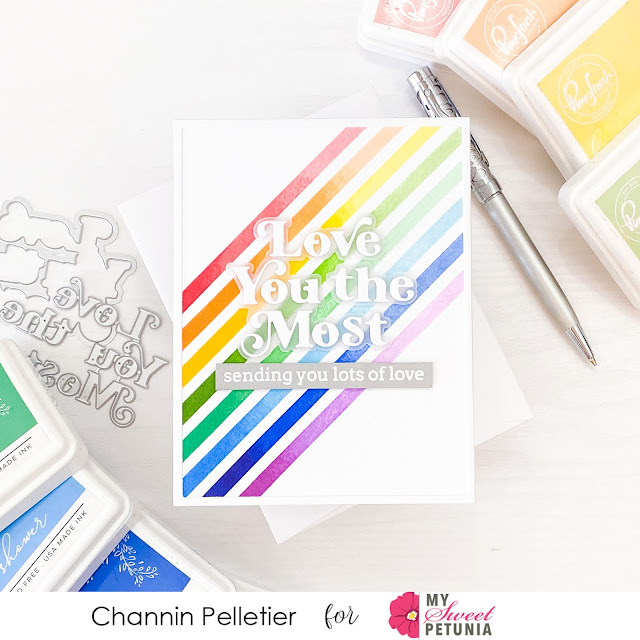
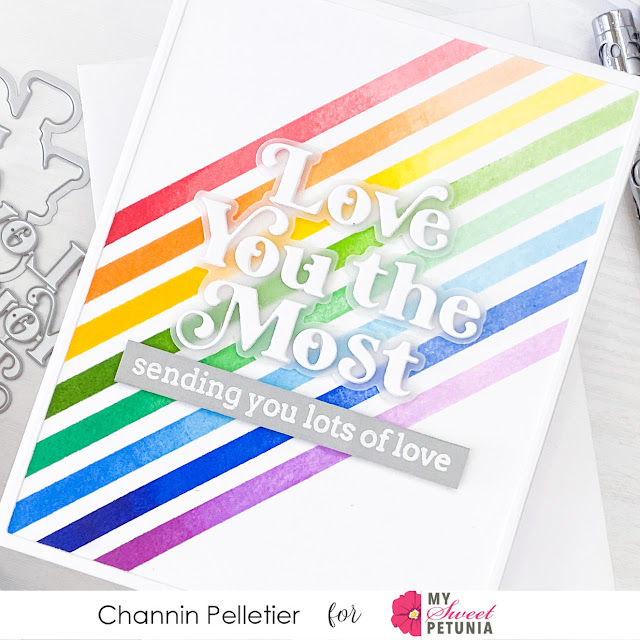
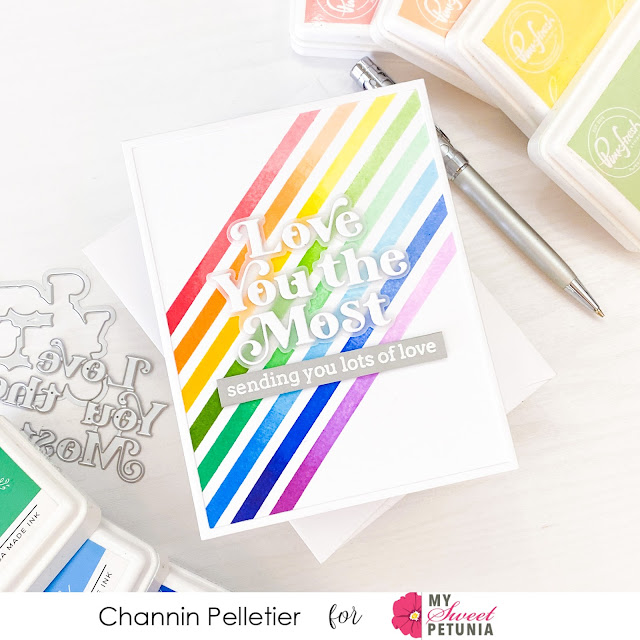
Hello friends!! It’s Channin here and today I’m sharing one of my favorite MISTI techniques, gradation/ombre stamping!! I use this technique to create a beautiful fading rainbow background featuring stamps and dies from Pinkfresh Studio. 


To create this card I first stamped the background using the Pop Out: Diagonal Stripes Cling Stamp Set. I started with the #6 stripe stamp and inked it up with Coral Reef ink and stamped it onto a 8 1/2” x 5 1/2” panel of white cardstock. I then partially inked up two thirds of the same stamp in Passion Fruit, a slightly darker red ink and stamped the stripe again. I then finished the stripe by partially inking and stamping the last third of the stamp in Berrylicious ink. I repeated this process for stripes 7-13 using three different inks (a light, medium, and dark) for each color of the rainbow. 


Once I had finished stamping the background I then cropped the panel down to an A2 panel and adhered it to the front of an A2 top-folding white card base. I then created a thin white rectangle frame using nesting rectangle dies and adhered the frame to the card front.


Next, I die cut a sentiment out of vellum and white cardstock using the Love You the Most Die. I then adhered the white letters onto the vellum shadow layer and then adhered the sentiment to the card front with foam adhesive. Lastly, I stamped and white heat-embossed a sentiment from the Simply Sentiments: Hello Stamp Set onto gray cardstock, trimmed the sentiment down to a stripe and adhered to the card front with foam adhesive. 


I hope you enjoyed my card! Thank you so much for stopping by!


~Channin


Supplies:

Tuesday, August 17, 2021

Two Palettes One Card with Channin


Hello friends! It's Channin here and today I have a unique card concept, incorporating two color palettes into one card. It might come as no surprise that I stumbled upon this idea after taking crafty u-turn from a 70s sort of neutral palette that I started to lose faith in and opting for a more reliable bright palette. But then break through moment, I thought I should just try combining my neutral flowers with my bright happy rainbow and boom, I was in love!! 

To create this card I first stamped the flowers from the Infinite Blooms Stamp Set onto white cardstock in Gathered Twigs. Then using the Infinite Blooms stencils I ink blended to add color to the image with several inks (Doe, Marigold, Persimmon, & Bubble Gum). When I finished ink blending I then popped my image back into my MISTI and stamped the image again then die cut it out with the coordinating die. I then repeated the process to make another floral image so I had two. 


Next, I stamped the front of an A2 top-folding white card base with the Pop Out: Rainbow Cling Stamp Set in several inks (Blue Jay, Aquamarine, Bubble Gum, Passion Fruit, Clementine & Marigold). I then die cut a thin frame out of white cardstock and adhered it to the card front. Next, I stamped a sentiment from the Known and Loved Stamp Set in Gathered Twigs. Lastly I finished the card by adhering my floral images to the card front and trimming off the overhang.


I hope you enjoyed my card! Thank you so much for stopping by!


~Channin


Supplies:

Tuesday, May 25, 2021

Large Floral Card with Channin


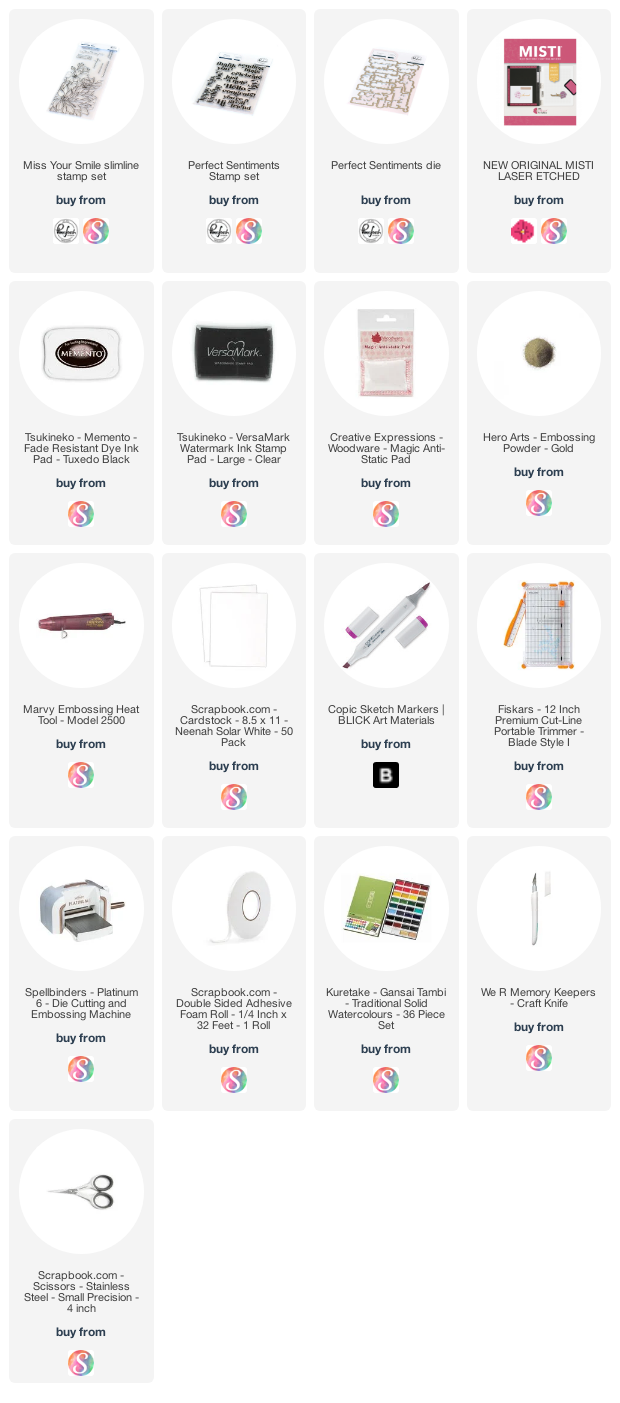
Hello friends! It's Channin here and today I have a floral card to share. For today’s card I use the beautiful but large Miss Your Smile Stamp Set This from Pinkfresh Studio. This set is actually designed to be used for slimline cards but I modified it just a bit to work with an A2 card design.


To create this card I first stamped a large panel of white cardstock with the floral image from the Miss Your Smile Stamp Set in Memento Tuxedo Black. After I stamped the image I then drew in the missing parts with a copic marker and then copic colored the image in.


Dark Pink Flowers: RV25, R85, & R39 

Light Pink Flowers: R20 & R22

Yellow Flowers: Y21 & YR23

Leaves: YG67 & G99


When I finished coloring the image I then fussy cut it out. Next, I stamped and gold heat embossed a sentiment from the Perfect Sentiments Stamp Set. I then die cut the sentiment out with the matching die. 


Next, I splattered gold Gansai Tambi paint over the front of an A2 top-folding white card base. I then finished the card by adhering the flowers and sentiment to the card front with foam adhesive. 


I hope you enjoyed my card! Thank you so much for stopping by!


~Channin


Supplies:


Thursday, December 10, 2020

Ho Ho Ho Christmas card using the new Mini Misti

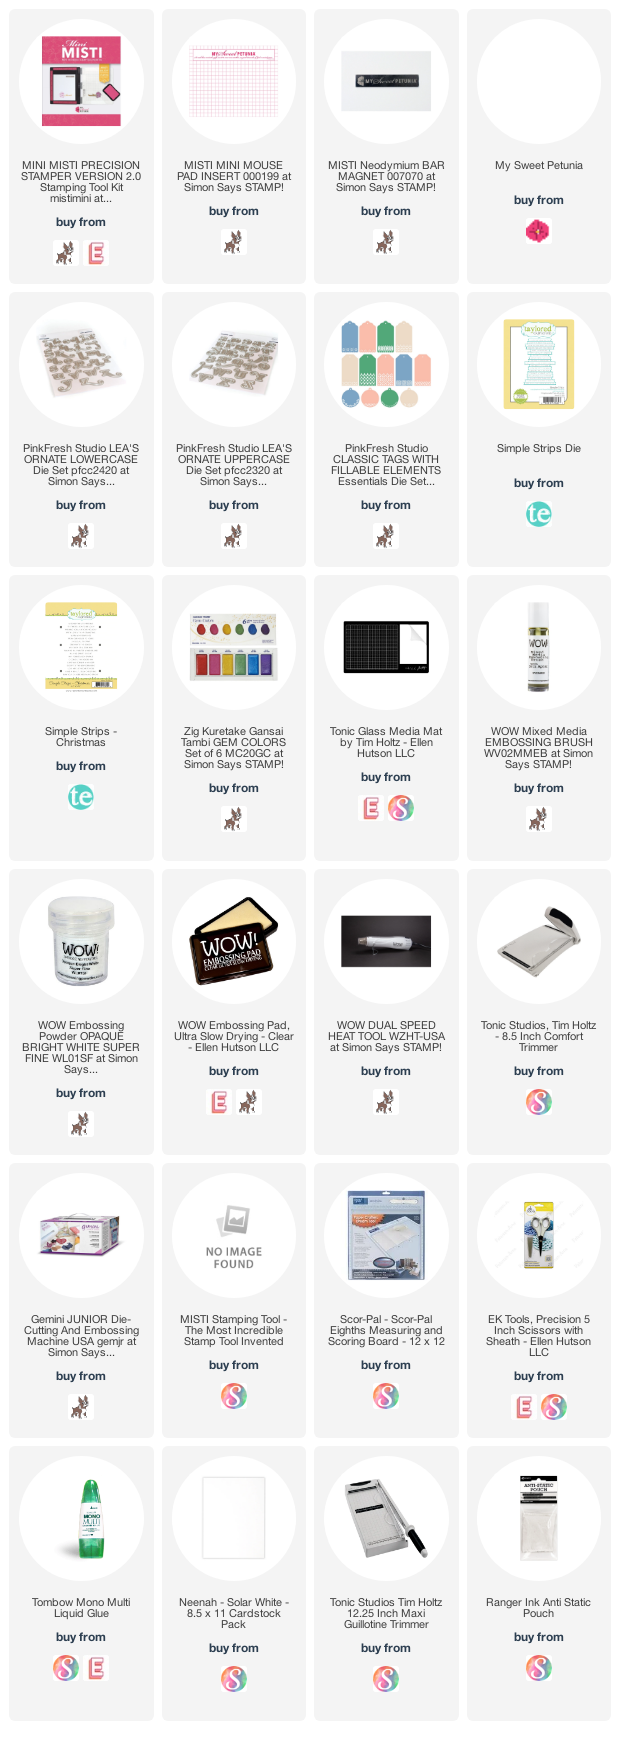
Hello friends! Today I'm sharing this Christmas card featuring the new Mini Misti that has been recently released. I love the size of this Mini Misti and I used it a lot! The two background stamps that I used on this card fit perfectly inside this Mini Misti which for me was a plus! The stamps and dies for today's card are from Pinkfresh Studios and Taylored Expressions. 


Let's begin! I started by placing the Pinkfresh Studio Winterberry Background Cling Stamp inside the Mini Misti and stamped onto a kind of mustard color of cardstock with WOW! Embossing Pad and then heat embossed this panel using WOW! Opaque Bright White embossing powder. In the picture below you can see how the cling stamp fits inside the Mini Misti. 


Then, I stamped the Christmas Simple Strips Stamp by Taylored Expressions using Catherine Pooler Uniper Mist and I die cut the sentiments with the Taylored Expressions Simple Strips Dies. These sentiments are my favorites for being so easy to make a bunch in a wink. and Again, as you can see in the picture below the Christmas Simple Strips Stamp fits perfectly inside de Mini Misti.


Now, I will add color to those leaves and berries in the background using R14 Copic marker and the blue shade from the Kuretake Gansai Tambi Gem Colors. Additionally, I adhered a white folded notecard at the back of this panel using glue.


To create the HO HO HO words I die cut the Pinkfresh Studio Lea's Ornate Lowercase and Uppercase Dies out of two shades of pinks, one lighter and one darker. I Die cut three times each letter and then glued them together for more dimension. 


I also Die cut a tag out of vellum using the Pinkfresh Studio Essentials Classic Tags and added it to the center of my background. I placed the HO HO HO words on top of this velum tag using glue.


Finally, I added a piece of blue-white twine to the tag and placed a strip sentiment on top using glue and this card was finished. I love the look of this non-traditional Christmas card, hope you like it too. I wish you a wonderful day and see you next time!

Your Friend,

Karen


Tuesday, December 8, 2020

Winterberry Joy Card with Channin

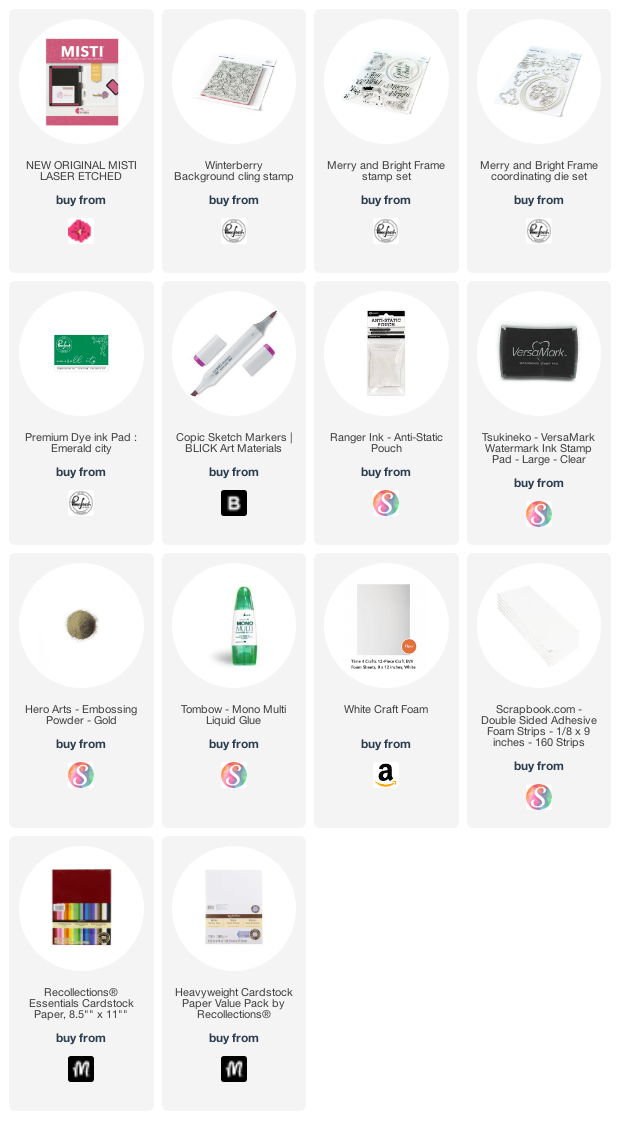
Hello friends! It's Channin here and today I have a festive holiday card to share! Today’s card features the beautiful Winterberry Background Cling Stamp and the Merry and Bright Frame Stamp and die set from Pinkfresh Studios!


To create this card I first stamped the Winterberry Background over a 4 1/8” x 5 3/8” panel of light green cardstock in Emerald City ink. I then copic colored the leaves, the berries, and even added a shadow. 


Leaves: YG06, G14, G07

Berries: R35, R37, R59

Shadow: W-3, W-5


After I finished coloring in the background I then adhered the panel onto the front of an A2 top-folding card base. Next, I stamped some smaller berries from the Merry and Bright Frame Stamp Set also in Emerald City onto a scrap of light green cardstock. I then copic colored the images in and then fussy cut them out. 


Next, I stamped and gold heat embossed my sentiment. I then die cut it and some white craft foam with the matching die and adhered the two together. I then finished the card by adhering the sentiment and smaller berries to the card front with foam adhesive. 


I hope you enjoyed my card! Thank you so much for stopping by!


~Channin


Supplies:


Thursday, November 19, 2020

Fall Slimline Card with Karen Reategui


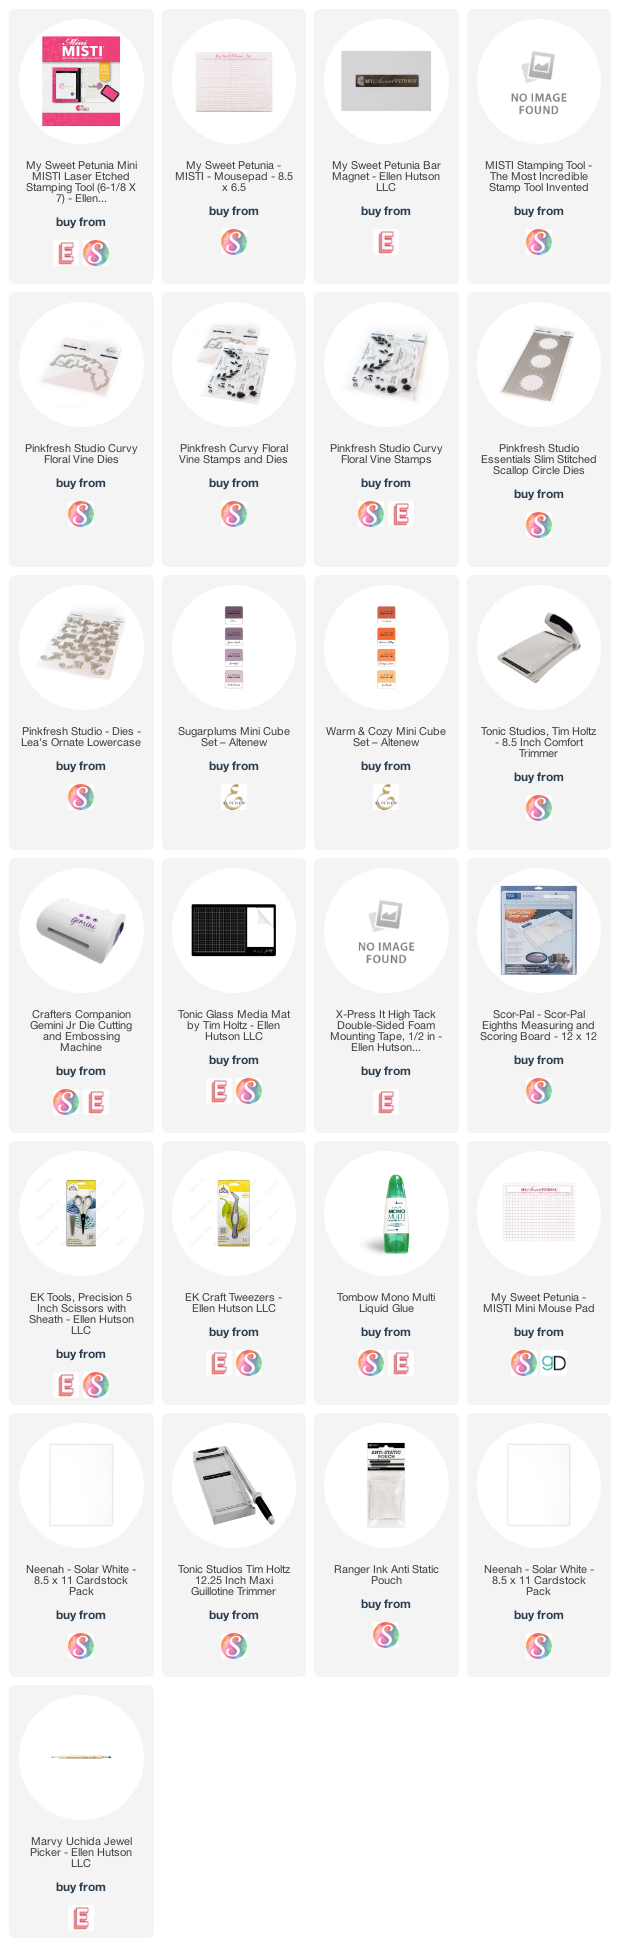
Hello friends! Today I’m over My Sweet Petunia Blog sharing this slimline card featuring the original MISTI and Pinkfresh Studios products.


Let’s begin! I started by die cutting the Slim Scallop Circle die out of gray cardstock and then I adhered a white folded slim notecard at the back using glue. Next, I die cut the Curvy Floral Vine Stamp die out of white cardstock. I placed the negative part inside my MISTI and the die cut in the negative space. I lined up and inked up my stamp and pressed firmly the stamp into the cardstock.


I repeated these steps until I finished with all the florals and arranged them around the scallop circles in my background. Additionally, I die cut three times the Leafy Branch die out of orange cardstock and added them next to each floral using glue.


I also die cut the word FALL using Lea’s Ornate Lowercase die set out of orange. The outline part of each letter was die cut out of white cardstock for more contrast.


Finally, each letter were added to my background using double sided foam tape and I put some iridescent jewels around.

I really hope you like this card and get some inspiration. Thanks for stopping by and have a fabulous day!
Your friend, Karen


Tuesday, September 15, 2020

Layered Floral Wreath with Channin


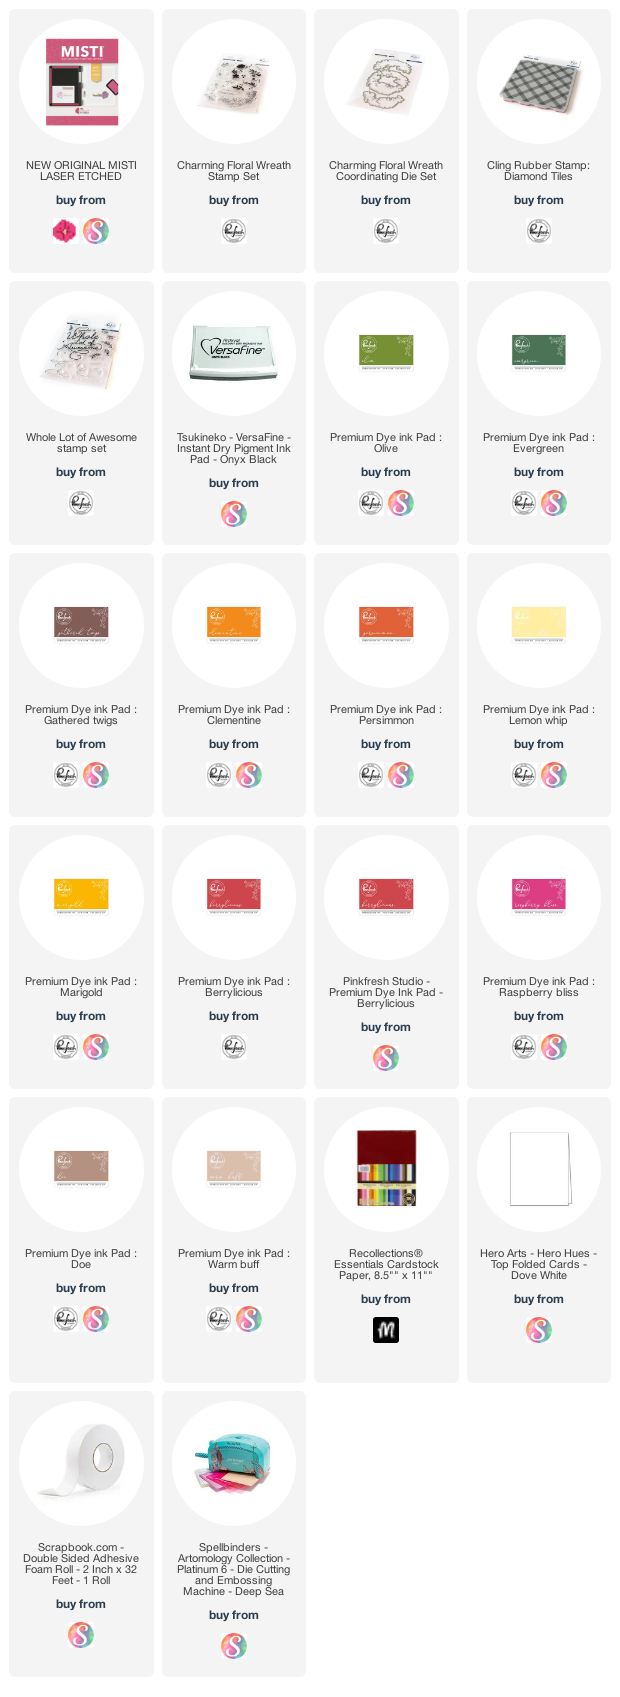
Hello friends! It's Channin here and today a have layered floral card to share. I changed things up a little and combined the beautiful Charming Floral Wreath Stamp Set with a fall palette to give this card a very festive feel!

To create this card I first stamped the floral accents with the Charming Floral Wreath Stamp Set. I started with the leaves and stamped them first in Olive. I then partially inked up the same leaves by holding my ink pad at an angle in Evergreen and then stamped again. I then positioned next the layer, the detail layer for the leaves, and stamped it in Gathered Twigs. 


Next I positioned the base for the flowers and stamped the large flowers in Clementine and then partially in Persimmon. I then inked up the flowers in the middle in Lemon Whip and then partially in Marigold. Lastly I stamped the remaining flowers in Berrylicious and Raspberry Bliss. I then positioned the last layer, the detail layer for the flowers. I then inked up the details for the orange and yellow flowers in Persimmon and stamped it. Next, I inked up the details for the red flowers in Gathered Twigs and stamped. With my floral accents stamped I then die cut them out with the matching dies. 


I then stamped an A2 panel of cream cardstock with the Diamond Tiles cling stamp in Doe. Next, I stamped the sentiment from the Whole Lot of Awesome in Gathered Twigs and then off-set the sentiment and stamped it in Warm Buff. I then adhered the panel onto an A2 top-folding card base and then adhered the floral accents with foam adhesive.

I hope you enjoyed my card!! Thank you so much for stopping by!

~Channin

Supplies: