Hi everyone, Angie here! The project I am sharing today features a background stamp and the fun "desk set" stamp set, Hold it Together, by Impression Obsession. This was a fun and easy project, thanks to the MISTI tools!
****
Affiliate links are used when possible at no charge to you!
*****
I placed the Shiplap background stamp in the Teal Original MISTI and inked the stamp with several inks. Next, I put a Sticky MAT inside the MISTI to keep the cardstock in place. Sticky Mats work wonders when repeat inking is required!
To stamp the paper clips and sentiments, I used a Mini MISTI. Since my desk always has limited space, I love the ease and small size of the Mini MISTI! I always leave stamps in the MISTIs until I finish my project; if I make a mistake, the MISTI is still set up for a quick redo!
Thanks so much for stopping by!
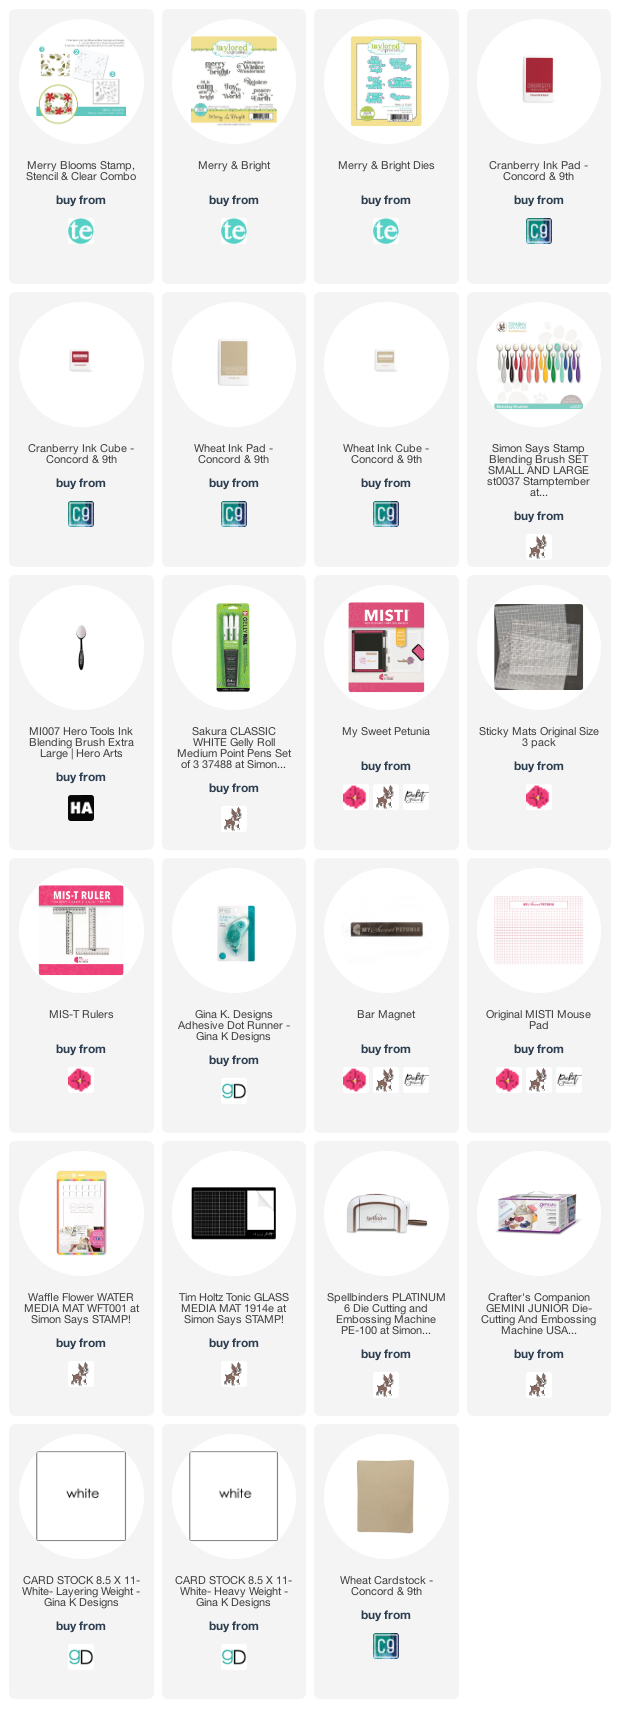
The following are direct links to all products used to make this card!
(when possible Affiliate links are used in the post at no cost to you)
Hello Friends!
Welcome to another Team Tuesday post!
I have been on a Christmas card kick since so many of the challenges in July are Christmas . This is a good thing for me because it helps me build my stash. I make Christmas cards to give to the local rehab/nursing home so I usually need about 200.
Today's card uses a stamp/stencil combo by Taylored Expressions.
To make this card I started with a white top folding card base, a kraft panel and white cardstock for the scalloped frame. I placed a sticky mat in the Original MISTI and then placed my kraft panel down in the middle and stamped the background. Next still using the sticky mat I placed the stencil over the panel in the proper alignment for the poinsettias. To give the card some interest I added some accents using a white gel pen. To finish it I added the embossed greeting and the white scalloped frame.
Below you will find links to the products used. Click the picture to start shopping. Compensated Affiliate links are used at no additional cost to you. Your support helps me to keep bringing you new projects and I appreciate that so much!
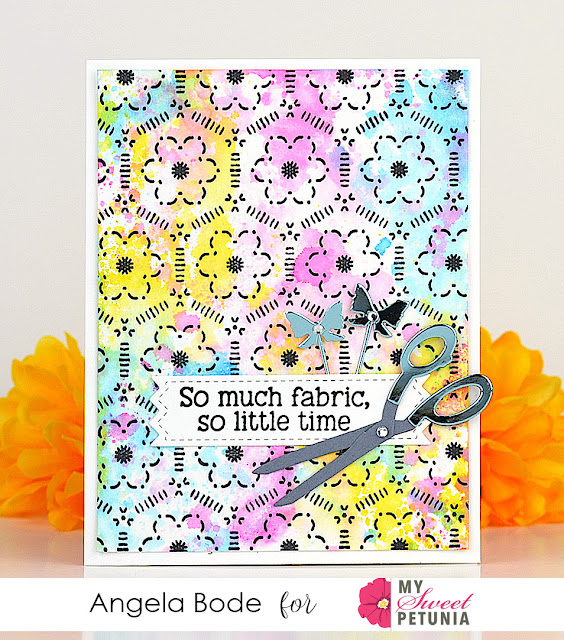
Hello, This is Angie here with a fun quilt-like card and a Sticky Mat Tip!
Today's card features the Acetate Smooshing Technique. This is one of my favorite ways to color a background stamp. First, stamp distress inks on acetate. Next, spritz with water. Lastly, tap the inky acetate onto the cardstock. This technique is a favorite as it gives a bit more control over where the ink lands!
Tips & Tricks:
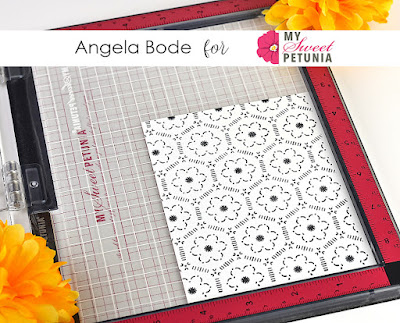
Background stamps can be used to create one-of-a-kind art projects. However, sometimes it can be difficult to achieve a perfect pattern because of their large size. This is where the Sticky Mat shines! It holds the cardstock in place during repeated inkings for perfect coverage.
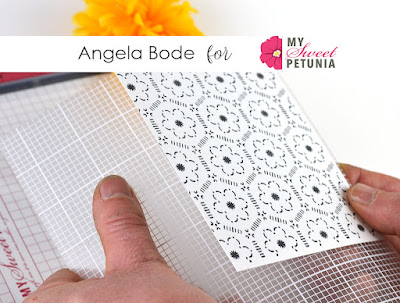
I have received questions regarding the stickiness of the mats. Heavier cardstock comes off the mat with ease but light-weight cardstock might cling to the mat. Here's my tip to easily remove even light-weight cardstock. Since pulling the light-weight cardstock might warp or bend the paper, instead, pull the mat away from the paper! As shown below, (with a little help from my personal handyman). Simply add a little pressure on the mat while holding the opposite corner of the cardstock. The paper easily pulls away!
Next, this isn't so much a tip as just a wonderful feature of the Sticky Mat. When using open dies, it's easy enough to stamp a sentiment or image and then die-cut. However, when the die is solid the inking needs to take place after it's been cut. The Sticky Mat will keep the die-cut in place for precision stamping!
I hope you found today's post helpful! Below you will find links to all the items used today! Thanks so much for stopping by!
Hello! Angie, here with you today! Today's project shows just how incredible the MISTI really is!
Combining Stamps to Create a Scene: First, I placed the mug stamp in an Original MISTI and stamped three on regular cardstock and two on watercolor paper. Next, I placed the mug-stamped cardstock in the Mini MISTI. A piece of clear acetate came next and then I positioned the butterfly on the acetate and stamped it. It took several times to get the butterfly positioned just right. Using the acetate allowed me to wipe the butterfly away and reposition it without wasting paper!
Stamping Multiples: After taking the time to line up the stamps, it would be silly not to stamp multiples! I stamped the mug and butterfly on several pieces of cardstock and watercolor paper. I plan to stamp a few more since the stamps are still in the MISTIs.
Stamping Backgrounds: I really wouldn't attempt this next step without a MISTI. I masked the butterfly and mug then stamped the floral background. With large stamps like this, it usually requires stamping twice which makes the MISTI an invaluable tool.
**I am using compensated affiliate links at no further cost to you. I make a small commission on the products used in the links below.**
All of the stamps featured today are from Impression Obsession and are listed below!
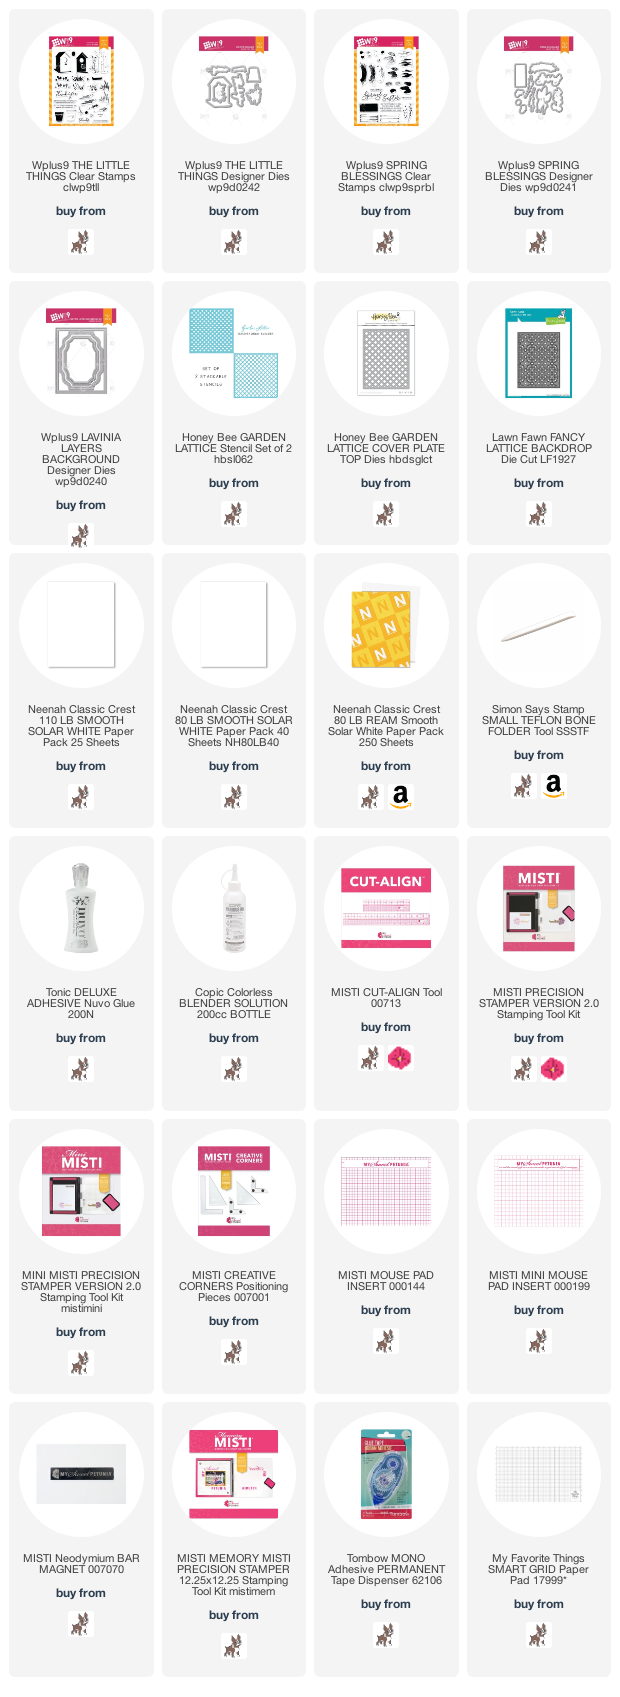
Hi, These sets and dies are older sets from WPlus9 Designs. I am still trying to work through my older stamps and trying to use them. So I pulled out my MISTI and made this for my daughter. The background uses the trellis background die but that is no longer available. I would use The Lawn Fawn Fancy Trellis background die instead or the Honey Bee Garden Trellis Stencil. I carefully placed the stamp on my standard MISTI making sure there were no bubbles left on the MISTI door behind the stamp. I used a bright yellow ink because Spring is such a cheerful time. I adhered it to a Neenah 110lb notecard.
Next, I die cut the Lavinia Layers die out of Bazzill Vellum and out of Neenah 110lb card stock. I adhered the vellum to the frame die using a liquid adhesive to ensure good bonding.
I then proceeded to stamp out lots of florals, bird houses and nests from Spring Blessings and The Little Things. Using my MISTI makes stamping extras easier. I keep the extra bits in small containers for future cards. When I do this I sometimes play with different colored inks to see what color combinations work for layering. I die cut everything out using the accompanying die cuts. I stamped the word Spring and die cut that out as well.
Using my MISTI and the magnets I arranged everything. I then placed the blessings sentiment on the MISTI door and stamped with Versafine Onyx Black. Because I was using vellum, it was essential to heat set the ink so it would not smear. You could substitute Archival Inks here but those will need to be heat set as well just to be on the safe side.
Once all of that was done. I used Press N' Seal to keep the arrangement together. This technique is never works perfectly for me so I rely heavily on the MISTI magnets. I use both the bar magnets and the round magnets. I started with adhering the bottom layers flat with liquid adhesive and worked my way up through the arrangement. I did pop up some elements. The Spring die cut is popped up with two layers of foam tape where it is just overhanging the the vellum. I added some clear sequins and called it done!
Thanks for stopping by the MISTI blog!
Susan
Products Used: I am using compensated affiliate links at no further cost to you.
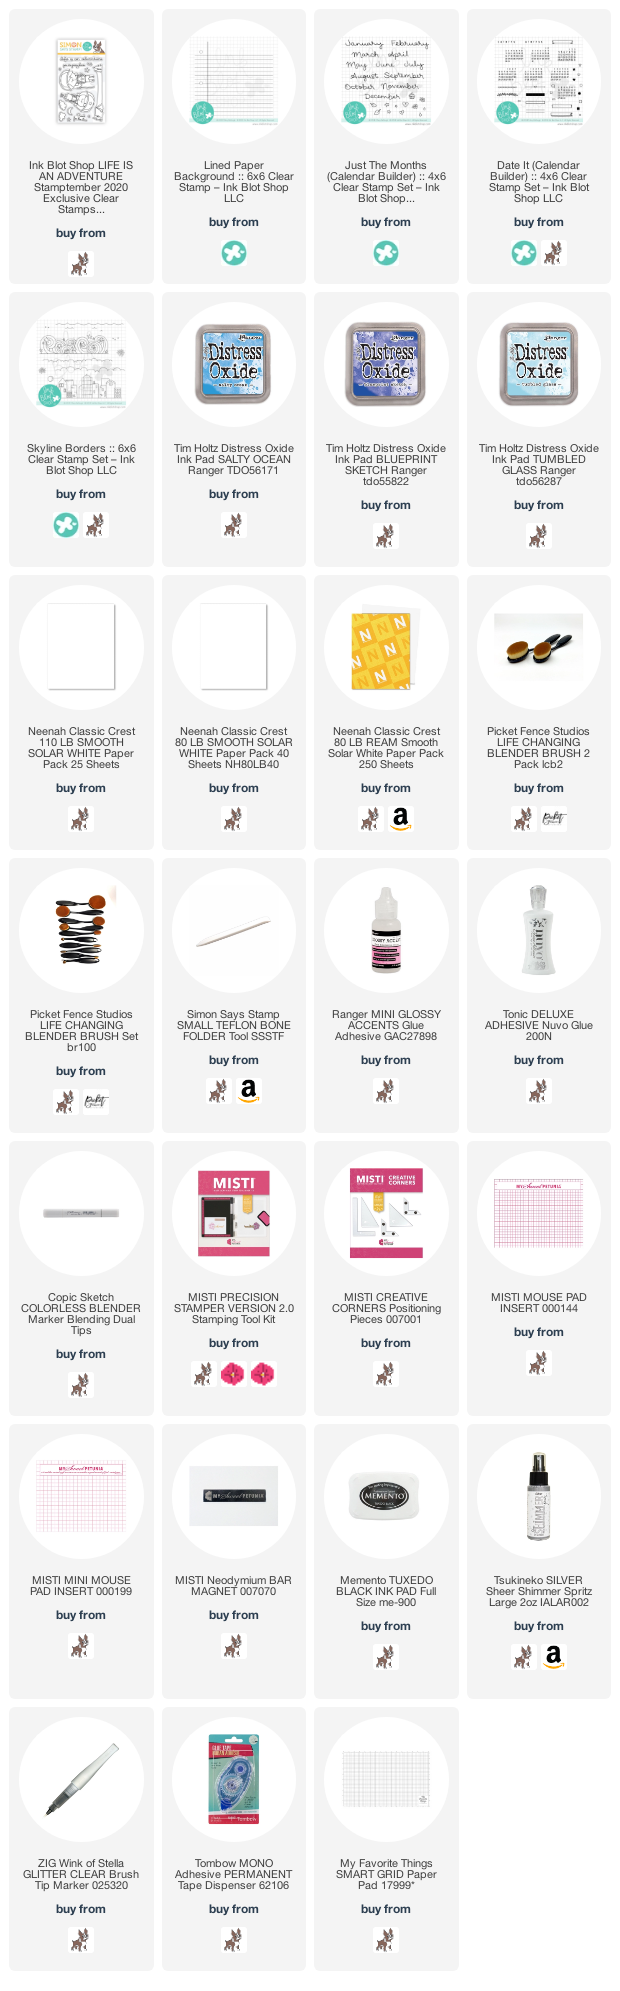
Welcome to Team Tuesdays! This is Susan here on the blog. For today's card I am using the STAMPtember collaboration set between Simon Says Stamp and the Ink Blot Shop called Life is An Adventure. When I saw this set several designs came to mind but this one is my favorite. My son was a Boy Scout and I have saved his letters home from summer camp.
For the background I used the Lined Paper background because my son often used this for his letters. Using my MISTI and Neenah Solar White 80 lb card stock I lined up the stamp carefully in alignment with the grid lines on the MISTI. First I inked the horizontal lines with Reverse Confetti Salsa.
I stamped the blue first and then keeping the stamp and paper in the same place, I used Reverse Confetti Salsa to stamp the red line. To make this look more realistic I added finger prints and splatters of Walnut Ink Distress Ink to the paper. I also added some Picked Raspberry to emulate the candy and jelly on his letters.
For the focal image I stamped the little boy with Memento Tuxedo Black and colored him with my grandson's coloring but my son's orange Boy Scout camping uniform. I also used some of the back ground images from the set and a few other sets, Skyline Borders, Just the Months and Dateline to make a doodled letter like I used to receive. I had a lot of fun traveling down memory lane to make this card and I hope my son recognizes the uniform colors when his son gets the card!
Copics Used:
Hair: E50, E51, YR24
Orange: YR12, YR14 and YR18
Blue: B93-95
Red: E07 and E09
Skin: E11, E01, E00, E000 and R32
Tent: YG91, YG93 and YG95
Star: Y17
Thanks for stopping by;
Susan
Products Used: I am using compensated affiliate links at no further cost to you. My Sweet Petunia provided the MISTI used in this project and the Ink Blot Shop and Simon Says Stamp provided Life is an Adventure stamp set.
Hello friends! It's Channin here and today have a video on mass producing cards with the MISTI. In the video, I'll share some of my tricks for mass producing cards and even pass on some my favorite partial inking tips as well!
VIDEO: Mass Production Tips & Tricks
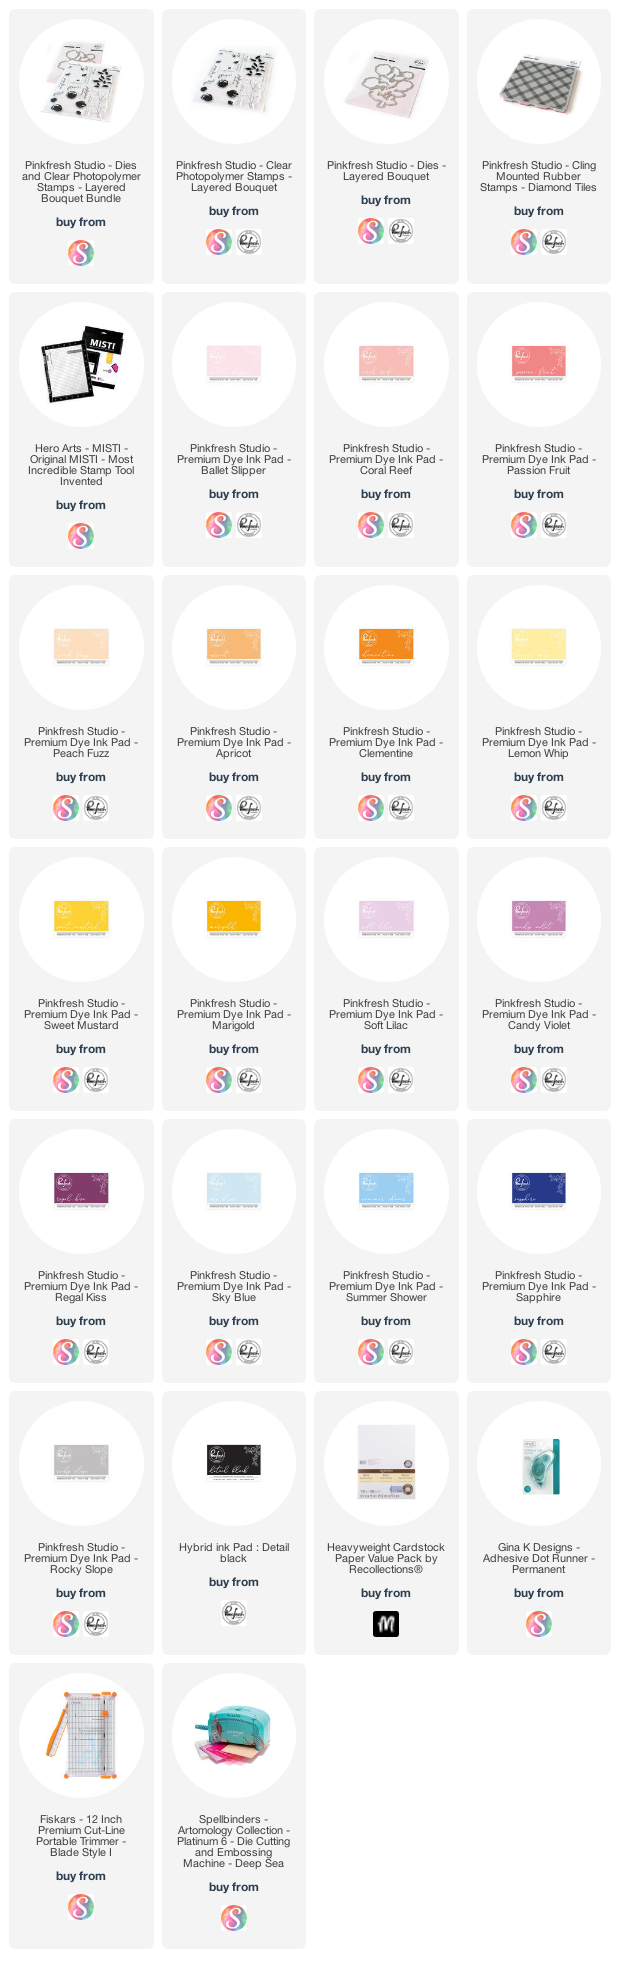
To create these cards, I first die cut several bouquets out of white cardstock with the Layered Bouquet matching die, saving one of the negatives to turn into a jig. I then added tape to the backside of my jig and placed it inside my MISTI. I then place a die cut inside, positioned the first layer for the Layered Bouquet stamp set, and then stamped in light ink for my chosen color family. I then partially inked the bottom portion of the same stamp with my medium shade and then stamped again.
I then removed the die cut, popped another one in stamped in the same manner with a different color family. I repeated this process till I had all my die cuts stamped with my first layer. I then positioned the next stamp for the bouquet, the detail layer for the flowers and stamped in my darkest shade and repeated for all the die cuts.
You can find the ink colors I used for each flower listed below.
Pink/Red
L: Ballet Slipper; M: Coral Reef; D: Passion Fruit
Purple
L: Soft Lilac; M: Candy Violet; D: Regal Kiss
When I finished the with flowers I then stamped the leaves. I stamped the leaves in Sky Blue first and then partially inked them in Summer shower and stamped again. I then finished the bouquets by stamping the stems in Sapphire.
Next I die cut white craft foam with the Layered Bouquet matching die four times and then adhered each die cut onto the craft foam.
I then stamped four A2 white panels with the Diamond Tiles stamp in Rocky Slope and stamped a sentiment in black. I finished the cards by adhering the panels onto four A2 top-folding white card bases and then adhering the flowers on top.
I hope you enjoyed my cards and video! Thank you so much for stopping by!!