Showing posts with label cut-align. Show all posts

Thursday, September 11, 2025

MISTI Magic for Halloween

 Hello friends!

I have a fun Halloween project to share with you today featuring the Open if You Dare set by SweetMissDaisy Designs. I created two cards and a coordinating bookmark—and I have to admit, the bookmark is staying with me!

To start, I die-cut three coffin-shaped tags. I placed them all on a sticky mat inside my Original Teal MISTI and positioned a different image on each one. With just one round of inking, I stamped all three tags at once—a huge time saver!

Next, it was time for sentiments. I reached for my trusty Mini MISTI, tucked a banner die cut inside, and aligned the sentiment perfectly to fit. In no time, I had two crisp, sentiment banners ready to go.

Card One – Cute Dracula

For my first card, I featured the cutest little Dracula. I had so much fun coloring him, right down to matching the tag reinforcement ring with his outfit. I even added a fluffy chenille ribbon to the tag for a fun texture.

For the background, I trimmed a 4x4 piece of patterned paper from the SweetMissDaisy Ghostly Paper Pack, then cut it diagonally to create two triangles. I adhered them at the top and bottom of my card base for a bold frame.

Using my Cut-Align Ruler, I centered the coffin tag with the help of the “0 center” feature—perfect alignment every time! To finish, I popped up the sentiment banner for a touch of dimension.  I used an alignment grid over the sentiment strip to verify its exact alignment.

Card Two—Spooked Ghost

My next card stars the sweetest little ghost, colored in soft shades of purple. I took the coffin tag with the stamped ghost back to the Mini MISTI and added a spider at the top—I just couldn’t resist! Now, it looks like the spider startled her, and I love that playful touch.

I used the same layout as my first card, with patterned paper from the Ghostly Pack, but this time I added a solid piece of purple cardstock in the center to tie in with the coloring. The tag and reinforcement were inked using Seedless Preserves Distress Ink, and a purple chenille ribbon finishes the look. Just like before, I popped up the sentiment banner to complete the card.

Bookmark – Halloween Kitty

My final project is a coffin-shaped tag bookmark—this one’s just for me! No surprise to my regular readers, I chose the kitty image. To give it a sturdier finish, I layered a black coffin tag behind the stamped one. I colored the tag reinforcement to match the kitty and added a black-and-white chenille ribbon to complete it!

I hope these projects inspire you to create your own Halloween treats. The MISTI makes multiple-item projects a breeze, and I love how quick and fun these came together. Thanks so much for stopping by! 

Stop by the My Sweet Petunia Store for the tools I listed above, plus many more of my favorites!  

Stamps and Papers are available at SweetMissDaisy Designs.


Thursday, July 31, 2025

Twinkling Lights Santa and MISTI Magic!

 ๐ŸŽ„Twinkling Lights Santa – Two Festive Looks (and MISTI Magic!)

Hello, creative friends!
Today I’m sharing two festive cards featuring the absolutely adorable Twinkling Lights Santa stamp set from SweetMissDaisy Designs. These cards may look different, but they share the same joyful base—The Twinkling Lights Santa, cheerful gingham paper, and lots of sparkle! And behind the scenes, I used one of my favorite tools to make it all come together: the Original Teal MISTI!

From crisp stamping to perfect sentiment placement, the MISTI made these cards a total joy to create. Let me walk you through the details!


๐ŸŽ… Card 1: Twinkling in Red 

For this cheerful card, I placed the Twinkling Lights Santa stamp into my Original Teal MISTI and used it to get a perfectly clean impression. I love how the MISTI lets me stamp multiple times for a deeper color without ever losing alignment!

This delightful Santa is accented with light twinkle hash line stamps—there are four of them in the set, which made it easy to position them on the MISTI lid and stamp four at one time!  Using my Sticky Mat, I kept the card panel secure while stamping those extra details right where I wanted them.

To create a polished top edge, I used the 0 Center Cut Align Ruler from the MISTI Accessories to perfectly place a scalloped red gingham border from the Holiday Mini Gingham Paper Pack. The alignment grids helped me add the sentiment with flawless placement!

๐Ÿ’™ Card 2: Santa Goes Red, White & Blue

My second card features the same Santa, but this time with a fresh twist: a red, white, and blue Christmas theme! Once again, I turned to my Original Teal MISTI to stamp a crisp image of Santa holding his twinkling light strand. I colored all blue lights on this one to coordinate with a scalloped blue gingham border along the bottom.

The “Ho Ho Hello” sentiment was stamped directly onto the card base using the MISTI’s alignment grids, getting it straight and centered in one easy step. I love how this layout flips the composition while keeping all the charm.


✨ A Little Help from My MISTI

Here’s how the MISTI tools made this project smooth and stress-free:

  • ๐Ÿฉต Original Teal MISTI: for perfectly clean stamping on both cards

  • ๐Ÿ”ฒ Sticky Mats: held my panels securely for all the layered stamping

  • ๐Ÿ“ 0 Center Cut Align Ruler: made adding those gingham borders a breeze

  • ๐Ÿงญ MISTI Grids: helped align the sentiments with total precision

These tools don’t just save time—they boost confidence. I knew each element would land just where I wanted it, and that left me free to enjoy the creative process.


Thanks so much for visiting today! I hope these cards bring a little sparkle to your day—and show how tools like the MISTI can elevate your stamping game with every press

Thursday, July 18, 2024

Waiting for Your Sparkle

**Our team uses affiliate links at no charge to you!**

Hello! Today I share several ways the MISTI adds sparkle to a creative session!  

First, I made a background by placing a Grid Mat inside my Original Black MISTI. Next, I put a piece of cardstock in the middle of the Grid Mat. Then I placed the dotted stencil over the cardstock and pressed the stencil edges onto the Grid Mat. I love this technique for stenciling because it holds the stencil in place without tapes or sprays! When the mat is very new, I press the mat away from the cardstock to remove the cardstock without tearing.  

The MISTI absolutely sparkles during the next step. I placed the silhouette stamp on the stenciled background. Since this is a clear stamp, it takes multiple stampings to achieve a solid image. I would never have been able to stamp this image repeatedly with precision using an acrylic block! Last, I used my Mini MISTI for the sentiment.   


  MISTI is celebrating 10 years with a sale!  


Thanks for stopping by!

Supply List:


Thursday, August 25, 2022

CAC + Sticky Mats = Alignment Happiness

**Affiliate links used when possible at no cost to you** 

Hello, Angie here today!  I love Cover- A-Card stamps (6 x 6 stamps).  However, CACs can be difficult to align and stamp with just one inking.  MISTI Sticky Mats to the rescue!  I place the Sticky Mat in the MISTI then I place the cardstock on the mat just one grid line away from the edge.  I place the stamp at the edges of the MISTI and then close the lid to pick up the stamp.  The image can be stamped as many times as needed to get full coverage.  The paper doesn't move even when restamping multiple times!  Once the stamping is finished, simply push the mat away from the paper, and the paper will peel away.  (See the how-to photo below the project)  

I like to leave the main image stamp in the New Original MISTI and use a Mini MISTI for the sentiment.  It is a time saver to have everything already set up on the MISTIs if something goes wrong before the card is completely finished!


Pardon the mechanic hands the photographer needed an assistant.  :)  The thumb on the left is pressing the sticky mat away from the paper.  

Thanks so much for stopping by!  


My Sweet Petunia Shop


Impression Obsession


Thursday, July 14, 2022

Keep On Swimming!

Hi, I am thrilled to share a fun card on the My Sweet Petunia blog today! 

I created this summery underwater card by first inking a 6x6 background stamp in three shades of blue ink. With background stamps, I like to use the Sticky Mat to hold the cardstock in place about a 1/8th of an inch from the inside edge of the MISTI.  This allows for a complete image plus the image can be stamped multiple times without fear of the paper moving.  For me, a MISTI is a must when using background stamps for complete inked perfection!

Next, I placed all of the images on the MISTI lid and stamped them at one time. 
 I left the underwater stamps on the New Original MISTI until I was completely done with the project in case I needed to restamp something.   Lastly, I stamped the sentiment directly on the card front with the Mini MISTI.

One more tool to mention is the Cut-Align Ruler.  I use the ruler every time I stamp.  For this card, I used the 0-center marking to make certain that the circle die was in the center of the panel.  I especially love the weight of these rulers along with the fact that it comes in two sizes. 


I hope you are having an amazing summer!  Thanks for stopping by today!

**Affiliate Links are used when possible with no added cost to you.  I appreciate your kind support**

My Sweet Petunia Shop


Misc Products


Thursday, June 10, 2021

Dazzling Backgrounds in a Snap!

 Hello! Angie here and it's my turn to share a project created with my favorite tools!  


First, place the background stamp on the Original MISTI, then place the cardstock on top of the stamp.


Next, run removable adhesive over the cardstock and close the lid.


Now the real fun begins!  Ink the background stamp with distress ink or water-based ink and spritz with water.  Then use a damp paintbrush to soften the edges of the watery ink so that you don't get the harsh line from the ink pad when you stamp.  


Close the lid with the paper well secured with adhesive and stamp!  What is so fun about using the MISTI is that you can stamp repeatedly if you don't get enough ink where you want it the first time.  I had so much fun creating backgrounds, that I didn't want to stop!  


This is one of my faves!  I just love how Twisted Citron played well with Peacock Feathers and Seedless Preserves!  

  I like to keep the stamp I am using on my MISTI until I am completely done with the project.  In case disaster strikes and I ruin a piece or I just want to make more it's nice to keep the stamp in place.  For sentiments, I love to use my MINI MISTI. The Mini is lightweight and takes up so little space that it's a must-have for me!  


For this fiery version, I used Mustard Seed, Fired Brick, and Vintage Photo Distress Inks. I added a die-cut Birthday sentiment from Impression Obsession and then on the inside, I added a Double Dip Note.   I love these notes that give friends permission to pass the card on when they have loved it enough! The other tool I use almost every time I create a card is the Cut-Align rulers.  I love that they have a 0 center for perfect balance and I love the grid lines.  


Thanks so much for stopping by today!  
If you would like to see more projects you can visit me HERE!
  

                                              Mini MISTI


Tuesday, November 3, 2020

Team Tuesday and a Winner


Hello everyone! 
It's Ceal here for today's edition of Team Tuesday.
First up let me announce our winner from the collaboration bloghop with Dare 2B Artzy. Drum roll please, the $20 gift card winner to the My Sweet Petunia shop is....
Mary-Ann V
Be sure to contact info at my sweet  petunia. com to claim your prize. The sale code Fall10 is still active until Novenmber 8th so feel free to shop at both shops using that code for 10% off your order.

Now for the deets on my card. I used the Fresh Flowers stamp set illustrated by Arjita Singh for Gina K Designs from her latest release. I received this in the mail yesterday and had to immediately ink it up because it's so gorgeous.
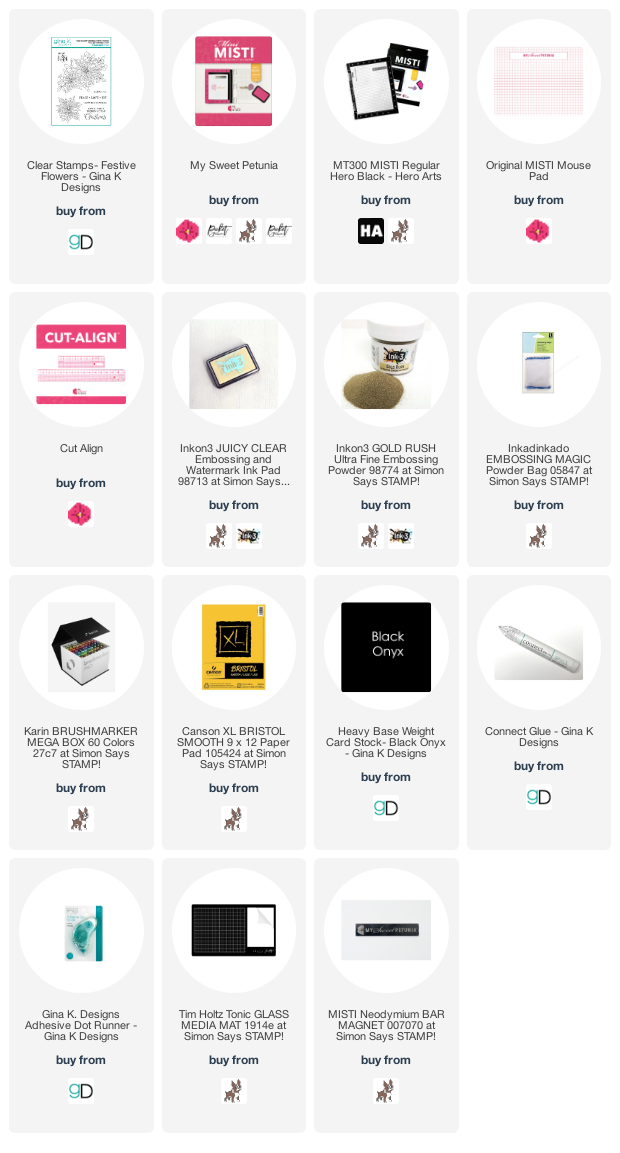
I started with a top folding piece of bristol cardstock, a black panel and a bristol panel. I placed the poinsettia image in the Misti and inked it using embossing ink and embossed it with gold embossing powder. I pretty much use the Misti with every card I create, but I always, always use the Misti when I am embossing ot watercoloring becuase of the texture of the cardstock. I used Karin Markers to watercolor the image and then added some gold splatters as well. The sentiment is also from the same set. I embossed it with gold embossing powder and adhered it to a black strip of cardstock, I used the Cut-Align to help cut the strip to the correct size. 


Below you will find links to the products used. Click the picture to start shopping. Compensated Affiliate links are used at no additional cost to you. Your support helps me to keep bringing you new projects and I appreciate that so much!  
Thank you!


Wednesday, May 27, 2020

Team Tuesday on Wednesday and Giveaway Winner with Ceal

 Hello Everyone!
It's Ceal, here to share with you today. 
But first things first, last week team Misti gave a shout out to Dawn of WPlus9 and showed you some projects using her amazing products. There was to be a winner of Cut-Align and Misti bag, well here we go ....and the winner is... 
Jean
she left this comment

A gorgeous card. Love the background and that sweet bird.
Jean please email info@mysweetpetunia to claim your prize. 


Now on to the deets on my cards.
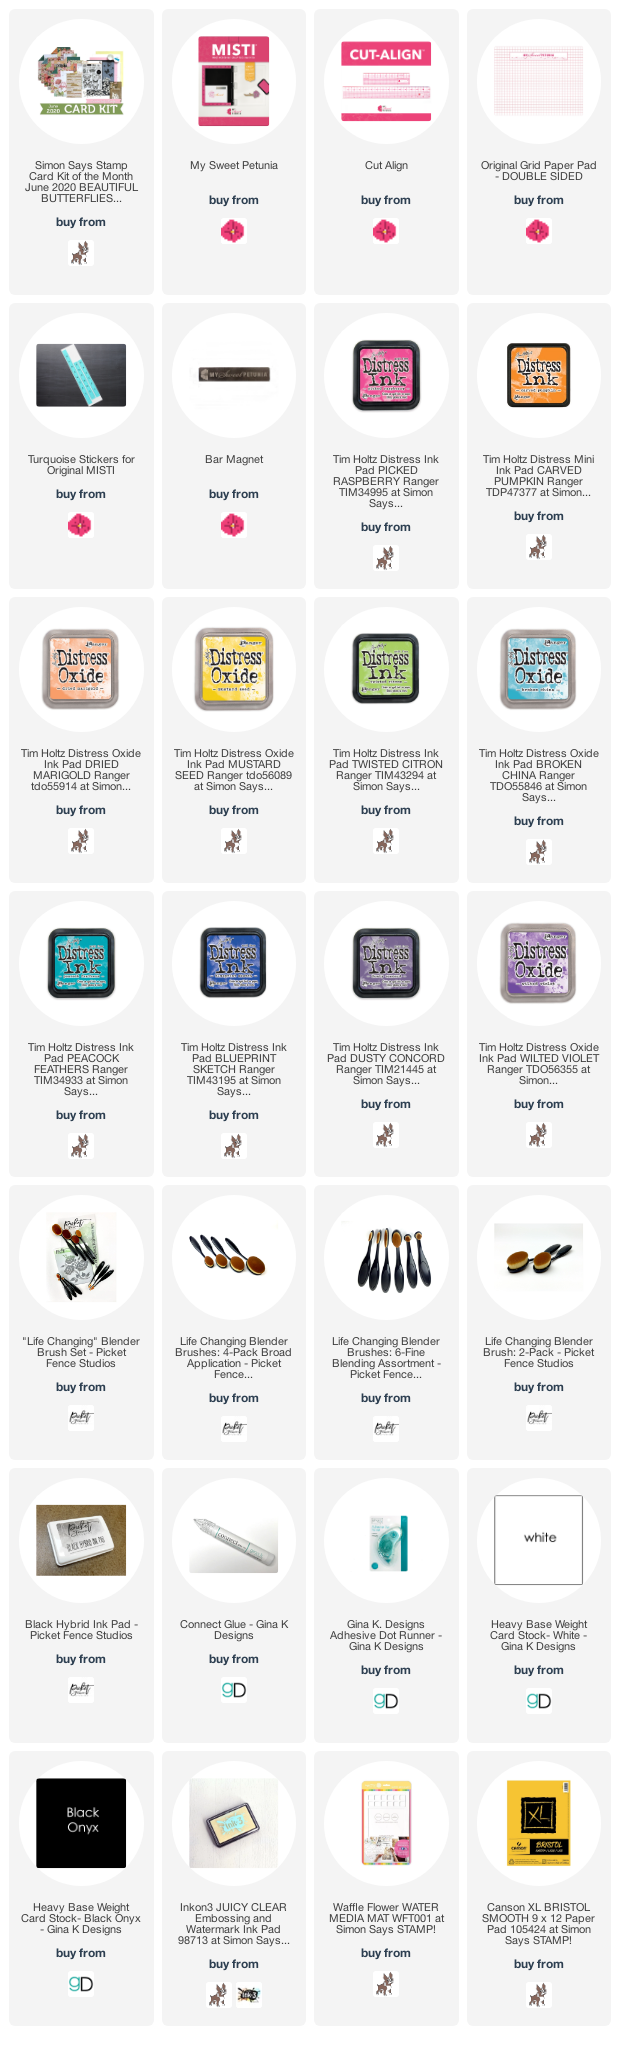
I started with a white top folding card bases, a couple black onyx panels, two bristol panels and the stamp set from the the June card kit by Simon Says Stamp.
For my first card I stamped the butterflies using distress ink and then went over them with Liquid Pixie Dust that I had added to wa water brush, this spread the color out a little. to finish the card I adhered the focal panel to the black panel and then onto the base. I added a greeting from the same set. 

For the second card, I randomly stamped  butterflies all over the panel and embossed them using clear embossing powder. After they were all done I added some distress ink using the Life Changing Blender Brushes in Picked Raspberry, Carved Pumpkin and Mustard Seed. To finish the card I added a greeting by stamping it on black onyx card stock, embossing it in white and the using the Cut-Align to cut it out. 


Tuesday, June 18, 2019

Team Tuesday with Jeanne Streiff

Happy Tuesday!!!


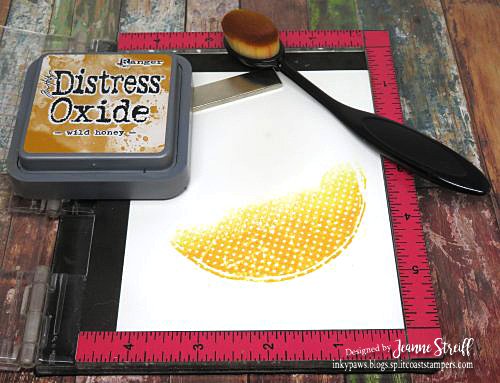
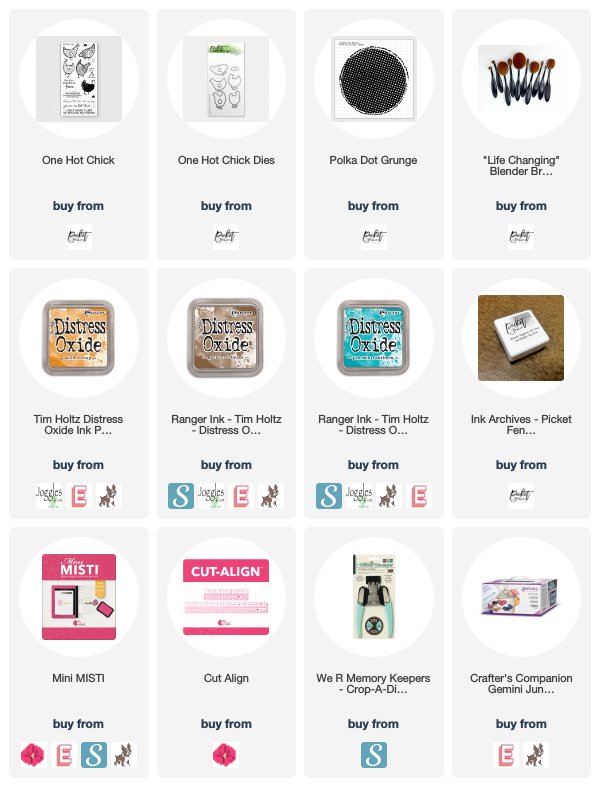
I found a new trick to share today for easy ink blending directly on a stamp. I placed the Polka Dot Grunge stamp from Picket Fence Studios onto my Mini MISTI and inked a section with Wild Honey Oxide ink. Tap the edge with a Life Changing Blender Brush to soften the edge of the ink. Wipe brush clean on a paper towel.


Repeat inking and tapping off with the blender brush with Peacock Feathers Oxide
ink and Gathered Twigs Oxide ink. Pretty, huh? So easy too!


Next I stamped a chicken from One Hot Chick from Picket Fence Studios, watercolored and then cut out using the coordinating dies. I used my Cut-Align to cut my sentiment and then tore the edge.


Here's a closer look at the finished card.


I use affiliate links.  All this means is if you purchase something after 
clicking on one of my links I get a few pennies. This costs you nothing.
 

Have a great day!
Jeanne

Thursday, May 30, 2019

Stamping Friends Trifecta Blog Hop

Hello everyone, welcome to the Trifecta Blog Hop. We have a big hop today, so a lot of eye candy for everyone to see.

Today's hop is brought to you by:
Each company participating in the hop will be giving away a $50.00 gift card to their store, randomly drawn from the comments at each stop on the hop. So, there will be three (3) gift cards in total.
Winners will be announced on the three (3) company blogs on June 7th.


First of all I would like to say that my blog aplaceforkia.com is down due to unforeseen circumstances. I am pleased to be posting on the My Sweet Petunia blog so I can still show you what I made for today.
Now, on to my cards.

First up is the card I made using Picket Fence Stamps called  Dandelion Wishes.
I first made an alcohol ink background with soft circles on glossy card stock. In my Mini Misti I then stamped the sentiment and Dandelion using Ranger Archival Ink in Monarch Orange and heat embossed with clear embossing powder.
I matted the panel with coordinating card stock, and added a few gumdrops to finish.
I also did the inside with the left overs from the front panel, cutting them with my Cut-Align ruler, and attaching to the matting pieces. I stamped the sentiment again using the Monarch Orange ink and attached it to the panel for a different look.

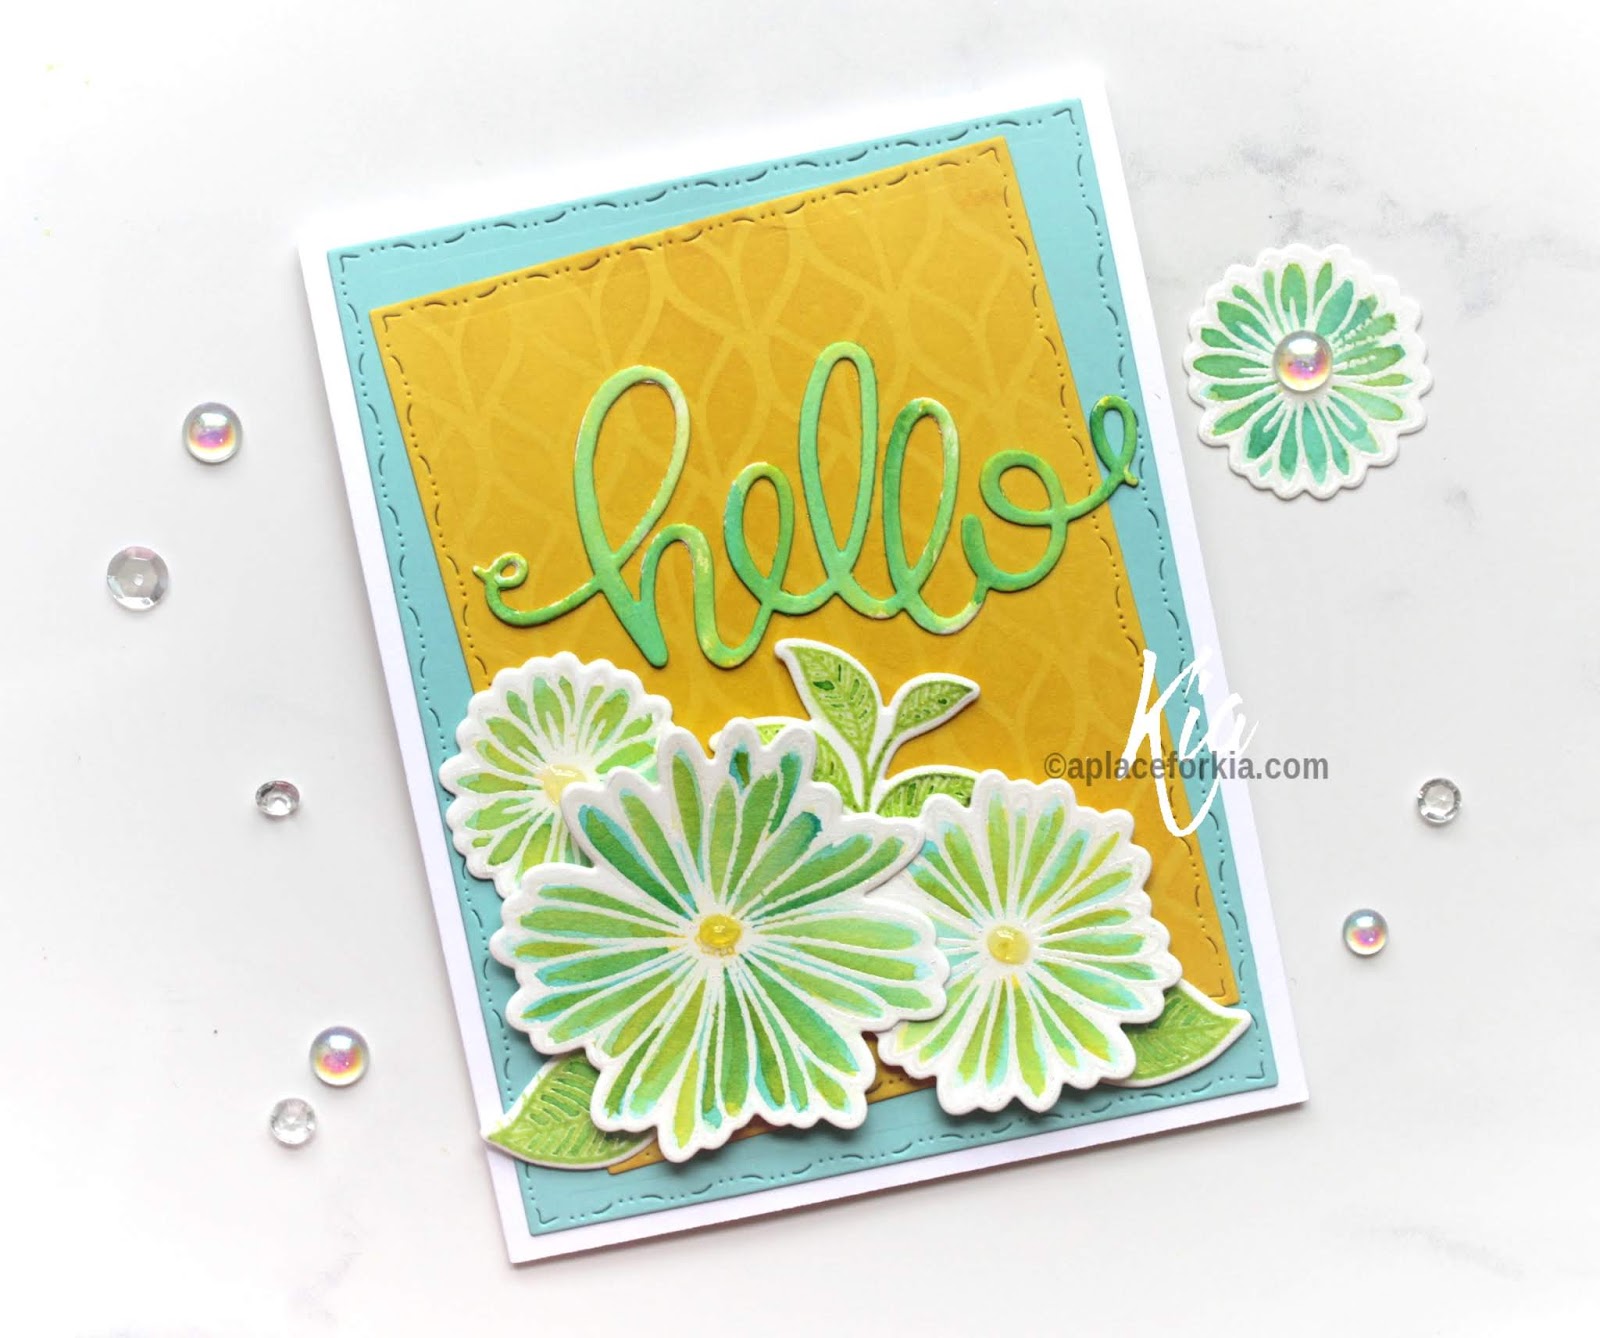
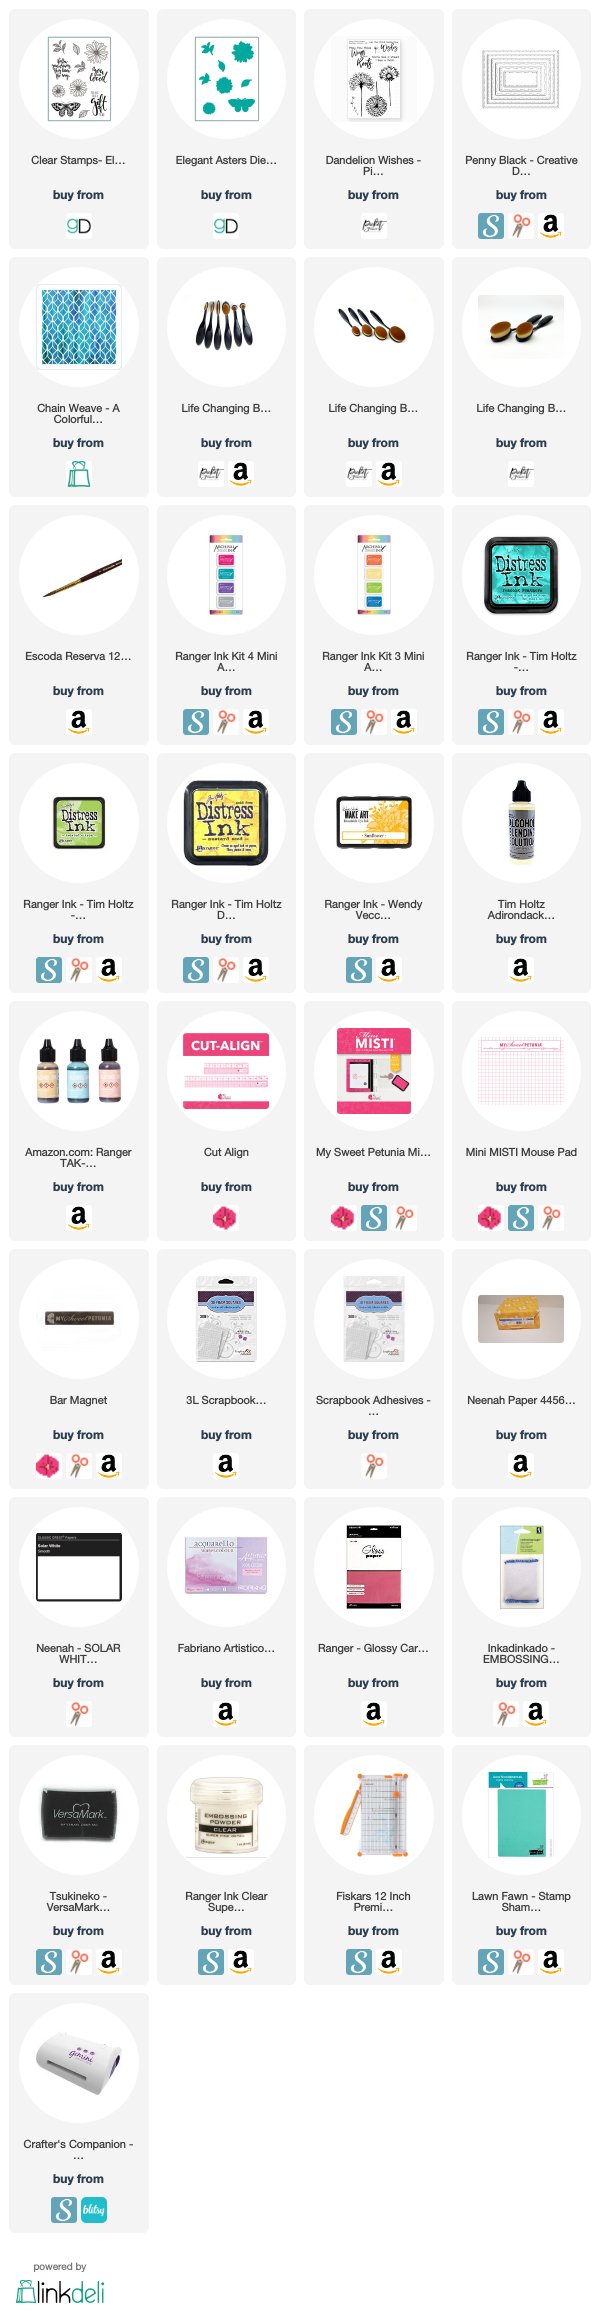
Next up is the card I did using Gina K. Designs Stamp Set and papers from the new set called Elegant Asters. I started by stamping the images in my mini Misti, all the images fit on the piece of water colour paper I was using.
I stamped using different colours of ink, the butterfly using VersaFine Clair Nocturne, the flowers done with VersaMark ink and the leaves stamped with Distress Ink Twisted Citron. All the pieces were heat embossed with clear embossing powder.
I did a loose water colour on the Asters, first using Mustard Seed, then adding Peacock Feathers, and used the same colours on the leaves. I also did the sentiment the same way, first adding the Mustard Seed, then the Peacock Feathers. 
I die cut the card stock that was included in the set. On the front of the card I stenciled over the yellow piece using my Sunflower Ink. 
I put the card together and added the flowers using foam squares for two of the flowers, then added Nuvo Jewels to the flower centres, then promptly put my finger in it!
I did the same technique for the inside switching out the colours and using the Peacock Feathers for the stencil work and stamping the birthday greeting using Ranger Archival ink in Paradise Teal.

Thank you for stopping by, I hope you have enjoyed these cards. 

Next up on the hop is Picket Fence Studios.

Tuesday, May 28, 2019

Team Tuesday with Kia

Hello everyone.  I thought I would do something a bit different for today.  I do not do mixed media very often, but I was in the mood for some paint and play.
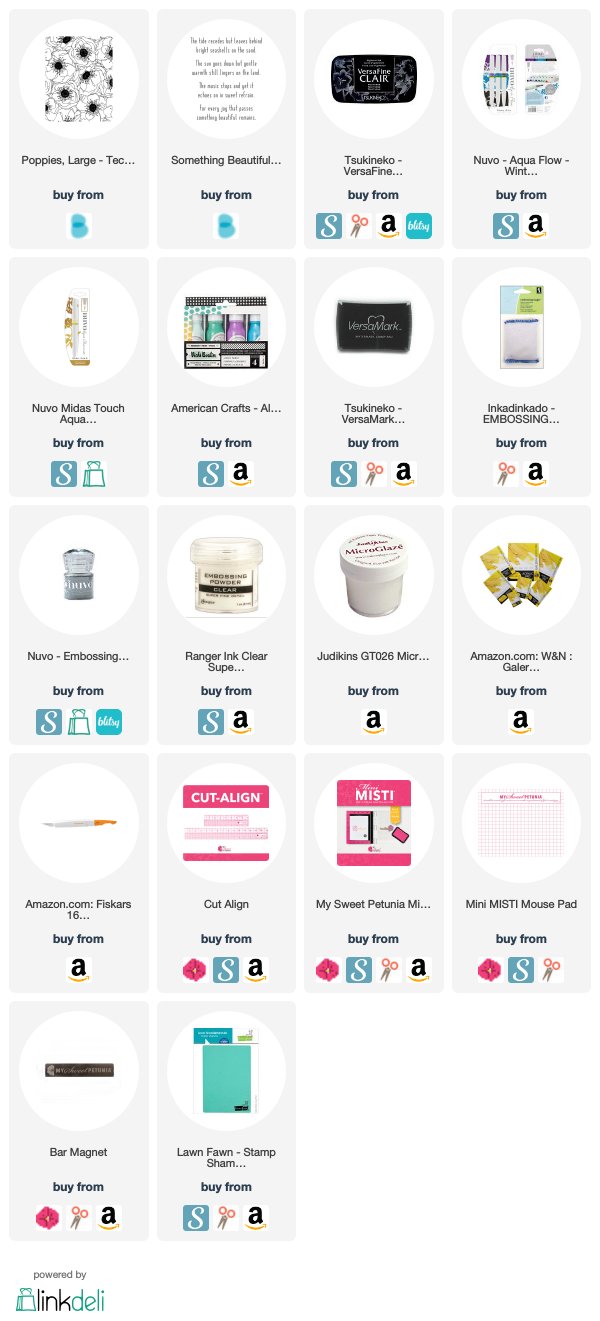
 Using my Mini Misti and acrylic card stock, I stamped my image with Versa Fine Ink in Nocturne, doing several passes.  As this card stock is heavily textured, the ink did not entirely cover the flower centres, so with my Nuvo Aqua Pen in Obsidian Black, I coloured in the centres.  I then heat embossed the panel using clear embossing powder.
 Then, using a credit card I applied the acrylic paint and spread it across the panel.  Once done, I rubbed the piece with paper towel to get further blending. As the acrylic paint lightens the black of the image, I again stamped and heat embossed the panel for those crisp details.
 This kind of panel is perfect to cut up, and that is what I did using my Cut Align ruler.  I used the small ruler, to cut the pieces, then cut the matting pieces slightly larger. 

I did not have card stock in a colour that I liked for this piece, so I made the background, again using the acrylic paints and a credit card. Once dry I attached the background to a black card base.  
 Moving back to the floral piece I applied a thin layer of Micro Glaze to the panels, then attached the panels to the black matting pieces.  Again, using my Cut Align ruler, I measured for placement of my panels to the card base. 
 For a bit of sparkle, I splattered on some Midas Touch Shimmer, not being too concerned about where it landed.  
Back in my mini Misti, I stamped the sentiment and heat embossed with silver embossing powder, then attached with foam squares. 

I very much like the look, and I hope you do as well.  Thanks for dropping by today.
Following are affiliate link to the products used for today's project.