Showing posts with label Percision Glue Press. Show all posts

Thursday, July 18, 2024

Waiting for Your Sparkle

**Our team uses affiliate links at no charge to you!**

Hello! Today I share several ways the MISTI adds sparkle to a creative session!  

First, I made a background by placing a Grid Mat inside my Original Black MISTI. Next, I put a piece of cardstock in the middle of the Grid Mat. Then I placed the dotted stencil over the cardstock and pressed the stencil edges onto the Grid Mat. I love this technique for stenciling because it holds the stencil in place without tapes or sprays! When the mat is very new, I press the mat away from the cardstock to remove the cardstock without tearing.  

The MISTI absolutely sparkles during the next step. I placed the silhouette stamp on the stenciled background. Since this is a clear stamp, it takes multiple stampings to achieve a solid image. I would never have been able to stamp this image repeatedly with precision using an acrylic block! Last, I used my Mini MISTI for the sentiment.   


  MISTI is celebrating 10 years with a sale!  


Thanks for stopping by!

Supply List:


Thursday, January 11, 2024

Hug in a Mug and an Announcement!

***Our team uses affiliate links at no charge to you!***

Greetings! Angie here, with a cozy coffee card to share.  

But first, an important announcement! The Precision Glue Press is currently back in stock, and more will be available in February! 

I utilize My Sweet Petunia tools for every project, regardless of how simple or complex it may be! For this project, I used the Black Original MISTI to stamp the coffee cup and the Mini MISTI to stamp the sentiment.  Because the mini is small and light, it takes up very little space on my desk, which is why I always like to use it for sentiments.

I die-cut two tiny hearts from pink card stock, then colored them to match the stamped image.  I placed them on a well-loved Sticky Mat to color them. Since my sticky mat is not new, therefor less sticky, the hearts stuck to the mat well enough to color but came off the mat easily.

I use my Alignment Grids every time I stamp.  They are useful in making sure everything is precisely aligned. My final step in creating a card is to add the sentiment. I arrange the sentiment where I think it looks best, and then I gently place an alignment grid over the top without pressing the sentiment down. In this manner, I can make sentiment adjustments beneath the grid to ensure everything is precisely aligned.

I have attached Lydia's excellent video with tips on maximizing the Precision Glue Press's functionality. 


The stamp set used today is Cozy Vibes.  All card elements are listed on my blog and can be found at Impression Obsession.

Thanks so much for stopping by!
 

Tuesday, November 28, 2023

Team Tuesday With Sweet 'n Sassy Stamps

 Our team uses affiliate links 


Hello friends!

It's Ceal, here. Today I am sharing a couple cards using the MISTI with a couple sets by Sweet 'n Sassy stamps. 

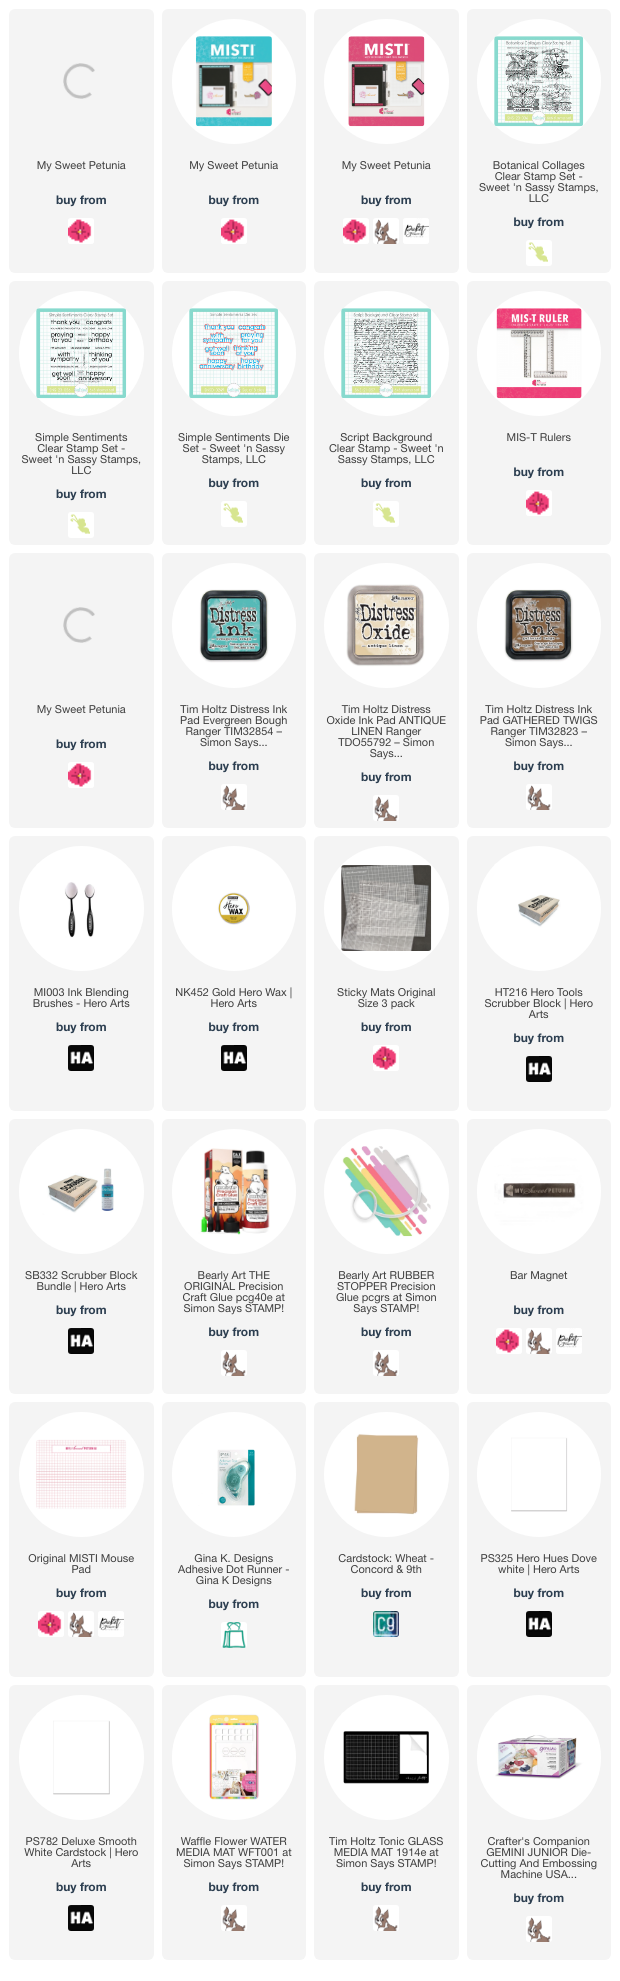
To make these cards, I started with white top folding A2 card bases. For the top card, I placed a piece of wheat cardstock in the Original MISTI on a sticky mat to stamp the background. Anytime I use a background stamp I always use a sticky mat so I can place it in the middle of the Misti.  Next I stamped and colored the images from the Botanical Collages set and then used postage dies to cut them out. The moment I saw this set I knew I wanted to use the postage dies with it. 


For the second card I placed a white panel in the Original Misti and stamped all of the images on the anel and used a large postage die to cut it down. I added some distress ink and some gold Hero Wax for a mixed media vintage look. 

All supplies are below using affiliate links


Tuesday, September 5, 2023

Team Tuesday with The Precision Glue Press

 (All products are linked below using affiliate links )


Welcome to Team Tuesday, today I am sharing a card using some Concord & 9th products and the gamechanger Precision Glue Press.

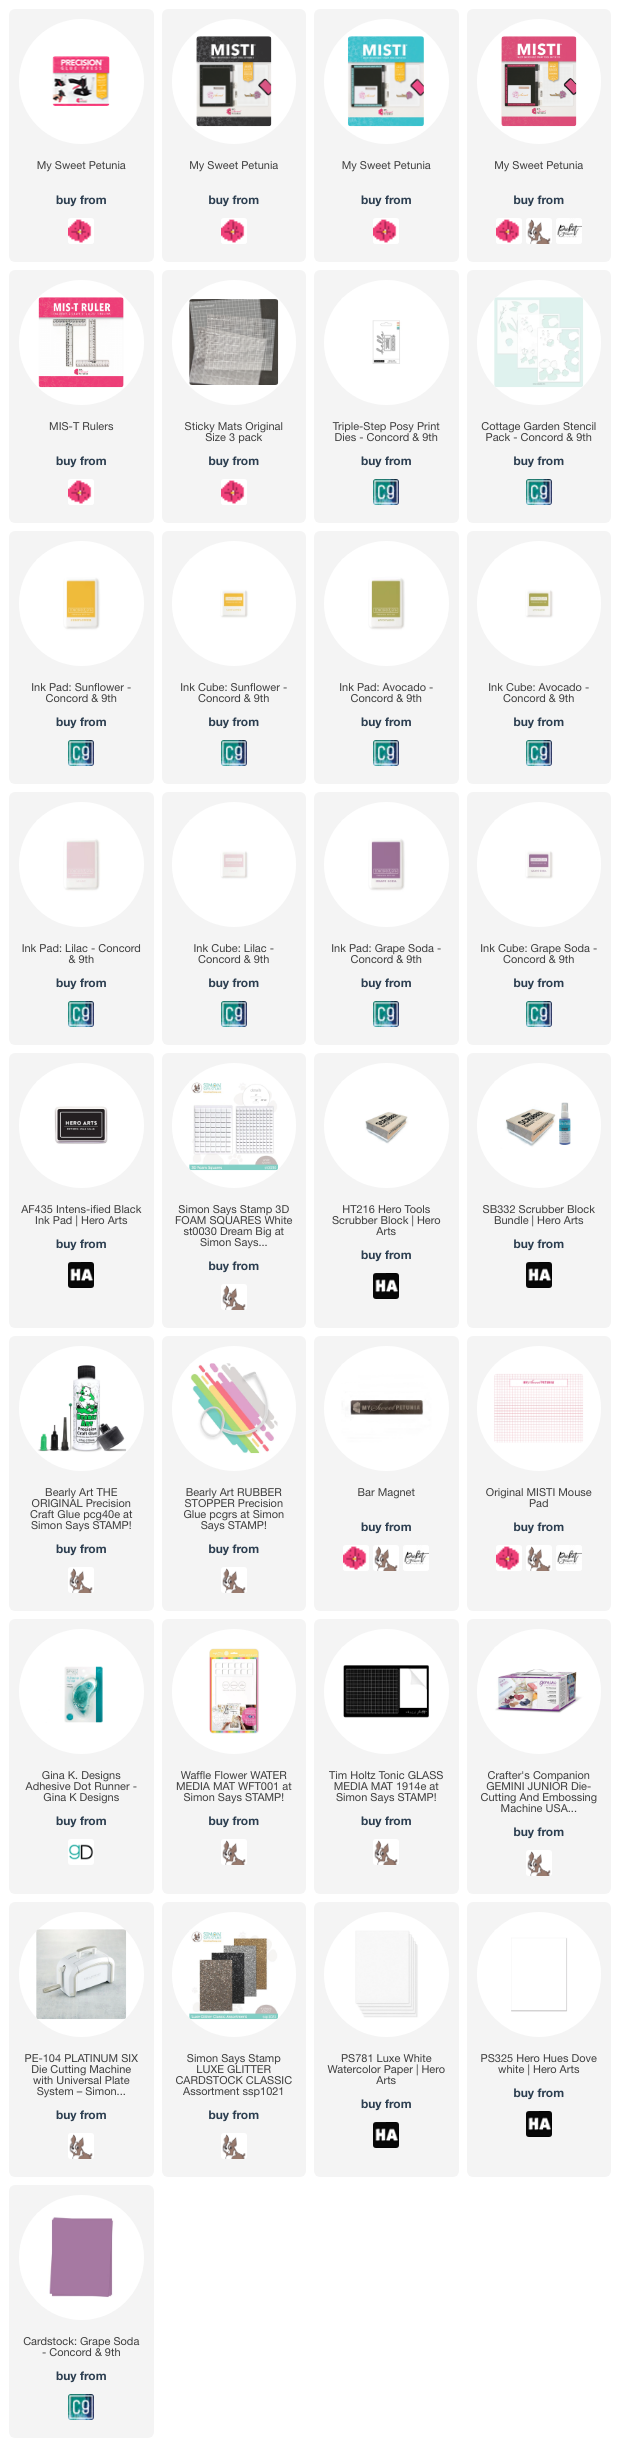
To make this card, I started with a white top folding A2 card base, a Grape Soda panel and a white panel. I created a background by using a stencil with the Sticky Mat. To finish the card I added this super skinny greeting which I love and I adhered it with no mess at all because of the Precision Glue Press! 


Y'all just like the MISTI the Precision Glue Press is a game changer. 
I have not made a card without using it since I got it, and I would make such a mess with skinny diecuts trying to get glue on them, that is not the case with the Precision Glue Press, it is Amazing!!!