Showing posts with label sticky mats. Show all posts

Thursday, September 11, 2025

MISTI Magic for Halloween

 Hello friends!

I have a fun Halloween project to share with you today featuring the Open if You Dare set by SweetMissDaisy Designs. I created two cards and a coordinating bookmark—and I have to admit, the bookmark is staying with me!

To start, I die-cut three coffin-shaped tags. I placed them all on a sticky mat inside my Original Teal MISTI and positioned a different image on each one. With just one round of inking, I stamped all three tags at once—a huge time saver!

Next, it was time for sentiments. I reached for my trusty Mini MISTI, tucked a banner die cut inside, and aligned the sentiment perfectly to fit. In no time, I had two crisp, sentiment banners ready to go.

Card One – Cute Dracula

For my first card, I featured the cutest little Dracula. I had so much fun coloring him, right down to matching the tag reinforcement ring with his outfit. I even added a fluffy chenille ribbon to the tag for a fun texture.

For the background, I trimmed a 4x4 piece of patterned paper from the SweetMissDaisy Ghostly Paper Pack, then cut it diagonally to create two triangles. I adhered them at the top and bottom of my card base for a bold frame.

Using my Cut-Align Ruler, I centered the coffin tag with the help of the “0 center” feature—perfect alignment every time! To finish, I popped up the sentiment banner for a touch of dimension.  I used an alignment grid over the sentiment strip to verify its exact alignment.

Card Two—Spooked Ghost

My next card stars the sweetest little ghost, colored in soft shades of purple. I took the coffin tag with the stamped ghost back to the Mini MISTI and added a spider at the top—I just couldn’t resist! Now, it looks like the spider startled her, and I love that playful touch.

I used the same layout as my first card, with patterned paper from the Ghostly Pack, but this time I added a solid piece of purple cardstock in the center to tie in with the coloring. The tag and reinforcement were inked using Seedless Preserves Distress Ink, and a purple chenille ribbon finishes the look. Just like before, I popped up the sentiment banner to complete the card.

Bookmark – Halloween Kitty

My final project is a coffin-shaped tag bookmark—this one’s just for me! No surprise to my regular readers, I chose the kitty image. To give it a sturdier finish, I layered a black coffin tag behind the stamped one. I colored the tag reinforcement to match the kitty and added a black-and-white chenille ribbon to complete it!

I hope these projects inspire you to create your own Halloween treats. The MISTI makes multiple-item projects a breeze, and I love how quick and fun these came together. Thanks so much for stopping by! 

Stop by the My Sweet Petunia Store for the tools I listed above, plus many more of my favorites!  

Stamps and Papers are available at SweetMissDaisy Designs.


Thursday, January 2, 2025

Sticky Mat Magic

Hello, creative friends!

I love using My Sweet Petunia Sticky Mats in my crafting projects. They’ve become an essential tool, especially when working with large cling stamps like the charming Penny Black Resting Picket Fence.

Here’s how I used the Sticky Mat to create a beautifully stamped image:

Getting Started

Since the Resting Picket Fence is a large cling stamp, I knew it would require multiple impressions to achieve full coverage. That’s where the Sticky Mat came to the rescue! I placed it inside my Teal MISTI, topped it with the cardstock, and stamped it. With the Sticky Mat holding everything securely, I stamped several times for a full-coverage, crisp image.

Adding Personal Touches

 I colored the birds as little Purple House Finches. These adorable birds bring joy to my day as I watch them out the window, so I couldn’t resist adding them to this project. I love the result—vibrant and heartwarming—just like the view outside!


Pro Tip: Using a New Sticky Mat

If you’re using a new Sticky Mat, here’s a handy tip to avoid tearing or bending your cardstock:

Instead of pulling the paper off the mat, bend the mat away from the cardstock to release it. This technique works like a charm, especially with a new mat. 

What I Love about Sticky Mats
  • They provide a firm grip, ensuring the paper stays in place during stamping.
  • They’re versatile and reusable, making them a brilliant investment.
  • Paired with the MISTI, they make achieving perfect impressions a breeze.
A few of my favorite tools I use every day:


Tuesday, October 22, 2024

Fantastic Use of the Sticky Mat

 Hello friends, 

I just love my MISTI Sticky Mats for holding in place smaller die cuts, or large pieces of cardstock to stamp a large image.

When your stamp must cover your entire cardstock piece, slip in a sticky mat and you're all set.


In this example, my cardstock is cut at 3-1/4" x 8-1/4" for a slimline layer. The adorable stamp from Trinity Stamps is just slightly larger than this piece of cardstock, leaving no space for the magnet on the cardstock to hold it in place. 

Insert a sticky mat and add your magnet to the sticky mat to hold it in place and you're ready to stamp.


I created this fun card using the Beary Cute Layered Mug die set.


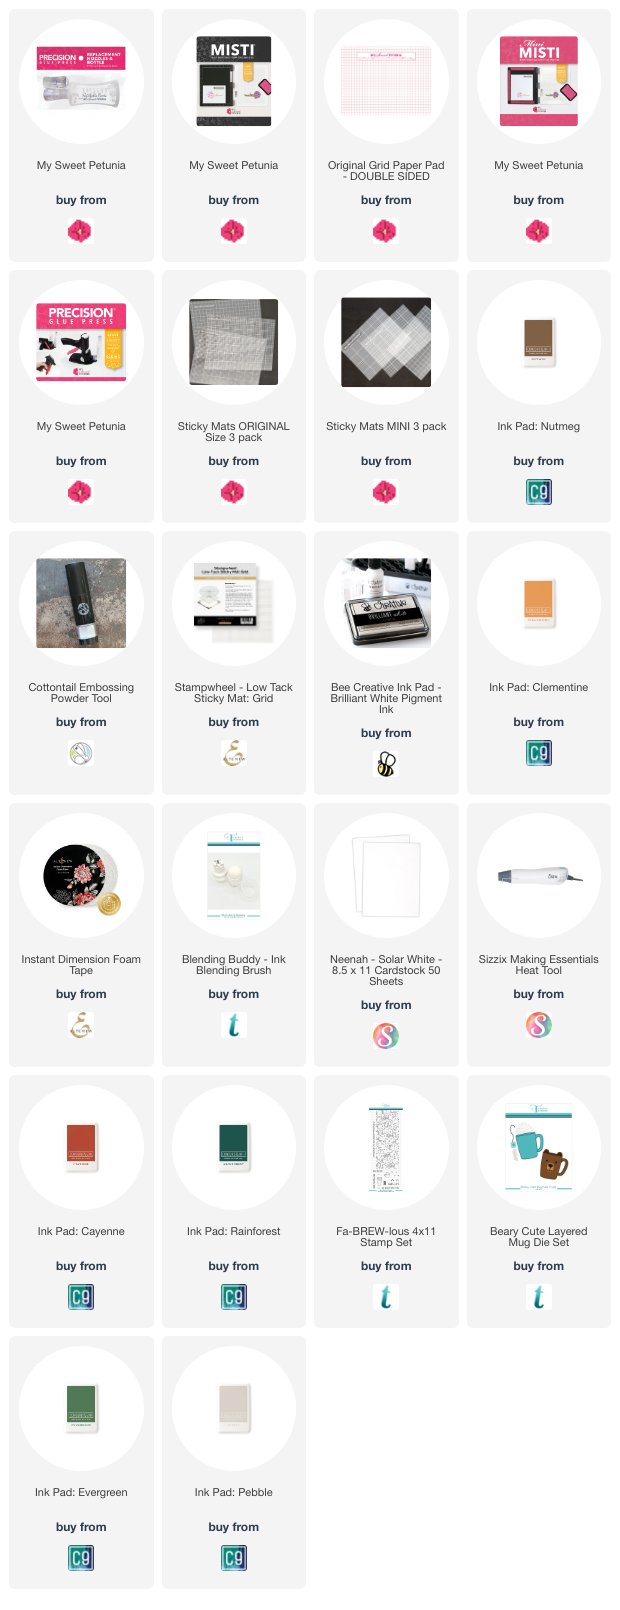
The full product list for this card is below.

Tuesday, July 9, 2024

Team Tuesday With Concord & 9th

(our team uses affiliate links when possible)


Hey there crafty friends! 
It's Ceal, here. Today I am sharing a card that I made when MISTI and the Precision Glue Press went to camp. 
I attended the C9 Summer camp and this card uses a set that was in our kit and it's my favorite!
I couldn't have made this card without products by My Sweet Petunia. I started with a white top folding A2 card base and a panel cut to the same size. I placed the panel in the Original MISTI and stamped the floral image on all four corners. After I got the stamping done, I added a Sticky Mat to the Original MISTI and placed the panel on the Sticky Mat so I could ink blend with a stencil and the panel not move. 
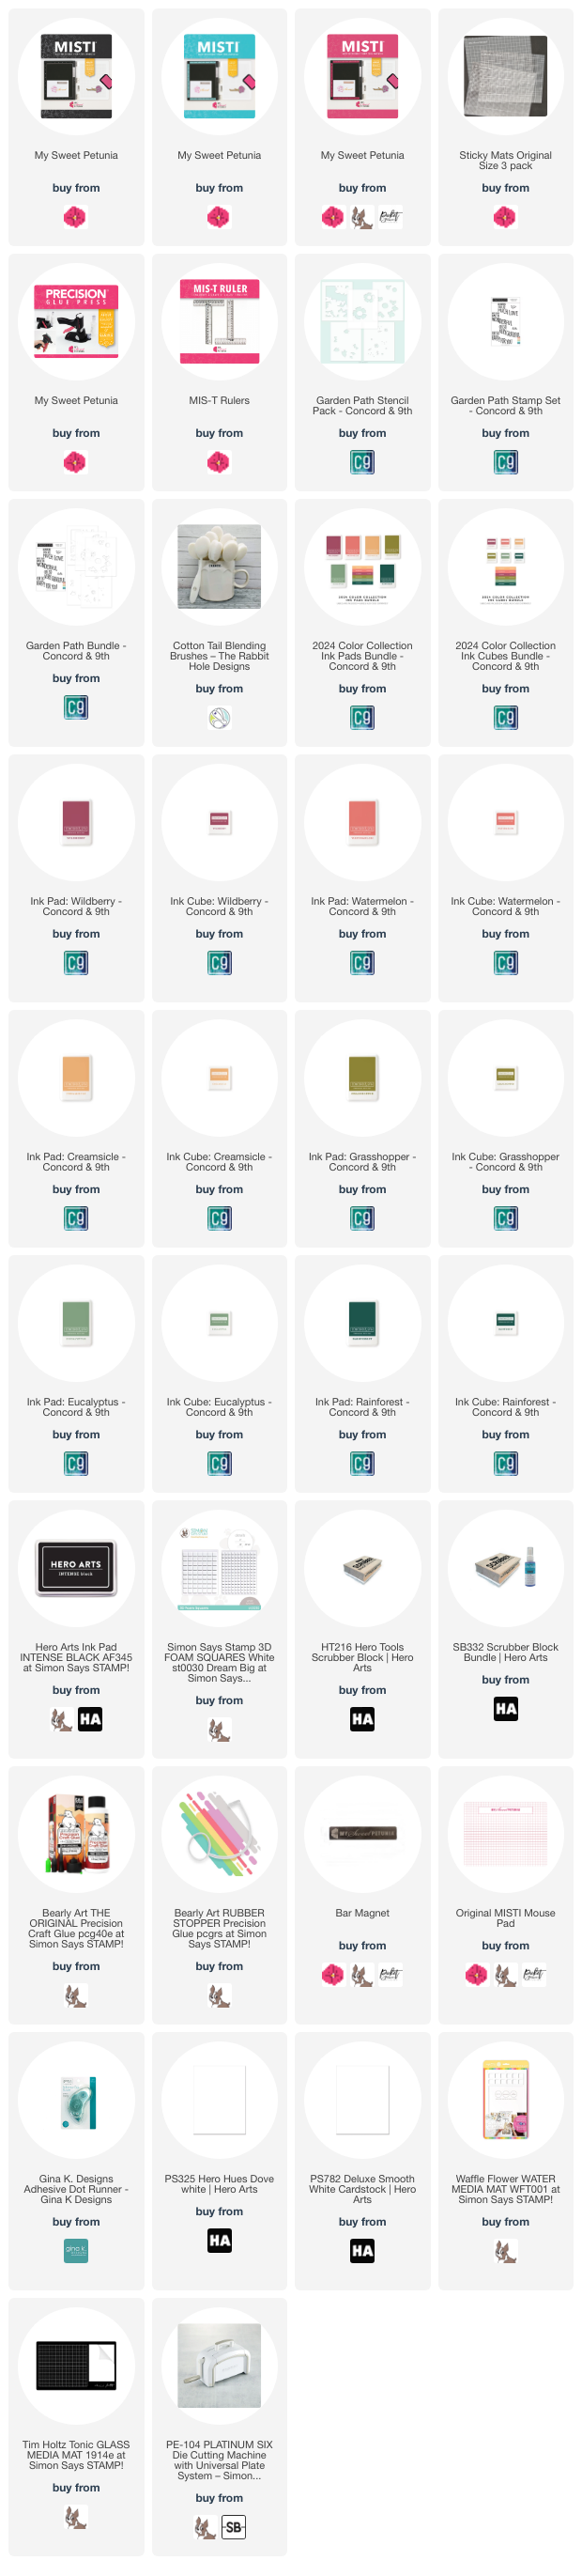
After I got the floral images colored by using the stencil, I cut out the words and added them to the front of the card by using the Precision Glue Press which made it a breeze even though they are so delicate.

This set is exclusive to C9 summer camp but I have linked a similar set below. 

All products are linked below when possible. I appreciate you using my links as it helps me earn a little commission at no extra cost to you. Please accept the cookies because that is how they track the sales. 

Thanks so much! 


Tuesday, April 16, 2024

Team Tuesday with Altenew

 (Our team uses affiliate links at no cost to you)


Hello crafty friends!

It's Ceal, here. Today I am channeling my inner Jaycee Gasper with an Altenew die set and ink blending.

I watched a live with Jennifer and Jaycee using this die set and I just had to order it, it's so beautiful. I went back and watched the replay and crafted along with them. Jaycee has a way with ink blending like no other. I love how you get the colors with ink blending rather than colored cardstock. I am a fan! 

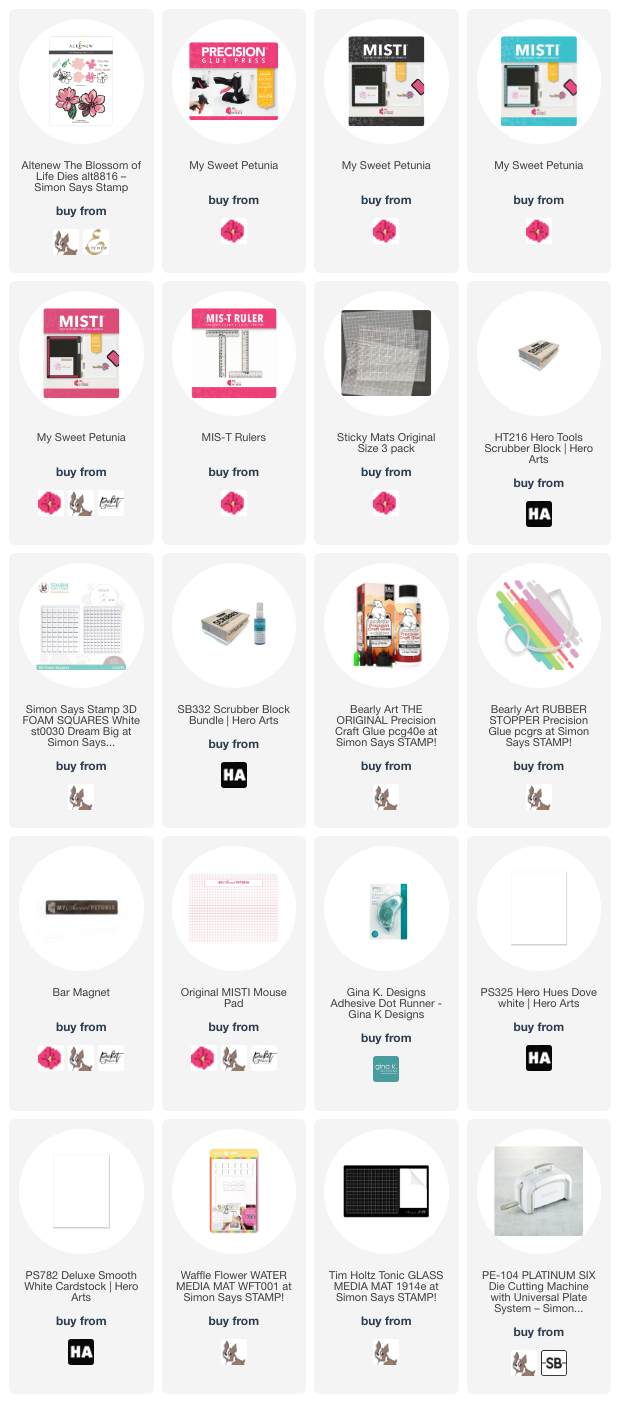
To make this card, I started with a white to folding A2 card base and a piece of white cardstock for the die cuts. I placed a Sticky Mat in the Original Misti to hold the die cut pieces as I ink blended. I didn't have the ink colors that they used on the live so I substituted distress inks. After I got all the pieces ink blended, I cut the outline pieces of the flowers and leaves out of goil foil paper.    

The outlines pieces to the flowers are very thin and delicate but they were so easy to add with the Precision Glue Press

To finish the card, I added the thanks sentiment cut twice out of white for dimension and glued it to a gold backer. 


Tuesday, September 5, 2023

Team Tuesday with The Precision Glue Press

 (All products are linked below using affiliate links )


Welcome to Team Tuesday, today I am sharing a card using some Concord & 9th products and the gamechanger Precision Glue Press.

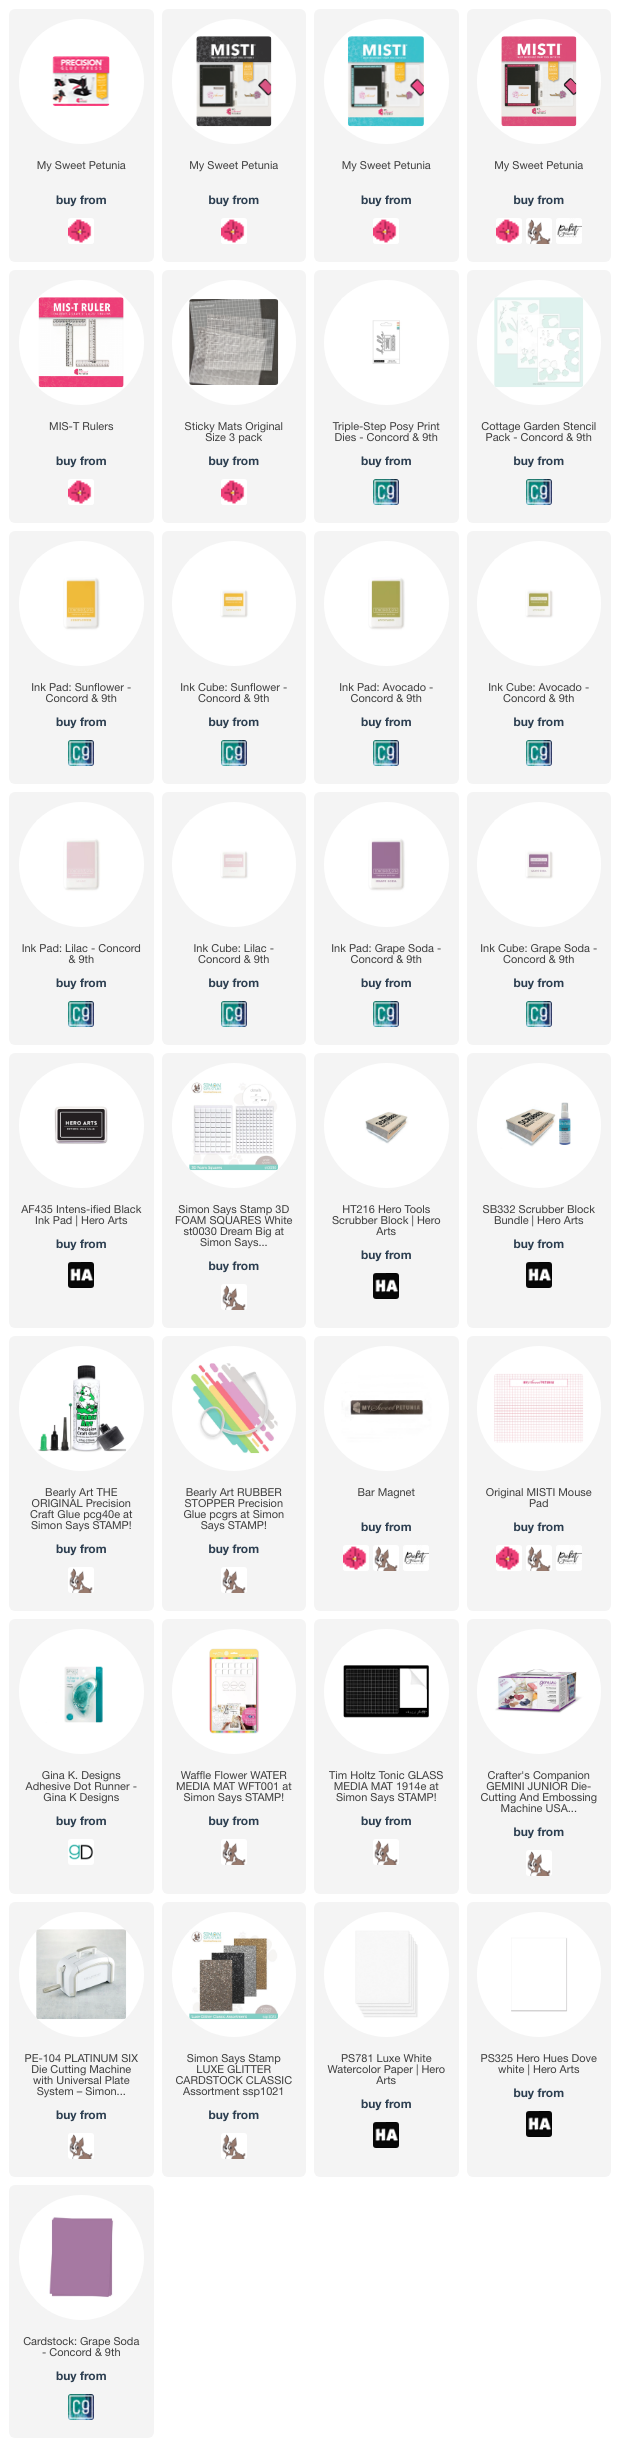
To make this card, I started with a white top folding A2 card base, a Grape Soda panel and a white panel. I created a background by using a stencil with the Sticky Mat. To finish the card I added this super skinny greeting which I love and I adhered it with no mess at all because of the Precision Glue Press! 


Y'all just like the MISTI the Precision Glue Press is a game changer. 
I have not made a card without using it since I got it, and I would make such a mess with skinny diecuts trying to get glue on them, that is not the case with the Precision Glue Press, it is Amazing!!!


Tuesday, June 6, 2023

Beauty Of Stamp Positioning

***Affiliate links are used when possible at no charge to you!***

Hi there

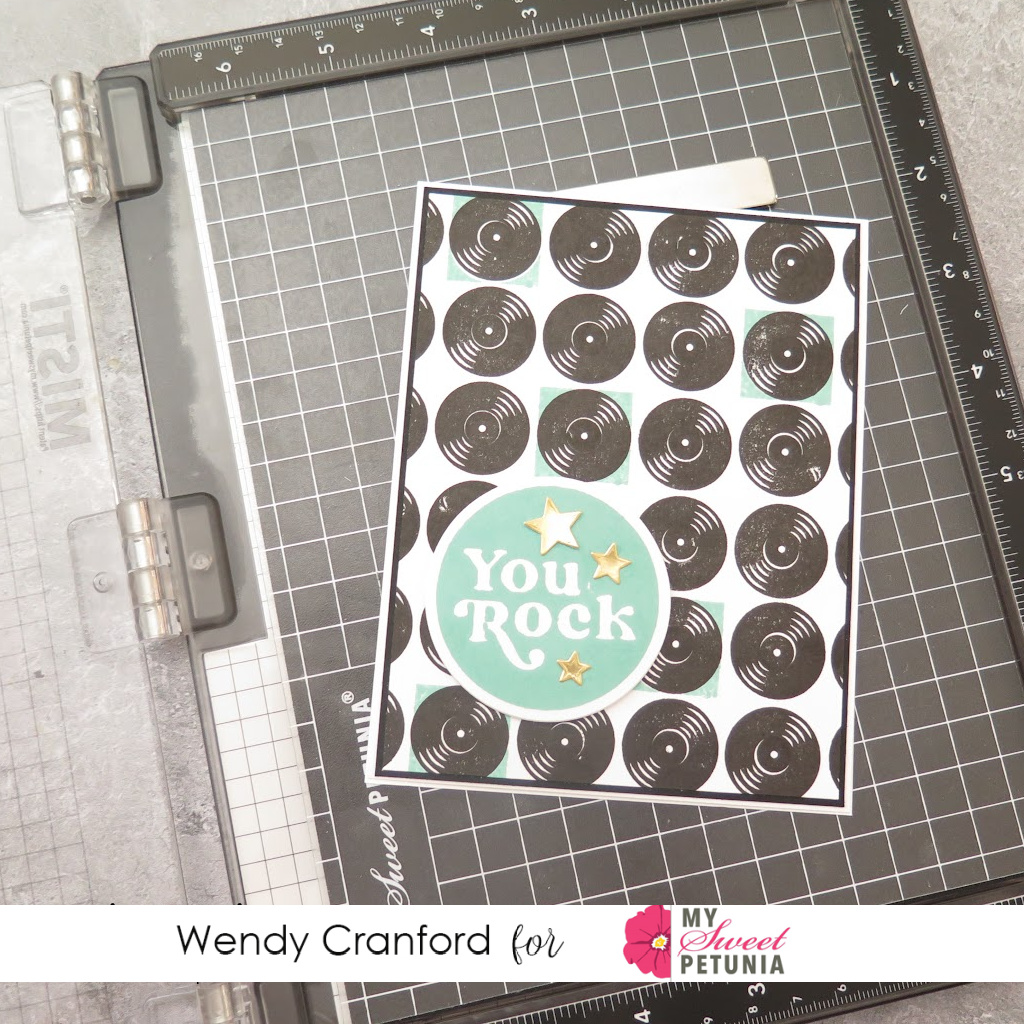
This is Wendy. I cannot tell you how much I love the MISTI, particularly for solid images.

For the background of this card, I used the Concord & 9th, For The Record, stamp set. All of the little black record players would have been a problem if it weren't for having a MISTI. I was able to stamp and restamp perfectly to get my black records as even and dark as I needed them to be.


I used Tidepool ink from Concord & 9th for the You Rock image and added some fun gold foil die-cut stars.


CLICK HERE to see the supplies I used on this card.

Tuesday, May 16, 2023

Team Tuesday with PinkFresh Studio

(Our team uses affiliate links at no extra cost to you.)


Hey everybody!
It's Ceal, here for another edition of Team Tuesday.
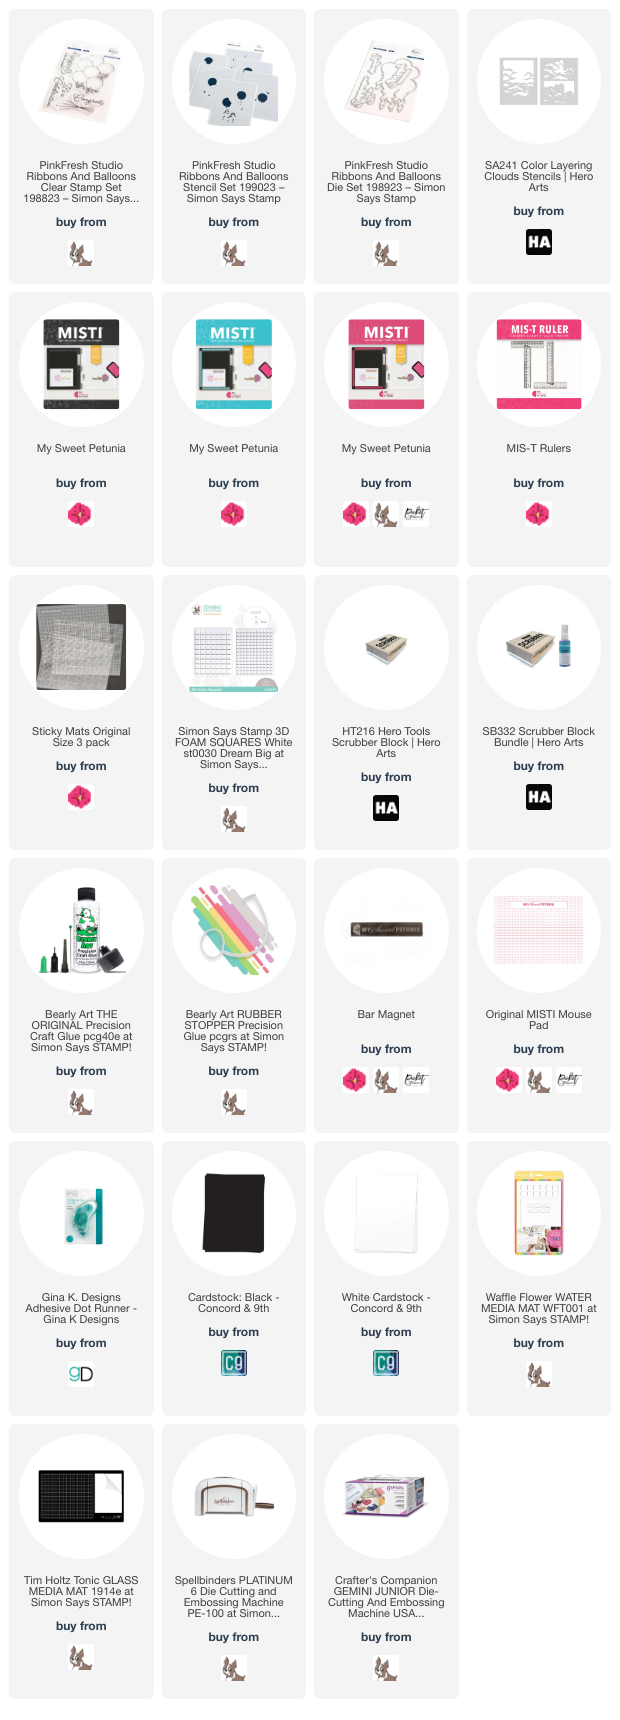
 Today I am sharing a card using some Pinkfresh Studio products. 
To make this card I started with a top folding white A2 base and a white panel. 
I used a stamp/stencil combo by Pinkfresh Studio. I love using layering stencils now that I have a Sticky Mat, it makes it so easy. 
After I completed the balloons using the stencil, I cut them out with the coordinating die and popped them up on the background which was created by using a layering stencil by Hero Arts. 


Thursday, March 23, 2023

Ivy and Thinking of You

Hi, Angie here with a touch of ivy! I am not a green thumb; my sister and mother are, but that gift was not given to me. I am known as the plant killer; however, I am all about paper greenery!  

An image such as this makes me itch to break out my paints, which is what I did here. The MISTI is always my favorite tool in my art room and even more so when I watercolor. Since watercolor paper is heavily textured, it requires multiple inkings. The MISTI keeps everything in place for perfectly stamped images every time! For most projects, I like to use more than one MISTI for each project.  Just in case disaster strikes, like a kitty putting his paw in my water, shaking it off, and making a mess on my finished coloring.  (You know that has happened, LOL).

   I stamped the image in my Original Black MISTI and watercolored it.  I adhered the panel to the gray card base.  Lastly, I placed the card in my Mini MISTI to stamp the sentiment. If I attach the image panel slightly less than perfectly, stamping the sentiment last ensures the greeting is aligned perfectly. 


***Affiliate links are used when possible at no charge to you!***


Thursday, December 22, 2022

Make it Happy

Hi everyone!
Ilina here! I can't believe it's almost Christmas and also the end of the year! 
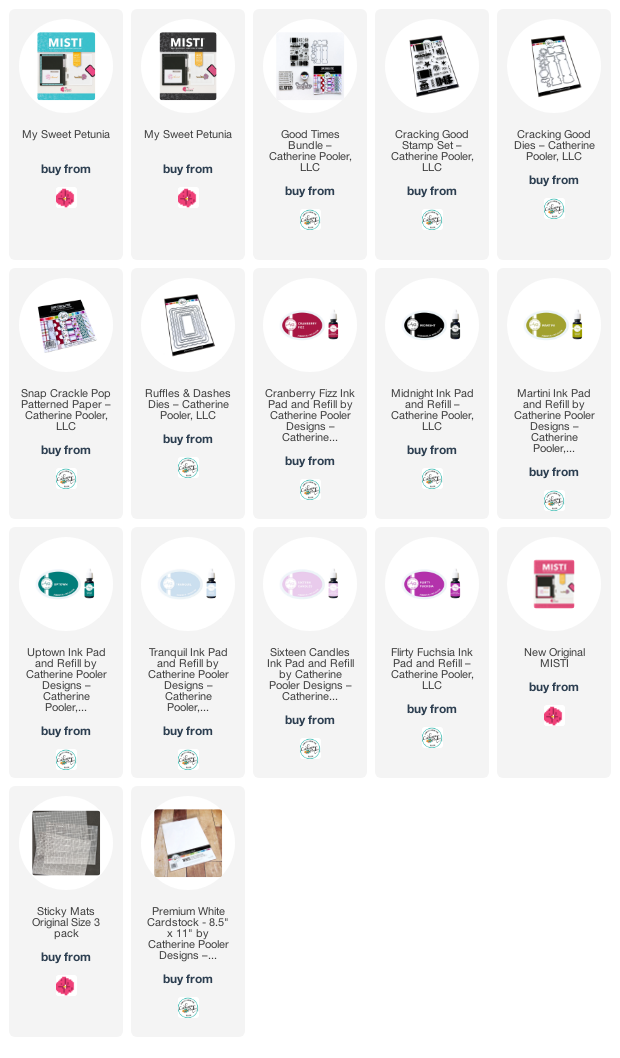
Today I am sharing a cheery card using the Cracking good stamp set and coordinating dies from Catherine Pooler Designs. 
This set is perfect to make New Years cards!!! I also used a coordinating paper pad called Snap Crackle Pop for my background.


To make the card, start by die cutting and stamping bunch of firecrakers:
  • die cut the fire crackers from white cardstock. 
  • Die cut a negative from contrasting color (I usually use black, navy, dark green etc) to use it as a template. 
  • Place sticky mat in your MISTI and place your template for the die cuts. Make sure it's nice and secure. Put a bar magnet to keep the sticky mat in place
  • Remove all the stamps from the printed acetate sheet (the sheet with the stamp images)
  • Place one of the white die cuts into the template. 
  • Position the stamp acetate sheet over it to line up the image with the die cut. Secure in place.
  • Line up the stamp on top. Close the door of the MISTI to pick up the stamp. 
  • Remove the acetate sheet and stamp :) 
  • Repeat for all the images 
Next die cut a rectangle from the Ruffles and Dashes die set. Arrange firecrackers, adhere with foam tape and trim off the excess. Die cut a ruffled rectangle , to use as a mat for the firecrackers panel. Adhere them together.
Stamp sentiment in black and trim to a strip. Adhere to one of the firecrackers using foam tape. 
Cut patterned paper panel measuring 4" x 5 1/4" and adhere the stamped panel to it in an angle. Trim the excess and adhere to a top folding note card! 


You are DONE ;) 

All supplies are listed at the bottom. (affiliate links may be used at absolutely no cost to you)

 Thank you so much for stopping by! Hope you have an amazing day! 

SUPPLIES (Affiliate links may be used at absolutely no cost to you)

Wednesday, November 2, 2022

Winter Scene With Ceal Pritchett


Hello Everyone!
It's Ceal, here on a wednesday for Team Tuesday. Today I am sharing this card made using my new Teal and Black Mistis, Sticky Mats and products from three different companies and all will be linked below as our team uses affiliate links at no extra cost to you but when used they help create a little revenue for us.

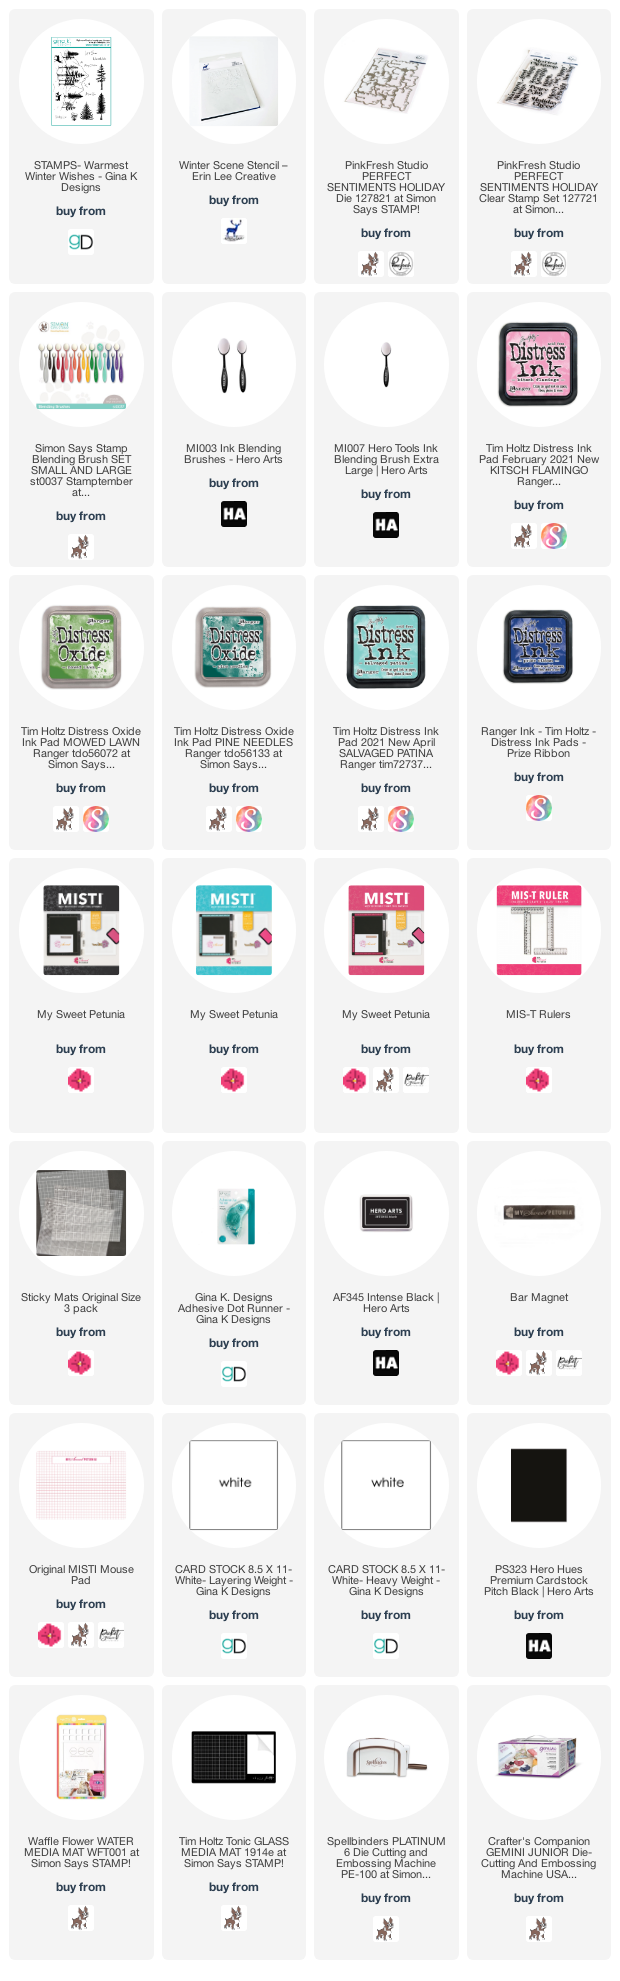
For the details of my card I started with a white top folding card base and a white panel. I placed the panel down on a sticky mat and then added ink, The sticky mat holds the panel in place while you blend. I did this for all six stencils. 
After I got it all blended I used a stamp set by Pinkfresh Studio set for the greeting that I received in a retreat I participated in so it may not be available to the public yet but I linked another that is close it. I embossed the greeting in silver powder and then cut it out with the coordinating die. 
The deer is from a Gina K Designs set and was stamped multiple times using the Misti to get good coverage since I had ink blended the tree first. Seems like the set I used with the deer has been discontinued  but I linked another that was close to it. 


Tuesday, October 4, 2022

Team Tuesday With Hero Arts


Hello friends!
Welcome to Team Tuesday! 
It's Ceal, here. Today I am sharing a couple cards using a Hero Arts set that I made quite a few cards with. I am sharing two of them here today on the My Sweet Petunia blog and if you follow me on my personal blog, Simply Beautiful I will share more there.

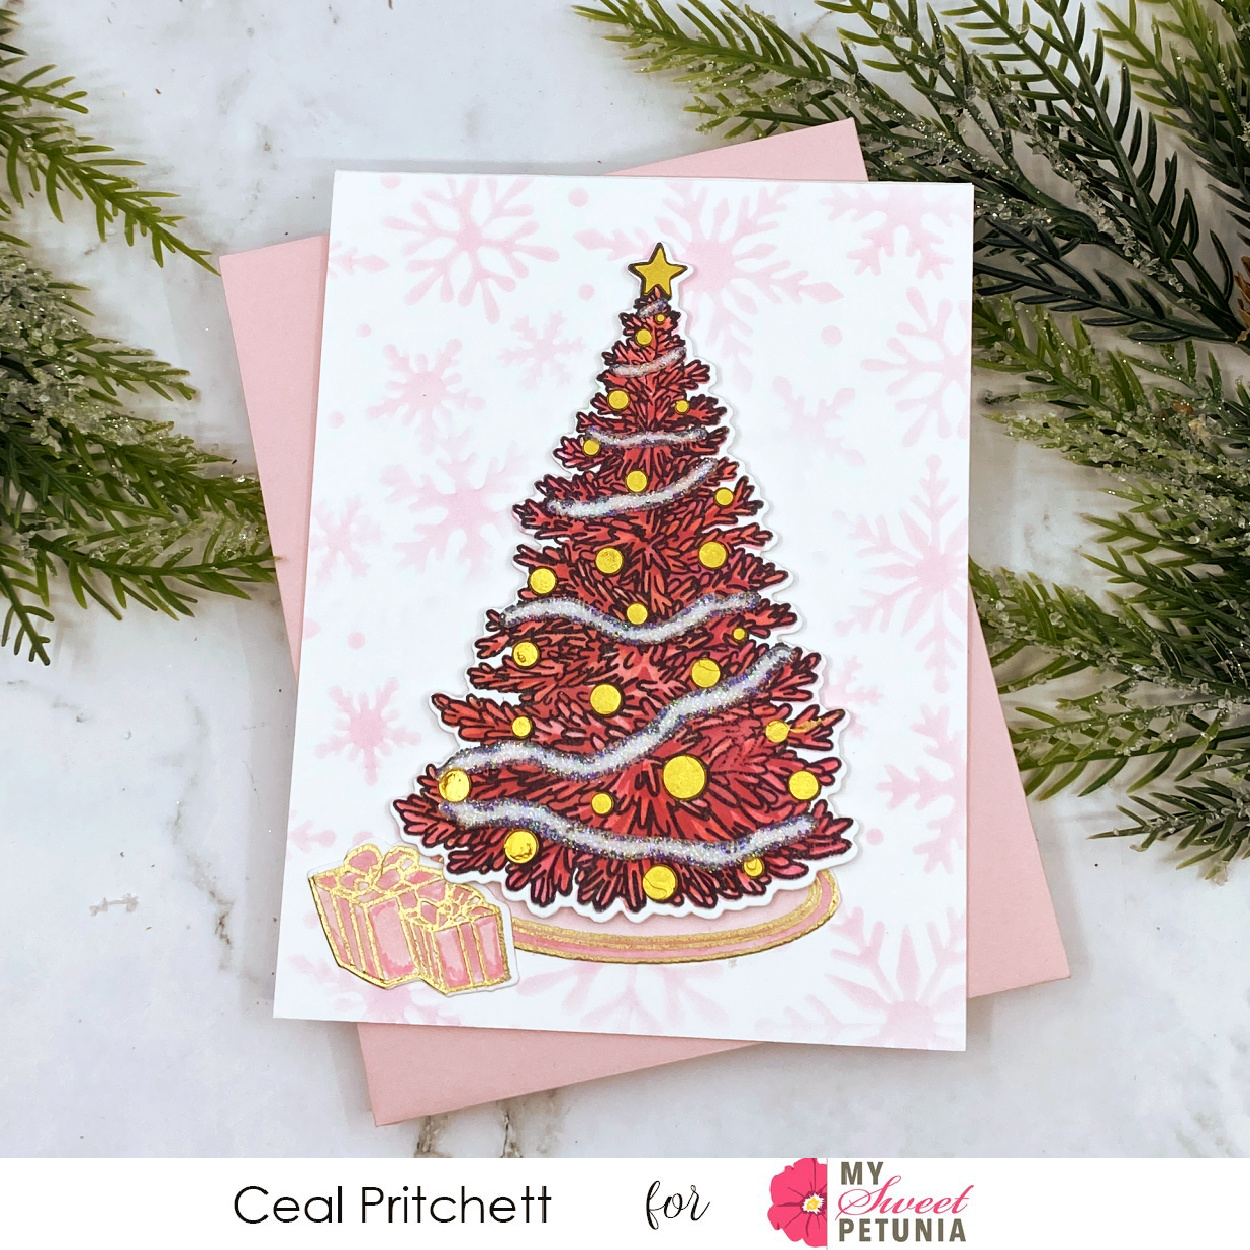
To make the first card I started with a top folding white card base, a white panel and a black panel for the mat. I created a brick background using the cobblestone stencil with Fired Brick distress ink.
I stamped the Christmas tree in the Original Misti and then used one of the sticky mats to hold it while I colored it using the stencil. I used some of the Berry Hero Wax for the baubles and some Hero Glitter Paste for the garland. The presents I stamped and colored using OLO markers.


The second card I started with a white top folding card base and ink blended Spun Sugar directly on the card base using the Snowflake stencil. For the baubles on this tree I used Gold Hero Wax and Hero Glitter paste for the garland. I embossed the present and skirt with gold embossing powder and then colored them using OLO markers.

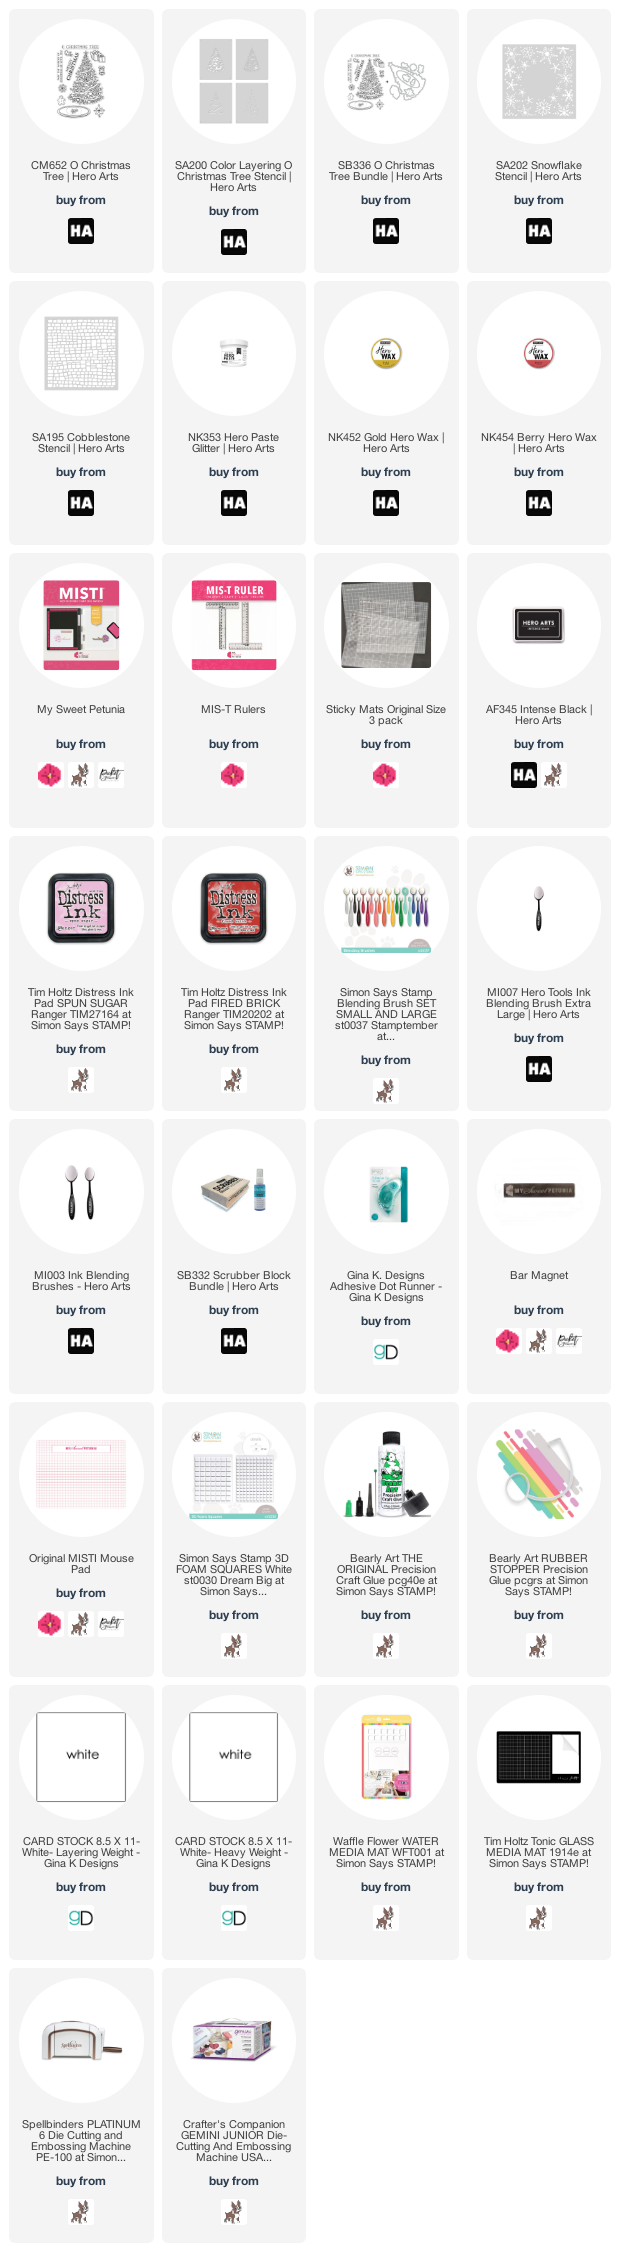
All products are linked below using affiliate links at no extra cost to you.


Thursday, September 15, 2022

MISTI and Watercolor Paper

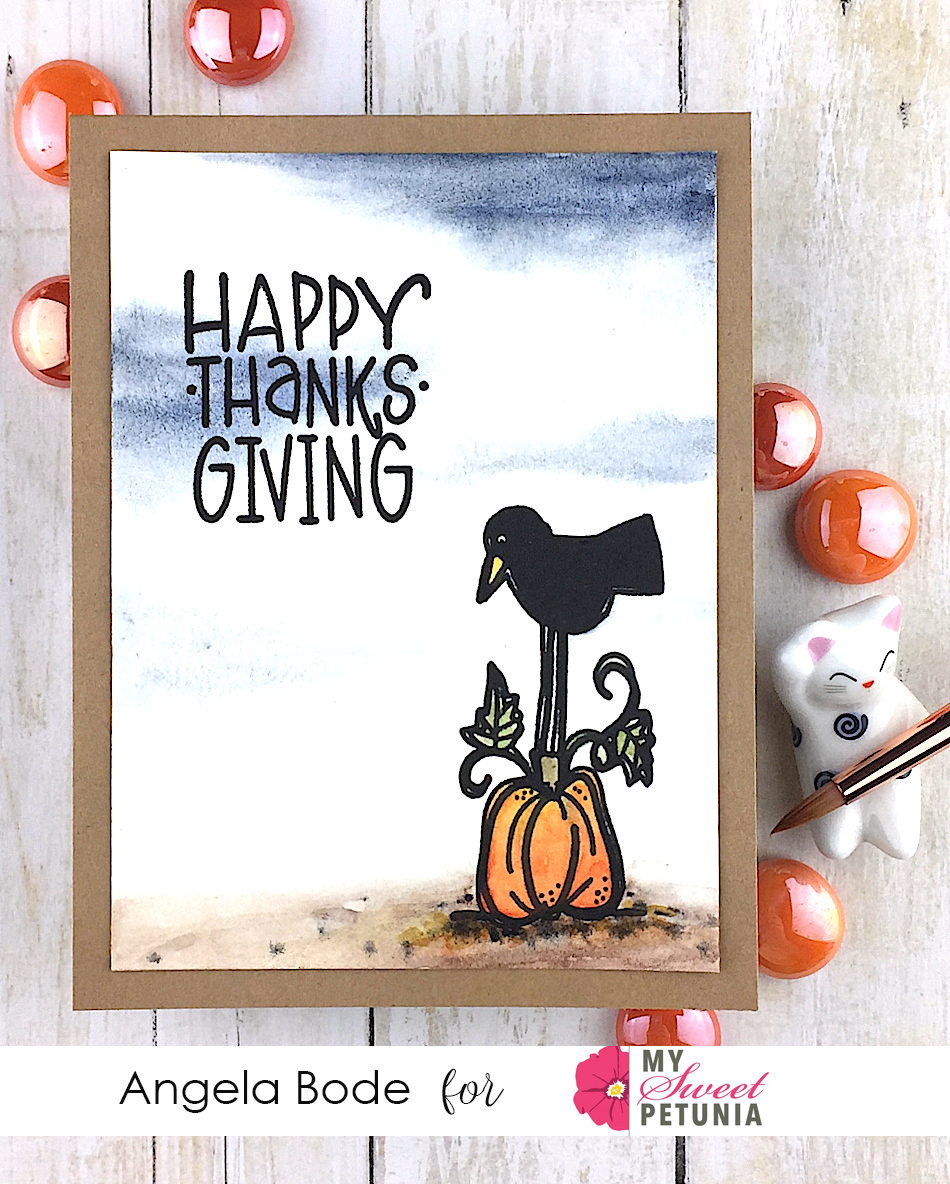
I had fun this week painting a pumpkin patch scene for Watercolor Wednesday.  So, I thought I would grab a stamp and paint a Fall scene for this blog post. Stamping on watercolor paper is just one of MISTI's superpowers.  Another MISTI superpower is stamping silhouettes, and on rough watercolor paper at that!  Simply place the watercolor paper in MISTI, stamp, and repeat as many times as needed for a rich dark perfect impression!


Thanks for stopping by!

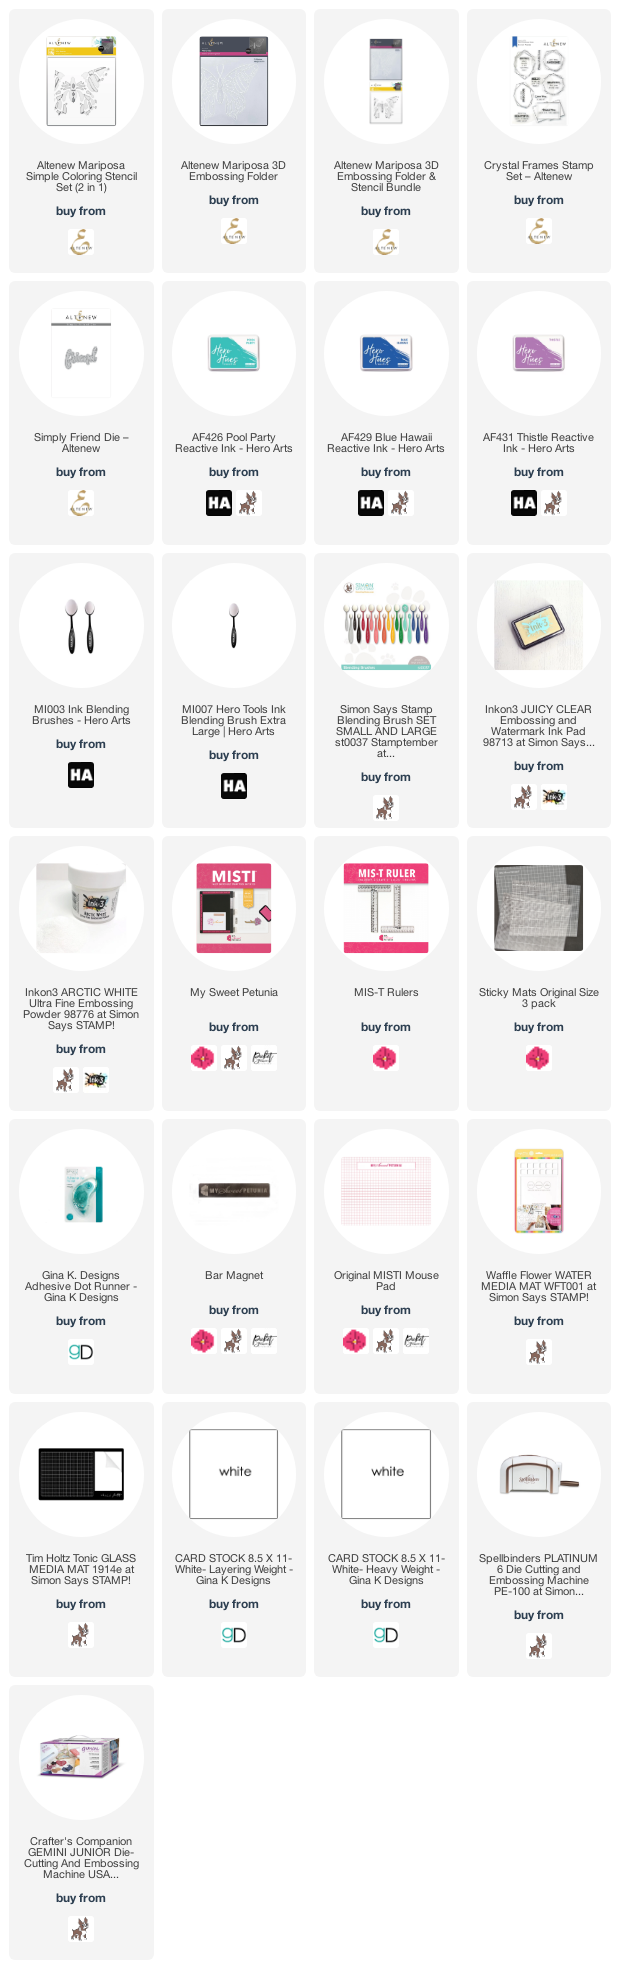
**Affiliate links used with no charge to you!**


Tuesday, September 6, 2022

Team Tuesday with Altenew


Hello and welcome to Team Tuesday.  It's Ceal, here. 
Today I am sharing a card using some Altenew products. 
When I think Altenew I automatically think Misti, matter of fact Altenew was the stamp company that made me "need" a Misti. I was in love with their floral layering stamp but for the life of me even though they were clear I could not line them up properly.  
My card today doesn't use any layer stamps but it uses a layering stencil and they are so much easier to use with a Sticky Mat.
I started with a top folding white card base and a white panel cut to the same size. 
I placed the panel down on the sticky mat and then placed the stencil over it. The stickiness of the mat holds down both the cardstock and the stencil and with it being a layering stencil I used the grids to help me line it up, so easy. 

Our team uses affiliate links and the products I used are linked below, I appreciate you using these links when you shop. 


Below you will find links to the products used. Click the picture to start shopping. Compensated Affiliate links are used at no additional cost to you. Your support helps me to keep bringing you new projects and I appreciate that so much!  

Thank you! 

Thursday, August 25, 2022

CAC + Sticky Mats = Alignment Happiness

**Affiliate links used when possible at no cost to you** 

Hello, Angie here today!  I love Cover- A-Card stamps (6 x 6 stamps).  However, CACs can be difficult to align and stamp with just one inking.  MISTI Sticky Mats to the rescue!  I place the Sticky Mat in the MISTI then I place the cardstock on the mat just one grid line away from the edge.  I place the stamp at the edges of the MISTI and then close the lid to pick up the stamp.  The image can be stamped as many times as needed to get full coverage.  The paper doesn't move even when restamping multiple times!  Once the stamping is finished, simply push the mat away from the paper, and the paper will peel away.  (See the how-to photo below the project)  

I like to leave the main image stamp in the New Original MISTI and use a Mini MISTI for the sentiment.  It is a time saver to have everything already set up on the MISTIs if something goes wrong before the card is completely finished!


Pardon the mechanic hands the photographer needed an assistant.  :)  The thumb on the left is pressing the sticky mat away from the paper.  

Thanks so much for stopping by!  


My Sweet Petunia Shop


Impression Obsession


Thursday, July 14, 2022

Keep On Swimming!

Hi, I am thrilled to share a fun card on the My Sweet Petunia blog today! 

I created this summery underwater card by first inking a 6x6 background stamp in three shades of blue ink. With background stamps, I like to use the Sticky Mat to hold the cardstock in place about a 1/8th of an inch from the inside edge of the MISTI.  This allows for a complete image plus the image can be stamped multiple times without fear of the paper moving.  For me, a MISTI is a must when using background stamps for complete inked perfection!

Next, I placed all of the images on the MISTI lid and stamped them at one time. 
 I left the underwater stamps on the New Original MISTI until I was completely done with the project in case I needed to restamp something.   Lastly, I stamped the sentiment directly on the card front with the Mini MISTI.

One more tool to mention is the Cut-Align Ruler.  I use the ruler every time I stamp.  For this card, I used the 0-center marking to make certain that the circle die was in the center of the panel.  I especially love the weight of these rulers along with the fact that it comes in two sizes. 


I hope you are having an amazing summer!  Thanks for stopping by today!

**Affiliate Links are used when possible with no added cost to you.  I appreciate your kind support**

My Sweet Petunia Shop


Misc Products