(when possible Affiliate links are used in the post at no cost to you)
Hello Friends!
Welcome to another Team Tuesday post!
I have been on a Christmas card kick since so many of the challenges in July are Christmas . This is a good thing for me because it helps me build my stash. I make Christmas cards to give to the local rehab/nursing home so I usually need about 200.
Today's card uses a stamp/stencil combo by Taylored Expressions.
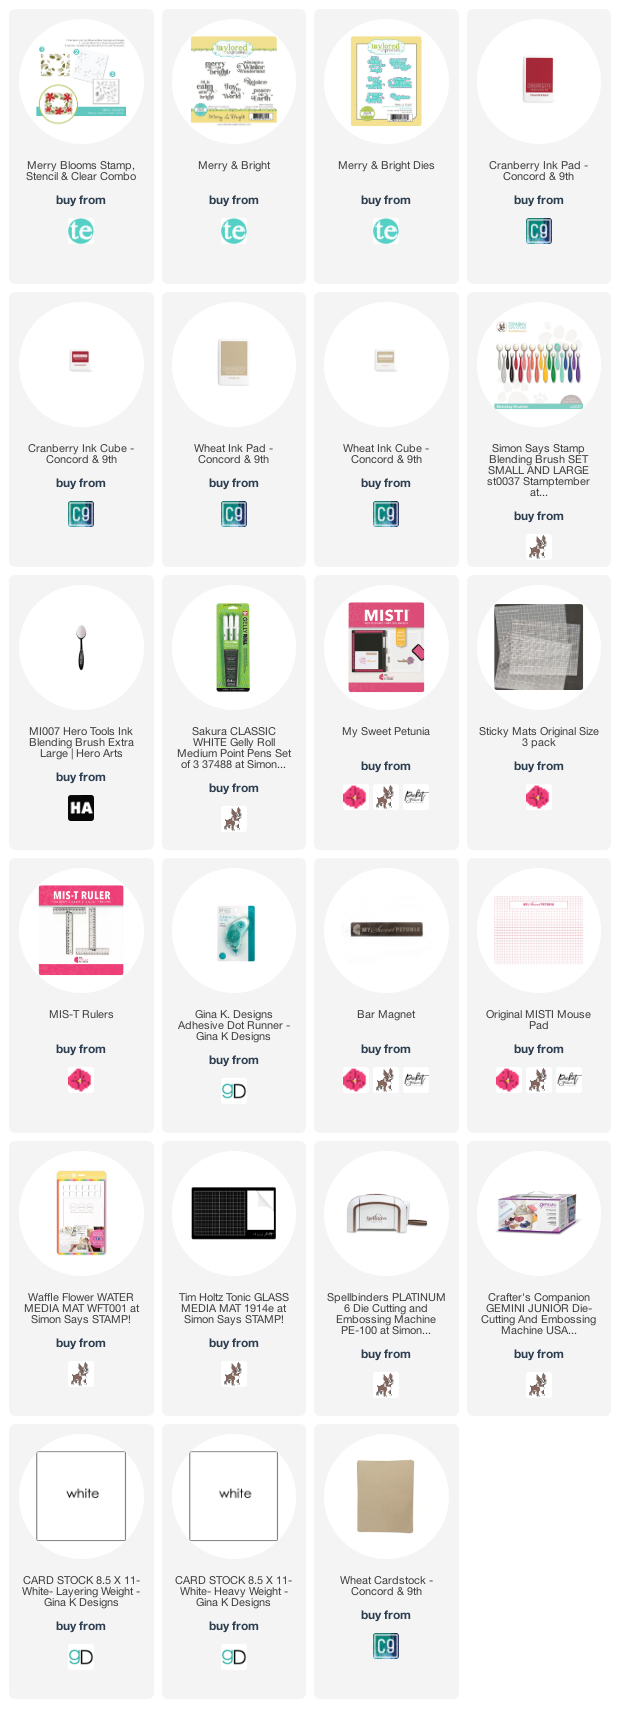
To make this card I started with a white top folding card base, a kraft panel and white cardstock for the scalloped frame. I placed a sticky mat in the Original MISTI and then placed my kraft panel down in the middle and stamped the background. Next still using the sticky mat I placed the stencil over the panel in the proper alignment for the poinsettias. To give the card some interest I added some accents using a white gel pen. To finish it I added the embossed greeting and the white scalloped frame.
Below you will find links to the products used. Click the picture to start shopping. Compensated Affiliate links are used at no additional cost to you. Your support helps me to keep bringing you new projects and I appreciate that so much!
Hello friends! It's Channin here and today I have a unique card concept, incorporating two color palettes into one card. It might come as no surprise that I stumbled upon this idea after taking crafty u-turn from a 70s sort of neutral palette that I started to lose faith in and opting for a more reliable bright palette. But then break through moment, I thought I should just try combining my neutral flowers with my bright happy rainbow and boom, I was in love!!
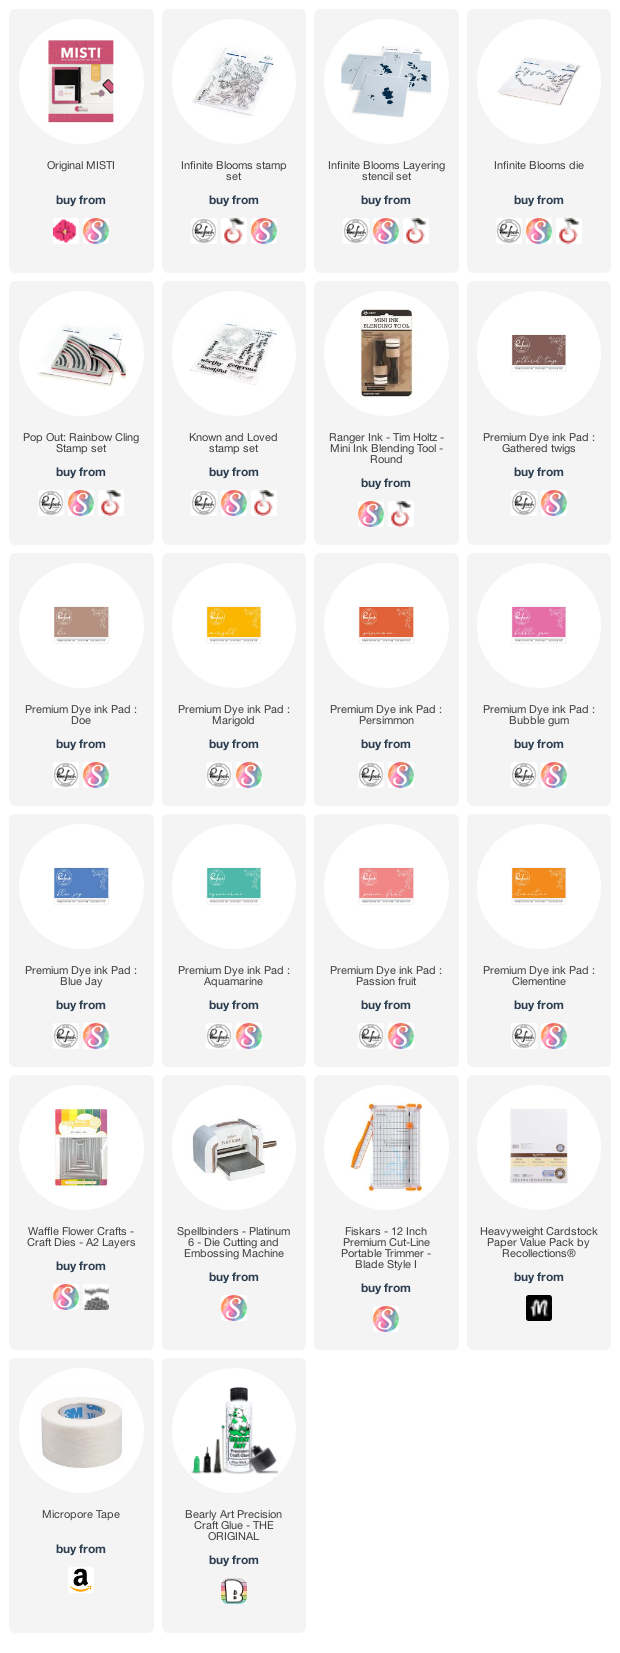
To create this card I first stamped the flowers from the Infinite Blooms Stamp Set onto white cardstock in Gathered Twigs. Then using the Infinite Blooms stencils I ink blended to add color to the image with several inks (Doe, Marigold, Persimmon, & Bubble Gum). When I finished ink blending I then popped my image back into my MISTI and stamped the image again then die cut it out with the coordinating die. I then repeated the process to make another floral image so I had two.
Next, I stamped the front of an A2 top-folding white card base with the Pop Out: Rainbow Cling Stamp Set in several inks (Blue Jay, Aquamarine, Bubble Gum, Passion Fruit, Clementine & Marigold). I then die cut a thin frame out of white cardstock and adhered it to the card front. Next, I stamped a sentiment from the Known and Loved Stamp Set in Gathered Twigs. Lastly I finished the card by adhering my floral images to the card front and trimming off the overhang.
I hope you enjoyed my card! Thank you so much for stopping by!
Ceal here! Today I am sharing a card that I created using new products by Erin Lee Creative.
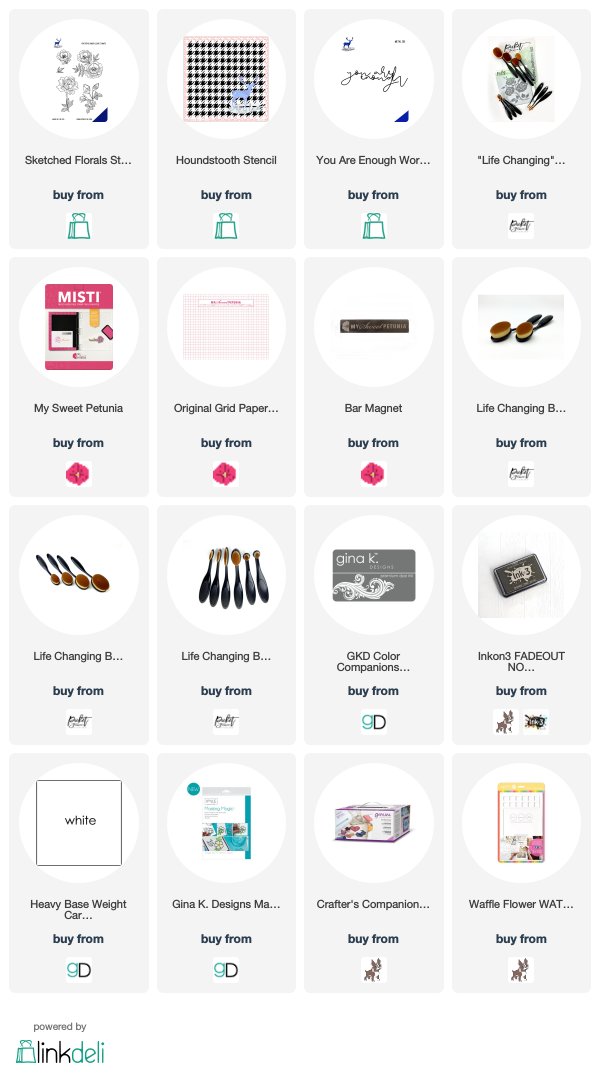
To create this card I started with a white top folding card base, placed it in the Original Misti inked up up the gorgeous rose from the Sketched Floral set using Fadeout Ink by Ink on 3.
I created a mask, cut it out and covered the rose, then used the New Houndstooth stencil to create a subtle background with Soft Stone ink and the Life Changing Blender Brushes.
I do this in the Misti because I can place the card and the stencil in the corner of the Misti and ink blend without my card moving around.
I removed the mask and colored the Rose from the Sketched Florals set using Copic markers and Polychromos pencils. To finish the card I added the die cut greeting "You are Enough" which is also a new product by Erin Lee Creative.
The Misti makes it so easy to get precision stamping and can be used for so many other things like stenciling.
Welcome everyone! It's Mindy Eggen here with you today and I am featuring a project creating 4 Cards with 1 Stencil (plus a layout!)
VIDEO
I have a video that you can view down below or HERE on my Youtube channel. I'll be showing you how to create 4 cards with 1 stencil + a layout.
CARD DETAILS
Since this stencil is 9x12 all you need is one sheet of card stock. For my cards today, I'm using an 8 1/2" x 11" piece of Neenah Solar white 80lb card stock.
I'll spray my stencil with Pixie Spray, attach to my card stock and then ink blend Tattered Rose, Abandoned Coral and Seedless Preserve Distress Oxide inks using Life Changing Blender Brushes.
While the stencil is still in place, I'm going to spray Iridescent Shimmer Spray for a little sparkle. Then after carefully removing the stencil, I'm going to let this dry or you can heat with a Wagner Heat Tool.
After the card stock is dry, I'll trim my panel down first cutting at 5 1/2" and then 4 1/4" so that I end up with 4 card front panels. Four cards with one sheet of card stock and they all have a different design using the same stencil. Cool Right?!
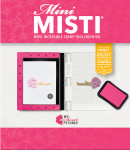
I'm going to use the Good Job Mama Stamp Set and the Mini Misti Tool to stamp sentiments onto my card fronts with Versafine Clair ink. This is a great ink for stamping onto of Distress Oxides.
I also heat embossed sentiments off of the Good Job Mama stamp set onto Black card stock with White Embossing Powder. I love how I can stamp all of my sentiments at once using the Misti Tool. Quick and easy!
I'll use the Mini Blossom Die Cut Machine from Altenew and the Sentiment Label Die to cut my sentiments down to thin strips. I'll then attach my sentiments to my card front using the Big Momma Foam Tape from Simon Says Stamp.
A last finishing touch to my cards is adding some Clear Sequins using Connect Glue and then topping them off with Love Potion Dream Drops.
Now this is a little different coming from me but honestly, it's the first thing I thought of when I saw this stencil. One of my scrapbooks is actually a 9x12 album. I stenciled the hearts using the same colors as my cards, onto white card stock.
I printed off a 5x7 picture of my daughter that I took of her in November and attached it to my card stock.
Using Black card stock and Tonic Gold Glitter card stock, I die cut the Over Sized Love You from Waffle Flower and layered together with Connect glue for a shadowed look.
I heat embossed in Gilded Embossing Powder some small sentiments from the Tiny Words Encouragement stamp set onto Black card stock. Again, the Misti Tool is a time savER being able to stamp all of those sentiments in one pass. Then using the Sentiment Labels I die to cut them out and add to my label with foam tape.
I absolutely adore this layout and the sentiments are so powerful. It'll be great when my daughter goes back to look at the album and sees these encouraging messages.
I hope you enjoyed today's inspiration! I have the full release and my supplies listed down below.
SUPPLIES USED IN VIDEO
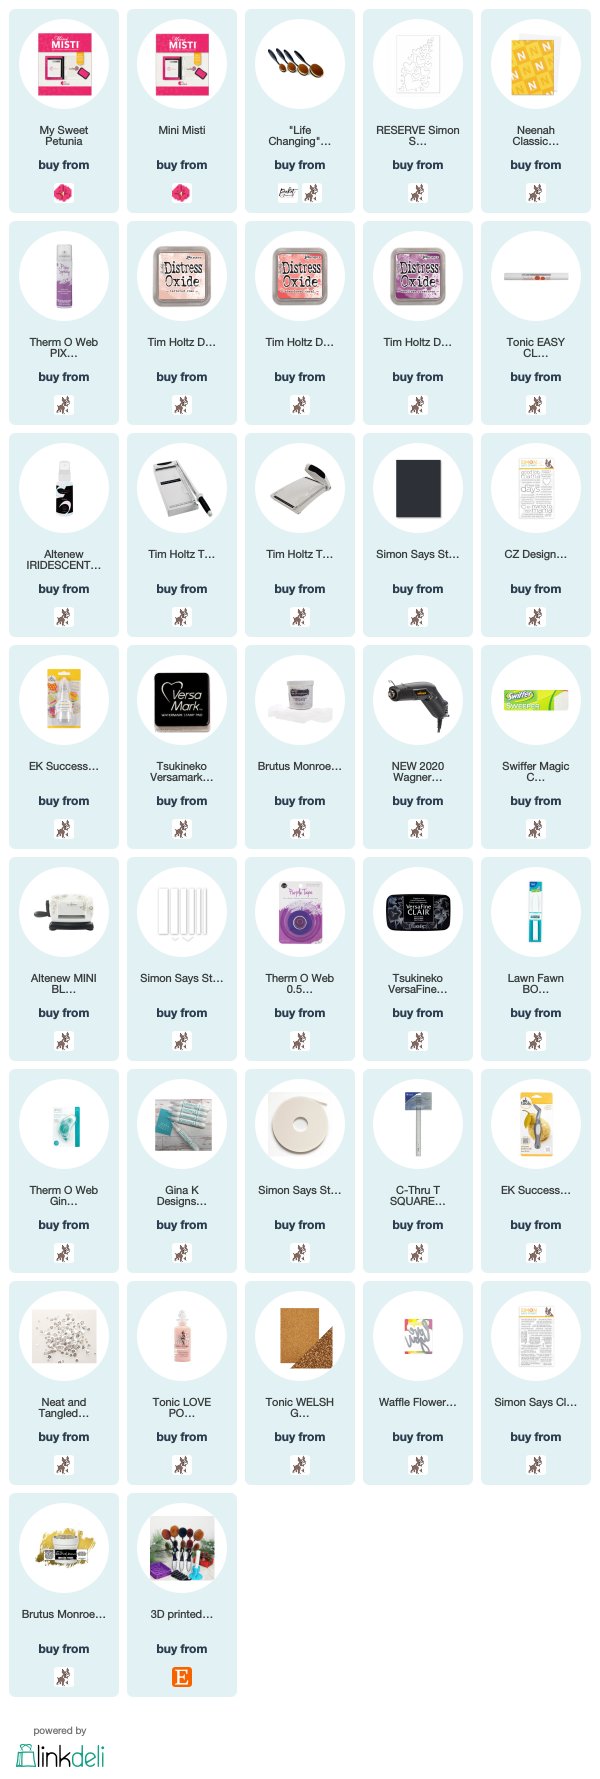
Below you will find links to the products used. Click the icon to start shopping. Compensated Affiliate links are used at no additional cost to you. Your support helps me to keep bringing you new projects and videos. Thank you!
But first ... drum roll ... the winner of the $50 My Sweet Petunia Gift Certificate from the My Sweet Petunia and Sweet 'n Sassy Stamps Blog Hop is ... Tanya Terrones with this comment
Great masculine feel for the card. I like the texture stamps.
Tanya - e-mail your information to hello@mysweetpetunia.com
Here is the first one featuring a masked stencil technique
I randomly applied the colors (I just used the same brush for all three) until I got the depth I wanted, then I removed the stencil and then removed the mask.
One more little trick with my MISTI ... I like to use the lines on the mouse pad to help me line-up embellishments like these gorgeous Love from Lizi Peel Off stickers that I added to finish the card. I lined the largest one on the left line of the black ... the smallest on the right side of the block ... and then positioned the middle side between the two.
Seriously ... doesn't that gorgeous sparkle make you happy? Stamped another sentiment from the Gina K. Designs Have Faith Stamp Set in the masked area.
I hope today's tutorial gave you some masking ideas ... I can't wait to see what you create.
I will have you know that I made this card right after I came back from Creativation. I just didn't want to post it until the featured product was available. At Creativation, Thermoweb gave me this new stencil spray called Pixie Spray and I could not wait to try it. I am telling you it is phenomenal! I sprayed the stencil once and made a several cards with that one application. What is really cool about the spray is that when you touch where it is applied it does not feel sticky. You have to give it a try.
Please enjoy the video and don't forget to like and subscribe!