Showing posts with label turnabout. Show all posts

Thursday, July 9, 2020

Kite Turnabout Stamp with Mindy Eggen

Welcome everyone! Mindy Eggen here and today I'm sharing a card using a fun stamp set from Concord & 9th. The Kite Turnabout stamp. Have you ever used a turnabout stamp? They are tons of fun and create amazing designs. Concord & 9th has a lot of different images available in a turnabout.

With the turnabout stamp, you will need a Misti to do the stamping.


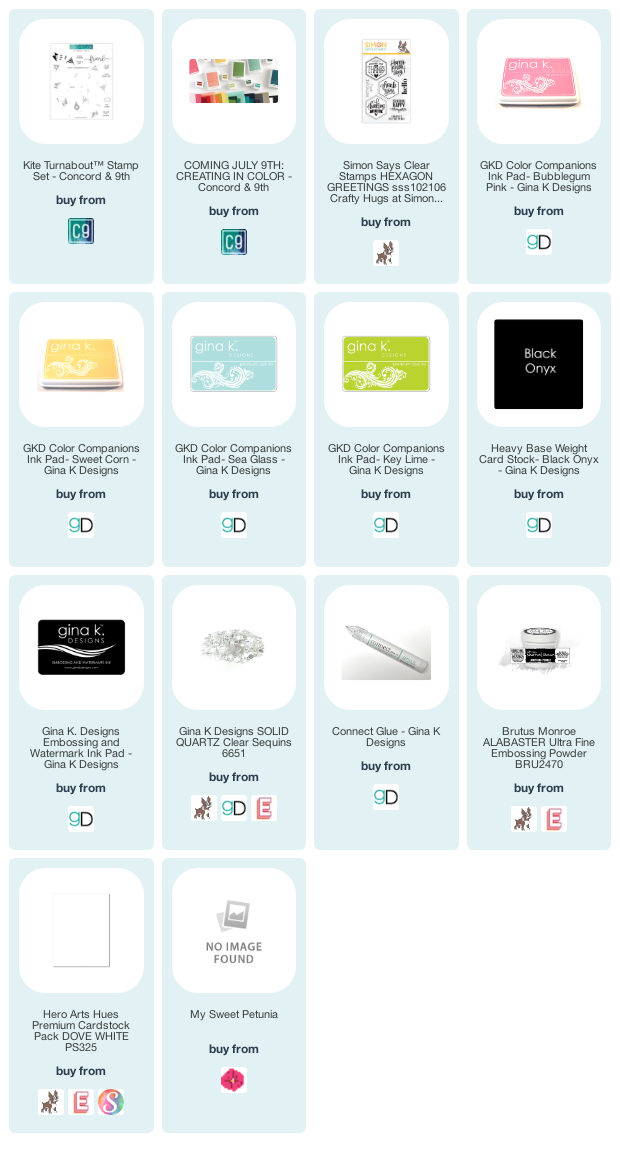
For my colors today I'm using Sea Glass, Key Lime, Sweet Corn and Bubblegum Pink from Gina K Designs. If you haven't heard yet, Concord & 9th is releasing their own line of ink pads today. I will definitely be snagging some of those beautiful colors up! The release of the new colors go LIVE at 9:00 AM MT time.


I finished off my card by heat embossing a sentiment from the Hexagon Greetings stamp set from Simon Says Stamp. I added a few Clear Quartz Sequins from Gina K Designs.


Thanks for joining me to day and hope you have a fabulous day!

SUPPLIES


Below you will find links to the products used. Click the icon to start shopping. Compensated Affiliate links are used at no additional cost to you. Your support helps me to keep bringing you new projects and videos. Thank you!

Tuesday, April 28, 2020

Team Tuesday with Mindy Eggen: Blooms Turnabout

Welcome everyone! Today I'm sharing a card using a turnabout stamp from Concord & 9th that has been begging to be played with!


Turnabout stamps are great to pull out if you feel like you lost your mojo, which is where I've been lately. They make it easy to create a full background. All you need to do is pick out some colors.


The Original Misti stamping tool is quite essential when using the Turnabout stamps.


This card features the Blooms Turnabout which actually has two parts to it. You'll first stamp your flowers. I stamped mine in Red Cosmos Ink set from Altenew. The second part of the stamping is the leaves that I stamped in the Green Meadows ink set.


I used the Lovely Blossoms die set to cut the octagon shape from the background. Technically, I could have created two cards from this but I was in the mood for a lot of white space so I'm just using the shape piece for now.


I also die cut the sentiment from Black Oreo cardstock using the Lovely Blossoms die set. I picked out a Mint green cardstock to match my stamping and topped off the sentiment with an Aqua Shimmer Pen and a Lacquer Pen for shine.


Hope you enjoyed today's inspiration!


SUPPLIES


Below you will find links to the products used. Click the icon to start shopping. Compensated Affiliate links are used at no additional cost to you. Your support helps me to keep bringing you new projects and videos. Thank you!


Saturday, July 27, 2019

Crafty Turnabout


I love you like craft supplies....only you get that phrase.  This is major love for people like us.  For those of that are not in the hobby but know us, know this means a lot of love.


Here are two versions of the same card: a colorful one with embellishments and a simple one with a pop of color and zero embellishment.   I was so excited to finally have a chance to use buttons on a card.  I refuse to get rid of my buttons.  What is something in your stash you hold on to?

Enjoy the video and thanks for stopping by.


Tutorial on turnabouts

Affiliate links to supplies use:

Original MISTI
[ MSP | AMZUS ]
Mini MISTI
[ MSP | AMZUS ]
Cut-Align
[ MSP | AMZUS ]
Double Dip Notes
[ MSP ]
MISTI Stamp Tool Bar Magnet
[ AMZUS | MSP ]
SSS I LOVE YOU Wafer Dies
[ SSS ]
SSS LOVE YOU LIKE
[ SSS ]
TWEEZERS Precision Tip
[ SSS | ELH ]
× ? Add product to Linkdeli This...
[ MSP | SSS ]
Precision Heat Embossing Tool Gun...
[ SSS ]
Inkadinkado Embossing Magic Bag
[ ELH | SSS ]
Amazon.com: OXO Good Grips POP...
[ AMZUS ]
Perfect Match Raspberry Fizz...
[ PPR ]
Layering Weight Card Stock- White -...
[ GNK ]
Gina K Black Onyx Cardstock
[ GNK ]
Inkon3 JUICY CLEAR Embossing and...
[ SSS | ELH ]
Inkon3 INK OFF CLOTH Tool 98719 at...
[ SSS ]
Lawn Fawn Stamp Shammy
[ ELH | AMZUS | SSS ]
ColorBox Stamp Cleaning Pad
[ MSP ]
Altenew CHARCOAL SUIT Crisp Dye Ink Pad
[ SSS ]
Altenew CLOUDY NIGHT Crisp Dye Ink Pad
[ SSS ]
Altenew GREY DENIM Crisp Dye Ink
[ SSS ]
Altenew SILVER LAKE Crisp Dye Ink Pad
[ SSS ]
SSS GREEN APPLE
[ SSS ]
SSS ORANGE PEEL
[ SSS ]
SSS SUNSHINE
[ SSS ]
Simon Says Stamp Premium Dye Ink Pad...
[ SSS ]
Quilting Template
[ AMZUS ]
E-Z DOTS DISPENSER Repositionable...
[ SSS ]

Tuesday, May 7, 2019

Team Tuesday with Stephanie: Doing the Turnabout Jig

When I saw the new Turnabout Jig at Concord & 9th, I had to pull out my MISTI and give it a try.   I also purchased the Turnabout Alignment Aid Pack, which makes lining-up your stamps a piece-of-cake.

Today's card is made with the Oh Hello Turnabout Stamp.


You start by placing your turnabout image face down onto the alignment aid.


Your next step is placing the Turnabout Jig in the base of your MISTI with the number *1* at the top right corner.  Then you align the *X* on the alignment aid on top of the *X* on the jig.  

You close your MISTI lid to pick-up the stamp, and then peel the alignment aid off ... and TA DA ... your turnabout stamp is perfectly placed.


The Turnabout Jig has registration marks, so you know exactly where to place your card base ... you just use some temporary adhesive on the back of the cardstock to stick it down to the JIG for rotating.


The printed numbers on the Jig help you make sure you always have your cardstock positioned correctly.


And as always, with the fourth stamping in your MISTI, you have a gorgeous 4-color background.  The extra ink cleans off very easily from the Jig once you lift up your cardstock.


I finished my card using the layout from Try Stampin' or Not on Tuesday.


The bonus theme is water-color, so I punched a butterfly from a scrap of water-colored paper to embellish my card ,,, I love that tiny bit of purple with all of those gorgeous blues.

Stephanie Severin

Thursday, March 14, 2019

Concord & 9th Faceted Turnabout


I will have you know that I made this card right after I came back from Creativation.   I just didn't want to post it until the featured product was available.  At Creativation, Thermoweb gave me this new stencil spray called Pixie Spray and I could not wait to try it.  I am telling you it is phenomenal!  I sprayed the stencil once and made a several cards with that one application.  What is really cool about the spray is that when you touch where it is applied it does not feel sticky.  You have to give it a try. 

Please enjoy the video and don't forget to like and subscribe!


Affiliate links to supplies used:
Mini MISTI
[ MSP | AMZUS ]
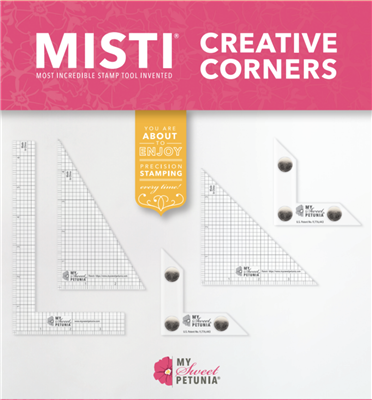
Creative Corners
[ MSP | AMZUS ]
Therm O Web PIXIE SPRAY iCraft...
[ SSS ]
Altenew SWEET DREAMS OVAL SET Crisp...
[ SSS ]
Altenew Crisp Dye Ink Cubes, Sweet...
[ ELH ]
Altenew DEW DROPS Crisp Dye Ink Pad...
[ SSS | ELH ]
Altenew AQUALICIOUS Crisp Dye Ink Pad...
[ SSS | ELH ]
Altenew TEAL CAVE Crisp Dye Ink Pad...
[ SSS | ELH ]
Altenew GALACTIC STREAM Crisp Dye Ink...
[ SSS | ELH ]
Picket Fence Studios LIFE CHANGING...
[ SSS | PFS ]
VersaFine Clair Ink Pad, Nocturne -...
[ ELH | SSS | AMZUS ]
Concord & 9th FACETED TURNABOUT...
[ SSS | ELH | C&9 ]
Altenew MEGA HAPPY Die ALT2489 at...
[ SSS | ELH ]
Altenew MEGA GREETINGS 2 Clear Stamps...
[ SSS | ELH ]
Mega Greetings 2, Altenew Stamp & Die...
[ ELH ]
Gina K Black Onyx Cardstock
[ GNK ]
Heavy Base Weight Card Stock- White
[ GNK ]