Showing posts with label #cardmaking. Show all posts

Tuesday, May 24, 2022

Layering Roses with Layered Inks

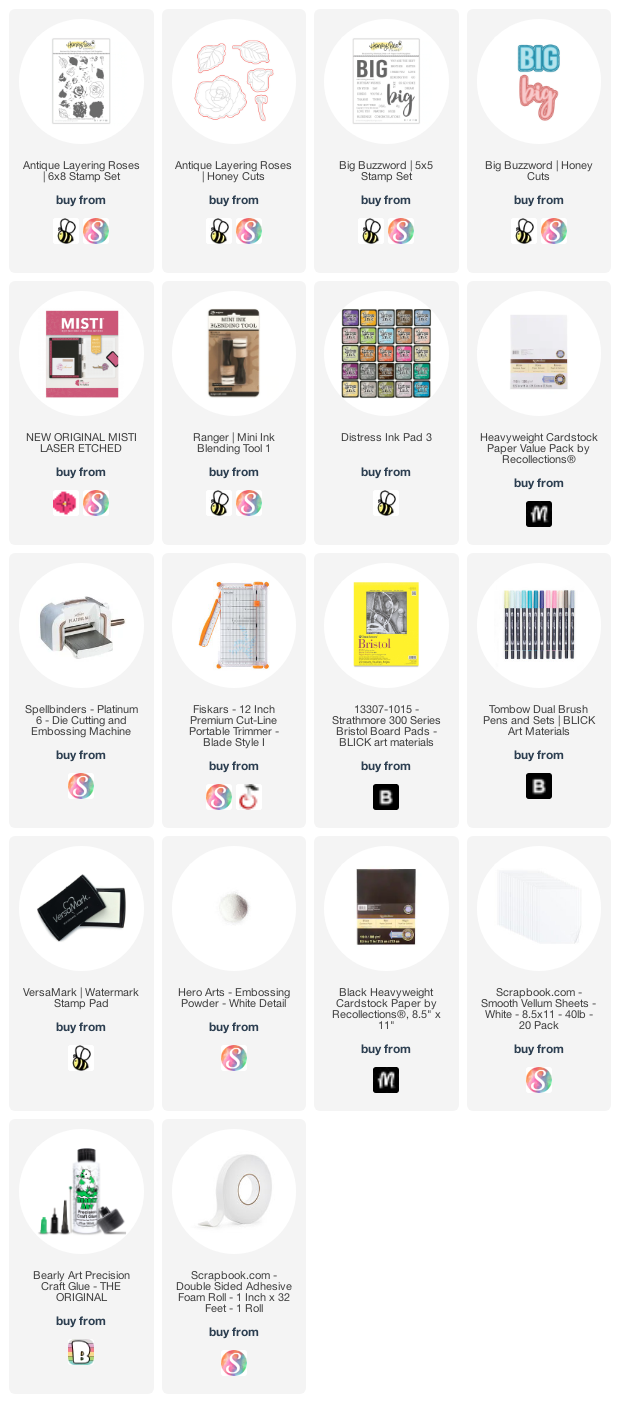
Hello friends!! It’s Channin here and today I’m sharing a bold floral card I created with a beautiful layering stamp set from Honey Bee Stamps. To create the perfect pink rose I employed several tricks to get just the right shade and I can’t wait to share them with you!

To create this card I started with stamping the roses from the Antique Layering Roses stamp set. There are four layers for each rose and for each layer I used a combination of Distress Inks to create the perfect shade. Starting with layer one, I first inked the stamp up with Spun Sugar and stamped twice. I then inked up the stamp with Worn Lipstick but I used a foam blending tool apply the ink to the stamp and then stamped the layer. The foam blending tool creates a lighter application resulting in a lighter shade. 


For the second layer of the roses I inked up the stamp in Worn Lipstick and then stamped. Next, with a foam blending tool I inked it up with Picked Raspberry and then stamped. Then for layer 3, I first stamped the stamp twice in Picked Raspberry and then inked up the stamp with Abandoned Coral and then stamped. For the final layer, I first inked up the stamp with Picked Raspberry and stamped three times. Then I inked up the stamp with Candied Apple and stamped twice.


Next, I stamped my leaves. For the first layer of the leaves I stamped them in Shaded Lilac. I then inked up the upper third of the leaf with Blueprint Sketch using a foam blending tool and stamped again. Next, I ink up the second layer of the leaf in Shaded Lilac and stamped twice. I then inked up the layer with Blueprint Sketch using a foam blending tool and stamped again. For the last layer, inked it up in Blueprint Sketch and stamped three times. 


After I had stamped all my roses and leaves I then die cut them out with the matching dies. I then created a watercolored background on Bristol paper with Tombow Dual Brush pens. When the panel had dried I then adhered it to the front of an A2 top-folding white card base. Next, I created a sentiment by first die cutting “BIG’s” out of white cardstock using the Big Buzzword Honey Cuts. I then stacked and adhered two layers of the “BIG” die cut together and then die cut a shadow layer out of vellum. Next, I adhered the vellum over the stacked letters and then finished the sentiment by adhering the remaining cardstock letters on top. I then stamped and white heat-embossed two sub-sentiments from the Big Buzzword Stamp Set onto black cardstock. I then finished the card by adhering the images and sentiments to the card front. 


I hope you enjoyed my card! Thank you so much for stopping by!


~Channin


Supplies:
Thursday, May 12, 2022

A Big Hi!

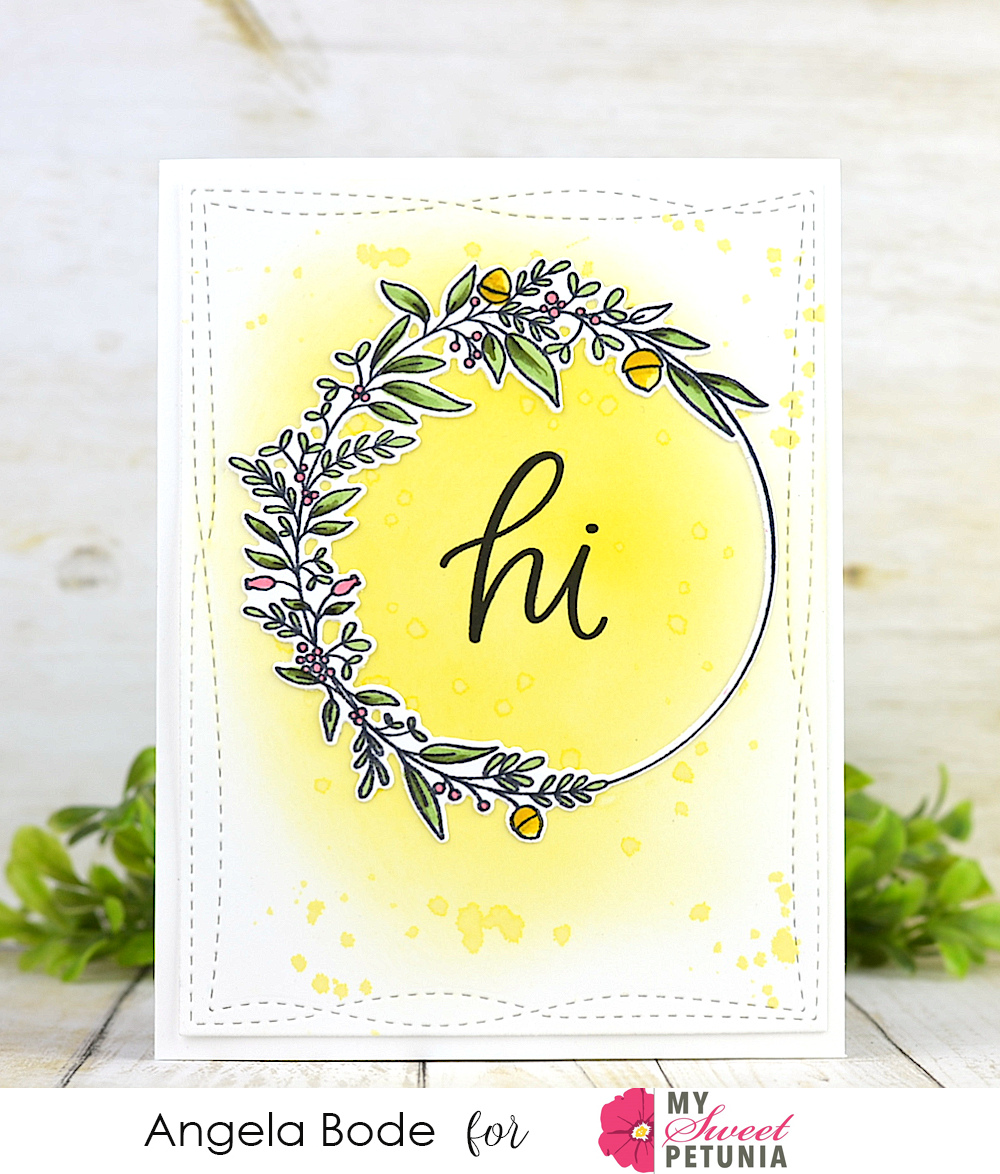
Hi, there!  I just love featuring stamps and dies in different ways!  This is a pretty winter wreath by MFT, but just by coloring it in Spring colors, it becomes a spring wreath!  The MISTI is such a wonderful tool when it comes to a project like this, as both the wreath and the sentiment required stamping multiple times.  


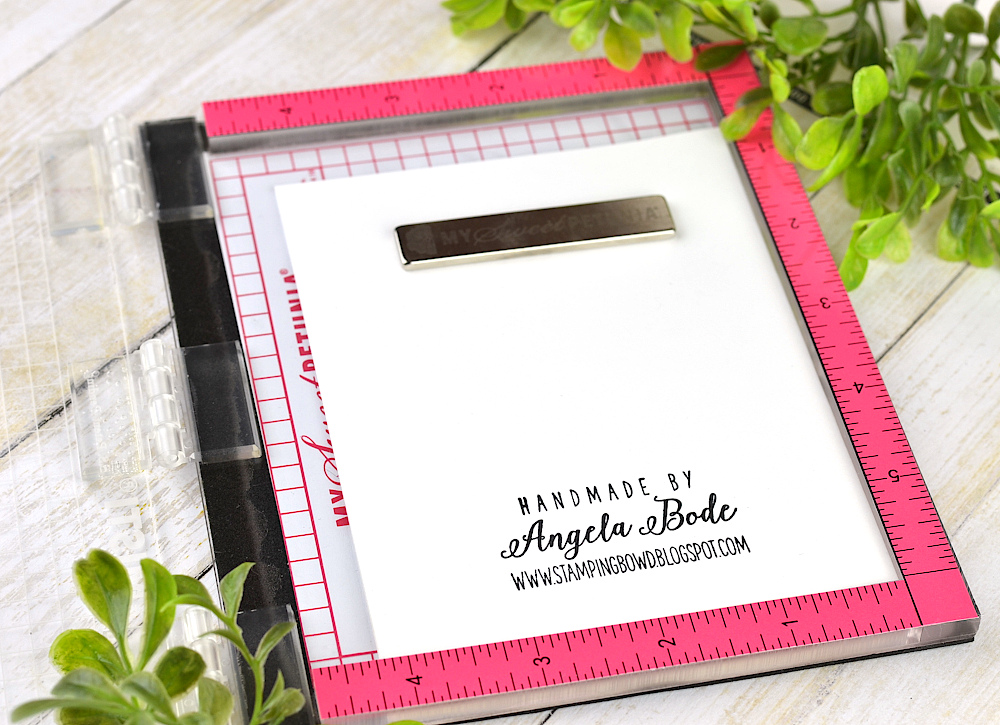
The MISTI is like a potato chip in that you can't have just one! I use several MISTIs every time I stamp.  I left the wreath stamp in the MISTI until the project was completely finished.  Then with a second MISTI, I stamped the sentiment.  One of my favorite things is having an extra Mini MISTI to keep my signature stamp in at all times.  It's such a time-saver with no more alignment struggles on every card.  So sorry if you received a crooked signature from me in the past! :)  


***Affiliate links used when possible at no extra charge to you!***

Here is what I used today:

 
You can find more of my projects at I Would Rather Be Stamping. Thanks so much for stopping by!

Thursday, April 28, 2022

Celebration Card and Winner Announcement


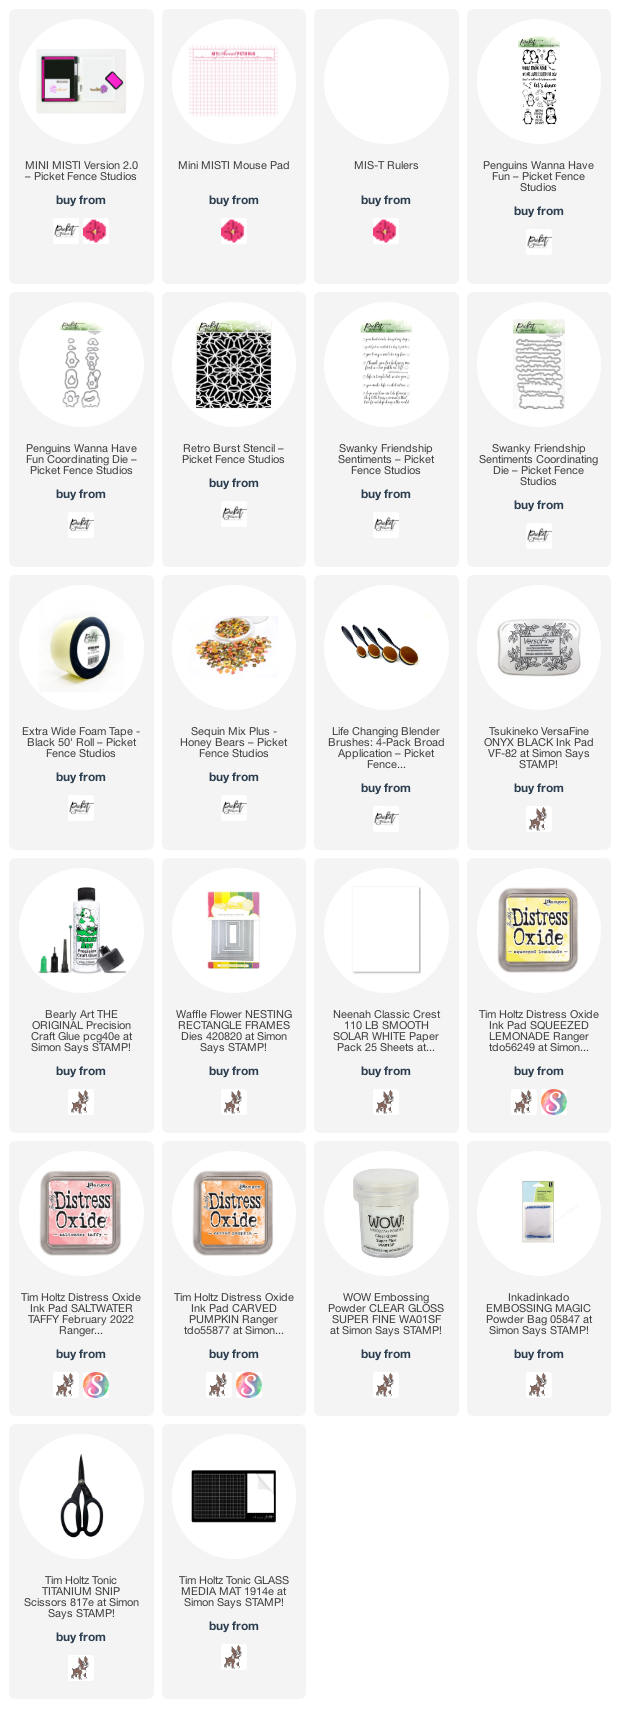
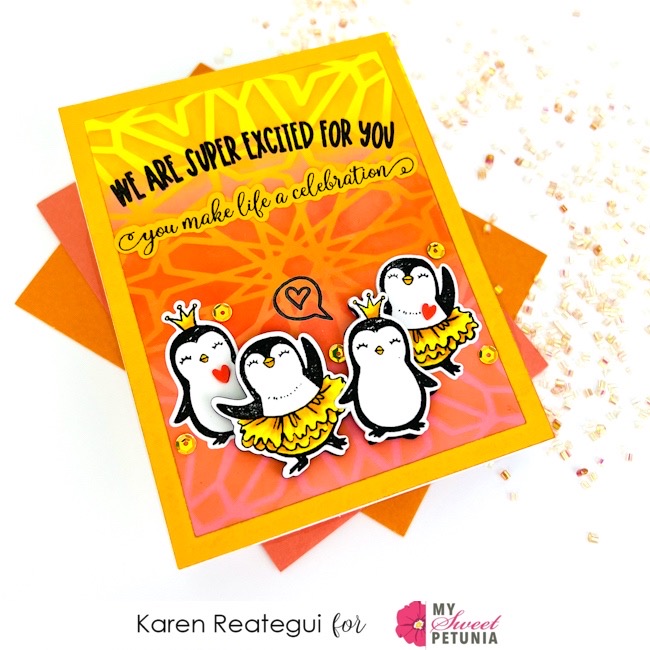
Hello crafty friends! I'm so glad to be here and sharing this very cute card where I did some, ink blending, stenciling, stamping and coloring. For this card, I am featuring stamps, dies and a stencil from Picket Fence Studios. The inks are the Oxide Inks from Ranger and  have also used the Mini MISTI and the Mis-T Rulers. 

Before I begin, I would like to announce My Sweet Petunia winner for the Altenew Hop. Congratulations to Jeanne Ragan, please email to hello@mysweetpetunia.com to claim your prize and thank you so much for hoping with us. 


Let's start! Using the Life Changing Blender Brushes I applied Distress Oxide inks to an A2 panel and the colors were Squeezed Lemonade, Carved Pumpkin and Saltwater Taffy. Once I finished ink blending, I placed the Retro Burst Stencil by PFS on top of my panel and applied the same colors of ink through the stencil. Then, I put my panel inside the Mini MISTI and and stamped a sentiment from Penguins Wanna Have Fun Stamp Set and then I heat embossed it. I also adhered this panel to a folded card base using glue.


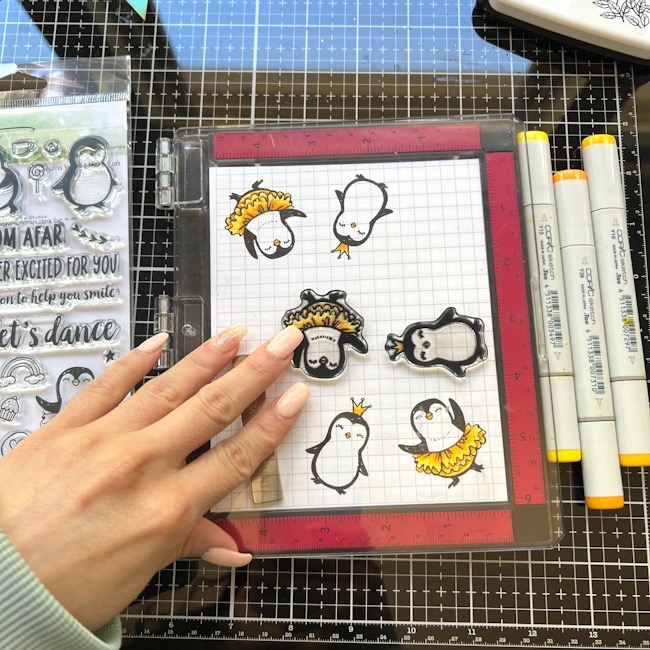
I placed another piece of cardstock inside the Mini MISTI and stamped some penguins from Penguins Wanna Have Fun Stamp Set and colored them with Copic Markers. Next, using the coordinating dies from the same stamp set I die cut all penguins and glued two of them directly to my background panel and the other two were adhered using black foam to give them more dimension.


A rectangle frame was also added to the background of this card and I used the Waffle Flower Nesting Rectangle Frames Die. I stamped a bubble with a heart next to one of the penguins too and a second sentiment was stamped and die cut too using the same color of cardstock from the rectangle frame. This sentiment was from Swanky Friendship Sentiments Stamps from PFS.


Finally, as the final touch I added some hearts and sequins from Honey Bears Sequin Mix Plus and this card was done. 

Thank you so much for stopping by and I hope you have a fantastic day. All supply links, part of my affiliate links, are listed below at no cost to you.

Your friend, 
Karen


Tuesday, April 26, 2022

Floral Mandala Card


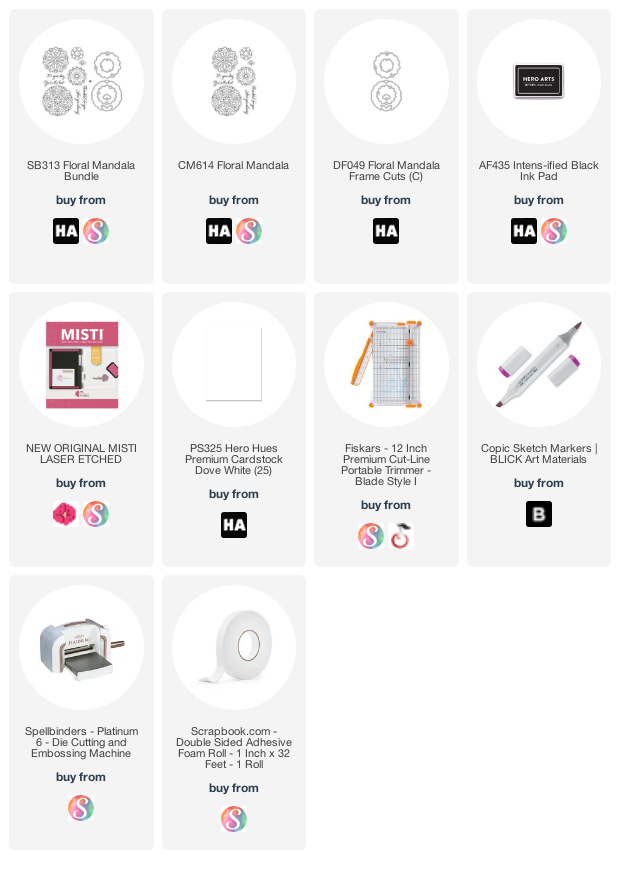
Hello friends!! It’s Channin here and today I’m creating a beautiful clean and simple card featuring the Floral Mandala Bundle from Hero Arts.


To create this card I first stamped the large floral mandala image from the Floral Mandala stamp set in black ink onto white cardstock. I then copic colored the image and when I finished I popped the image back into my MISTI and stamped it again to make the image bold and black. 


Next, I die cut the image out with the matching die. I then stamped the front of an A2 top-folding white card base with a sentiment from the Floral Mandala stamp set in black. Next, I finished the card by adhering the mandala to the card from with foam adhesive. 


I hope you enjoyed my card! Thank you so much for stopping by!


~Channin


Supplies:

Tuesday, March 29, 2022

VIDEO: Layered Background Featuring Sticky Mats

Hello friends!! It’s Channin here and today I’m combining several techniques to create an abstract rainbow background with lots of depth! Check out the video below to see how I add layer upon layer with ink blending, stencils, stamping and even pigment ink to create a background with tons of dimension.

Layered Background Featuring Sticky Mats


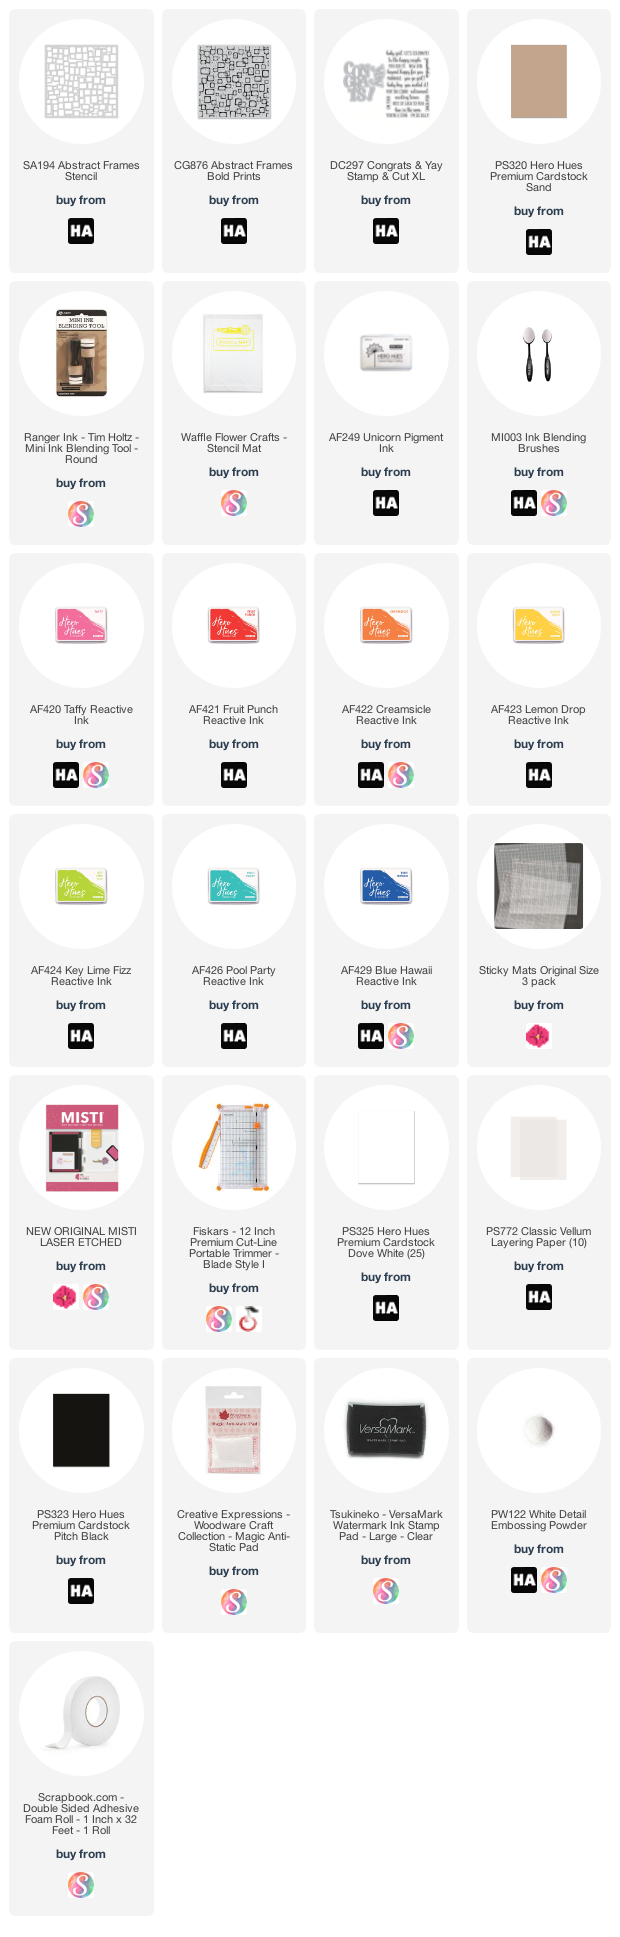
To create this card I first ink blended over an A2 panel of Sand cardstock with the Abstract Frames Stencil and Unicorn Pigment Ink. I then rotated the stencil and then ink blended a rainbow over the stencil with several Reactive Inks. Then I stamped over the panel with the Abstract Frames Bold Prints stamp with the same inks I used to create the rainbow blend. 


Next I created my sentiment by die-cutting the “congrats” and “!” from the Congrats & Yay Stamp & Cut XL set out of white cardstock. I then die cut the mat layers out of vellum and then adhered them to their cardstock counterparts. I then stamped and white heat embossed a sub-sentiment onto black cardstock and then fussy cut it out. 


To finish the card I adhered the background panel to an A2 top-folding white card base and then adhered the sentiments with foam adhesive. 


I hope you enjoyed my card and video! Thank you so much for stopping by!


~Channin


Supplies:


Tuesday, March 1, 2022

Pattern Stamping with the MISTI


Hello friends!! It’s Channin here and today I’m once again sharing a favorite MISTI stamping technique! Using a single stamp I’ll create a beautiful floral background with a few turns!


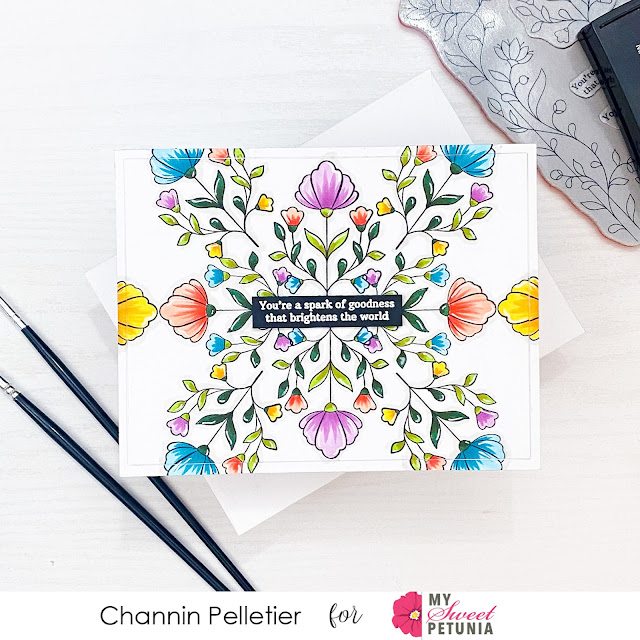
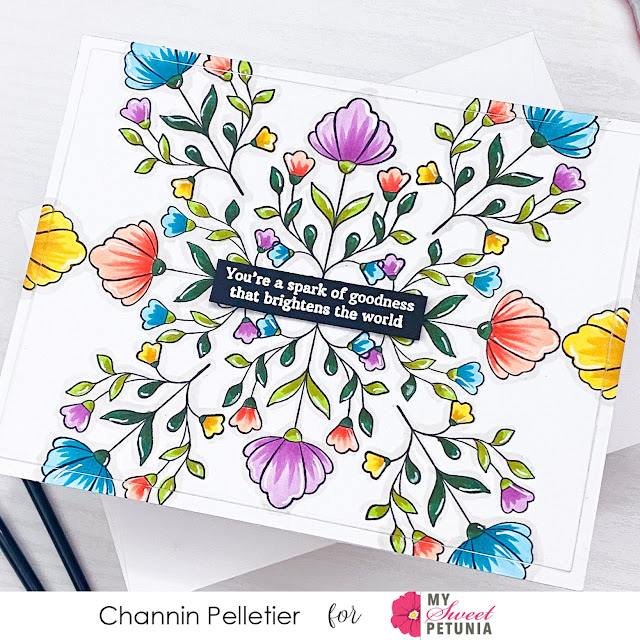
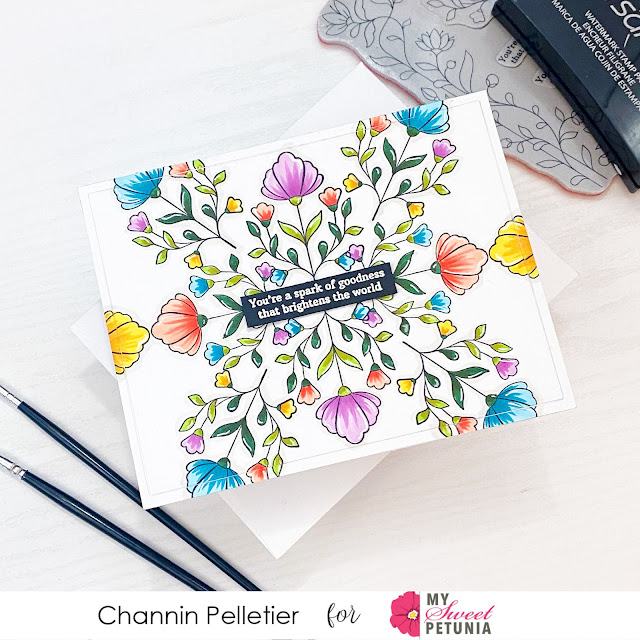
To create this card I first stamped a floral stamp from the Spark of Goodness Floral Frame stamp set onto an A2 panel of white cardstock in Memento Tuxedo Black. I positioned this stamp centered and in the upper half of my panel. Next, I left the stamp in place in the MISTI and then turned the panel 180 degrees and then stamped the panel again to add the floral image to the lower half. I then repositioned the stamp and stamped the left side of the panel and then rotated the panel 180 degrees and stamped the right side of the panel. I repeated this process a few more times till I had completed the pattern. 


Next I copic colored all the images and even added a shadow around all the images as well to create more depth. I then finished coloring the images by adding some white gel pen accents. 


Next, I die cut the panel with a rectangle die to create a frame. I then adhered the two panel pieces to the front of an A2 top-folding white card base. Lastly, I finished the card by stamping and white heat-embossing a sentiment onto black cardstock and then adding the sentiment to the card front with foam adhesive. 


I hope you enjoyed my card! Thank you so much for stopping by!


~Channin


Supplies: 
Tuesday, February 1, 2022

Rainbow with Gradation/Ombre Stamping

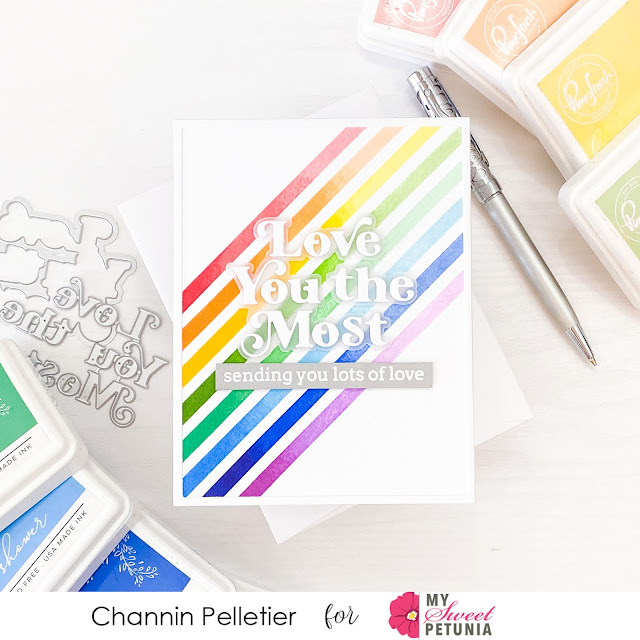
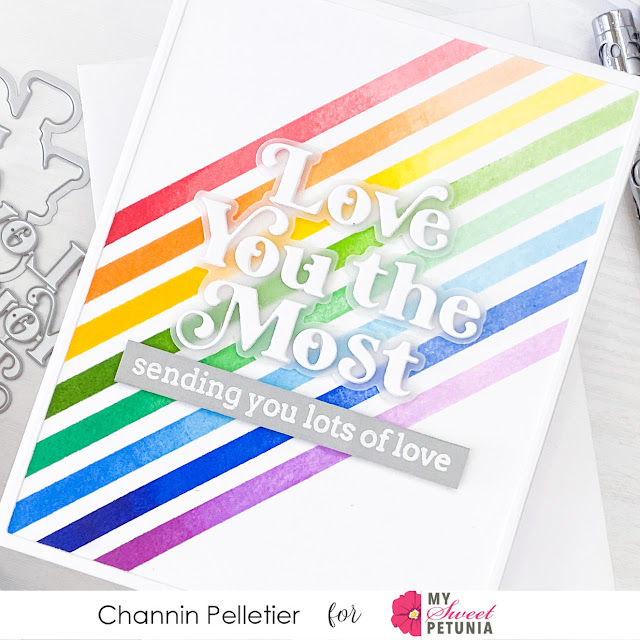
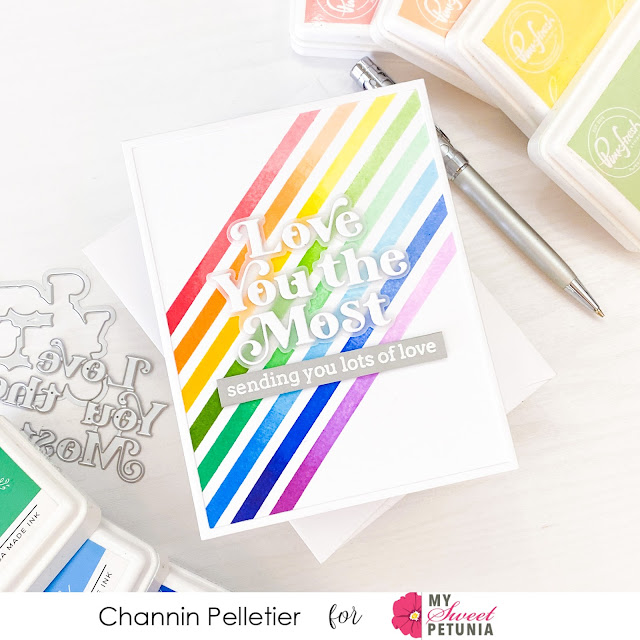
Hello friends!! It’s Channin here and today I’m sharing one of my favorite MISTI techniques, gradation/ombre stamping!! I use this technique to create a beautiful fading rainbow background featuring stamps and dies from Pinkfresh Studio. 


To create this card I first stamped the background using the Pop Out: Diagonal Stripes Cling Stamp Set. I started with the #6 stripe stamp and inked it up with Coral Reef ink and stamped it onto a 8 1/2” x 5 1/2” panel of white cardstock. I then partially inked up two thirds of the same stamp in Passion Fruit, a slightly darker red ink and stamped the stripe again. I then finished the stripe by partially inking and stamping the last third of the stamp in Berrylicious ink. I repeated this process for stripes 7-13 using three different inks (a light, medium, and dark) for each color of the rainbow. 


Once I had finished stamping the background I then cropped the panel down to an A2 panel and adhered it to the front of an A2 top-folding white card base. I then created a thin white rectangle frame using nesting rectangle dies and adhered the frame to the card front.


Next, I die cut a sentiment out of vellum and white cardstock using the Love You the Most Die. I then adhered the white letters onto the vellum shadow layer and then adhered the sentiment to the card front with foam adhesive. Lastly, I stamped and white heat-embossed a sentiment from the Simply Sentiments: Hello Stamp Set onto gray cardstock, trimmed the sentiment down to a stripe and adhered to the card front with foam adhesive. 


I hope you enjoyed my card! Thank you so much for stopping by!


~Channin


Supplies:

Wednesday, December 29, 2021

Christmas Greeting with Karen Reátegui


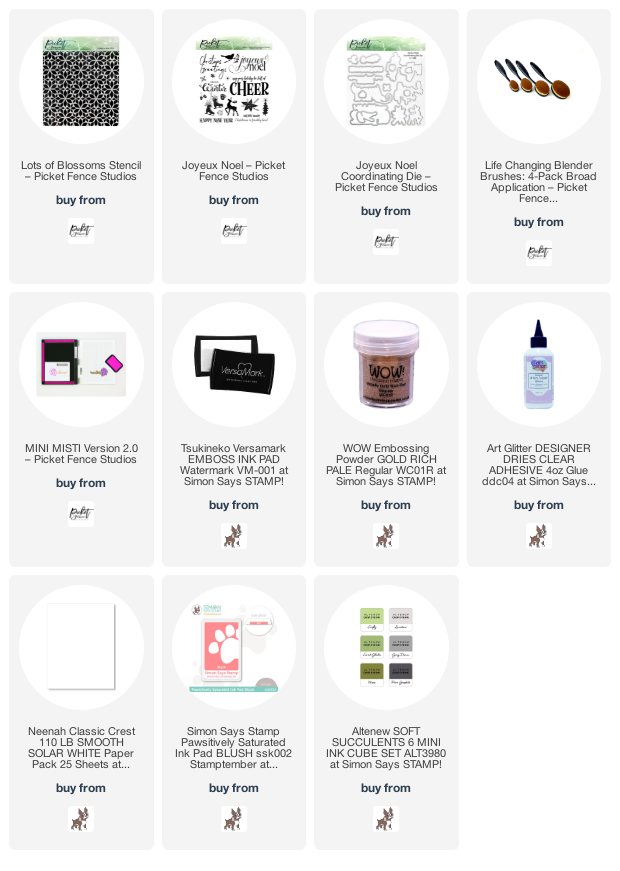
Hello friends! Today I'm sharing this set of Christmas Cards that you can easily mass produce. The products I used are the following: Joyeux Noel Stamp and Dies, Lots of Blossoms Stencil, Life Changing Blender Brushes, SSS Blush Positively Saturated Ink, Altenew Forest Glades, Gold WOW! Embossing Powder and my Mini MISTI.


Let's begin! I started by placing the Lots of Blossoms Stencil on top of an A2 panel and I applied the SSS Blush Positively Saturated Ink and Altenew Forest Glades using the Life Changing Blender Brushes.


Then, I trimmed down this panel a little bit and adhered it to a card base using glue. I changed a bit the position of each background to make each card slightly different.


Next, I placed a piece of white cardstock inside my Mini MISTI and I stamped the sentiment from Joyeux Noel Stamp using Versamark Emboss Ink, then I added Gold WOW! Embossing Powder and heat embossed it. Finally, I die cut the sentiment using the coordinating die and I placed it on top of my background. I placed the sentiment on each card as a final touch making this a very simple card design.

I hope you like this set of cards and thank you so much for stopping by. Below you will find all supplies used on these cards.


Have a wonderful day.
Your friend, Karen


Thursday, October 21, 2021

Watercolor Roses with Karen Reategui


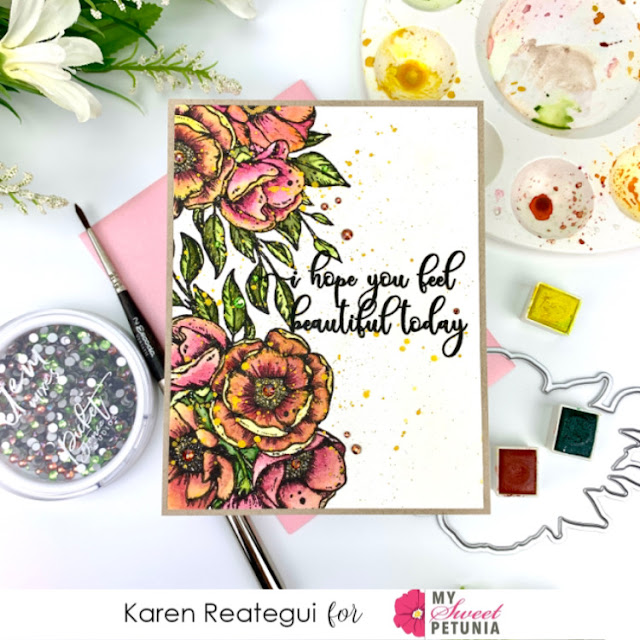
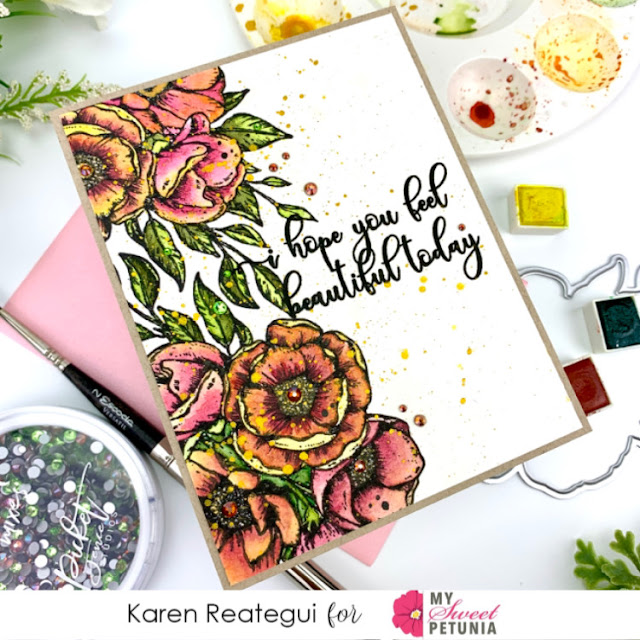
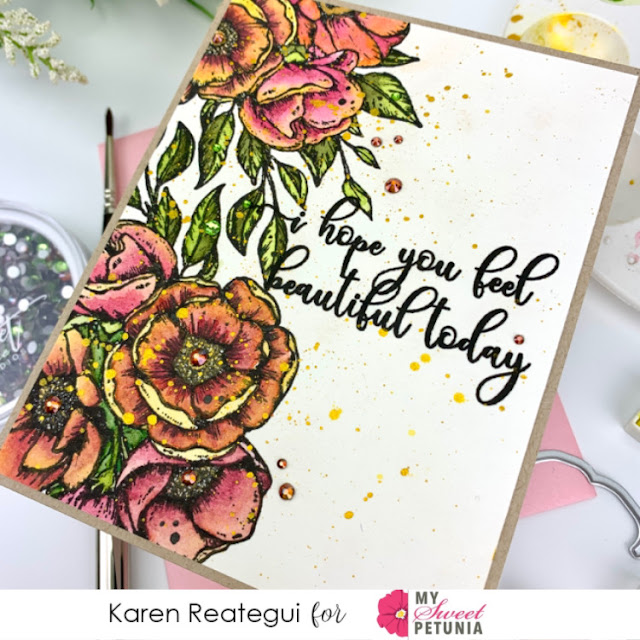
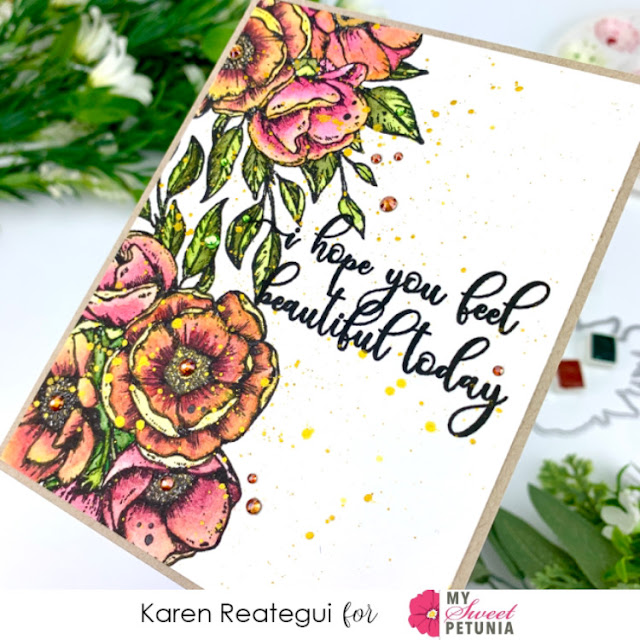
Hello friends, I'm so happy to be here today sharing this watercolor card that I made using products from Picket Fence Studios and my original MISTI.


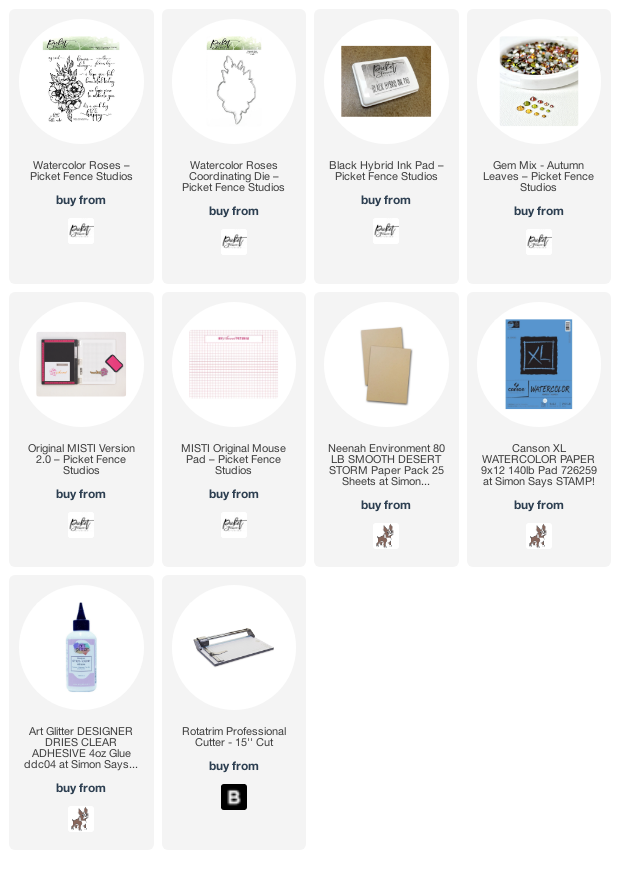
Let's start! With the help of my original MISTI I stamped the Watercolor Roses stamp using Black Hybrid ink onto an A2 watercolor panel.  


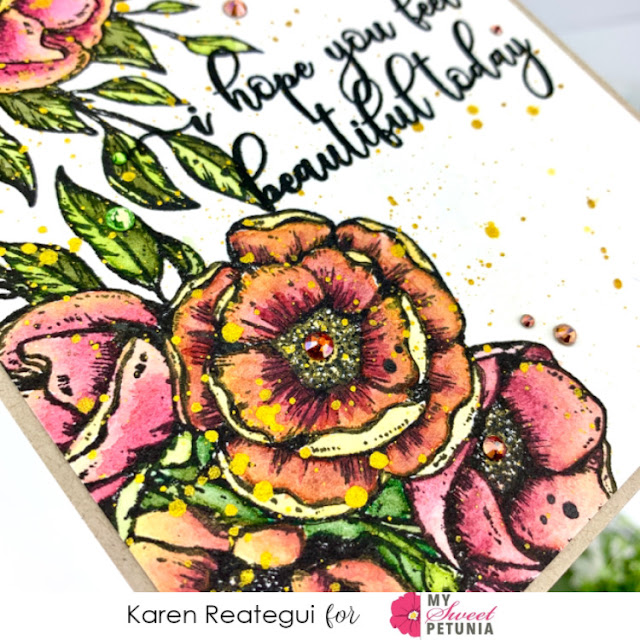
Then, using a watercolor brush I applied Jane Davenport Watercolors. Also, I added some splatters of metallic gold ink from Hero Arts around the panel using a fan brush.


Once my panel was dry, I stamped my sentiment from the same Watercolor Roses Stamp using my MISTI and the Black Hybrid ink from Picket Fence Studios.


I trimmed down my panel a little bit and I adhered a panel of Neenah Desert Storm plus a white card base at the back. As a final touch I added some Autumn Leaves Gem Mixes from Picket Fence Studios and this card was done.


I hope you like this card and give this a try. 
Thank you so much for stopping by, please have a wonderful day and you will find the list of supplies below.

Your friend, Karen


Tuesday, August 17, 2021

Two Palettes One Card with Channin


Hello friends! It's Channin here and today I have a unique card concept, incorporating two color palettes into one card. It might come as no surprise that I stumbled upon this idea after taking crafty u-turn from a 70s sort of neutral palette that I started to lose faith in and opting for a more reliable bright palette. But then break through moment, I thought I should just try combining my neutral flowers with my bright happy rainbow and boom, I was in love!! 

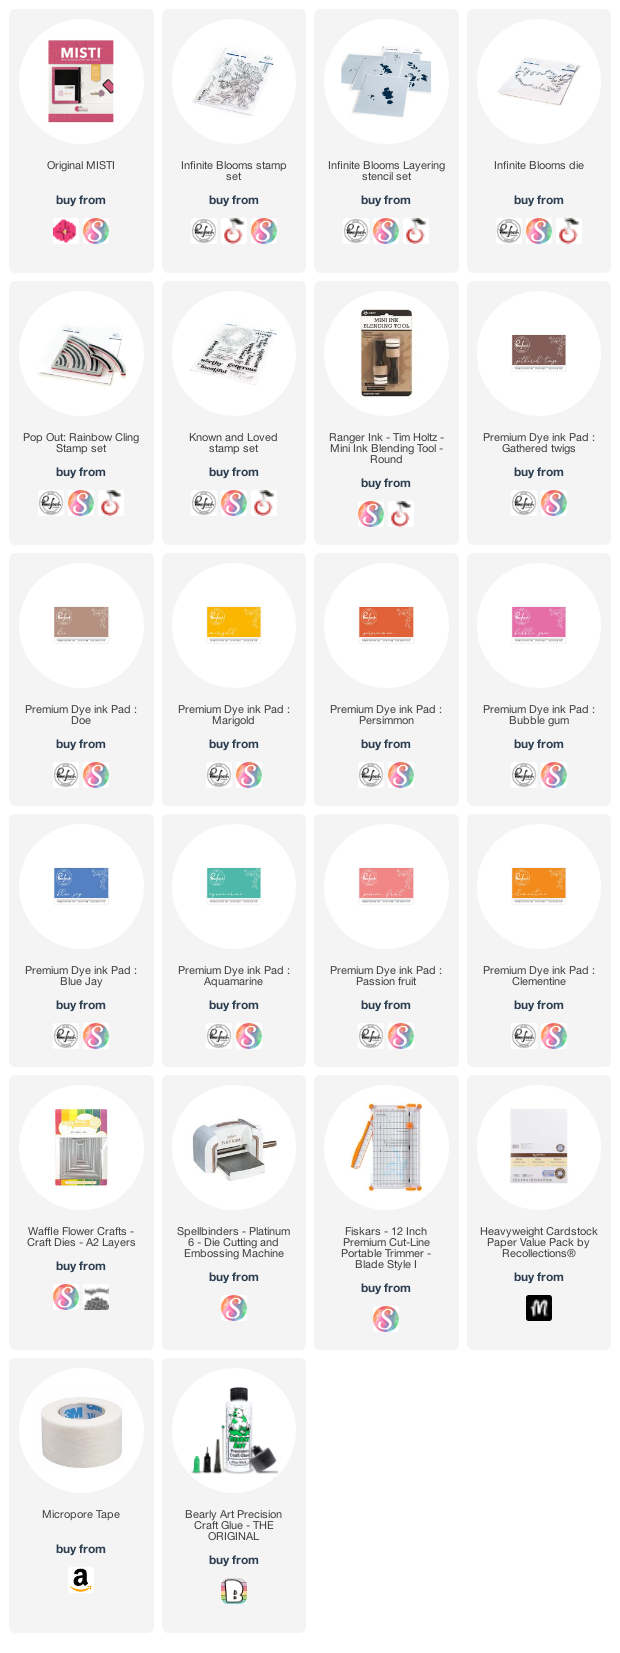
To create this card I first stamped the flowers from the Infinite Blooms Stamp Set onto white cardstock in Gathered Twigs. Then using the Infinite Blooms stencils I ink blended to add color to the image with several inks (Doe, Marigold, Persimmon, & Bubble Gum). When I finished ink blending I then popped my image back into my MISTI and stamped the image again then die cut it out with the coordinating die. I then repeated the process to make another floral image so I had two. 


Next, I stamped the front of an A2 top-folding white card base with the Pop Out: Rainbow Cling Stamp Set in several inks (Blue Jay, Aquamarine, Bubble Gum, Passion Fruit, Clementine & Marigold). I then die cut a thin frame out of white cardstock and adhered it to the card front. Next, I stamped a sentiment from the Known and Loved Stamp Set in Gathered Twigs. Lastly I finished the card by adhering my floral images to the card front and trimming off the overhang.


I hope you enjoyed my card! Thank you so much for stopping by!


~Channin


Supplies:
Thursday, July 29, 2021

Ocean Waves with Karen Reategui

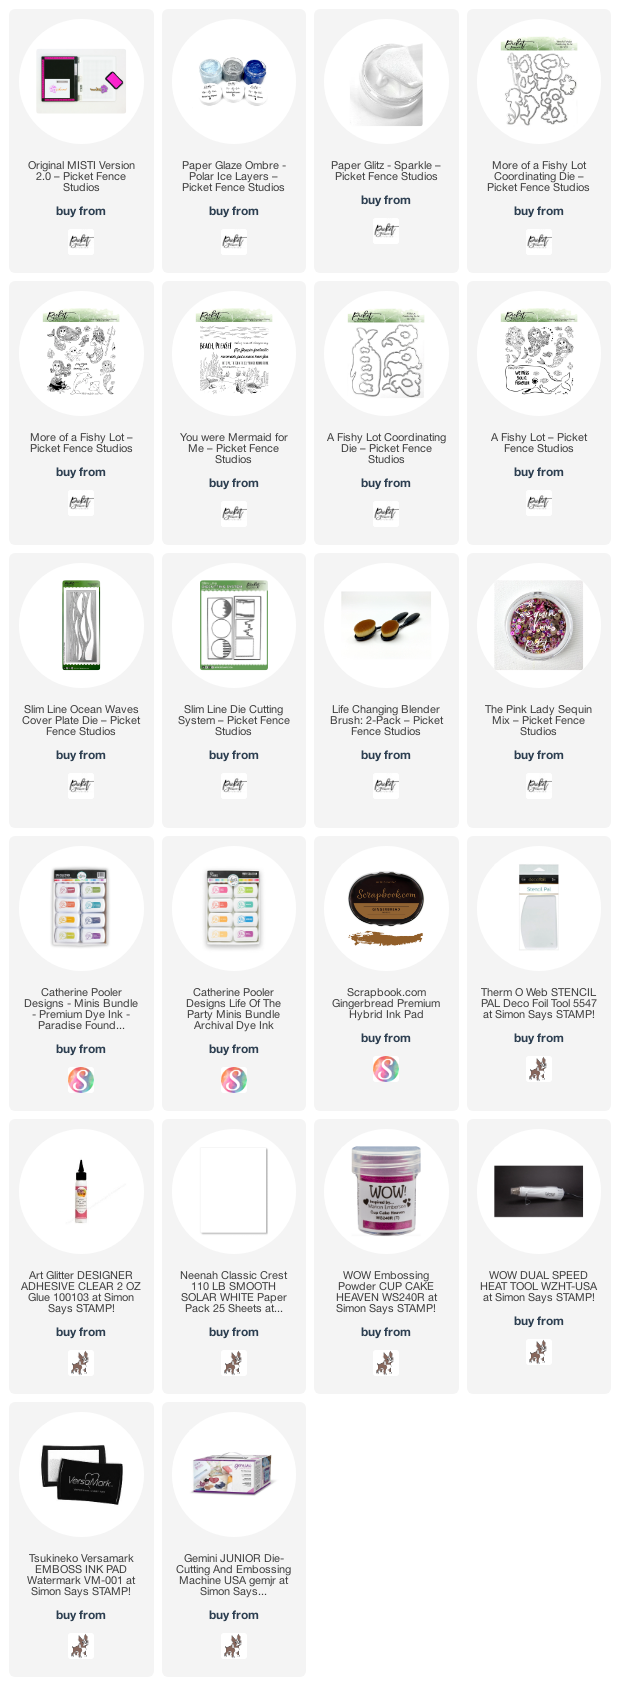
 Hello friends! Today I'm sharing this ocean themed slimline card where I am featuring products from Picket Fence Studios: Slim Line Ocean Waves Cover Plate Die, A Fishy Lot Stamp Set, You Were Mermaid for Me Stamp Set and a combination of Paper Glaze Ombre Polar Ice Layers and Paper Glitz. 

Let's begin! I started by applying a mix of Paper Glitz and Paper Glaze Ombre Polar Ice Layers to a piece of white cardstock using a stencil pad from Thermo Web. I let the Paper Glaze dry for about 20 minutes and once it was dry I placed the Slim Line Ocean Waves Cover Plate Die on top and run this through my die cutting machine.    


Additionally, I die cut a slimline base out of white cardstock using the Slim Line Die Cutting System and applied Catherine Pooler inks: Aquatine, Something Borrowed and Juniper Mist. I applied these inks using the Life Changing Blender Brushes from Picket Fence Studios. 


I glued the Ocean Waves die cut on top of the ink blended background and then I adhered a white slimline folded note card using more glue.


On the picture above you can have a closer look of the sparkle from the mix of Paper Glitz and Paper Glaze. 


Also, I stamped a mermaid and some sea creatures from A Fishy Lot Stamp Set. Then, I colored the images with Copic markers and die cut them using the coordinating dies.


Finally, I stamped and heat embossed the sentiment onto velum using WOW! Embossing Glitter Cupcake Heaven and placed all die cuts on top of my background along with some sequins.

I hope you like this slimline card and have a wonderful day. Your friend,

Karen

Tuesday, March 30, 2021

Muted Floral Card with Channin

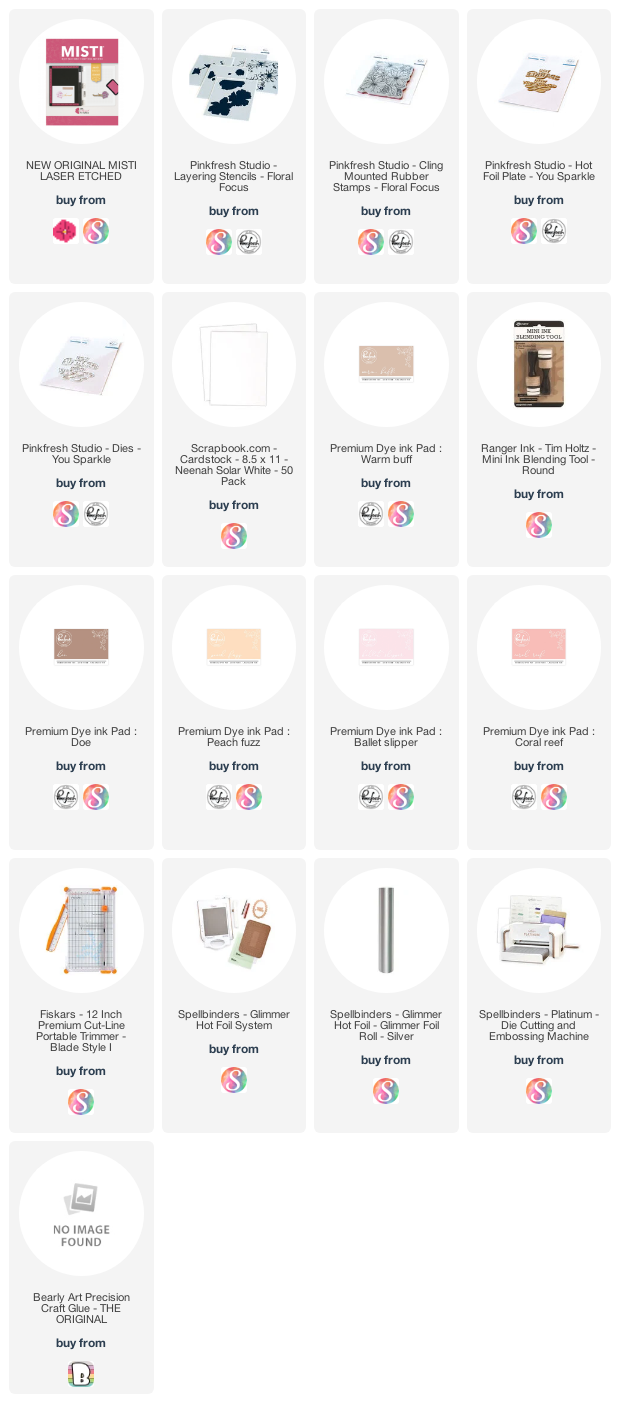
Hello friends! It's Channin here and today I have a soft and muted floral card to share. For today’s card I use the beautiful Floral Focus Cling Stamp and stencils to create my background and then finish my card with a foiled sentiment. 

To create this card I first stamped a sheet of white cardstock with the Floral Focus Cling Stamp in Warm Buff Ink. After I stamped the image I then ink blended to add color using the Floral Focus Layering Stencils and several Pinkfresh inks (Warm Buff, Doe, Peach Fuzz, Ballet Slipper & Coral Reef). 

Once I finished coloring the background, I then trimmed the panel down to 4 1/8” x 5 3/8” and adhered it to the front of an A2 top-folding white card base. 


Next, I hot foiled my sentiment in silver onto white cardstock using the You Sparkle Hot Foil Plate. I then die cut the sentiment out with the matching die and then die cut it out two more times out of scrap cardstock. I then adhered all the die cuts together to create a stacked sentiment. Lastly, I finished my card by adhering the sentiment to the card front. 


I hope you enjoyed my card! Thank you so much for stopping by!


~Channin


Supplies: