Showing posts with label #clearstamps. Show all posts

Tuesday, August 17, 2021

Two Palettes One Card with Channin


Hello friends! It's Channin here and today I have a unique card concept, incorporating two color palettes into one card. It might come as no surprise that I stumbled upon this idea after taking crafty u-turn from a 70s sort of neutral palette that I started to lose faith in and opting for a more reliable bright palette. But then break through moment, I thought I should just try combining my neutral flowers with my bright happy rainbow and boom, I was in love!! 

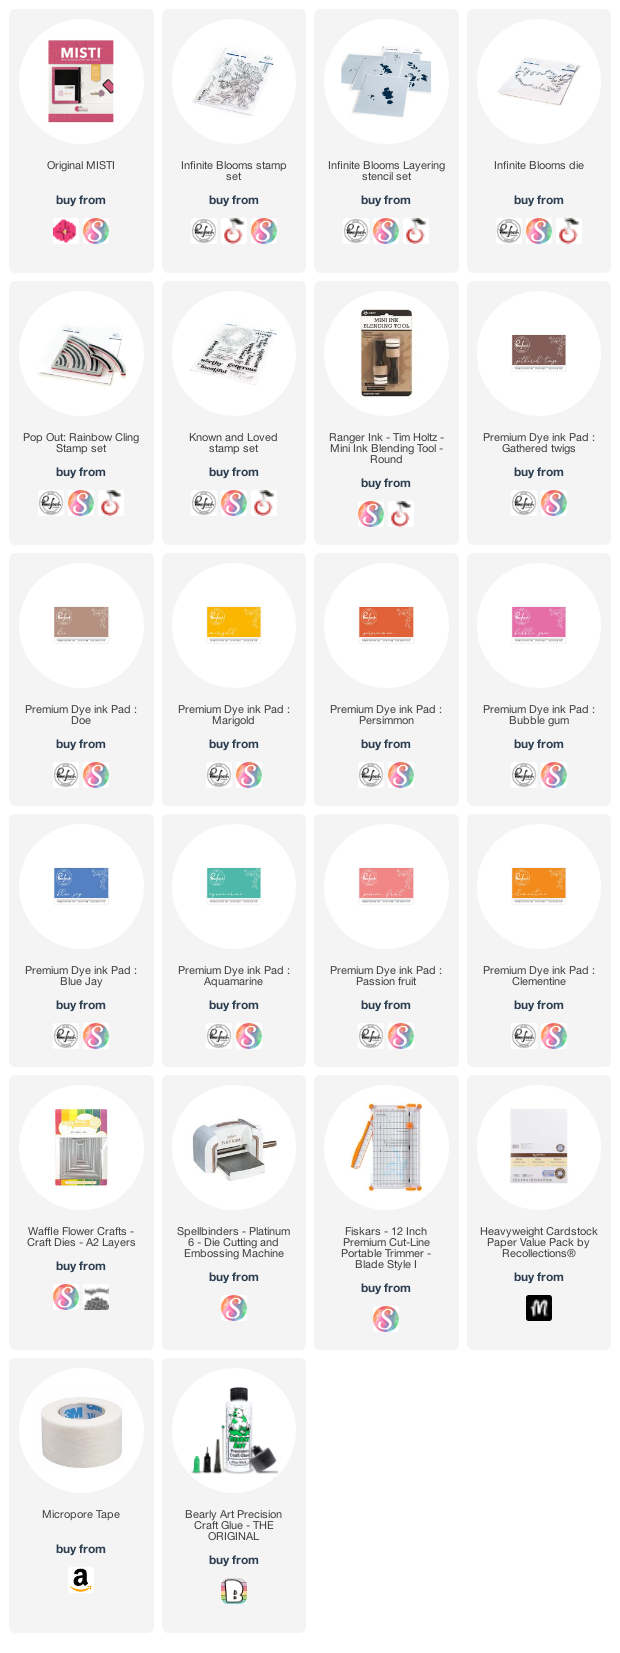
To create this card I first stamped the flowers from the Infinite Blooms Stamp Set onto white cardstock in Gathered Twigs. Then using the Infinite Blooms stencils I ink blended to add color to the image with several inks (Doe, Marigold, Persimmon, & Bubble Gum). When I finished ink blending I then popped my image back into my MISTI and stamped the image again then die cut it out with the coordinating die. I then repeated the process to make another floral image so I had two. 


Next, I stamped the front of an A2 top-folding white card base with the Pop Out: Rainbow Cling Stamp Set in several inks (Blue Jay, Aquamarine, Bubble Gum, Passion Fruit, Clementine & Marigold). I then die cut a thin frame out of white cardstock and adhered it to the card front. Next, I stamped a sentiment from the Known and Loved Stamp Set in Gathered Twigs. Lastly I finished the card by adhering my floral images to the card front and trimming off the overhang.


I hope you enjoyed my card! Thank you so much for stopping by!


~Channin


Supplies:
Thursday, July 29, 2021

Ocean Waves with Karen Reategui

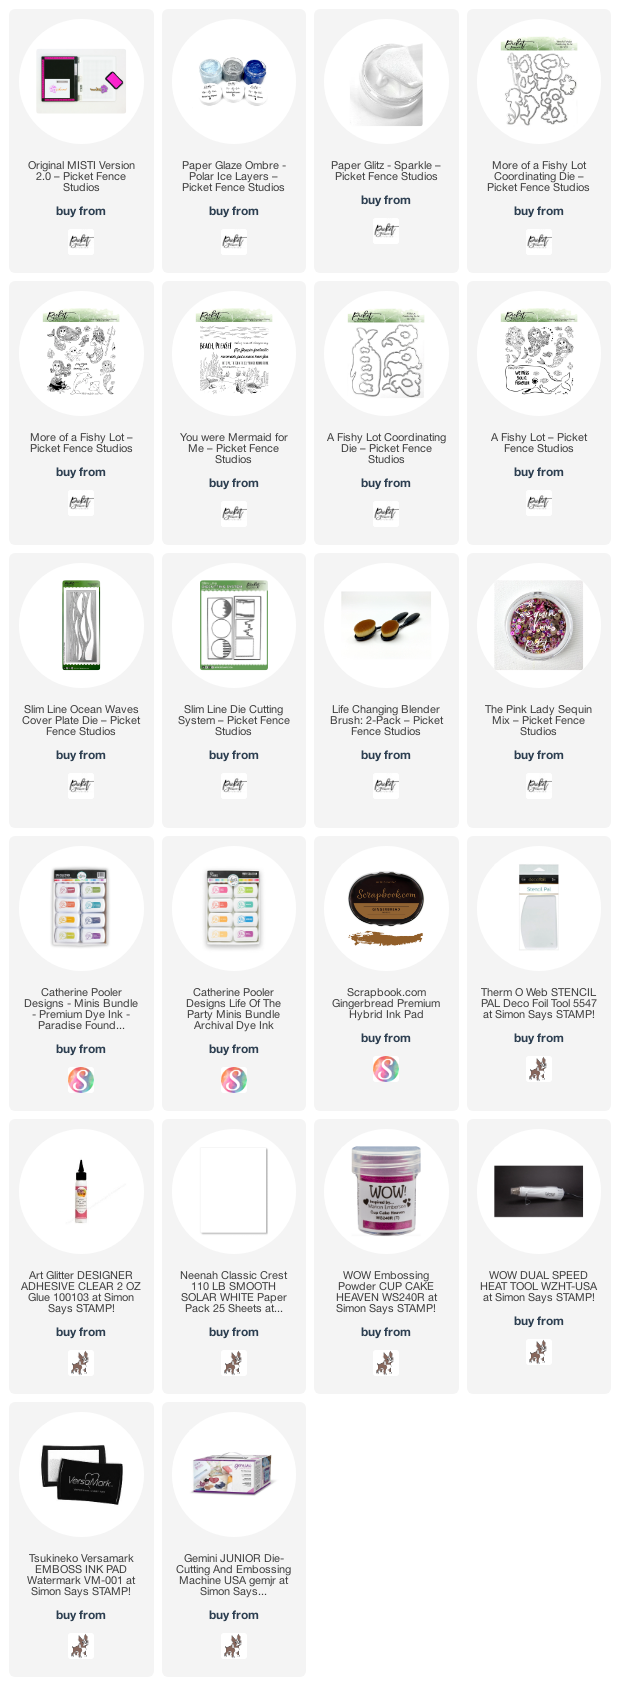
 Hello friends! Today I'm sharing this ocean themed slimline card where I am featuring products from Picket Fence Studios: Slim Line Ocean Waves Cover Plate Die, A Fishy Lot Stamp Set, You Were Mermaid for Me Stamp Set and a combination of Paper Glaze Ombre Polar Ice Layers and Paper Glitz. 

Let's begin! I started by applying a mix of Paper Glitz and Paper Glaze Ombre Polar Ice Layers to a piece of white cardstock using a stencil pad from Thermo Web. I let the Paper Glaze dry for about 20 minutes and once it was dry I placed the Slim Line Ocean Waves Cover Plate Die on top and run this through my die cutting machine.    


Additionally, I die cut a slimline base out of white cardstock using the Slim Line Die Cutting System and applied Catherine Pooler inks: Aquatine, Something Borrowed and Juniper Mist. I applied these inks using the Life Changing Blender Brushes from Picket Fence Studios. 


I glued the Ocean Waves die cut on top of the ink blended background and then I adhered a white slimline folded note card using more glue.


On the picture above you can have a closer look of the sparkle from the mix of Paper Glitz and Paper Glaze. 


Also, I stamped a mermaid and some sea creatures from A Fishy Lot Stamp Set. Then, I colored the images with Copic markers and die cut them using the coordinating dies.


Finally, I stamped and heat embossed the sentiment onto velum using WOW! Embossing Glitter Cupcake Heaven and placed all die cuts on top of my background along with some sequins.

I hope you like this slimline card and have a wonderful day. Your friend,

Karen

Tuesday, December 8, 2020

Winterberry Joy Card with Channin

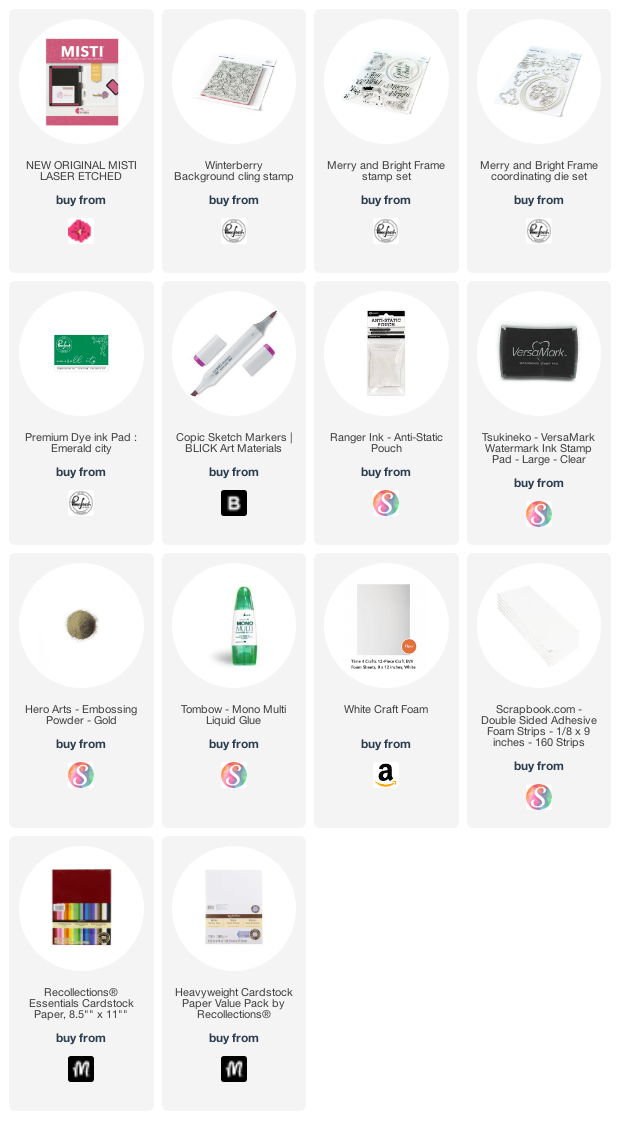
Hello friends! It's Channin here and today I have a festive holiday card to share! Today’s card features the beautiful Winterberry Background Cling Stamp and the Merry and Bright Frame Stamp and die set from Pinkfresh Studios!


To create this card I first stamped the Winterberry Background over a 4 1/8” x 5 3/8” panel of light green cardstock in Emerald City ink. I then copic colored the leaves, the berries, and even added a shadow. 


Leaves: YG06, G14, G07

Berries: R35, R37, R59

Shadow: W-3, W-5


After I finished coloring in the background I then adhered the panel onto the front of an A2 top-folding card base. Next, I stamped some smaller berries from the Merry and Bright Frame Stamp Set also in Emerald City onto a scrap of light green cardstock. I then copic colored the images in and then fussy cut them out. 


Next, I stamped and gold heat embossed my sentiment. I then die cut it and some white craft foam with the matching die and adhered the two together. I then finished the card by adhering the sentiment and smaller berries to the card front with foam adhesive. 


I hope you enjoyed my card! Thank you so much for stopping by!


~Channin


Supplies: