Hello friends and welcome to Team Tuesday. It's Ceal, here.
Today I am sharing a couple cards that I created using a technique that I learned when taking the Spring Card Camp.
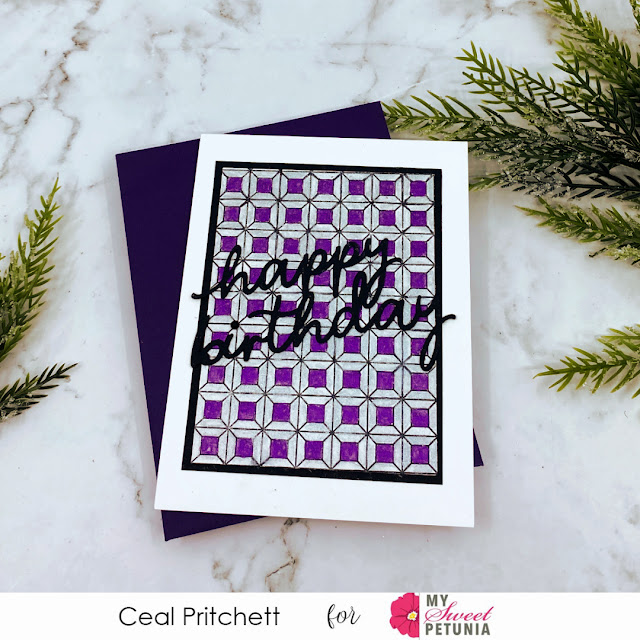
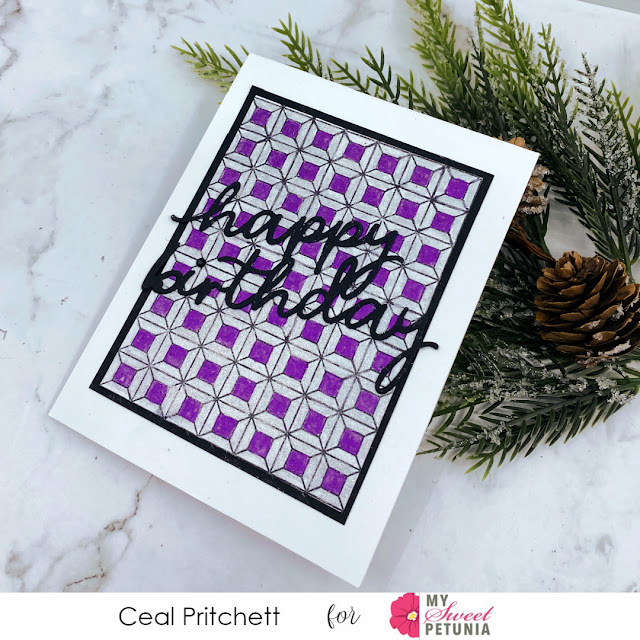
The technique is ink lifting and for the first card I used a background by Erin Lee Creative and the second card is a background stamp by Simon Says Stamp.
To make these cards I started with white top folding card bases, black panels for mats and a white panel to ink blend on.
I placed the panel on the Sticky Mat in the Original MISTI and laid the background stamp over it and then picked it up with the door of the Misti. I inked up the stamp with embossing ink and then stamped it down twice to get good coverage and embossed it with white powder.
If I tried this technique without a MISTI, I would be throwing away a lot of panels.
If you haven't bought yourself a Sticky Mat yet I would advise you to go buy one right away, they come three to the set and to me they are a necessity in the craft room.
This Post uses compensated affiliate links where possible. When you place an order after clicking one of my links, I receive a small commission at no additional cost to you. Thanks so much for shopping from my links and supporting me <3
It's Ceal, here to share a card with you for Team Tuesday!
Today I'm sharing a card using some products from Ink Blot Shop and Simon Says Stamp.
I don't know about you but masculine cards are challenging for me as you can see the purple on a masculine card, but it's all good because my son in law loves purple.
To create this card, I started with a top folding white card base, a black panel and a watercolor panel for the focal point.
I placed the Sticky Mat inside the Original MISTI and placed the watercolor paper panel in the middle. I LOVE this sticky mat for background stamping and die cut stamping.
Next I stamped the Dimensional Block Background with Versafine Clair Nocturne ink and then watercolored it using some new watercolors that I got for Christmas from an Etsy seller, Iuile. They are so sparkly, it was hard to capture the true sparkle.
To finish the card I added a die cut greeting by Simon Says Stamp. I love how it looks 3 dimensional and so will my son in law.
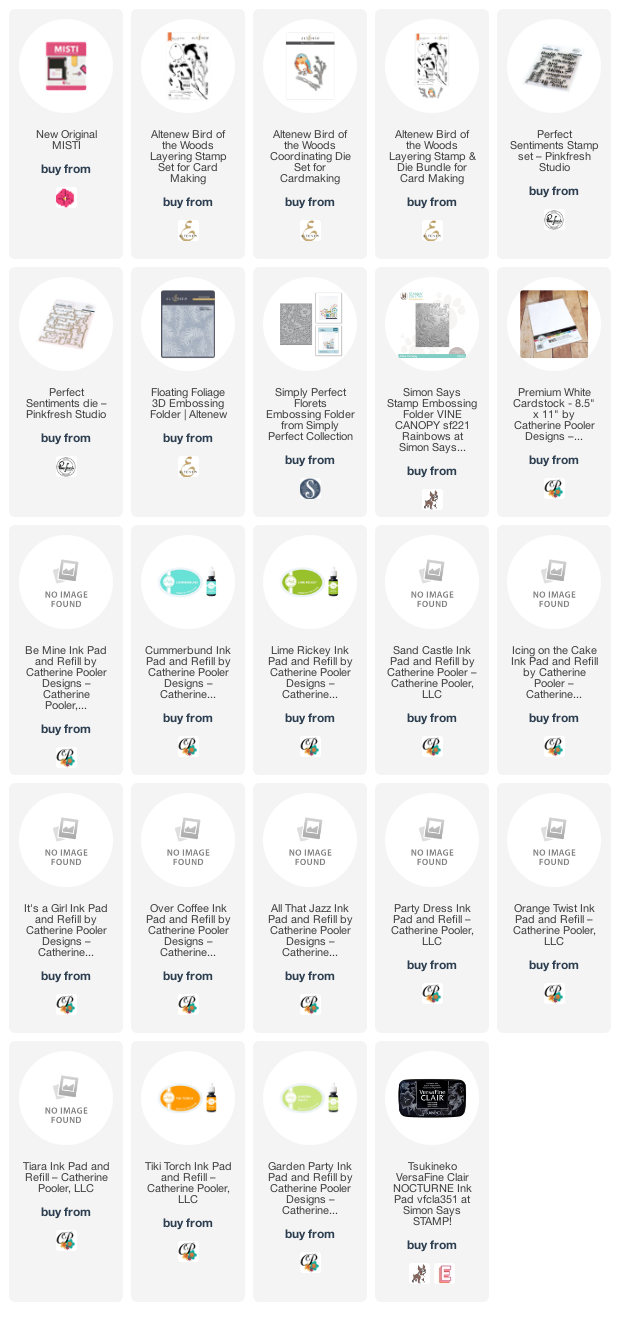
Ilina here. Today I am sharing easy to mass produce super colorful cards. All you need is your layering set, sentiment set, embossing folder, your MISTI and colorful inks.
For my cards I combined products from several companies.
To make the cards I started by die cutting bunch of bird die cuts from white card stock. I used the Bird of the Woods stamp and die set from Altenew. Next with help of my MISTI and the negative space of one of the die cuts I stamped all the layers on the birds starting with the black outline.
Once the birds were done I set them aside. For each stamped bird I cut 3 additional die cuts from white card stock that I didn't stamp on. I use these for stacking.
Next I stamped bunch of sentiments from the Perfect Sentiments stamp set from Pinkfresh Studio. Die cut them, along with just plain die cuts (for stacking) and set them aside.
Then using different embossing folders I embossed white panels and cut them to 4" x 5 1/4".
Adhered the stacked birds and stacked sentiment, then adhered the whole panel to a white note card. I again stacked card stock on the back to add more sturdiness and dimension. But you can use craft foam or foam tape.
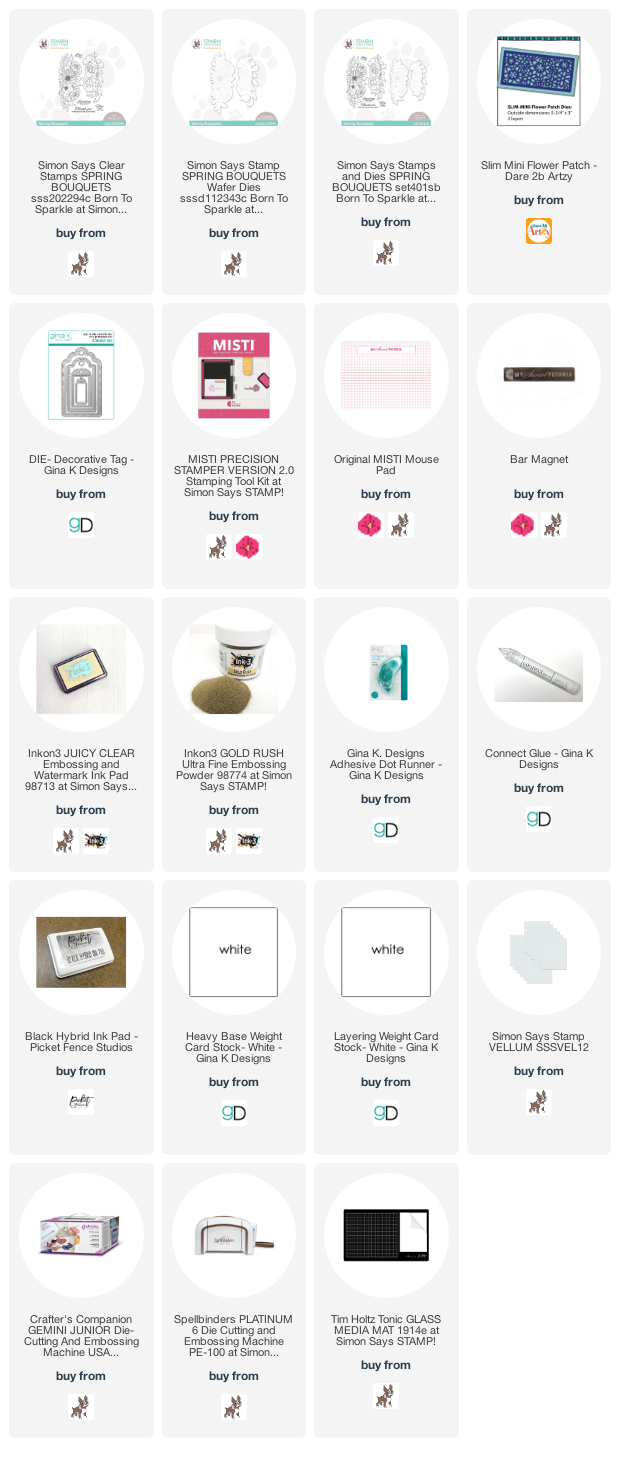
It' Ceal, here. For today's edition of Team Tuesday I am sharing a mini slim card using a Simon Says Stamp set, Spring Bouquets.
To create this card I placed the stamp in the Original Misti and stamped the image with a black hybrid ink, then colored it using alcohol markers. I left the stamp in the Misti so when I was done coloring I could overstamp it with embossing ink.
When using alcohol markers you do not want to emboss first because when you color it will mess up the nib of your marker. This is another reason to have a Misti stamping tool, I don't know what I would do without it.
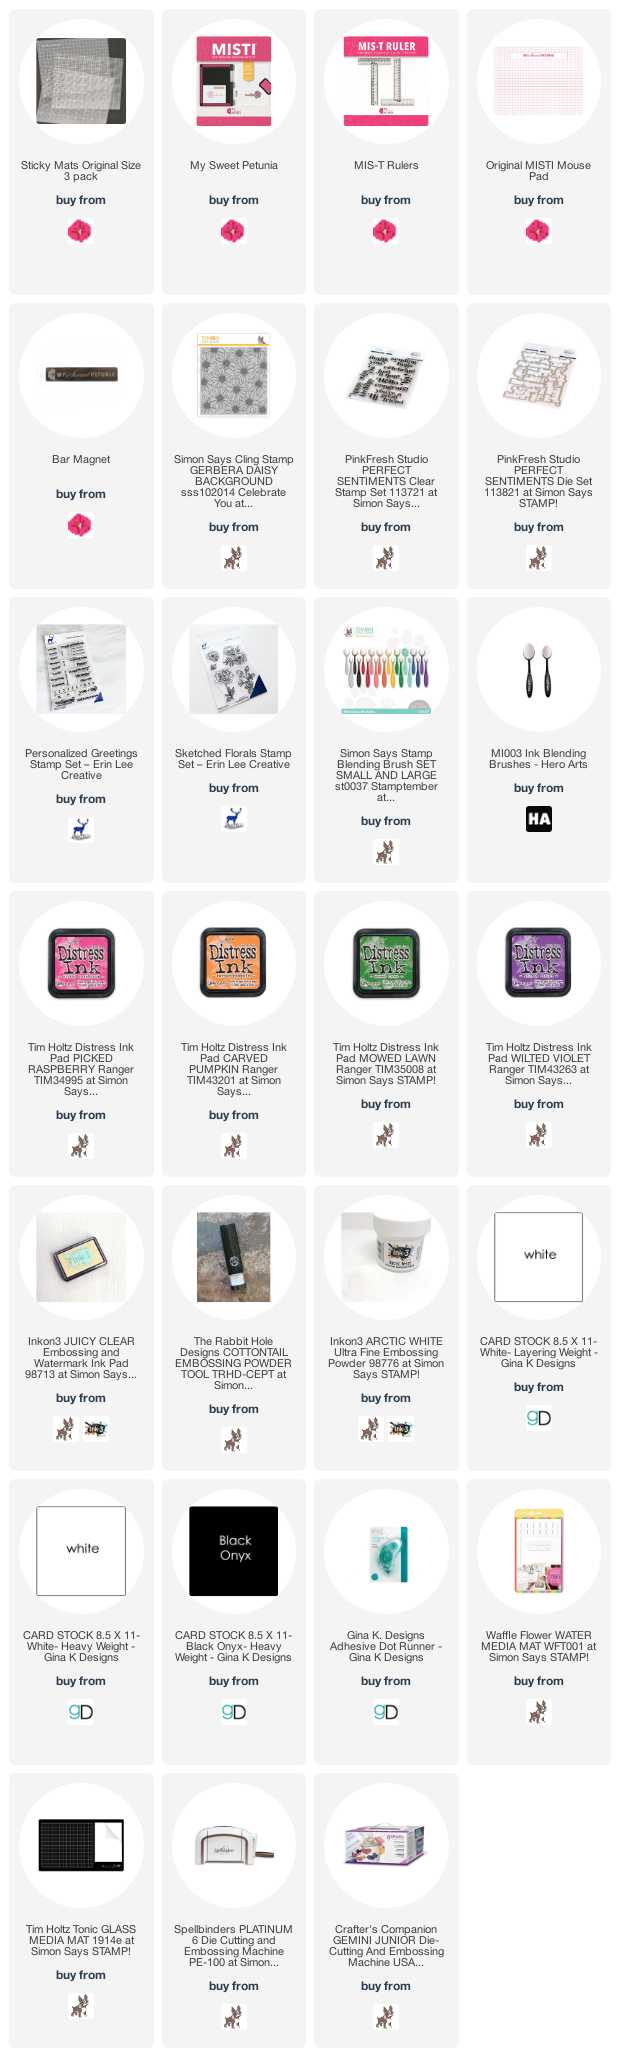
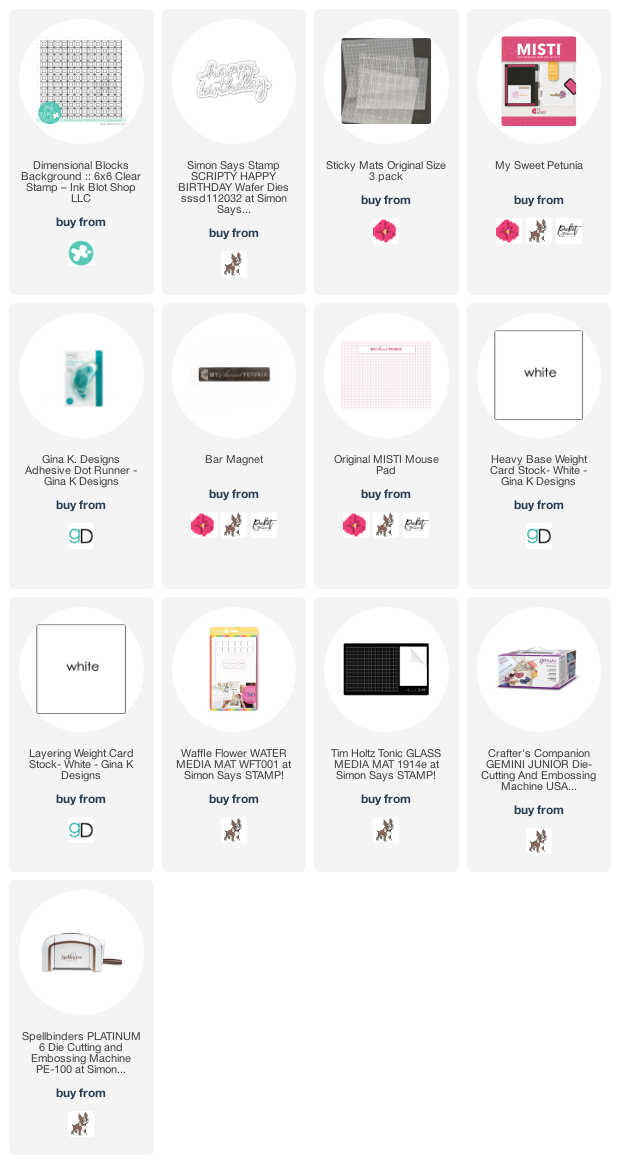
Supplies are pictured below along with affiliate links with no additional cost to you but a small commission for me. thank you for your support!
Hi card making friends, Sandi MacIver here and I have four super easy holiday cards for you today. The Distress Oxide Ink Single Layer Holiday Cards are done in a mass production format blending all the backgrounds first and then popping the stamps into the Misti and stamping all the cards at the same time.
I even used precut and scored card bases to further speed up the process (link below).
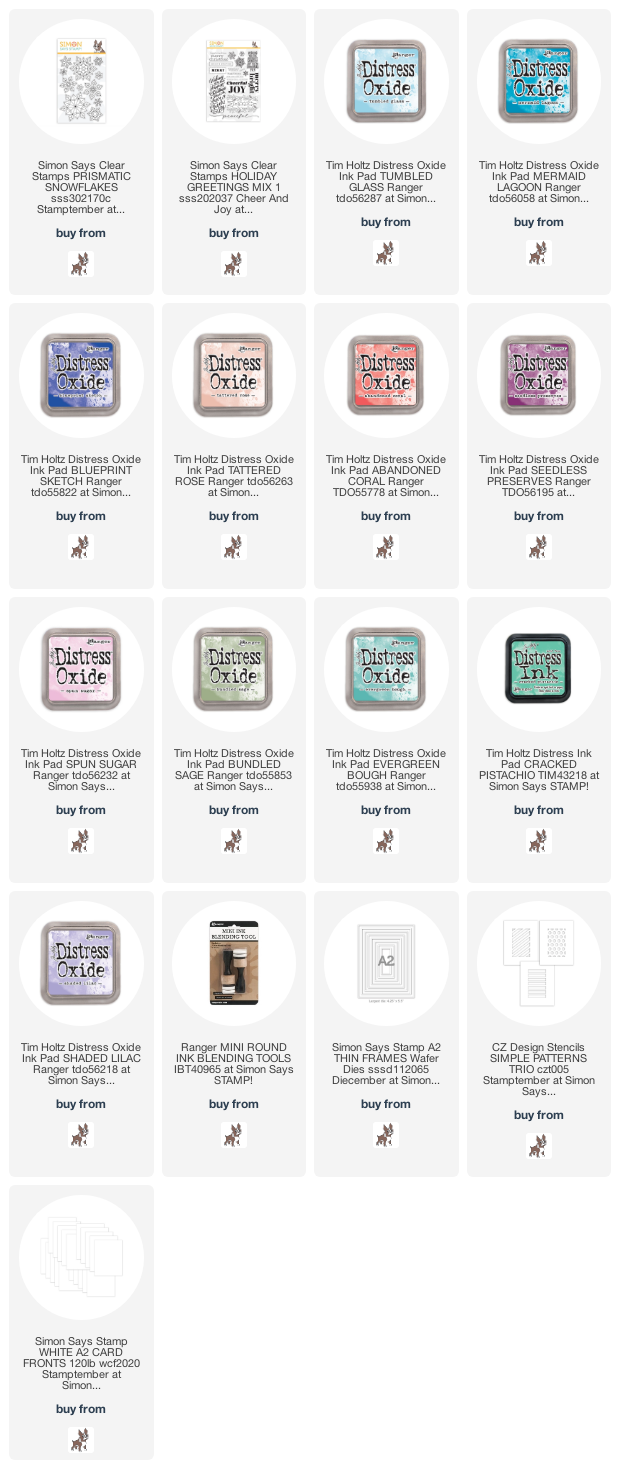
For the backgrounds I used four different blends of Distress Oxide Inks and the Simon Says Stamp Simple Patterns Trio Stencils.
These stencils line up with the outside edge of an A2 card so you can quickly add your ink blends and move on.
There are three designs in this set, and for the forth card (bottom right corner), I created my own.
I used a piece of Neenah Solar White 80# card and the Simon Says Stamp A2 Thin Frames to cut out the stencil. You could also use overhead projector plastic or plastic left over from packaging.
Once all the blending is done and the ink is dry, pop one of the cards into the bottom left corner of your Misti, secure with a few magnets and add the stamps.
These stamps are from the Simon Says Stamp Prismatic Snowflakes stamp set and the sentiment is from Simons Holiday Greetings Mix 1.
Once you have the stamps all lined up, use Simons Intense Black Ink to stamp them. Just remove the stamped card and pop another one in, ink up the stamps and in no time you have all four stamped.
These beautiful cards are easy to create, bright and cheery and flat, so no additional postage required.
Here are the Distress Oxide Ink Colors I used for the blends.
Card #1 (from the Top), Tattered Rose, Abandoned Coral and Seedless Preserves.
Card #2 - Tumbled Glass, Mermaid Lagoon and Blueprint Sketch.
Card #3 - Spun Sugar, Bundled Sage and Tumbled Glass
Card #4 - Shaded Lilac, Cracked Pistachio and Evergreen Bough.
That's it for me today, I hope you will give these cards a try and add to your Christmas Card Stash.
I've listed the supplies I used below. Affiliate Links are used which means I receive a small commission when your purchase through my links at no additional cost to you.
But first things first, last week team Misti gave a shout out to Dawn of WPlus9 and showed you some projects using her amazing products. There was to be a winner of Cut-Align and Misti bag, well here we go ....and the winner is...
A gorgeous card. Love the background and that sweet bird.
Jean please email info@mysweetpetunia to claim your prize.
Now on to the deets on my cards.
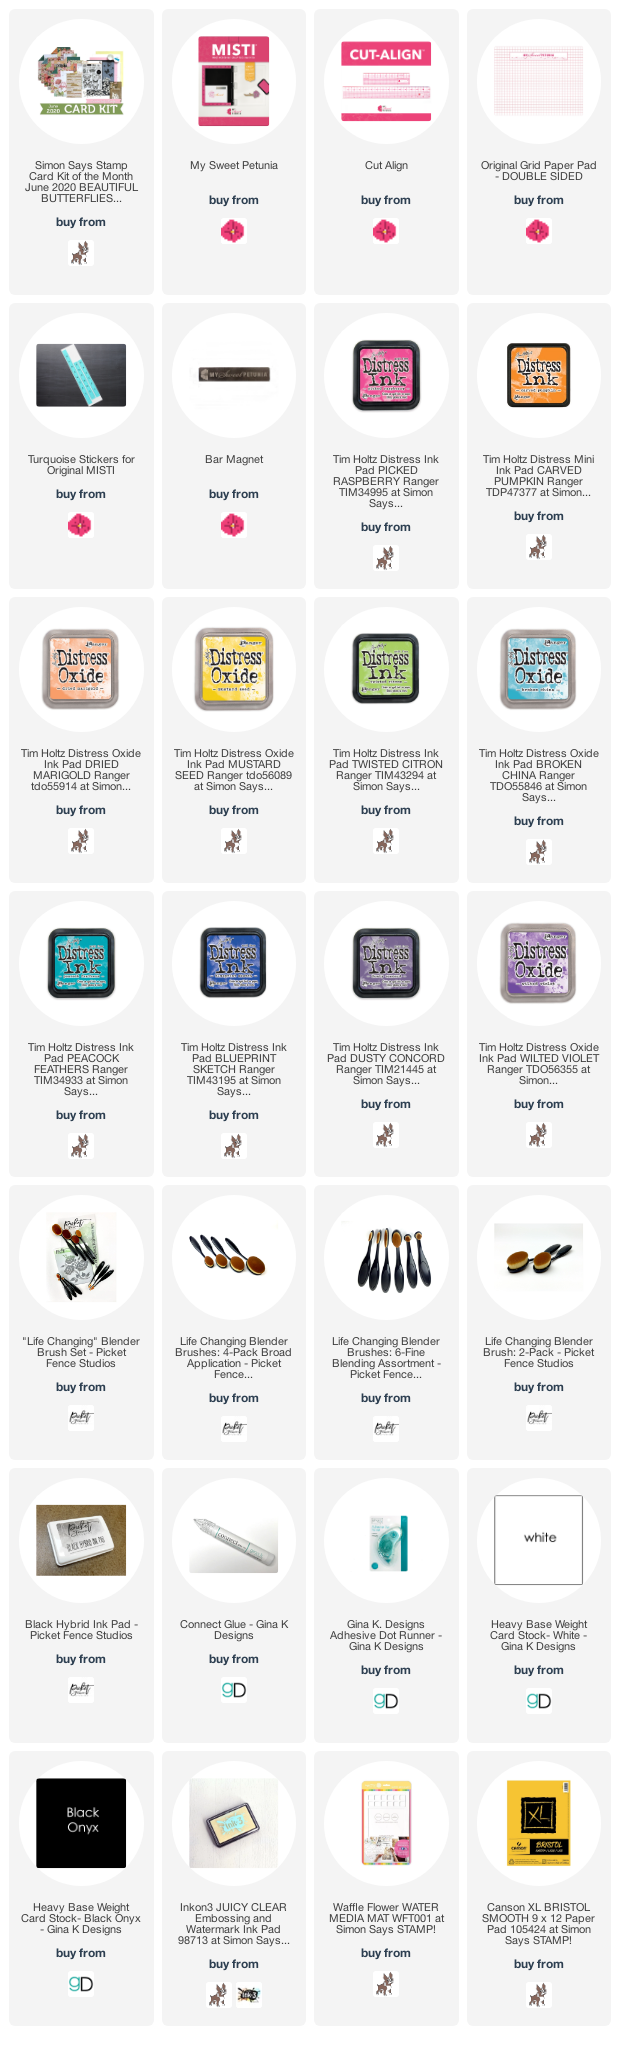
I started with a white top folding card bases, a couple black onyx panels, two bristol panels and the stamp set from the the June card kit by Simon Says Stamp.
For my first card I stamped the butterflies using distress ink and then went over them with Liquid Pixie Dust that I had added to wa water brush, this spread the color out a little. to finish the card I adhered the focal panel to the black panel and then onto the base. I added a greeting from the same set.
For the second card, I randomly stamped butterflies all over the panel and embossed them using clear embossing powder. After they were all done I added some distress ink using the Life Changing Blender Brushes in Picked Raspberry, Carved Pumpkin and Mustard Seed. To finish the card I added a greeting by stamping it on black onyx card stock, embossing it in white and the using the Cut-Align to cut it out.
It's Ceal here and I have a card to share today using the gorgeous Be Kind set by Simon Says Stamps from their Hey Bestie collection.
A couple weekends ago I attended a retreat in Kansas and I also participated in a shoebox swap so my card had to be quick to make. I came up with this design for a quick and easy card.
I started with a white card base and some watercolor paper. I cut out several of the foliage using the coordinating dies from the Be Kind Bundle without stamping them first because it was quicker. After cutting it out I placed the negative piece in the MISTI and then placed the positive piece inside the negative one and laid the stamp on top, I picked up the stamp with the door of the Misti and inked it u with Fadeout ink by Ink on 3. By using this technique I was able to stamp all the die cut pieces in the exact place that they needed to be stamped.
I used Tombow markers to watercolor the foliage and for the background I used a Grid stencil by Simon Says Stamp and some Sandy Beach ink blended with the Life Changing Blender Brushesby Picket Fence Studios.
This card would not have been easy or quick without the MISTI, I don't know how I ever stamped without it!
Welcome everyone! It's Mindy Eggen here with you today and I am featuring a project creating 4 Cards with 1 Stencil (plus a layout!)
VIDEO
I have a video that you can view down below or HERE on my Youtube channel. I'll be showing you how to create 4 cards with 1 stencil + a layout.
CARD DETAILS
Since this stencil is 9x12 all you need is one sheet of card stock. For my cards today, I'm using an 8 1/2" x 11" piece of Neenah Solar white 80lb card stock.
I'll spray my stencil with Pixie Spray, attach to my card stock and then ink blend Tattered Rose, Abandoned Coral and Seedless Preserve Distress Oxide inks using Life Changing Blender Brushes.
While the stencil is still in place, I'm going to spray Iridescent Shimmer Spray for a little sparkle. Then after carefully removing the stencil, I'm going to let this dry or you can heat with a Wagner Heat Tool.
After the card stock is dry, I'll trim my panel down first cutting at 5 1/2" and then 4 1/4" so that I end up with 4 card front panels. Four cards with one sheet of card stock and they all have a different design using the same stencil. Cool Right?!
I'm going to use the Good Job Mama Stamp Set and the Mini Misti Tool to stamp sentiments onto my card fronts with Versafine Clair ink. This is a great ink for stamping onto of Distress Oxides.
I also heat embossed sentiments off of the Good Job Mama stamp set onto Black card stock with White Embossing Powder. I love how I can stamp all of my sentiments at once using the Misti Tool. Quick and easy!
I'll use the Mini Blossom Die Cut Machine from Altenew and the Sentiment Label Die to cut my sentiments down to thin strips. I'll then attach my sentiments to my card front using the Big Momma Foam Tape from Simon Says Stamp.
A last finishing touch to my cards is adding some Clear Sequins using Connect Glue and then topping them off with Love Potion Dream Drops.
Now this is a little different coming from me but honestly, it's the first thing I thought of when I saw this stencil. One of my scrapbooks is actually a 9x12 album. I stenciled the hearts using the same colors as my cards, onto white card stock.
I printed off a 5x7 picture of my daughter that I took of her in November and attached it to my card stock.
Using Black card stock and Tonic Gold Glitter card stock, I die cut the Over Sized Love You from Waffle Flower and layered together with Connect glue for a shadowed look.
I heat embossed in Gilded Embossing Powder some small sentiments from the Tiny Words Encouragement stamp set onto Black card stock. Again, the Misti Tool is a time savER being able to stamp all of those sentiments in one pass. Then using the Sentiment Labels I die to cut them out and add to my label with foam tape.
I absolutely adore this layout and the sentiments are so powerful. It'll be great when my daughter goes back to look at the album and sees these encouraging messages.
I hope you enjoyed today's inspiration! I have the full release and my supplies listed down below.
SUPPLIES USED IN VIDEO
Below you will find links to the products used. Click the icon to start shopping. Compensated Affiliate links are used at no additional cost to you. Your support helps me to keep bringing you new projects and videos. Thank you!
I love you like craft supplies....only you get that phrase. This is major love for people like us. For those of that are not in the hobby but know us, know this means a lot of love.
Here are two versions of the same card: a colorful one with embellishments and a simple one with a pop of color and zero embellishment. I was so excited to finally have a chance to use buttons on a card. I refuse to get rid of my buttons. What is something in your stash you hold on to?