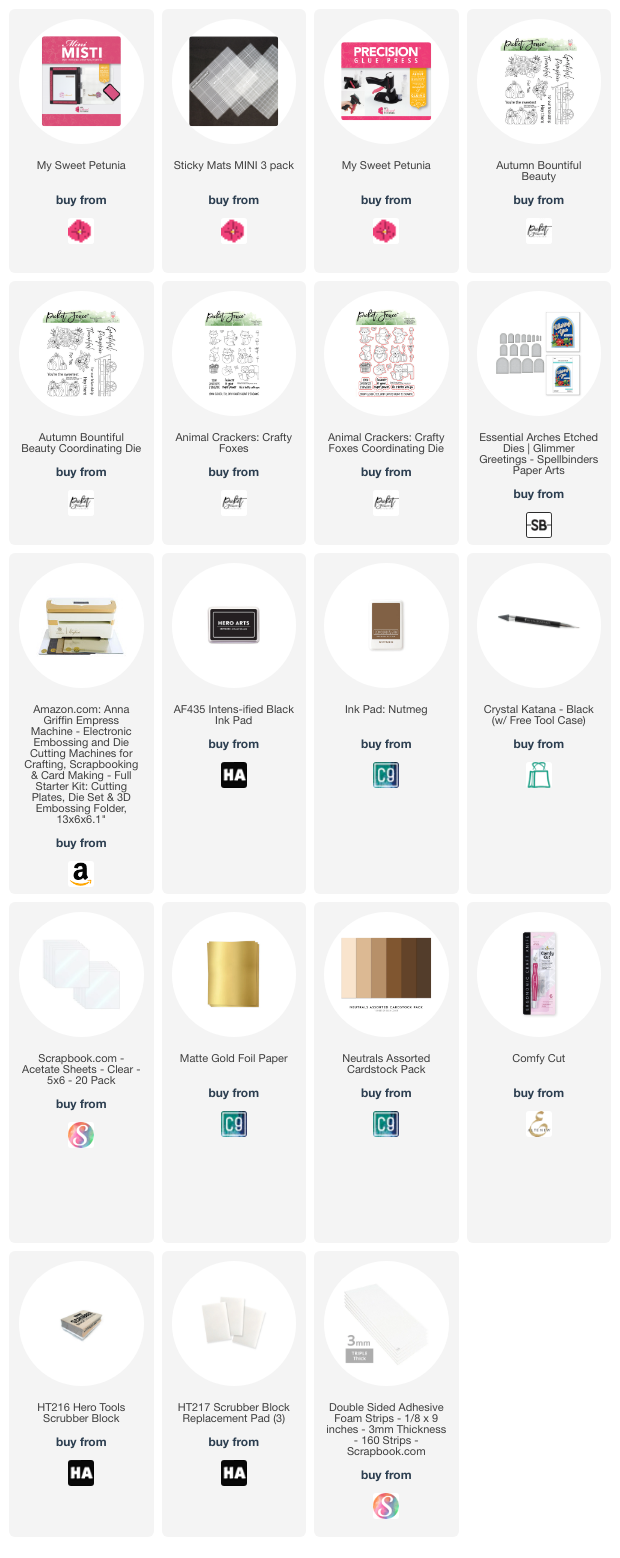
One of my very favorite things about the MISTI is the ability to stamp many images at one time.
For today's cards, I created a fun fall shaker card and a second card using the arch cut out of the gold foil for the shaker card.
I stamped and colored all the pumpkins, wagon and foxes with copic markers. The inside background of the shaker is colored with a very light blue copic marker. All of the copic markers used are listed at the bottom of this blog post.
I hope you're busy making some fun fall shaker cards this season and using the MISTI to stamp all your gorgeous images.
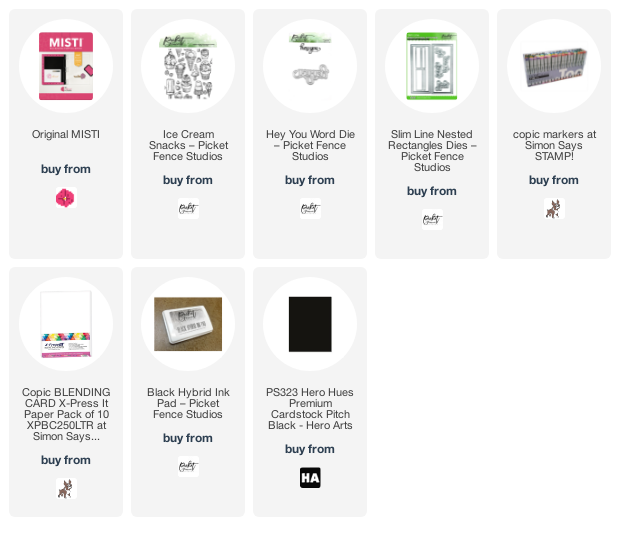
Ilina here. Today I am sharing fun slimline card using the Ice Cream Snack seamless stamp from Picket Fence Studios, along with Hey You word die and the Slim Line Die Cutting system products.
To make the card I started by stamping the Ice Cream Snack using my Original Misti few times onto X-Press It cardstock. Once stamped I colored using my copic markers and a panel using the Slimline dies.
Next I die cut Hey You few times from black card stock and stacked them up. I adhered onto white backing die cut. Added to the panel and assembled my card.
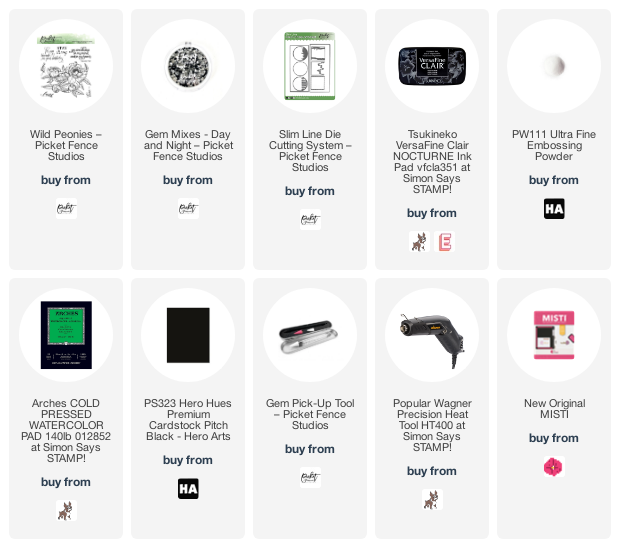
Ilina here! Today I have a slim line card for you using the Picket Fence Studios Wild Peony stamp set. To make the card I started with a piece of watercolor paper and die cut it using the Picket Fence Studios Slim Line Die cutting system (the smaller die from the two). Once die cut I positioned my panel and stamp in the MISTI and stamped the top image. Once that was stamped I moved it up and shifted to the right side then stamped the second image. Once stamped I embossed using Ultra Fine Clear embossing powder. Colored the images using Karin markers and then stamped the sentiment. Set the panel aside and created black slim line card base using 7" x 8 1/2" piece of card stock that I scored at 3 1/2".
Using craft foam I adhered the panel to the card base and added some gems to finish it off.
It's Ceal, here. Today I am sharing a card where the MISTI is a must have.
Today I am sharing a card that uses a technique that I learned a few years ago when I took Kathy Racoosin's class at Junkiefest.
To create this card, I started with a white top folding card base and a white express it panel for the copic coloring.
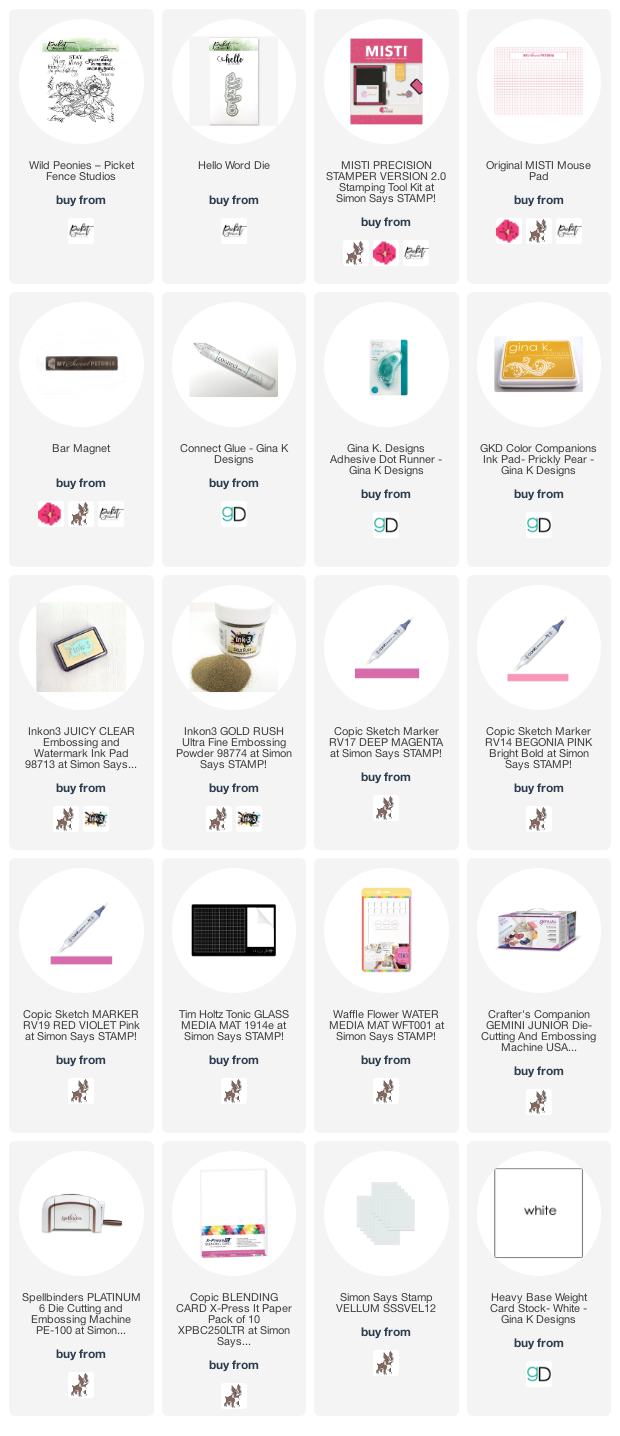
I placed the stamp in the Original MISTI and stamped the floral image from the Wild Peonies set by Picket Fence Studios in Prickly Pear ink by Gina K Designs. I left the stamp in the MISTI because I will need to stamp again after I finish the coloring.
I colored my entire panel except the flowers with Copic markers in RV14, RV17 and RV19 to get the ombre' effect.
Next using a small piece of terry cloth and some Copic colorless blender I picked up some of the ink all over the panel to get the texture, then placed the panel back in the misti and over stamped the peonies with embossing ink and embossed them with gold powder.
To finish the card I cut the Hello out of gold foil paper and placed it on a vellum backing and adhered to the front of the card.
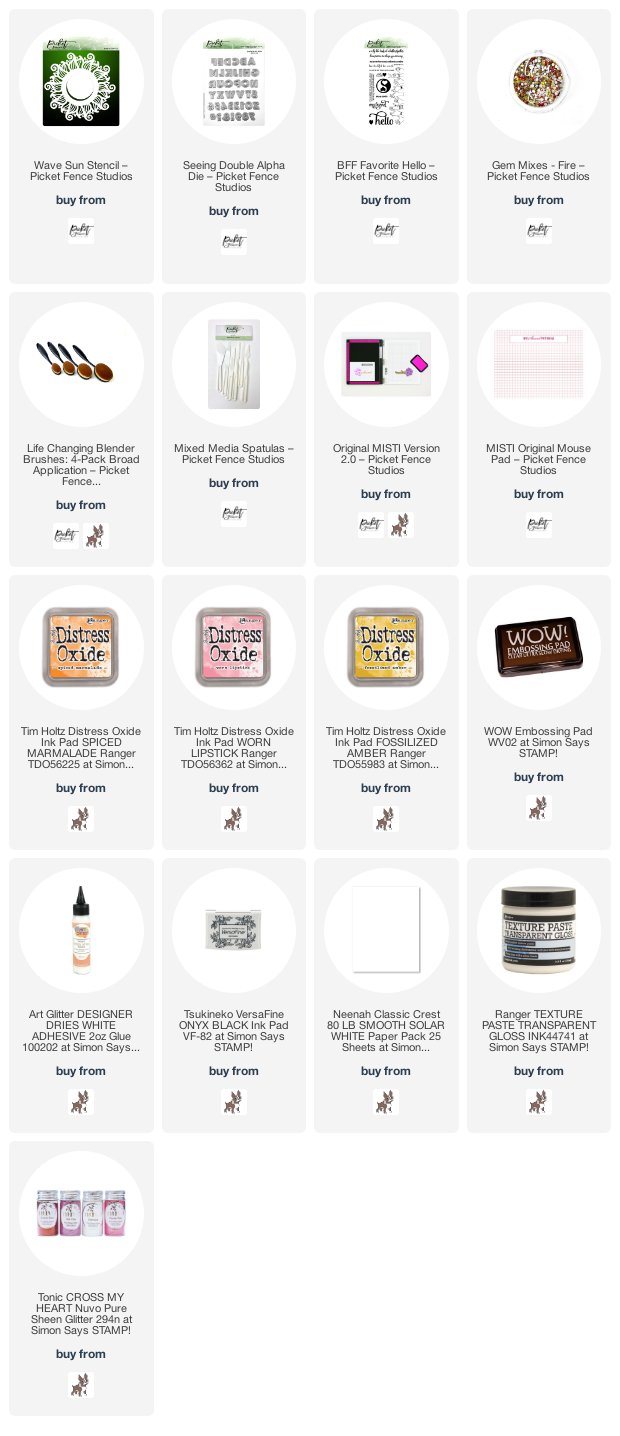
Supplies: Compensated links at no extra cost to you
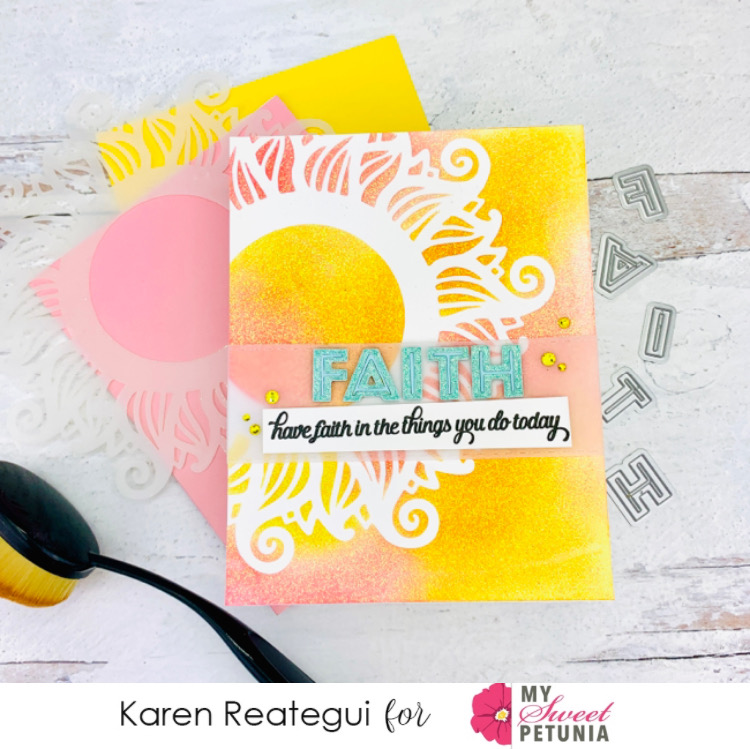
Hello friends! Today I'm sharing this bright and shinny encouragment card using Picket Fence Studios products and the original MISTI.
Let's begin! I started by placing the new Wave Sun Stencil from Picket Fence Studios on top of an A2 panel, then I applied distress oxide inks using the Life Changing Blender Brushes. The inks I used Fossilized Amber, Worn Lipstick and Spiced Marmalade. Once I finished applying the colors I didn't removed the stencil.
Next, I mixed Ranger Texture Paste Transparent Gloss with Nuvo Pure Sheen Glitter Diamond and using a spatula I applied this mix through the stencil. When I finished I immediately removed the stencil and let this panel dry overnight. Because the texture paste is transparent you will be able to see the colors from the background and also all the shine from the glitter, giving this background a wonderful look.
Once it was dry, I adhered a piece of vellum and wrapped it around the panel. I secured the vellum using glue. I also, heat embossed a piece of cardstock using WOW! Minty Embossing Glitter and die cut from it the word FAITH using the Seeing Double Alpha Die. I added the letters on top of the vellum using glue.
Finally, I stamped my sentiment from BFF Favorite Hello and added it to the velum below the word FAITH. Last, I placed some gems around from the Fire Gem Mixes and adhered a folded note card at the back of this panel.
Hope you like this card and brings you a little bit of hope and faith with all its bright and shinny colors. Wish you a fantastic day and thanks for stopping by!
Ilina here! Today I am sharing a card that combines few products from different companies and I am very pleased how it turned out!
I used Gel Press and a stencil from Picket Fence Studios (along with few distress oxide inks) to create my background. I put my Gel Press plate on top of my MISTI which allowed me to move it around easier and apply the ink and spread it with the brayer much easier.
Once I created the background, I prepared the rest of the elements, the branch die cuts using My Favorite things die and the Strip sentiments and die set from Taylored Expressions.
To assemble the panel I cut down the gel press print to 4" x 5 1/4" adhered the die cuts and the sentiment and to finish it off I added several Honey Bee gems!! Using craft foam adhered to white note card!
Hello Everyone! It's Ceal here with you for Team Tuesday.
Today I am sharing a new release stamp by Picket Fence Studios, Autumn Harvest.
This is a 4x4 seamless stamp and what that means is you can stamp it continuous for as long or wide as you want it. I created a slimline card with it which measures
8 1/2 x 3 1/2 of course the width stamps fine but in order to get coverage for the length I had to stamp it three times. To do that I placed the stamp in the MISTI 2.0 at the bottom corner and stamped, I moved it up and lined it up and stamped it again, for the third stamping I had a portion of the panel outside of the MISTI but was still able to line it up and cover the entire panel.
There is absolutely no way would I ever attempt to line one of these stamps up using an acrylic block. I am so thankful that the MISTI allows me to use stamps that otherwise I would never try.
The greeting is from the Classic Houndstooth set, with the ravens it seemed appropriate.
Also the MISTI 2.0 is available for Preorder and will be shipping next week. have you ordered yours?
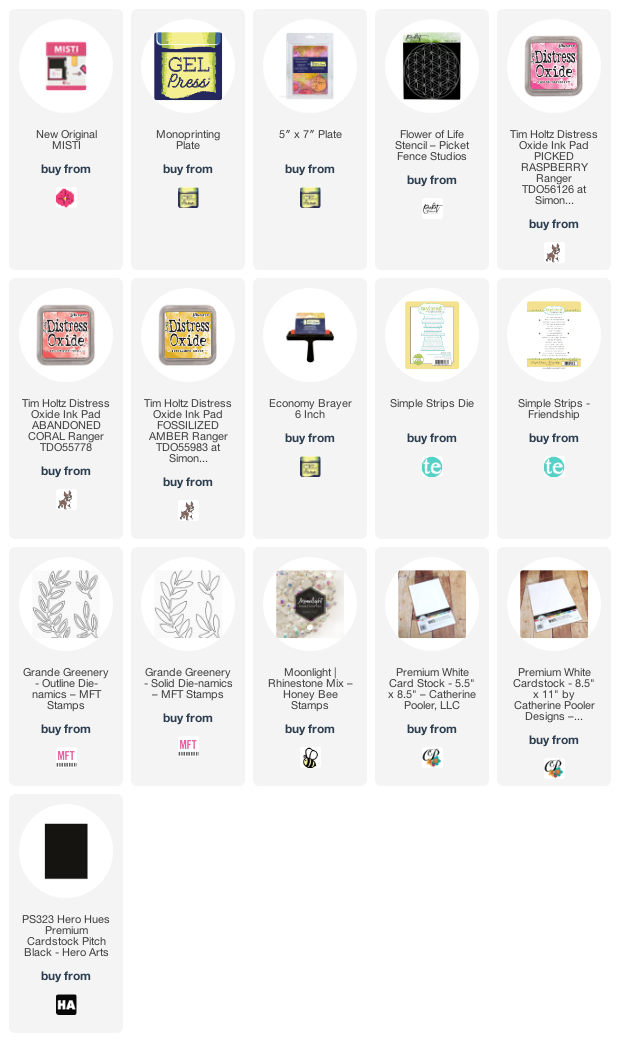
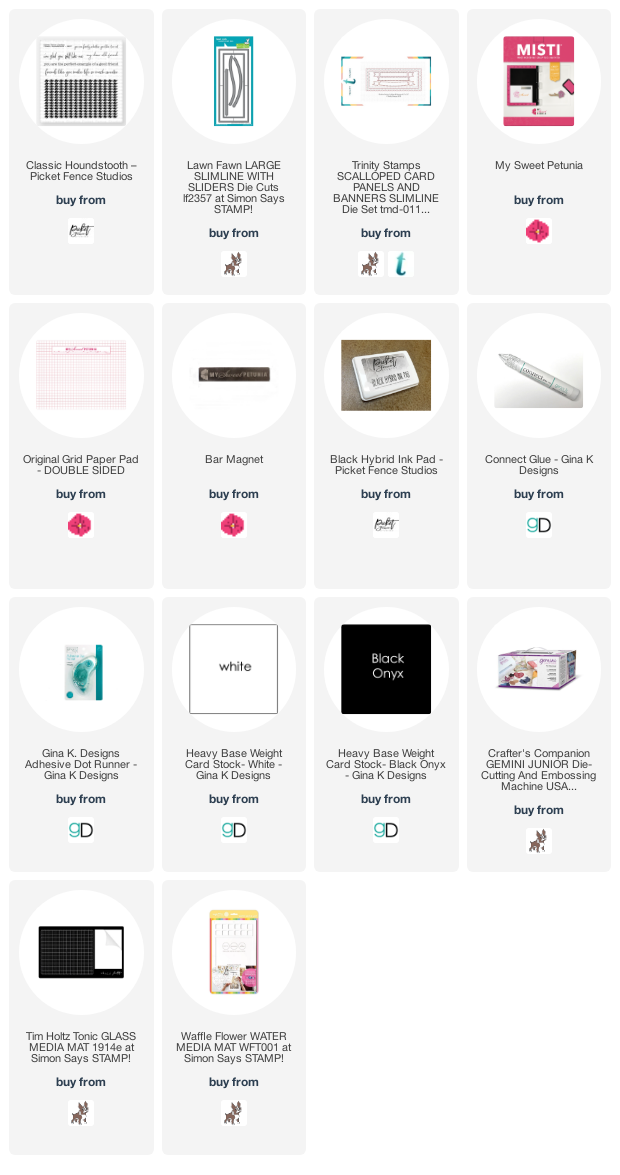
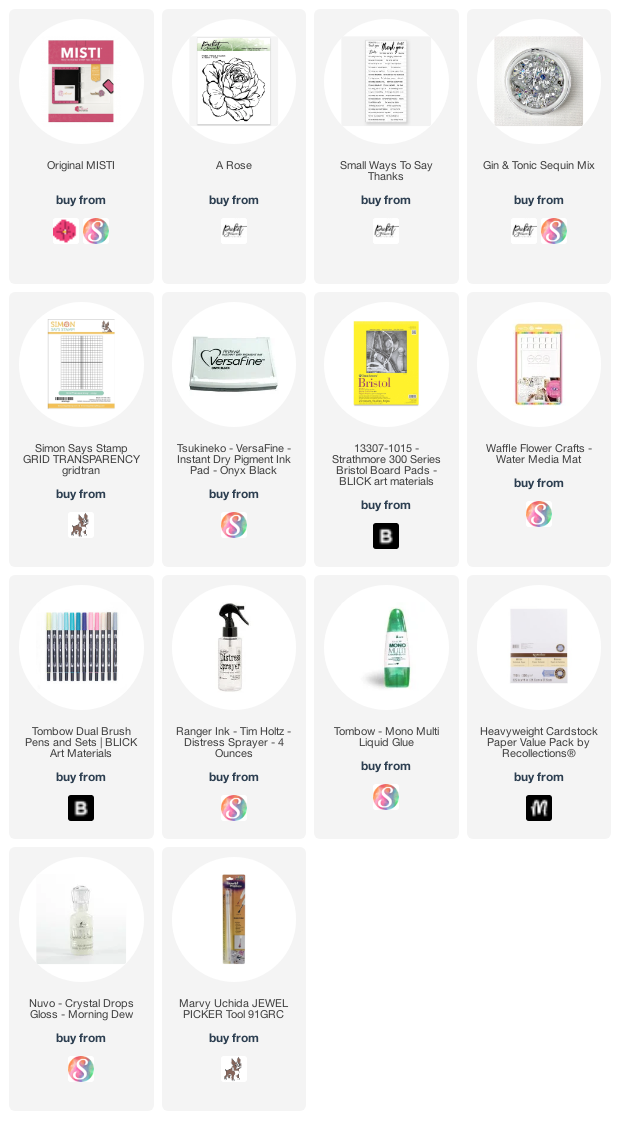
Below you will find links to the products used. Click the picture to start shopping. Compensated Affiliate links are used at no additional cost to you. Your support helps me to keep bringing you new projects and I appreciate that so much! Thank you!
Congratulations Mary! Please set up an account at Sweet Petunia and then send an email from the email account you used to create your My Sweet Petunia account to send an email to hello@mysweetpetunia.com with the subject line: Prize PFS/MSP Hop.
And a big thank you to all those who commented, your kind words truly made our day!!
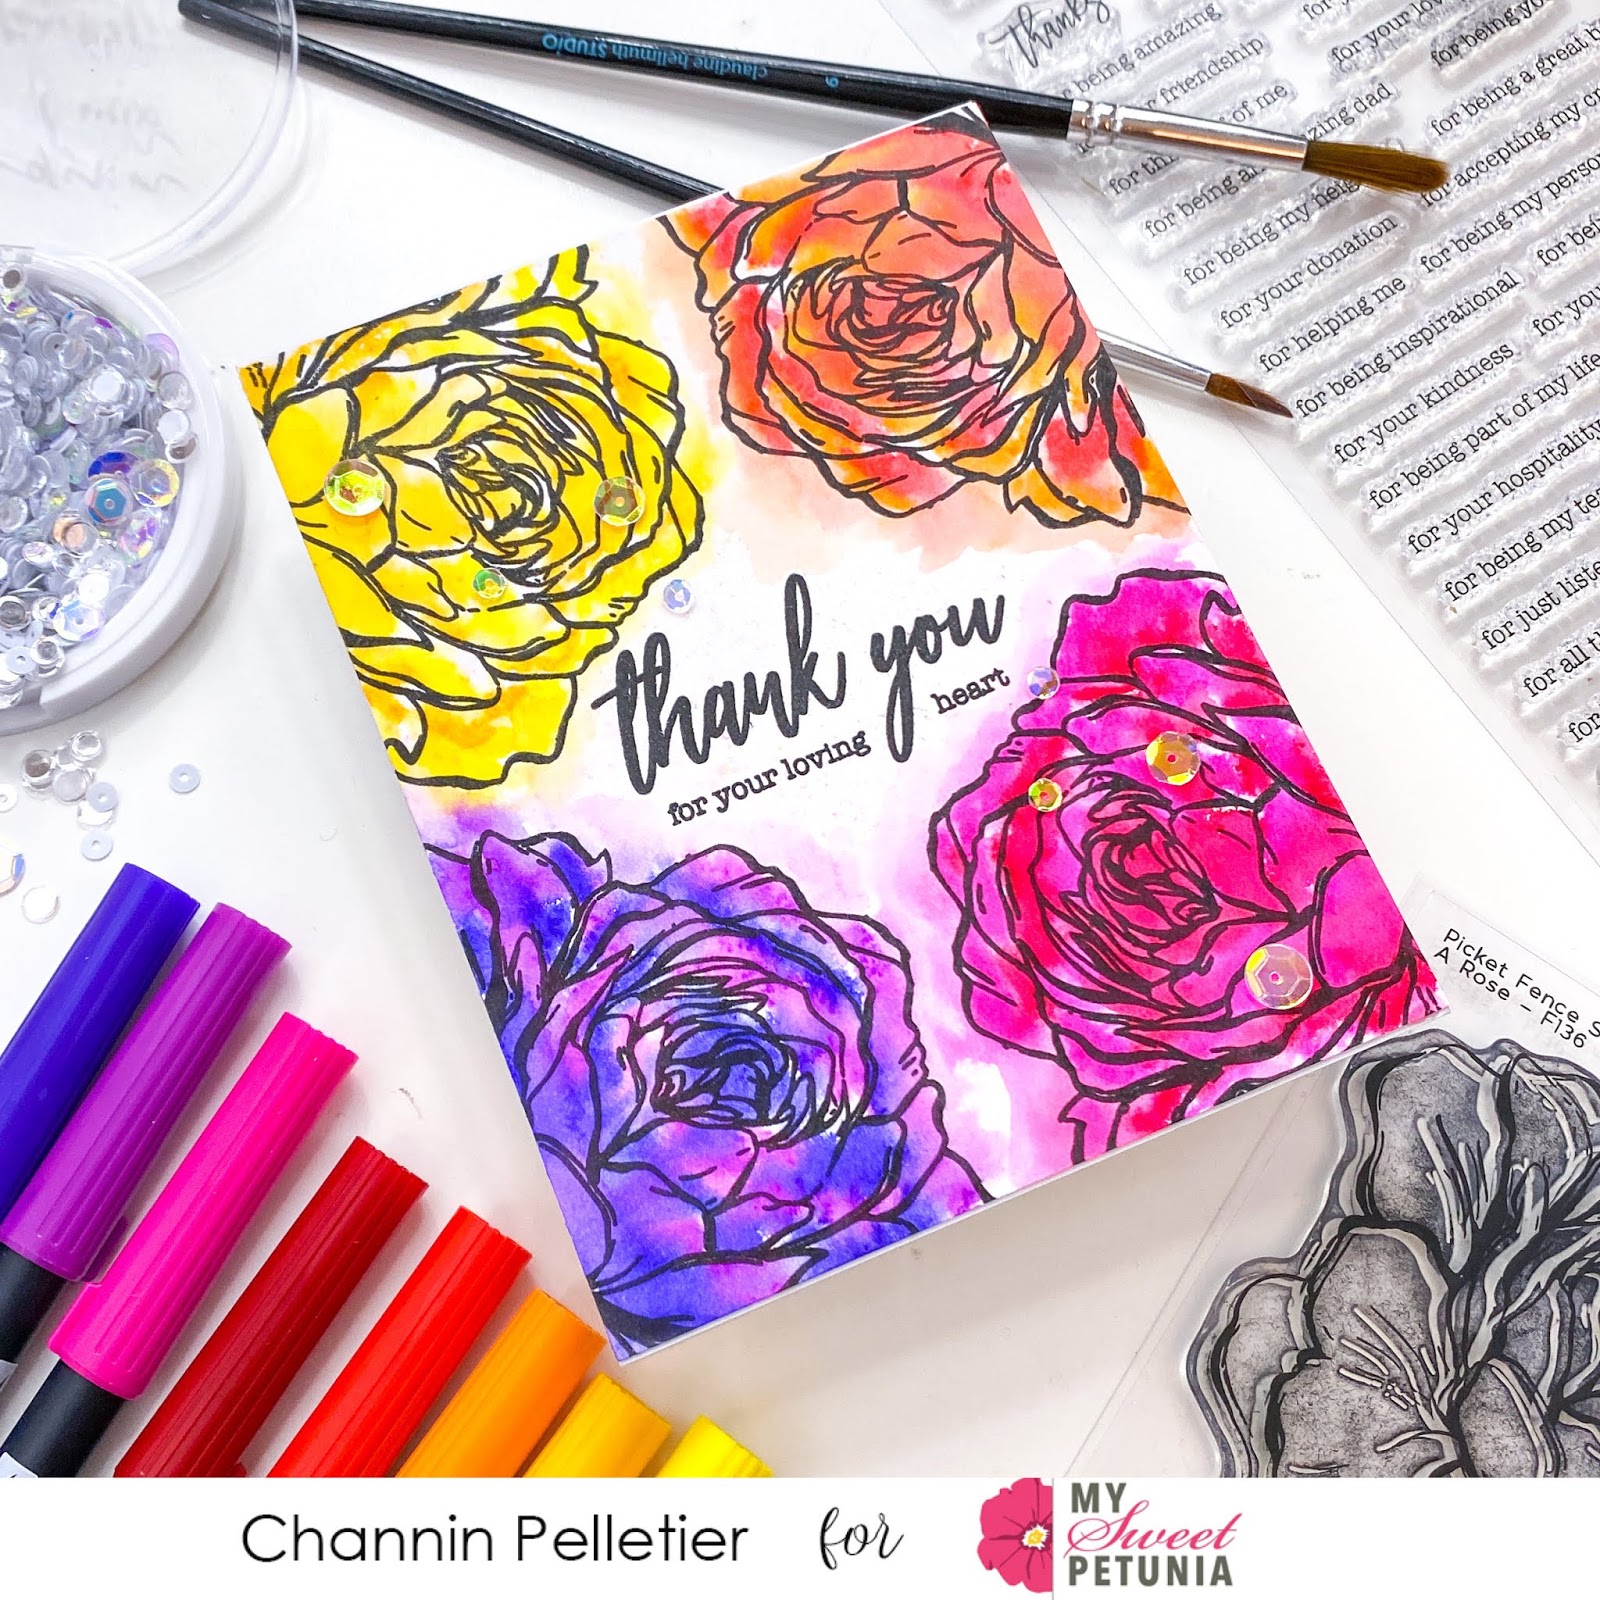
In today's video I create super easy watercolored card with the beautiful A Rose Stamp Set from Picket Fence Studios and Tombow Dual Brush Pens!
Easy Peasy Watercolored Roses
To create this card I first stamped a sentiment from the Small Ways to Say Thanks Stamp Set in the center of an A2 panel of Bristol smooth paper in Versafine Onyx Black Ink. I then stamped the rose from the A Rose Stamp Set on all fours corners of the panel, using the pattern stamping technique to make it quick and easy!
Next, I quickly and loosely colored in the roses with Tombow Dual Brush Pens. Once I had colored all the flowers I then spritzed them with water to activate the ink. Then with a paint brush I moved some of the watered-down ink beyond the edge of the flower to color in some of the white space.
Once I had finished coloring the flowers, I then allowed the panel to completely dry and then adhered it to an A2 top-folding white card base. I then finished the card by adhering some iridescent sequins from the Gin & Tonic Sequin Mix.
I hope you enjoyed today's card and video! Thank you so much for stopping by!
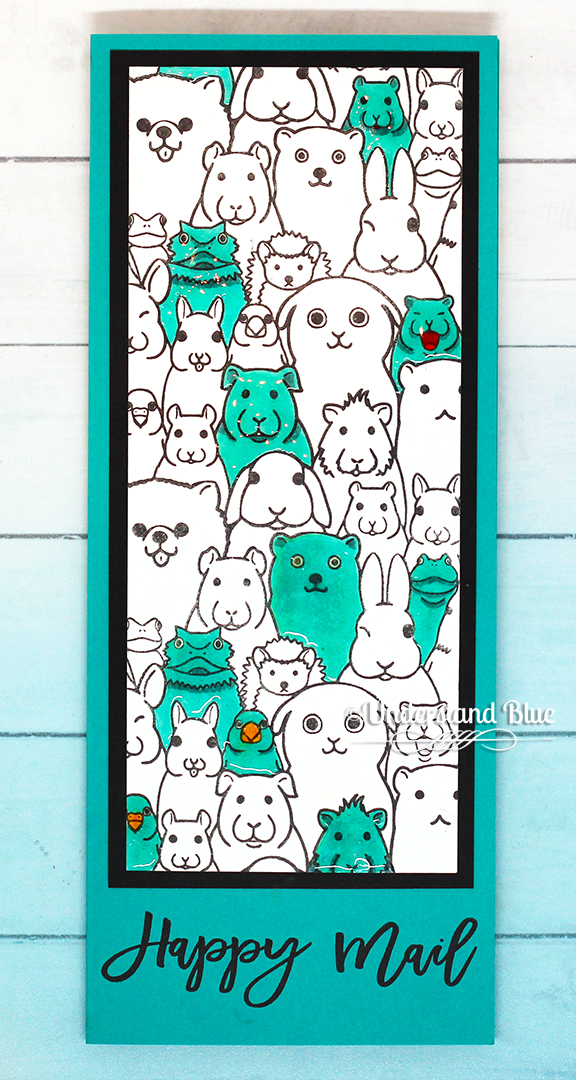
This adorable critter stamp can create designs of infinite size - literally! The image repeats in all directions! You could make 12x12 scrapbook pages, wrapping paper - the sky is the limit! They also have other seamless endlessly repeating backgrounds - and what is even better is they are all 4x4 - so they are extremely affordable! Love this idea.
I repeated it just once vertically for my card. I colored just a few of the critters with a single Copic marker, and then added some yellow beaks and a red tongue to a few of the images. The white dots you see are reflections, because then I covered each critter with a clear, dimensional glaze to make them stand out of the crowd even more! The sentiment is from this set.
Our small group usually visits a local nursing home once a month. Since the whole social distancing thing, we haven't been able to go and the activities director told us that they miss us terribly. So what we decided to do was to dress silly (not as clowns, because clowns are creepy) and make signs to hold at their windows to let the know they are loved and we miss them too.
They absolutely loved it, by the second window everyone was either standing or sitting by their window smiling and waving. It's the little things yall.
no worries there weren't that many of us and we stayed over 6 feet apart going from one window to the next.
I should have taken pictures to insert here so I'll insert another one of the cards
I got to thinking that lots of cardmakers (including myself) are making cards to be sent to hospitals, well the people that work here at the nursing home are on the front lies as well so I decided to make them a card to say thanks.
This is when you are so thankful for Iliana inventing the Misti.
I had 130 cards to make so I made a simple design that could be mass produced. After I got done with the stamping I thought they needed a bit of color. Not only can you use the Misti for stamping but also for stenciling. I placed the stencil in the corner of the Misti and taped it down and then just placed my card under the stencil and added color with the Life Changing Blender Brushes.
I used a stamp set that I earned free by taylored Expressions and several stencils and the Life Changing Blender Brushes by Picket Fence Studios.