(All products are linked below using affiliate links )
Hi Friends,
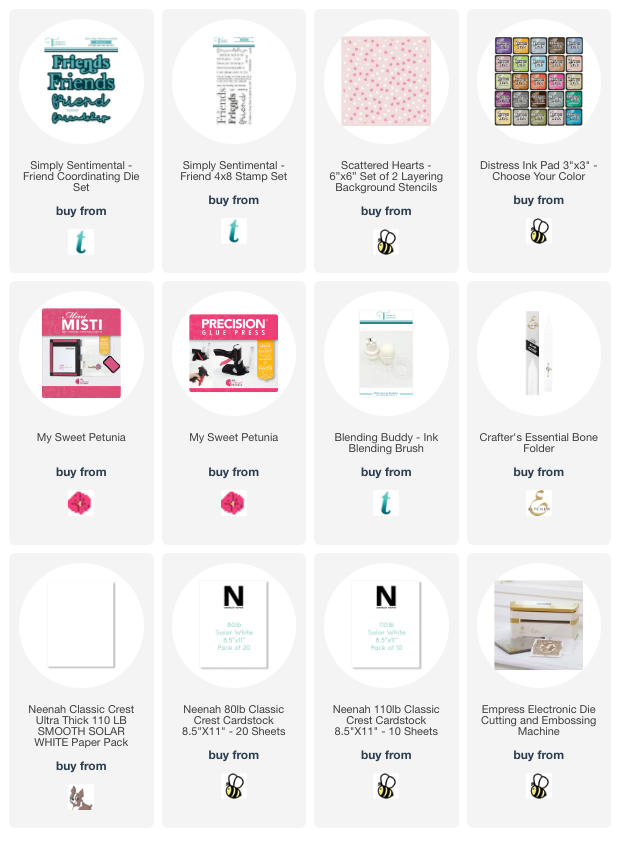
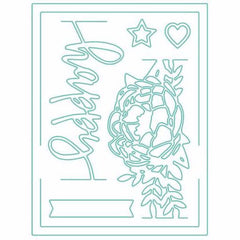
Wendy here. I am so pleased with how this card turned out. The dies and sentiment is from HoneyBee Stamps.
I stamped the sentiment for this card 3 times... BEFORE I grabbed my MISTI and realized I was having a momentary relapse to archaic stamping days.
When I couldn't get the sentiment to stamp nice and dark and clean and clear I immediately grabbed my Original Black MISTI and bam. Perfect sentiment stamping.
How did we ever stamp before the MISTI?
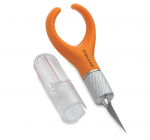
AND... How did we ever glue these teeny tiny pieces before the Precision Glue Press? I don't know it's a mystery to me too.
Thanks for checking in and hanging out for a few minutes. I hope you enjoy this card. All the products are linked below.
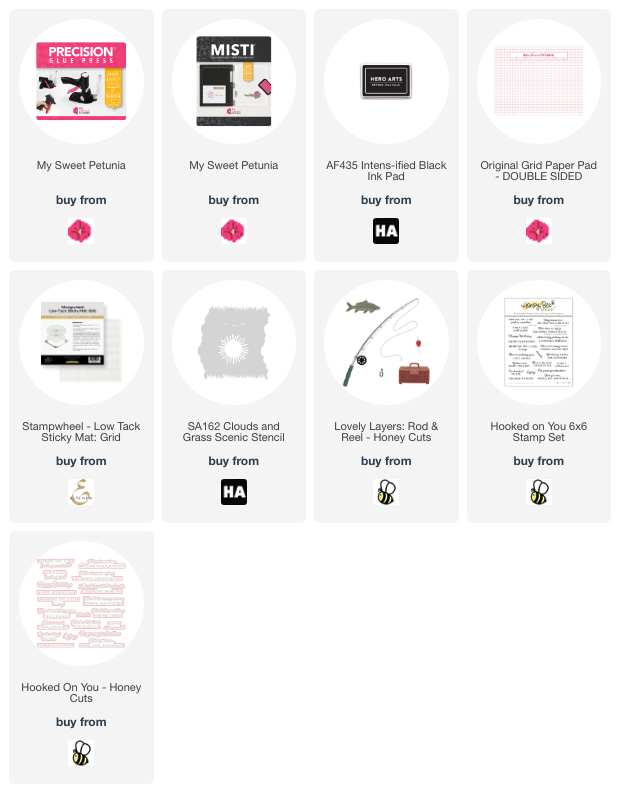
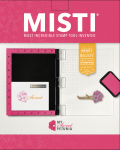
I created this cute card using the Fall Foxes stamp set and my Original Black MISTI. One of my favorite things about the MISTI is the etched-in gridlines for the perfect alignment of sentiments.
For the background on this card, I used The Rabbit Hole Designs Clouds In My Coffee stencil. I created the clouds by ink blending in a beautiful blue and then used one of the open cloud cut outs to create the bushes. It's fun to use products in an unexpected way to get more bang for your buck.
Hello friends!! It’s Channin here and today I’m combining several techniques to create an abstract rainbow background with lots of depth! Check out the video below to see how I add layer upon layer with ink blending, stencils, stamping and even pigment ink to create a background with tons of dimension.
Layered Background Featuring Sticky Mats
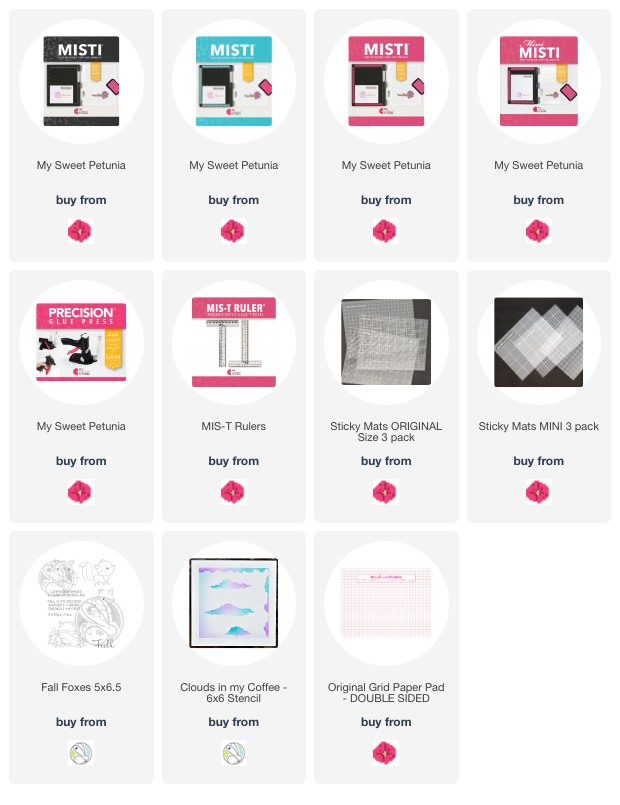
To create this card I first ink blended over an A2 panel of Sand cardstock with the Abstract Frames Stencil and Unicorn Pigment Ink. I then rotated the stencil and then ink blended a rainbow over the stencil with several Reactive Inks. Then I stamped over the panel with the Abstract Frames Bold Prints stamp with the same inks I used to create the rainbow blend.
Next I created my sentiment by die-cutting the “congrats” and “!” from the Congrats & Yay Stamp & Cut XL set out of white cardstock. I then die cut the mat layers out of vellum and then adhered them to their cardstock counterparts. I then stamped and white heat embossed a sub-sentiment onto black cardstock and then fussy cut it out.
To finish the card I adhered the background panel to an A2 top-folding white card base and then adhered the sentiments with foam adhesive.
I hope you enjoyed my card and video! Thank you so much for stopping by!
Hi friends and welcome back. It's Sandi MacIver here and I have a new card making technique video to share with you.
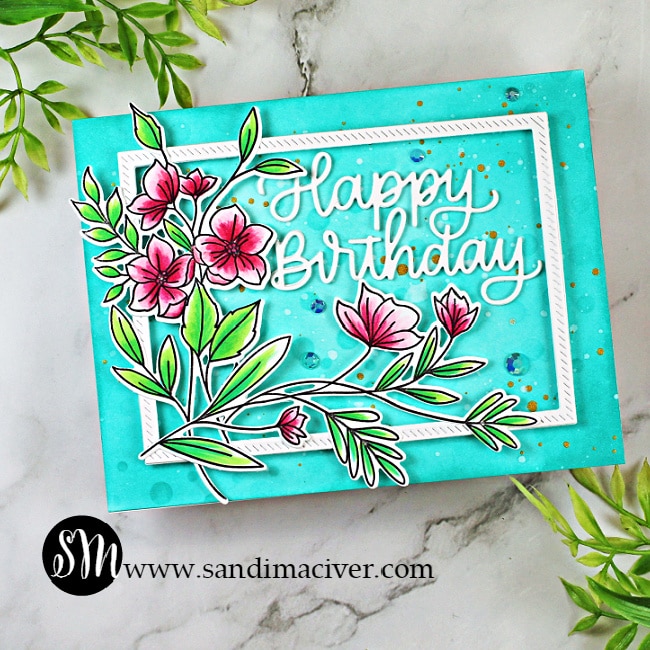
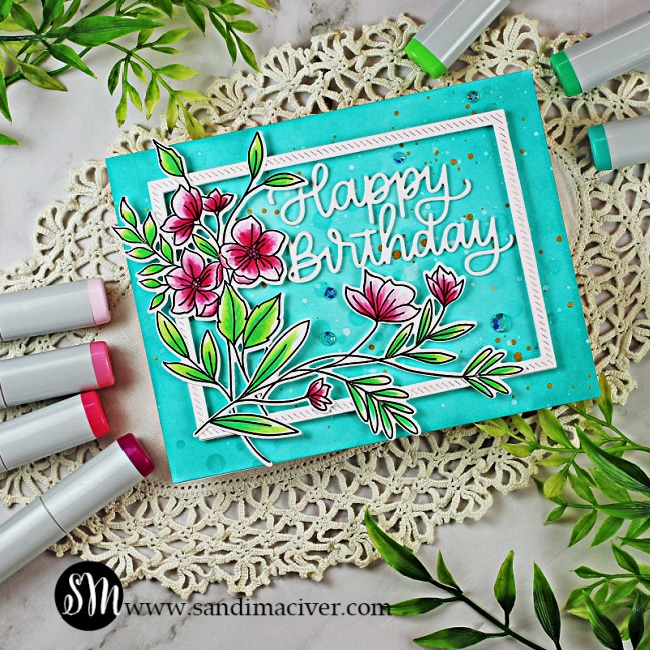
This card is created with paper crafting products from Waffle Flowers and PinkFresh. The video starts with a quick copic coloring tutorial on the florals and then moves on to an Ink Blending and Splatter Background Technique using Hero Arts Reactive Ink Pads.
It's a start to finish card tutorial.
This card was also created for the Misti Monday Challenge for January over on the Splitcoast Stampers Site. The challenge this month is to Use Pink on Your Cards to express your gratitude for your Misti and the My Sweet Petunia Company.
I use my Misti many different ways in today's video and I love it and appreciate having it so much. I hope you will join in the challenge.
Card Making Techniques Video #85 - Card
Use the Misti to stamp the floral images onto Hammermill white cardstock using Gina K Amalgam Ink (Copic Friendly).
Color the image with Copic Markers:Pinks: RV10, RV13, RV14, RV19
Greens: YG13, G02, G13
Next, use the coordinating dies to cut out the images and set them aside.
Creating the Background:
Using the Waffle Flower Stencil Mat, ink blend Hero Arts Reactive Ink in Pool Party over the entire surface of the card front.
Next, go around the edges with the Blue Raspberry Ink.Lay the Waffle Flowers Snowfall Background stencil over the piece and blend more ink through the stencil.
Finally, splatter the card front with water, then white and gold ink. Set aside to dryDie cut two frames using the Pinkfresh Diagonal Stitched Rectangles. I like the added detail in the stitching, it adds so much interest to a card.Attach it with foam tape and then add the florals.
Adding the Sentiment:
The sentiment is die cut three times in white using the Simon Says Stamp Happy Birthday Script die.
Stack and attach in the top right corner.
Finally, embellish with gems from the Pinkfresh Essentials Jewel Mix
Here is today's Card Making Tutorial Video #85
Click the image to watch the video over on my YouTube Channel and don't forget to subscribe while you are there.
Click on the little bell beside the subscribe button to get notifications when I load new videos. Hope you enjoy the video and please share it with your friends.
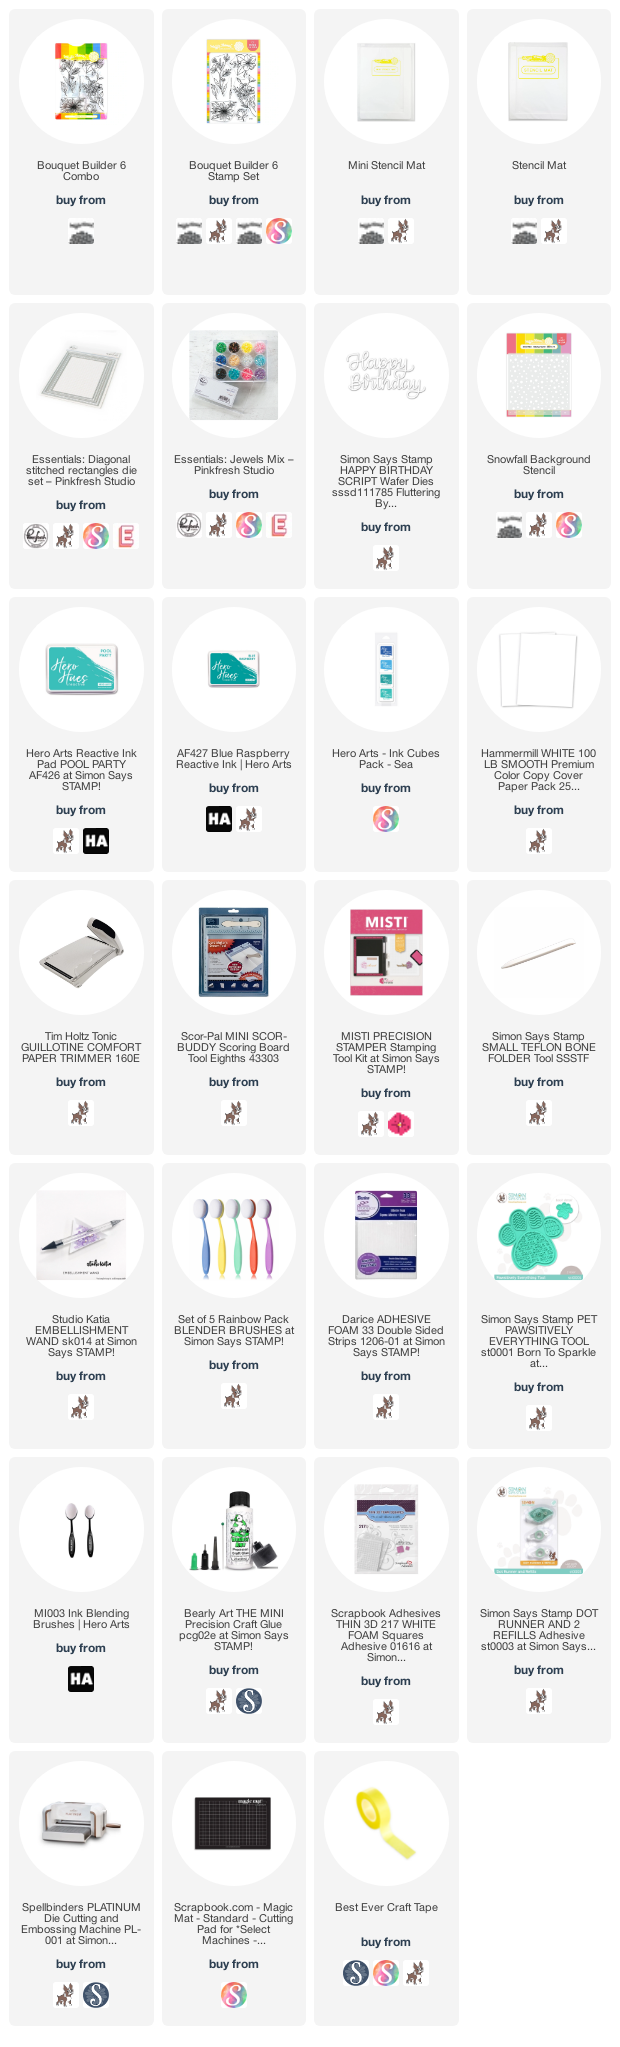
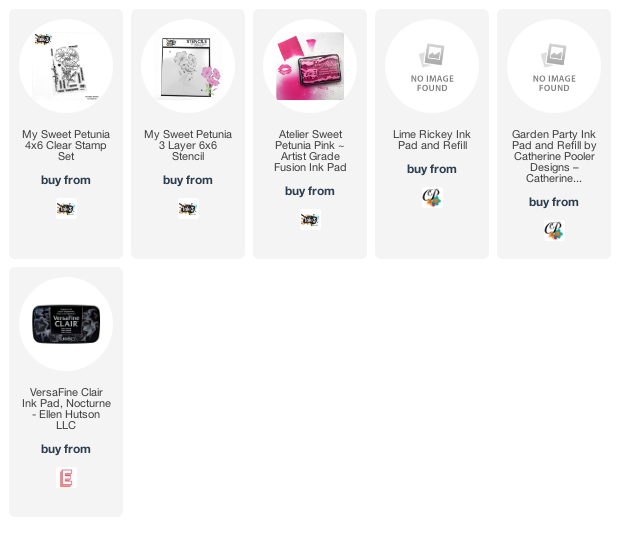
Card Making Supplies used for the Card Making Techniques Video #85 :
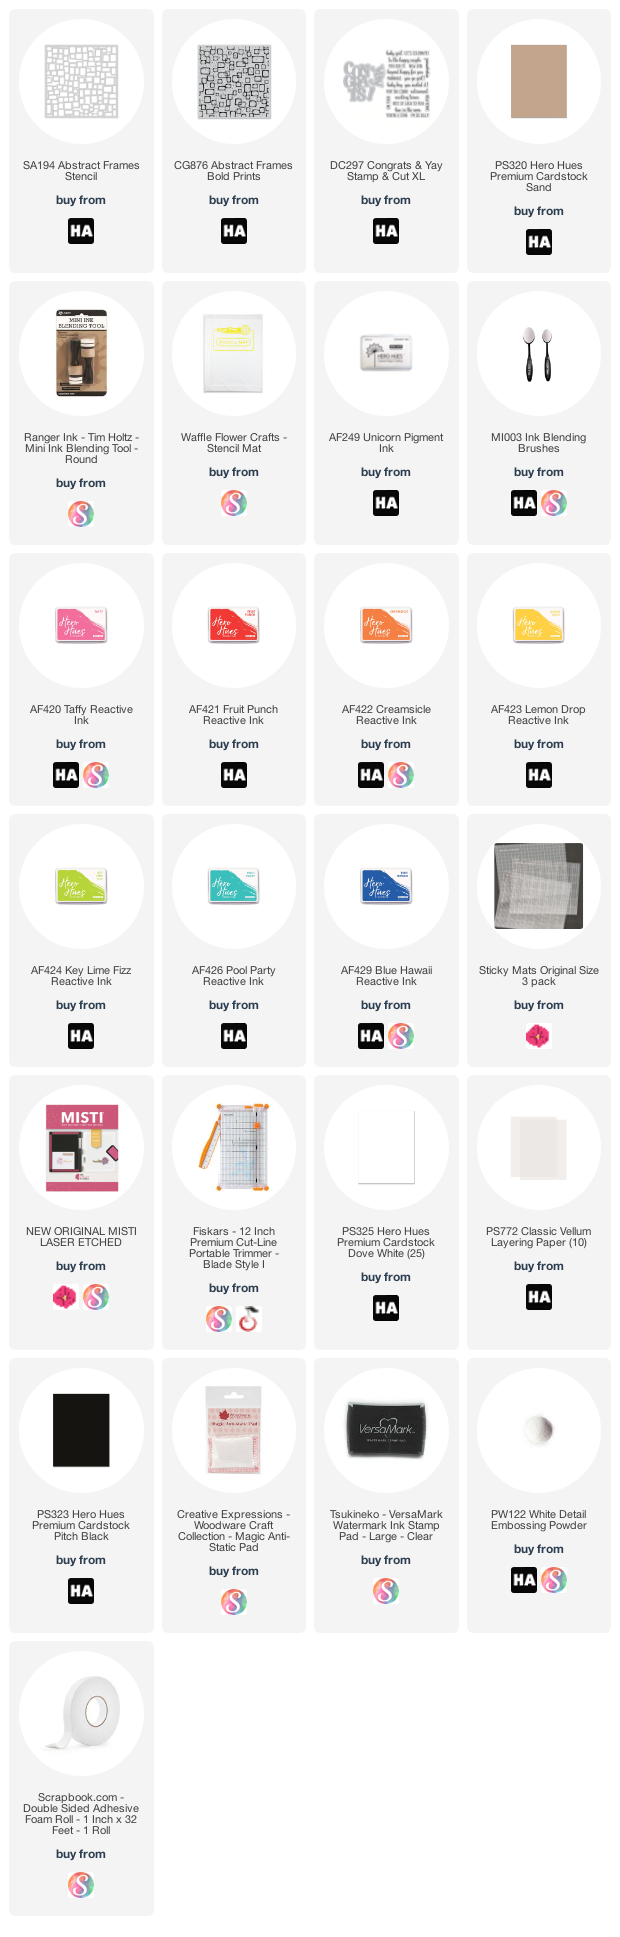
Here are the products I used today. Compensated affiliate links used where available at no cost to you.
When you click on a thumbnail link and shop you are supporting my website allowing me to continue bringing you new projects and videos. Thank you.
Happy Thursday. Today the InkOn3 and My Sweet Petunia design teams got together for super fun collaboration over on Instagram. So I decided to share a card here using InkOn3 products too. I used the My Sweet Petunia stamp set and coordinating stencil, along with Sweet Petunia InkOn3 ink ;)
To make the card I started by stamping the image in black couple times in my MISTI. Once stamped I secured my panel in the middle of the MISTI, positioned the first stencil and ink blended the lightest colors. Next I swapped it to the second stencil and added darker colors, then the 3rd stencil.
Having the panel in my MISTI it help me get better and sturdier surface for ink blending. Once done I trimmed it to 4" x 5 1/4" , added sentiment, some pearls and adhered to a top folding note card!
Hi card making friends, Sandi MacIver here and I have four super easy holiday cards for you today. The Distress Oxide Ink Single Layer Holiday Cards are done in a mass production format blending all the backgrounds first and then popping the stamps into the Misti and stamping all the cards at the same time.
I even used precut and scored card bases to further speed up the process (link below).
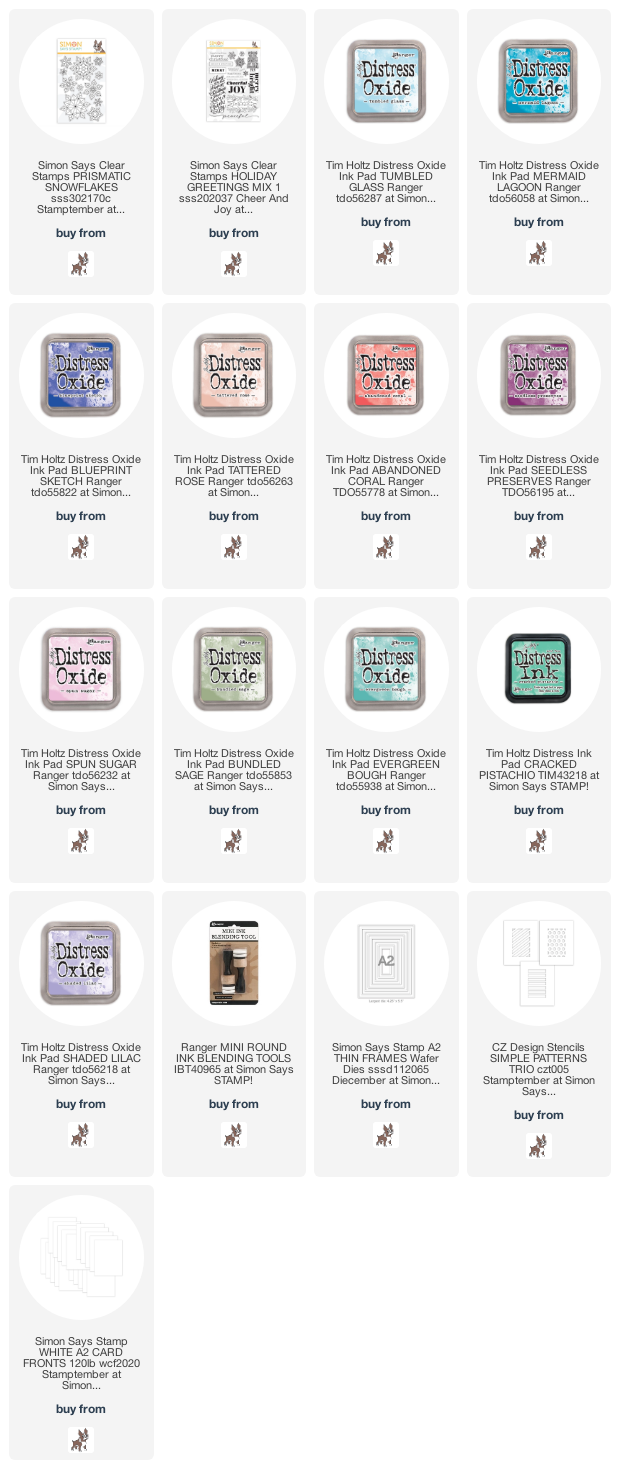
For the backgrounds I used four different blends of Distress Oxide Inks and the Simon Says Stamp Simple Patterns Trio Stencils.
These stencils line up with the outside edge of an A2 card so you can quickly add your ink blends and move on.
There are three designs in this set, and for the forth card (bottom right corner), I created my own.
I used a piece of Neenah Solar White 80# card and the Simon Says Stamp A2 Thin Frames to cut out the stencil. You could also use overhead projector plastic or plastic left over from packaging.
Once all the blending is done and the ink is dry, pop one of the cards into the bottom left corner of your Misti, secure with a few magnets and add the stamps.
These stamps are from the Simon Says Stamp Prismatic Snowflakes stamp set and the sentiment is from Simons Holiday Greetings Mix 1.
Once you have the stamps all lined up, use Simons Intense Black Ink to stamp them. Just remove the stamped card and pop another one in, ink up the stamps and in no time you have all four stamped.
These beautiful cards are easy to create, bright and cheery and flat, so no additional postage required.
Here are the Distress Oxide Ink Colors I used for the blends.
Card #1 (from the Top), Tattered Rose, Abandoned Coral and Seedless Preserves.
Card #2 - Tumbled Glass, Mermaid Lagoon and Blueprint Sketch.
Card #3 - Spun Sugar, Bundled Sage and Tumbled Glass
Card #4 - Shaded Lilac, Cracked Pistachio and Evergreen Bough.
That's it for me today, I hope you will give these cards a try and add to your Christmas Card Stash.
I've listed the supplies I used below. Affiliate Links are used which means I receive a small commission when your purchase through my links at no additional cost to you.
Welcome everyone! It's Mindy Eggen here with you today and I am featuring a project creating 4 Cards with 1 Stencil (plus a layout!)
VIDEO
I have a video that you can view down below or HERE on my Youtube channel. I'll be showing you how to create 4 cards with 1 stencil + a layout.
CARD DETAILS
Since this stencil is 9x12 all you need is one sheet of card stock. For my cards today, I'm using an 8 1/2" x 11" piece of Neenah Solar white 80lb card stock.
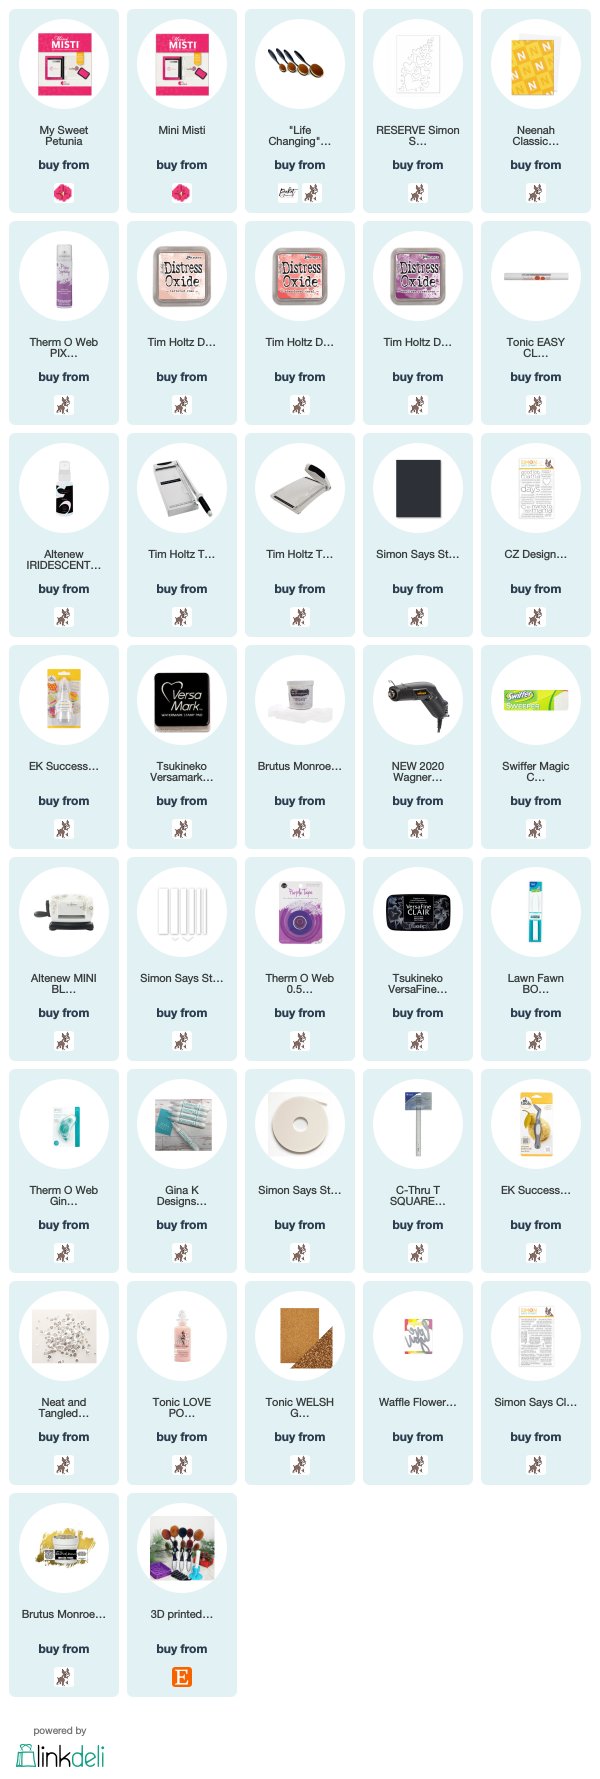
I'll spray my stencil with Pixie Spray, attach to my card stock and then ink blend Tattered Rose, Abandoned Coral and Seedless Preserve Distress Oxide inks using Life Changing Blender Brushes.
While the stencil is still in place, I'm going to spray Iridescent Shimmer Spray for a little sparkle. Then after carefully removing the stencil, I'm going to let this dry or you can heat with a Wagner Heat Tool.
After the card stock is dry, I'll trim my panel down first cutting at 5 1/2" and then 4 1/4" so that I end up with 4 card front panels. Four cards with one sheet of card stock and they all have a different design using the same stencil. Cool Right?!
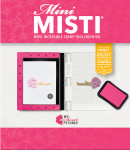
I'm going to use the Good Job Mama Stamp Set and the Mini Misti Tool to stamp sentiments onto my card fronts with Versafine Clair ink. This is a great ink for stamping onto of Distress Oxides.
I also heat embossed sentiments off of the Good Job Mama stamp set onto Black card stock with White Embossing Powder. I love how I can stamp all of my sentiments at once using the Misti Tool. Quick and easy!
I'll use the Mini Blossom Die Cut Machine from Altenew and the Sentiment Label Die to cut my sentiments down to thin strips. I'll then attach my sentiments to my card front using the Big Momma Foam Tape from Simon Says Stamp.
A last finishing touch to my cards is adding some Clear Sequins using Connect Glue and then topping them off with Love Potion Dream Drops.
Now this is a little different coming from me but honestly, it's the first thing I thought of when I saw this stencil. One of my scrapbooks is actually a 9x12 album. I stenciled the hearts using the same colors as my cards, onto white card stock.
I printed off a 5x7 picture of my daughter that I took of her in November and attached it to my card stock.
Using Black card stock and Tonic Gold Glitter card stock, I die cut the Over Sized Love You from Waffle Flower and layered together with Connect glue for a shadowed look.
I heat embossed in Gilded Embossing Powder some small sentiments from the Tiny Words Encouragement stamp set onto Black card stock. Again, the Misti Tool is a time savER being able to stamp all of those sentiments in one pass. Then using the Sentiment Labels I die to cut them out and add to my label with foam tape.
I absolutely adore this layout and the sentiments are so powerful. It'll be great when my daughter goes back to look at the album and sees these encouraging messages.
I hope you enjoyed today's inspiration! I have the full release and my supplies listed down below.
SUPPLIES USED IN VIDEO
Below you will find links to the products used. Click the icon to start shopping. Compensated Affiliate links are used at no additional cost to you. Your support helps me to keep bringing you new projects and videos. Thank you!
I really liked the Simon Says Stamp Plank Background stamp. I thought it would work well for those masculine cards that totally suck to make. You read that correctly. When I sit down to make a masculine card, my mind shuts down and I start to panic. The Concord & 9th Big Thanks Die made it easy this time. I was really looking to make more masculine birthday cards and the Thanks card was a happy addition to the design.
I looked through my dies to see what happy die I could find and came across the Concord & 9th Happy Frame Die set. Sadly, it has been retired from Concord & 9th's website, but I did find it for sale here and here. So if you want to make this card, order fast.
I do need to give credit to Kristina Werner for the color combination she posted here. One of the things I struggle most is thinking of original color combinations.
This was a super fast card to make and I hope you enjoy the video. Don't forget to hit the like and subscribe buttons.