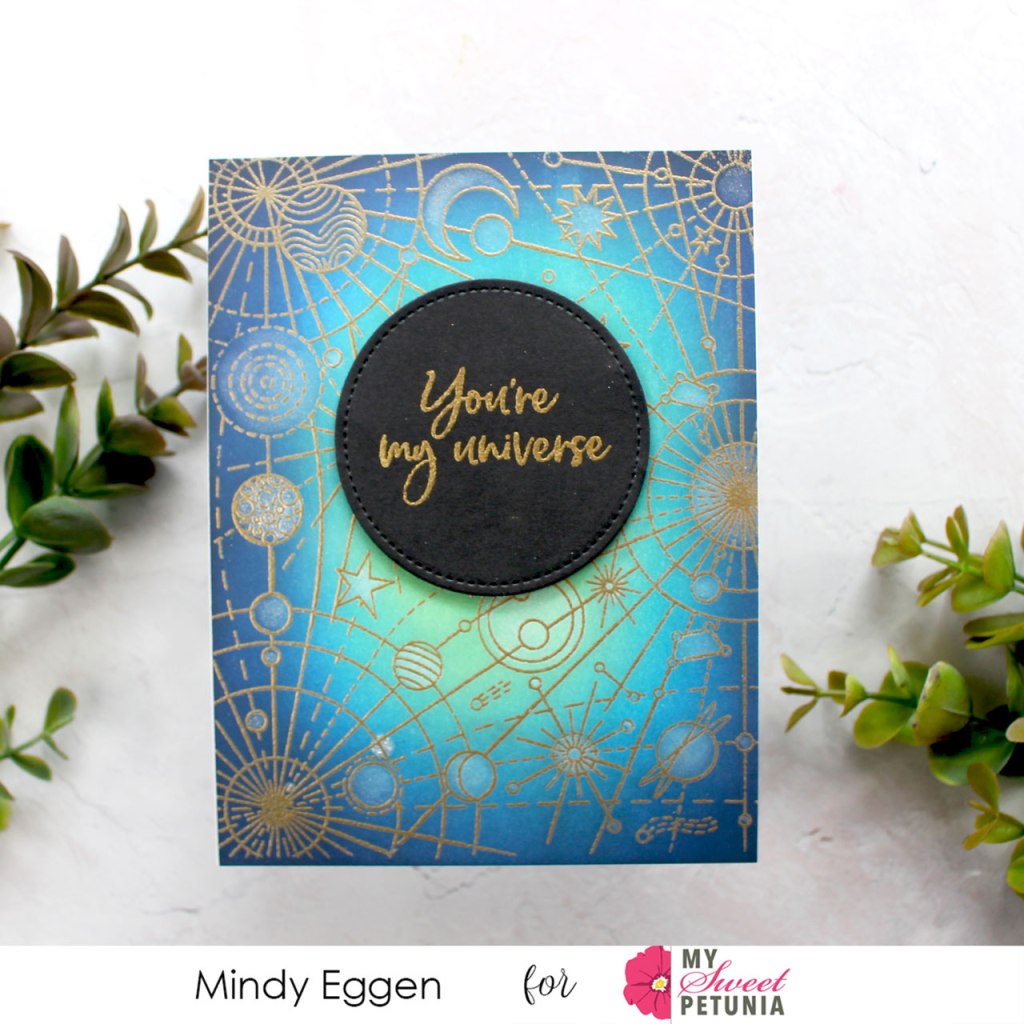
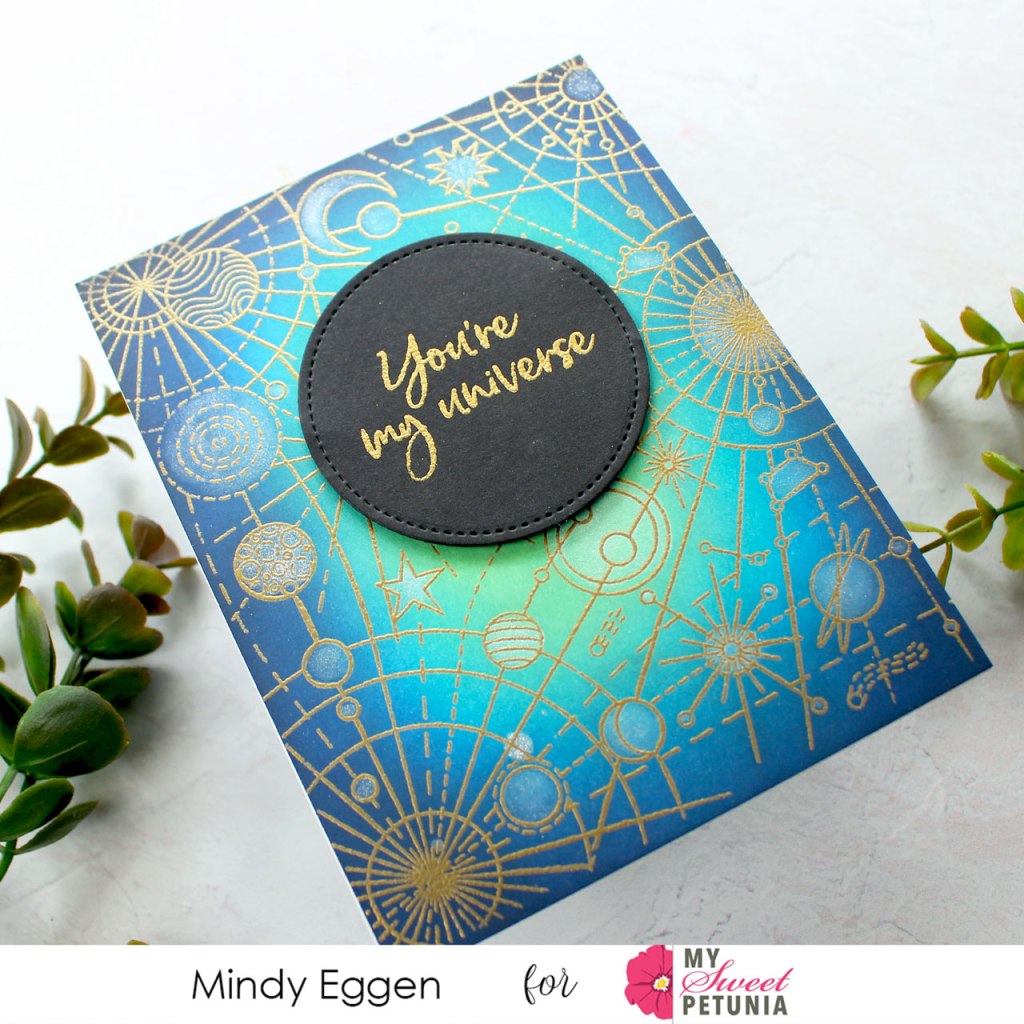
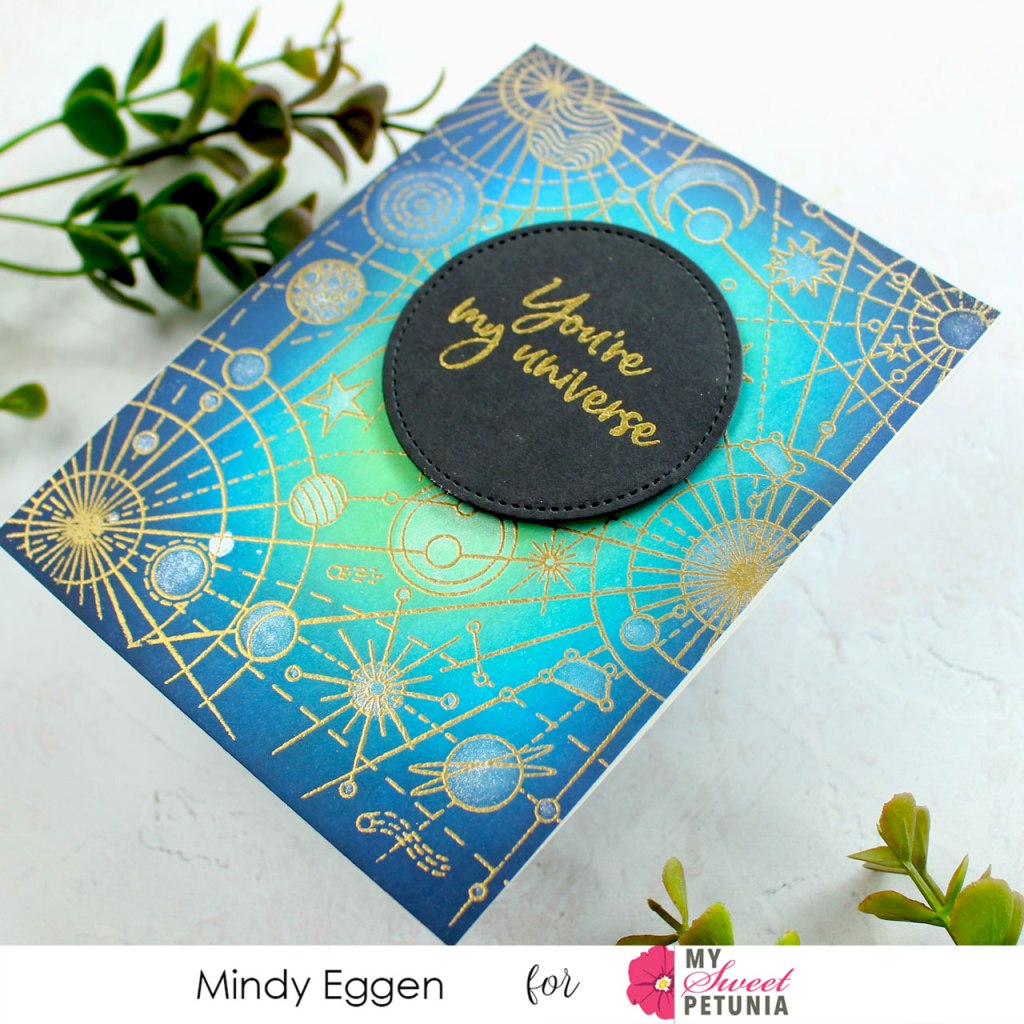
Welcome back everyone! It's Mindy here with you today! I love any chance I get to ink blend and couldn't wait to get some ink on this Galaxy stamp set from Hero Arts.
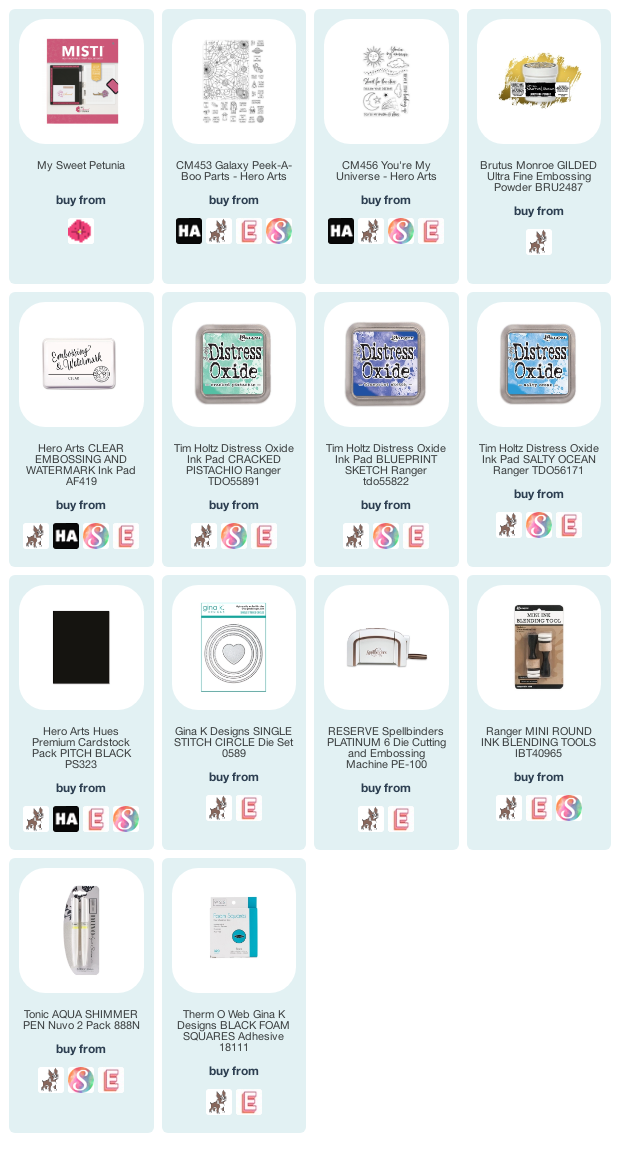
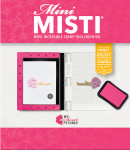
To create this card, I started by stamping the Galaxy stamp set using the NEW Misti 2.0. Did you pick one up yet? It's incredible! I love the smooth corners and the door is so much easier to open and close.
I stamped the image onto Neenah Solar White card stock with Embossing ink and sprinkled on gold embossing powder.
I then ink blended Cracked Pistachio, Salty Ocean, a dab of Blueprint Sketch and finished off with Chipped Sapphire Distress Oxide inks. Since the embossing powder resists inks, I wiped away the excess to reveal the shiny gold!
To add a bit of sparkle, I colored in some of the shapes of the design with an Aqua Shimmer Pen. To keep the focus on the background, I kept the sentiment simple. This sentiment comes from the You're My Universe stamp set in which I heat embossed in Gold onto black card stock. Then I trimmed the sentiment out with a stitched circle die and added to the front of the card with black foam squares.
Hope you enjoyed today's inspiration!
SUPPLIES
Below you will find links to the products used. Click the icon to start shopping. Compensated Affiliate links are used at no additional cost to you. Your support helps me to keep bringing you new projects and videos. Thank you!
Welcome everyone! It's Mindy Eggen here with you today and I am featuring a project creating 4 Cards with 1 Stencil (plus a layout!)
VIDEO
I have a video that you can view down below or HERE on my Youtube channel. I'll be showing you how to create 4 cards with 1 stencil + a layout.
CARD DETAILS
Since this stencil is 9x12 all you need is one sheet of card stock. For my cards today, I'm using an 8 1/2" x 11" piece of Neenah Solar white 80lb card stock.
I'll spray my stencil with Pixie Spray, attach to my card stock and then ink blend Tattered Rose, Abandoned Coral and Seedless Preserve Distress Oxide inks using Life Changing Blender Brushes.
While the stencil is still in place, I'm going to spray Iridescent Shimmer Spray for a little sparkle. Then after carefully removing the stencil, I'm going to let this dry or you can heat with a Wagner Heat Tool.
After the card stock is dry, I'll trim my panel down first cutting at 5 1/2" and then 4 1/4" so that I end up with 4 card front panels. Four cards with one sheet of card stock and they all have a different design using the same stencil. Cool Right?!
I'm going to use the Good Job Mama Stamp Set and the Mini Misti Tool to stamp sentiments onto my card fronts with Versafine Clair ink. This is a great ink for stamping onto of Distress Oxides.
I also heat embossed sentiments off of the Good Job Mama stamp set onto Black card stock with White Embossing Powder. I love how I can stamp all of my sentiments at once using the Misti Tool. Quick and easy!
I'll use the Mini Blossom Die Cut Machine from Altenew and the Sentiment Label Die to cut my sentiments down to thin strips. I'll then attach my sentiments to my card front using the Big Momma Foam Tape from Simon Says Stamp.
A last finishing touch to my cards is adding some Clear Sequins using Connect Glue and then topping them off with Love Potion Dream Drops.
Now this is a little different coming from me but honestly, it's the first thing I thought of when I saw this stencil. One of my scrapbooks is actually a 9x12 album. I stenciled the hearts using the same colors as my cards, onto white card stock.
I printed off a 5x7 picture of my daughter that I took of her in November and attached it to my card stock.
Using Black card stock and Tonic Gold Glitter card stock, I die cut the Over Sized Love You from Waffle Flower and layered together with Connect glue for a shadowed look.
I heat embossed in Gilded Embossing Powder some small sentiments from the Tiny Words Encouragement stamp set onto Black card stock. Again, the Misti Tool is a time savER being able to stamp all of those sentiments in one pass. Then using the Sentiment Labels I die to cut them out and add to my label with foam tape.
I absolutely adore this layout and the sentiments are so powerful. It'll be great when my daughter goes back to look at the album and sees these encouraging messages.
I hope you enjoyed today's inspiration! I have the full release and my supplies listed down below.
SUPPLIES USED IN VIDEO
Below you will find links to the products used. Click the icon to start shopping. Compensated Affiliate links are used at no additional cost to you. Your support helps me to keep bringing you new projects and videos. Thank you!
When I was thinking about a card to do for today's post I knew I wanted to use Black Soot Distress Ink. When picking a stamp to use I thought this Berry Bramble from Penny Black would be perfect.
This is a longer post than normal as I have included a picture tutorial explaining the card process I did.
Using Arches cold press watercolour paper I first blended on the Distress Inks using Iced Spruce, then added in the Black Soot. To brighten up the middle I painted in some Dr. P. Martins Bleed Proof ink and with my paint brush blended it out toward the edges, then splattered with water.
In my Misti (original) using Ink on 3 Fade Out ink I stamped the image a couple of times. With my aqua brush and bleach I then coloured the berries with the bleach and went over them with clear water.
Once dry I added my colour by colouring the stamp and transferring the colour with the door. I am using Nuvo Aqua Flow Pens in seasonal colours to do this, and
adding darker colours for blending.
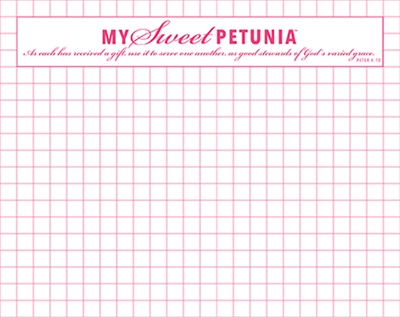
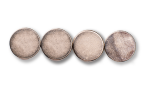
As I am doing a 3.5 x 8.5 card I need to rig something up to add to the bottom of my card. I got out my Stay-tion and using the grid lines and magnets set up my mini Misti and used the top of the door for my stamp. I just need to ensure I held the Misti in place, using the grid lines as I stamped. It worked perfectly for me.
Once finished with the colouring I stamped the sentiment using VersaFine Clair ink in Nocturne and heat embossed with clear embossing powder.
Using my fan brush I added splatters of white acrylic paint and waited for the paint to dry before moving on to adding Distress Micro Glaze to the card and buffing with a clean cloth.
I find this enhances the colour nicely. I then attached the panel to a black card base and added Nuvo Glitter Drops in Silver Glitter to finish.
Thank you for joining me today.
Following are Affiliate links to the products I used for this card, at no cost to you.
I look forward to the Concord & 9th release on the 9th of each month. They are my style of stamp company. February's release had a different product, Tintables. Tintables have an embossed area that resists watercolor or inks. You get four of each design.
The first card I made was ink blending Distress Oxides. I used Peacock Feathers and Twisted Citron. I was careful not to blend the center so that I wouldn't get green.
I did the same thing for my next card but used Picked Raspberry instead. Once again, I was careful not to create orange. The inks went on very smooth. The Tintables are made of watercolor paper.
My third card uses Seedless Preserves. I was rather nervous on getting too close in the middle. The yellow green and purple would have made brown. This time I went outside my comfort zone and splashed some water on it. I also sprayed it with Sheer Shimmer Sparkle Spritz.
By the time I got to the fourth, I was tired of blending. I pulled out my Heidi Swapp Color Shine. I used the Rose and Teal. Instead of spraying, I used a watercolor brush to spread the color.
This next card is a little complicated to explain on how I did it. I was creative with masking with old washi tape. Luckily, I have a video showing how to do this. It was worth the time and washi to create it.
I used the Hooray die that is a free gift with a qualifying purchase. The rest of the sentiment comes from Concord & 9th Happy Day stamp set.
This last card I used the new Hero Arts Liquid Watercolors. I mixed a few drops of different colors to try and create my custom colors. Finally, I used Little Things from Lucy's Cards Jewels to embellish the cards as a final touch.
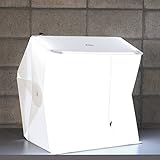
I have been trying to do a better job at taking pictures. So last week I ordered the new Foldio 3. It is larger than the Foldio 2. But it allows me to use my back drops from The Ton. I just plan to leave it set up on this school desk in the corner. However, in taking my pictures I learned that I need a better lens to blur out the background. Hopefully, I can Debby Hughes my pictures soon. In the mean time, I will have to just practice.