Showing posts with label #christmascard. Show all posts

Tuesday, October 24, 2023

Are Clear Blocks Even Needed Anymore?

Hello Friends,

It's Wendy. While I am sure there are good uses for clear blocks, I have a hard time using them since getting a MISTI. The Mini MISTI is my go to for quick and easy stamping. 

This cute stamp set from Altenew is a layering stamp set and using the MISTI for stamping all the bits and pieces is perfect. 


I really am starting to question if I ever even need to use clear blocks again. What do you think? Do you have a MISTI and if you do how often do you even need a clear block?


I do have a video to share for this cute card, however my computer took a dirt nap and I'm waiting on things to fix it so I can edit and upload my video. Wish me luck!

Thanks for stopping by.
Wendy

Thursday, August 4, 2022

A Busy MISTI!

My MISTI & accessories have been getting a workout lately! I am getting a head start on the holiday rush, let me share what I have been up to!  

First, I love using the MISTI to watercolor stamped images.  For me, it's the only way to watercolor a stamp; the textured paper requires multiple stampings in order to get a full impression.  I always keep the image stamp in an Original MISTI until the project is completed.  After all the layers are glued to the card base I place the card in my MINI MISTI to stamp the sentiment.  Have you ever stamped your sentiment and then glued your layers onto the card base, only to realize that you glued your layer on a bit crooked?  Me too!  Stamping the sentiment AFTER the layers are all in place helps ensure the sentiment is on straight.  


For my next card, I created my own designer paper by stamping images randomly on a piece of cardstock.  I placed the cardstock on a Sticky Mat in the middle of the MISTI.  The Sticky Mat held the layer fast so that I could stamp all over and past the edges of the cardstock with perfect alignment.   


Lastly, and maybe my favorite card is this one!  I placed the adorable kitty image in the middle of the MISTI lid and stamped it.  Then I moved the paper until the wall lines on the image met.  I had a smile on my face the entire time, it was such a hoot to create!  My own two cats inspired the design.  Rocket (Rocky) definitely regrets nothing as he leads his quiet brother into mischief!


Thanks so much for taking a look at the amazing way the MISTI & tools make creating a breeze!  

**Affiliate links used when possible at no charge to you!  Thanks for supporting my small creative business**

Today's Featured Items:

My Sweet Petunia Shop


Misc Stamps & Dies


Wednesday, December 29, 2021

Christmas Greeting with Karen ReƔtegui


Hello friends! Today I'm sharing this set of Christmas Cards that you can easily mass produce. The products I used are the following: Joyeux Noel Stamp and Dies, Lots of Blossoms Stencil, Life Changing Blender Brushes, SSS Blush Positively Saturated Ink, Altenew Forest Glades, Gold WOW! Embossing Powder and my Mini MISTI.


Let's begin! I started by placing the Lots of Blossoms Stencil on top of an A2 panel and I applied the SSS Blush Positively Saturated Ink and Altenew Forest Glades using the Life Changing Blender Brushes.


Then, I trimmed down this panel a little bit and adhered it to a card base using glue. I changed a bit the position of each background to make each card slightly different.


Next, I placed a piece of white cardstock inside my Mini MISTI and I stamped the sentiment from Joyeux Noel Stamp using Versamark Emboss Ink, then I added Gold WOW! Embossing Powder and heat embossed it. Finally, I die cut the sentiment using the coordinating die and I placed it on top of my background. I placed the sentiment on each card as a final touch making this a very simple card design.

I hope you like this set of cards and thank you so much for stopping by. Below you will find all supplies used on these cards.


Have a wonderful day.
Your friend, Karen


Wednesday, December 22, 2021

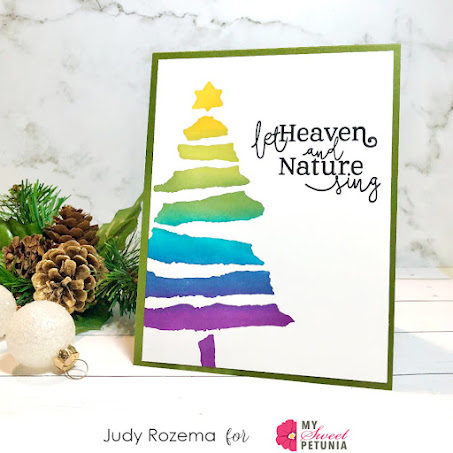
Let Heaven and Nature Sing

It's down to the wire for mailing cards for me! I don't mind them arriving late, as long as I mail them before December 25! Today I have a fast and easy card that I love -- I am not one for making multiples, but this one I could get into mass producing.

Since it's almost Christmas, I am making this a fast and easy post for my fast and easy card! First of all, get out your MISTI! It helps not only with the stenciling (I put this in the top right corner flush with the cardstock and stencil edge), but of course, making your sentiments look sharp and crisp (VersaFine Clair Nocturne). 


Loving these elements together:
•card cased @amybeth928

Have a wonderful Christmas!
You can find more of my projects HERE.

Thursday, October 14, 2021

Slim Scenes and the MISTI

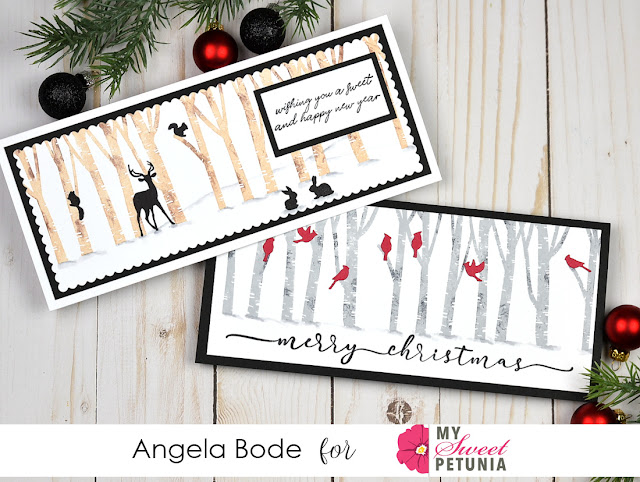
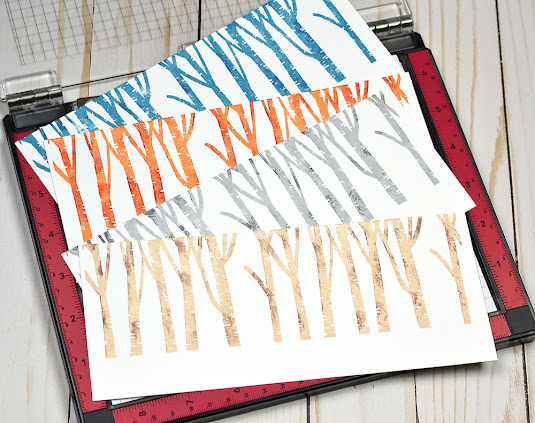
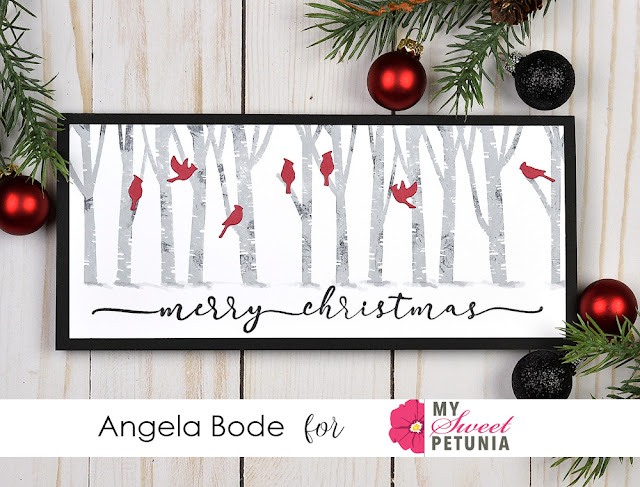
Hello! Angie here! For today's project, I pulled out a stamp that had not seen ink yet.  I really like my NEW Original MISTI when stamping a Slim Scene.  If the ink coverage isn't absolutely perfect the first time it's easy to add another layer when utilizing the MISTI.  A fun technique I like to use with the MISTI and a Silhouette stamp is to stamp in a light ink tone and add highlights with a dark ink tone.  To add the dark highlights simply grab a piece of cling wrap and place it around a finger.  Next, tap your finger in the dark ink and randomly add color to the silhouette stamp.  Lastly, close the MISTI lid to stamp over the lighter image.  The technique adds interest and texture! 


The MISTI is magic when it comes to stamping multiples! Once the stamp is in the MISTI it's a breeze to create more than one background!  


I love how the gray and black trees turned out! For a pop of color, I die-cut some cardinals and placed them in the trees.  Lastly, I added a Slim Sentiment.


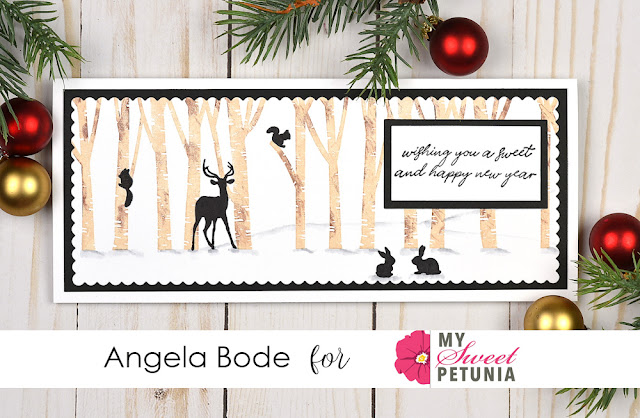
Next, I used a light tone of brown on the trees then added a darker brown using the technique mentioned above.  I created a scene by scattering woodland animals among the trees. So cute!  I die cut the layer with the small scallop die, and lastly, I used the Mini MISTI to stamp the sentiment.


Thanks so much for stopping by!  

** Affiliate links used when possible at no charge to you!**


Thursday, December 10, 2020

Ho Ho Ho Christmas card using the new Mini Misti

Hello friends! Today I'm sharing this Christmas card featuring the new Mini Misti that has been recently released. I love the size of this Mini Misti and I used it a lot! The two background stamps that I used on this card fit perfectly inside this Mini Misti which for me was a plus! The stamps and dies for today's card are from Pinkfresh Studios and Taylored Expressions. 


Let's begin! I started by placing the Pinkfresh Studio Winterberry Background Cling Stamp inside the Mini Misti and stamped onto a kind of mustard color of cardstock with WOW! Embossing Pad and then heat embossed this panel using WOW! Opaque Bright White embossing powder. In the picture below you can see how the cling stamp fits inside the Mini Misti. 


Then, I stamped the Christmas Simple Strips Stamp by Taylored Expressions using Catherine Pooler Uniper Mist and I die cut the sentiments with the Taylored Expressions Simple Strips Dies. These sentiments are my favorites for being so easy to make a bunch in a wink. and Again, as you can see in the picture below the Christmas Simple Strips Stamp fits perfectly inside de Mini Misti.


Now, I will add color to those leaves and berries in the background using R14 Copic marker and the blue shade from the Kuretake Gansai Tambi Gem Colors. Additionally, I adhered a white folded notecard at the back of this panel using glue.


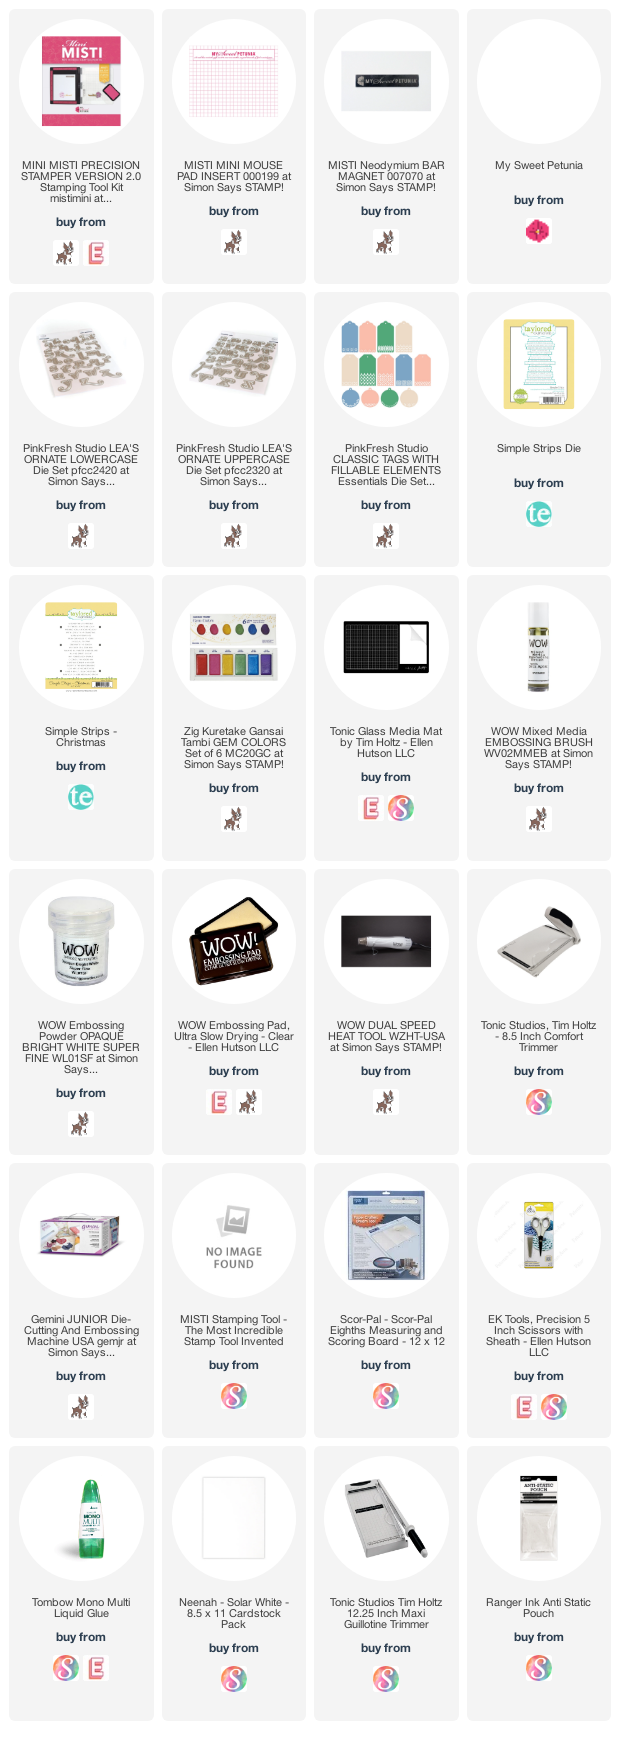
To create the HO HO HO words I die cut the Pinkfresh Studio Lea's Ornate Lowercase and Uppercase Dies out of two shades of pinks, one lighter and one darker. I Die cut three times each letter and then glued them together for more dimension. 


I also Die cut a tag out of vellum using the Pinkfresh Studio Essentials Classic Tags and added it to the center of my background. I placed the HO HO HO words on top of this velum tag using glue.


Finally, I added a piece of blue-white twine to the tag and placed a strip sentiment on top using glue and this card was finished. I love the look of this non-traditional Christmas card, hope you like it too. I wish you a wonderful day and see you next time!

Your Friend,

Karen


Tuesday, December 8, 2020

Winterberry Joy Card with Channin

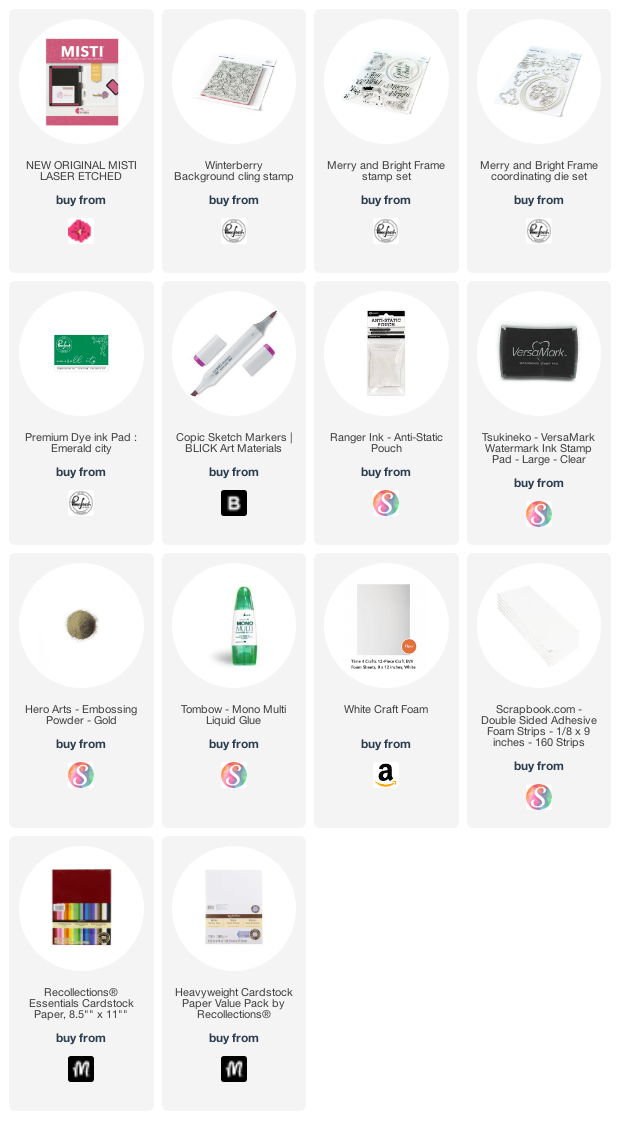
Hello friends! It's Channin here and today I have a festive holiday card to share! Today’s card features the beautiful Winterberry Background Cling Stamp and the Merry and Bright Frame Stamp and die set from Pinkfresh Studios!


To create this card I first stamped the Winterberry Background over a 4 1/8” x 5 3/8” panel of light green cardstock in Emerald City ink. I then copic colored the leaves, the berries, and even added a shadow. 

Leaves: YG06, G14, G07

Berries: R35, R37, R59

Shadow: W-3, W-5


After I finished coloring in the background I then adhered the panel onto the front of an A2 top-folding card base. Next, I stamped some smaller berries from the Merry and Bright Frame Stamp Set also in Emerald City onto a scrap of light green cardstock. I then copic colored the images in and then fussy cut them out. 


Next, I stamped and gold heat embossed my sentiment. I then die cut it and some white craft foam with the matching die and adhered the two together. I then finished the card by adhering the sentiment and smaller berries to the card front with foam adhesive. 


I hope you enjoyed my card! Thank you so much for stopping by!


~Channin


Supplies: