Showing posts with label #distressoxideink. Show all posts

Wednesday, November 2, 2022

Winter Scene With Ceal Pritchett


Hello Everyone!
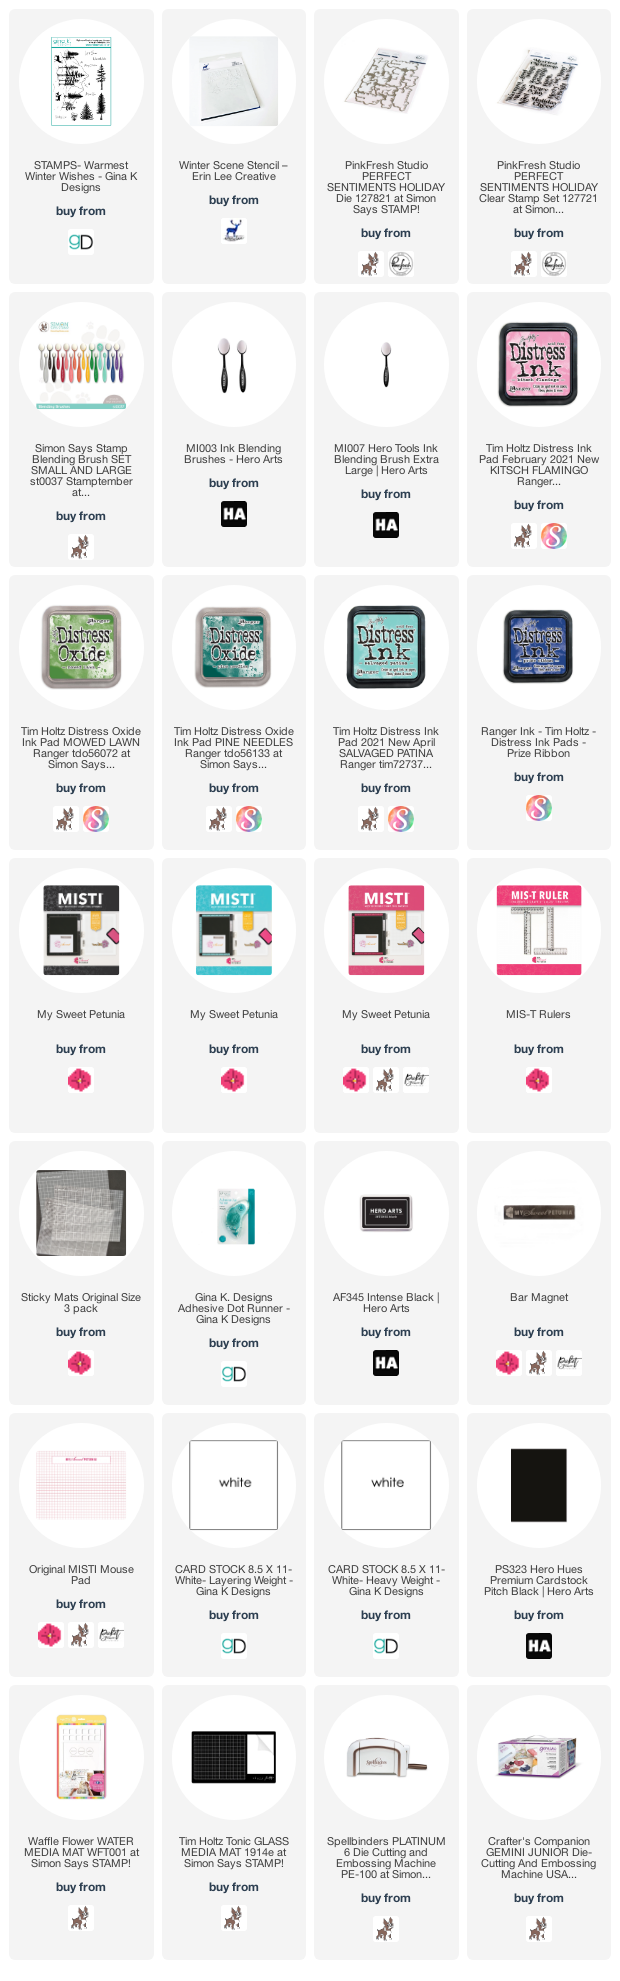
It's Ceal, here on a wednesday for Team Tuesday. Today I am sharing this card made using my new Teal and Black Mistis, Sticky Mats and products from three different companies and all will be linked below as our team uses affiliate links at no extra cost to you but when used they help create a little revenue for us.

For the details of my card I started with a white top folding card base and a white panel. I placed the panel down on a sticky mat and then added ink, The sticky mat holds the panel in place while you blend. I did this for all six stencils. 
After I got it all blended I used a stamp set by Pinkfresh Studio set for the greeting that I received in a retreat I participated in so it may not be available to the public yet but I linked another that is close it. I embossed the greeting in silver powder and then cut it out with the coordinating die. 
The deer is from a Gina K Designs set and was stamped multiple times using the Misti to get good coverage since I had ink blended the tree first. Seems like the set I used with the deer has been discontinued  but I linked another that was close to it. 


Thursday, June 4, 2020

Ink Smooshing with the MISTI door


Hello friends! Today I’m up at MISTI blog sharing my first post with this fun and easy card using the ink smooshing technique but instead of using an acrylic block I will use the MISTI door to apply the Distress Oxide inks.


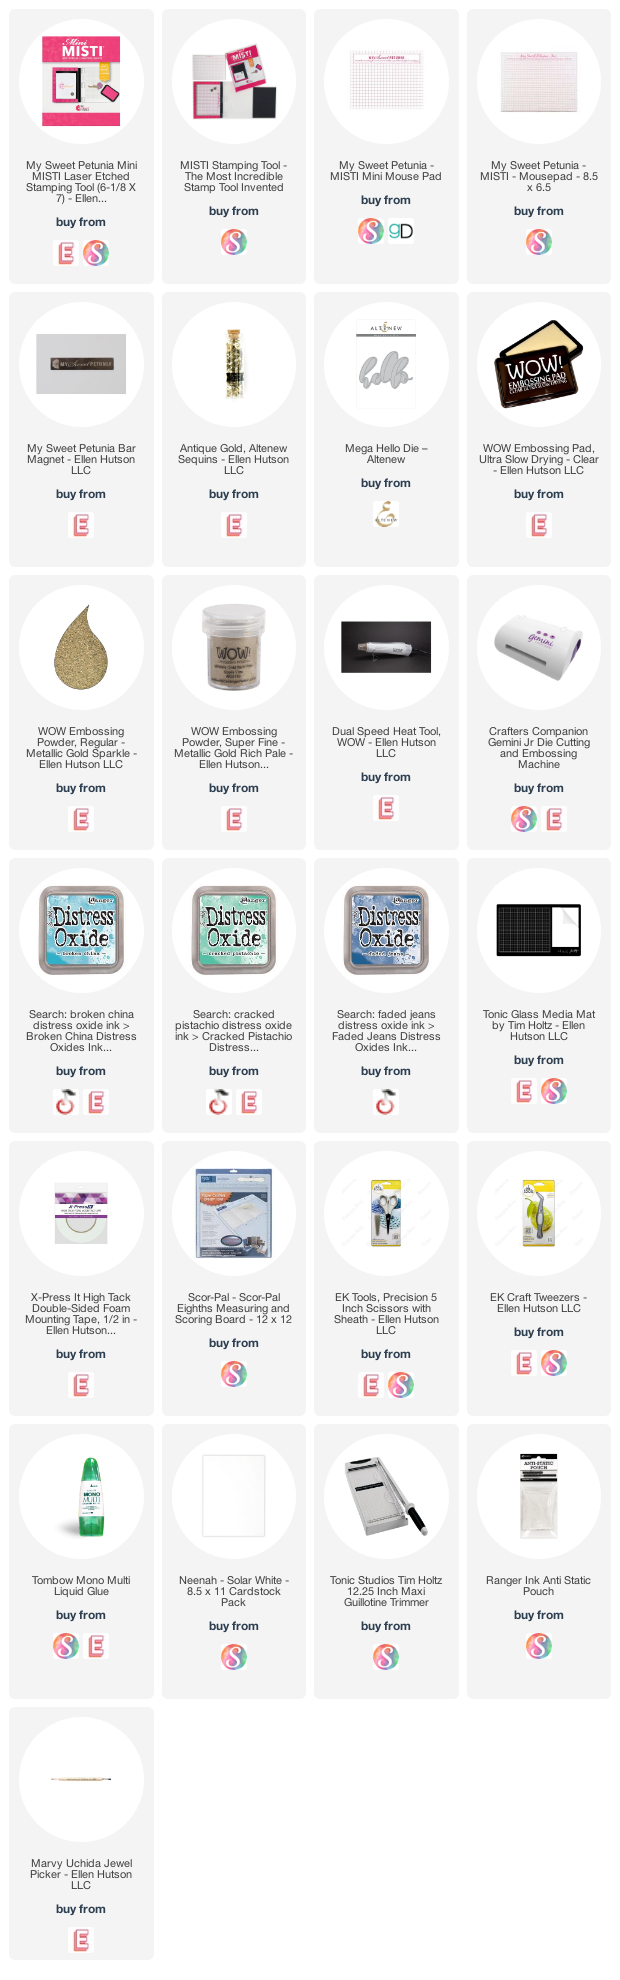
Let’s begin! I placed a watercolor panel inside the MISTI and I smooshed Cracked Pistachio Distress Oxide ink onto the MISTI door, sprayed water and then I closed the door to apply the color. I repeated these steps using Broken China and Faded Jeans Distress Oxide inks and let my panel dry. For a final touch I added splashes of gold metallic ink from Hero Arts.


Once the panel was dry I placed on top the Mega Hello Die from Altenew and run it through my die cutting machine. I saved the Hello die cut for another project and I adhered a white card base at the back of my negative panel. Additionally, I die cut one more Hello die cut out of white cardstock and heat embossed it with WOW! Metallic Gold Sparkle Embossing Glitter.


I glued the heat embossed Hello to the background and also stamped and heat embossed the sentiment onto white cardstock using WOW! Metallic Gold Embossing Powder. I added my sentiment on top of the card, a few gold sequins and my card was finished. I really hope you like this card and try this technique using your MISTI. Have an amazing day!

Karen