Showing posts with label #_littleblessings_. Show all posts

Thursday, April 28, 2022

Celebration Card and Winner Announcement


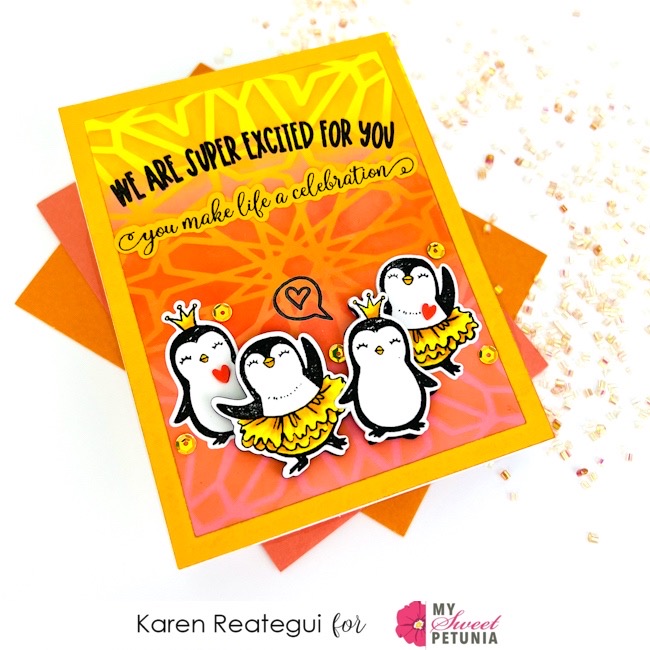
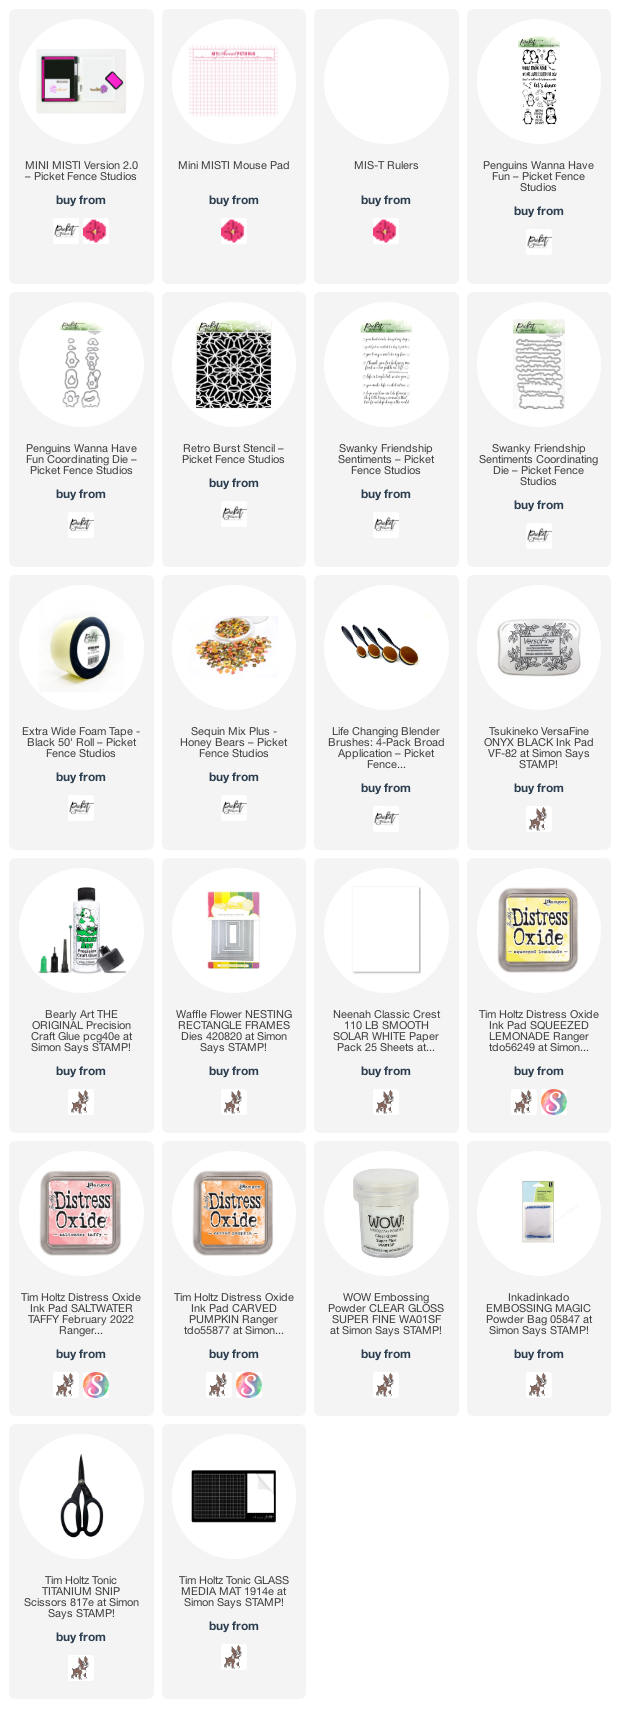
Hello crafty friends! I'm so glad to be here and sharing this very cute card where I did some, ink blending, stenciling, stamping and coloring. For this card, I am featuring stamps, dies and a stencil from Picket Fence Studios. The inks are the Oxide Inks from Ranger and  have also used the Mini MISTI and the Mis-T Rulers. 

Before I begin, I would like to announce My Sweet Petunia winner for the Altenew Hop. Congratulations to Jeanne Ragan, please email to hello@mysweetpetunia.com to claim your prize and thank you so much for hoping with us. 


Let's start! Using the Life Changing Blender Brushes I applied Distress Oxide inks to an A2 panel and the colors were Squeezed Lemonade, Carved Pumpkin and Saltwater Taffy. Once I finished ink blending, I placed the Retro Burst Stencil by PFS on top of my panel and applied the same colors of ink through the stencil. Then, I put my panel inside the Mini MISTI and and stamped a sentiment from Penguins Wanna Have Fun Stamp Set and then I heat embossed it. I also adhered this panel to a folded card base using glue.


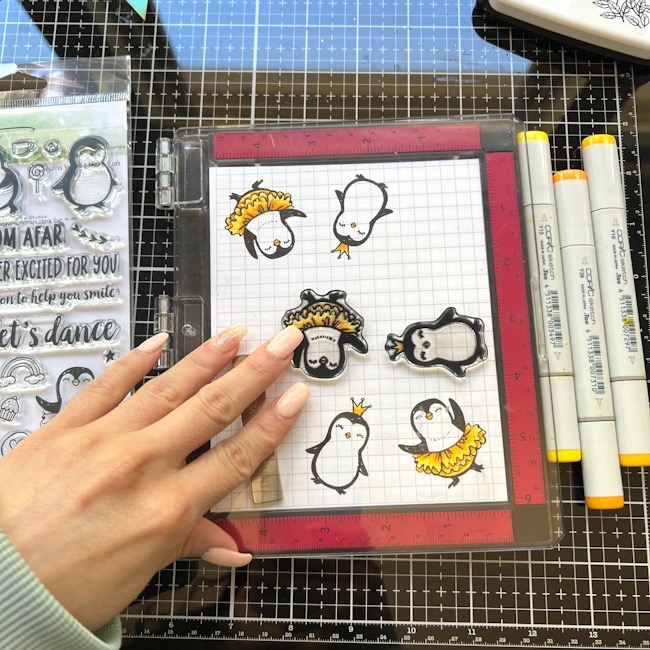
I placed another piece of cardstock inside the Mini MISTI and stamped some penguins from Penguins Wanna Have Fun Stamp Set and colored them with Copic Markers. Next, using the coordinating dies from the same stamp set I die cut all penguins and glued two of them directly to my background panel and the other two were adhered using black foam to give them more dimension.


A rectangle frame was also added to the background of this card and I used the Waffle Flower Nesting Rectangle Frames Die. I stamped a bubble with a heart next to one of the penguins too and a second sentiment was stamped and die cut too using the same color of cardstock from the rectangle frame. This sentiment was from Swanky Friendship Sentiments Stamps from PFS.


Finally, as the final touch I added some hearts and sequins from Honey Bears Sequin Mix Plus and this card was done. 

Thank you so much for stopping by and I hope you have a fantastic day. All supply links, part of my affiliate links, are listed below at no cost to you.

Your friend, 
Karen
 

Wednesday, December 29, 2021

Christmas Greeting with Karen ReƔtegui


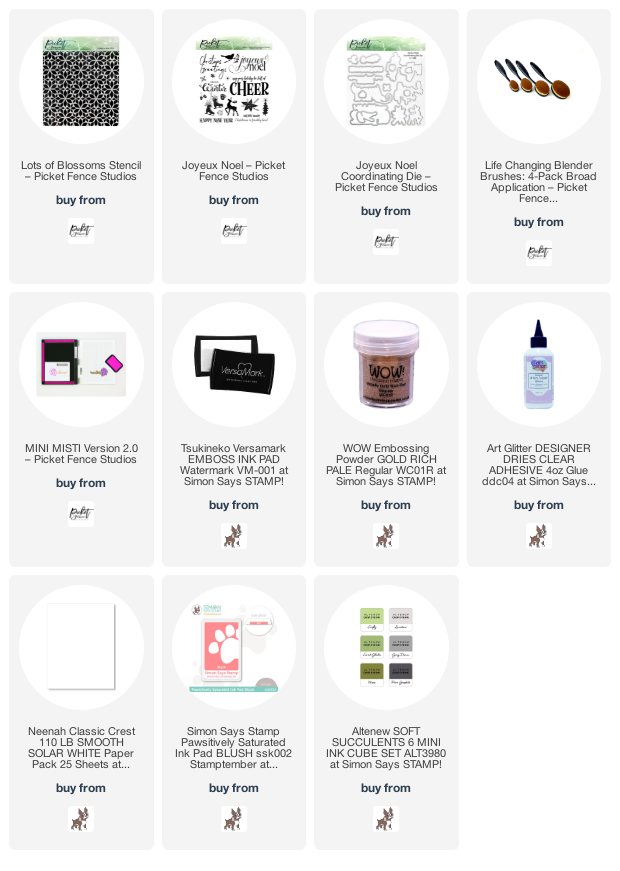
Hello friends! Today I'm sharing this set of Christmas Cards that you can easily mass produce. The products I used are the following: Joyeux Noel Stamp and Dies, Lots of Blossoms Stencil, Life Changing Blender Brushes, SSS Blush Positively Saturated Ink, Altenew Forest Glades, Gold WOW! Embossing Powder and my Mini MISTI.


Let's begin! I started by placing the Lots of Blossoms Stencil on top of an A2 panel and I applied the SSS Blush Positively Saturated Ink and Altenew Forest Glades using the Life Changing Blender Brushes.


Then, I trimmed down this panel a little bit and adhered it to a card base using glue. I changed a bit the position of each background to make each card slightly different.


Next, I placed a piece of white cardstock inside my Mini MISTI and I stamped the sentiment from Joyeux Noel Stamp using Versamark Emboss Ink, then I added Gold WOW! Embossing Powder and heat embossed it. Finally, I die cut the sentiment using the coordinating die and I placed it on top of my background. I placed the sentiment on each card as a final touch making this a very simple card design.

I hope you like this set of cards and thank you so much for stopping by. Below you will find all supplies used on these cards.


Have a wonderful day.
Your friend, Karen


Thursday, October 21, 2021

Watercolor Roses with Karen Reategui


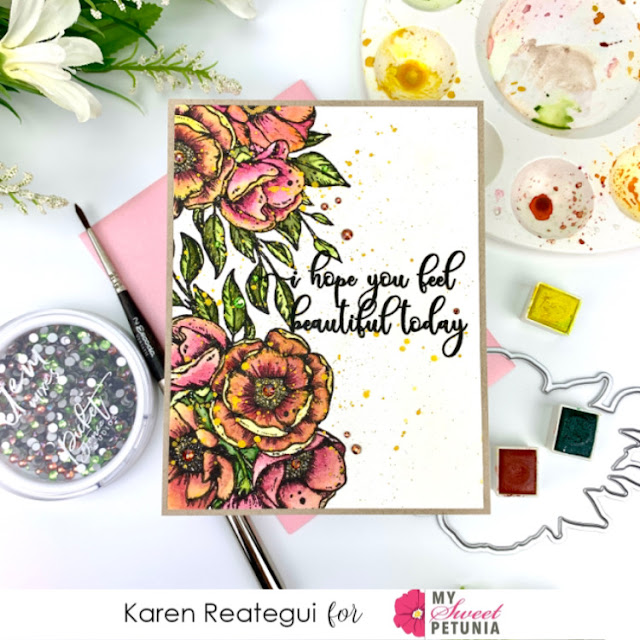
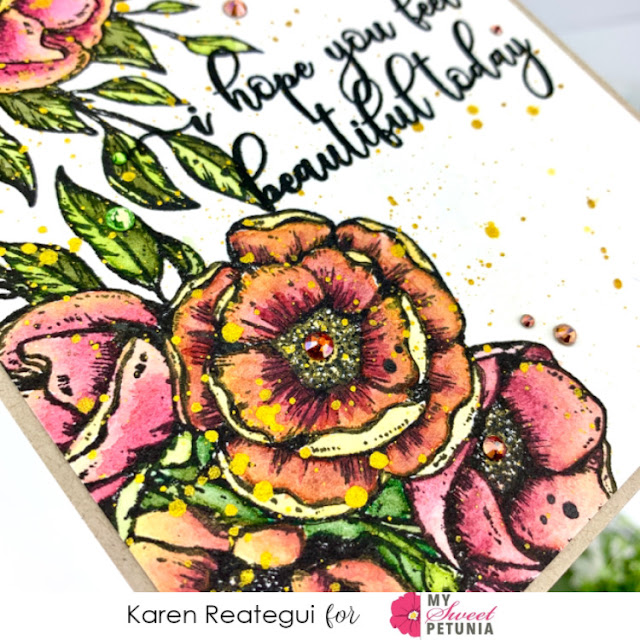
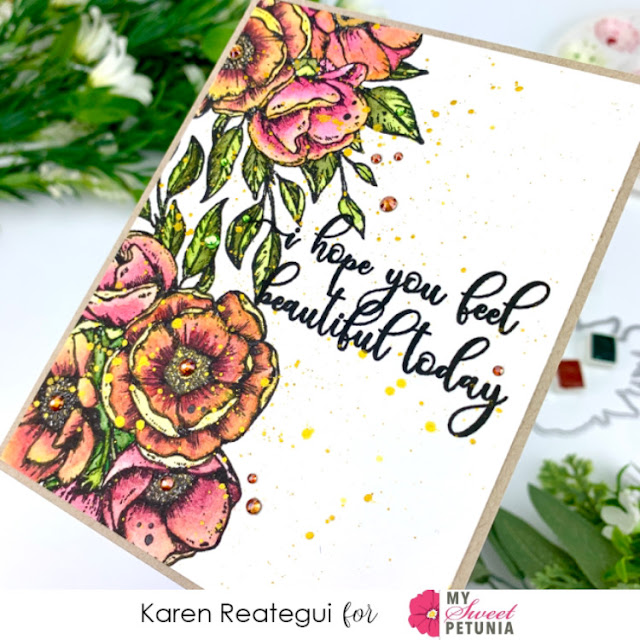
Hello friends, I'm so happy to be here today sharing this watercolor card that I made using products from Picket Fence Studios and my original MISTI.


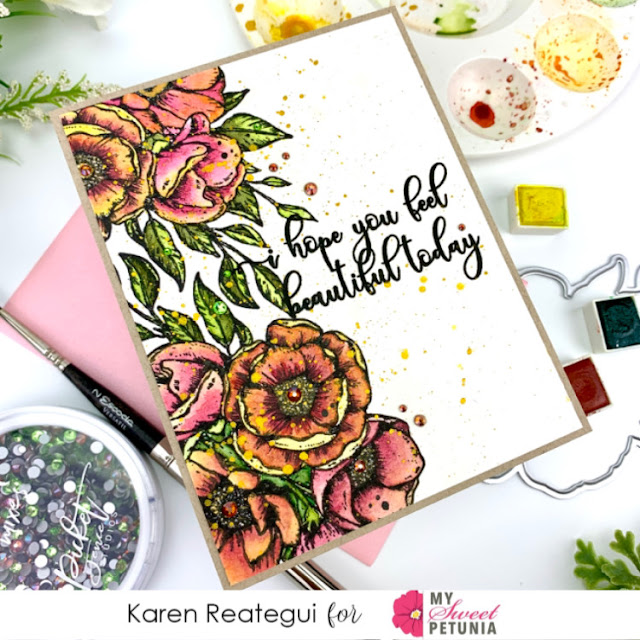
Let's start! With the help of my original MISTI I stamped the Watercolor Roses stamp using Black Hybrid ink onto an A2 watercolor panel.  


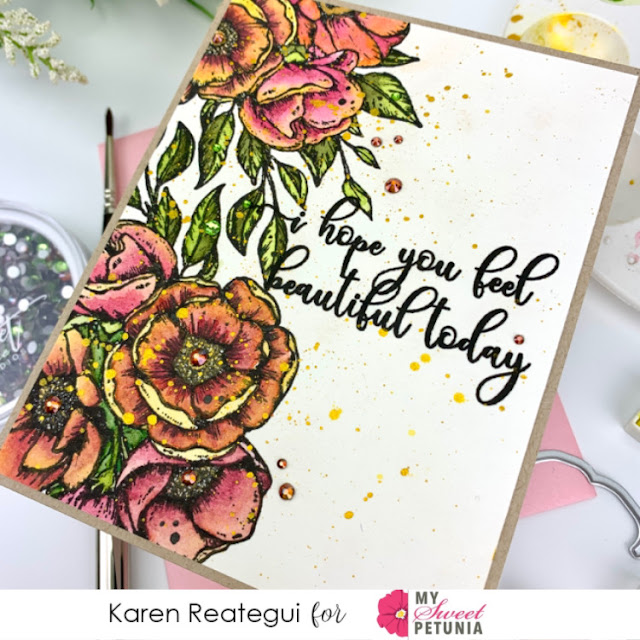
Then, using a watercolor brush I applied Jane Davenport Watercolors. Also, I added some splatters of metallic gold ink from Hero Arts around the panel using a fan brush.


Once my panel was dry, I stamped my sentiment from the same Watercolor Roses Stamp using my MISTI and the Black Hybrid ink from Picket Fence Studios.


I trimmed down my panel a little bit and I adhered a panel of Neenah Desert Storm plus a white card base at the back. As a final touch I added some Autumn Leaves Gem Mixes from Picket Fence Studios and this card was done.


I hope you like this card and give this a try. 
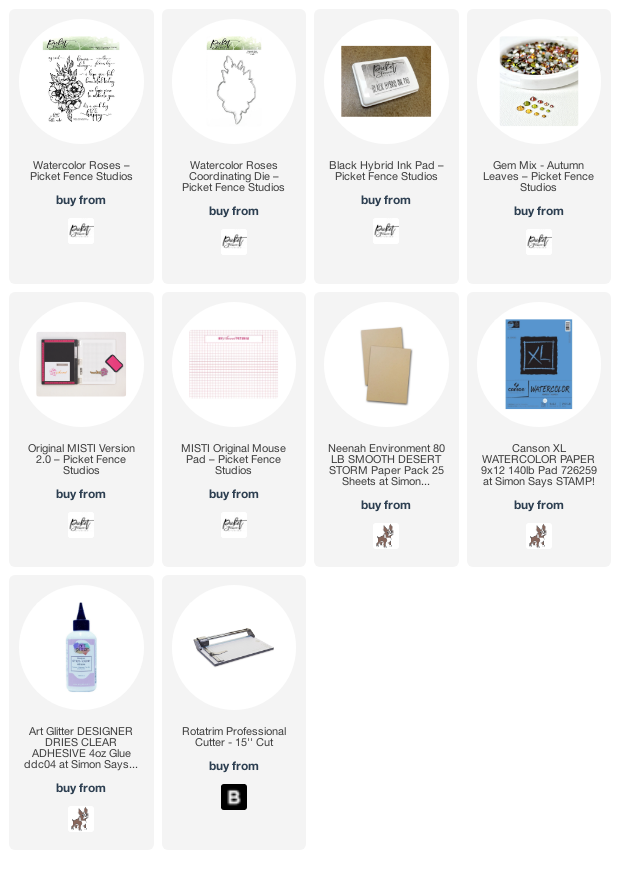
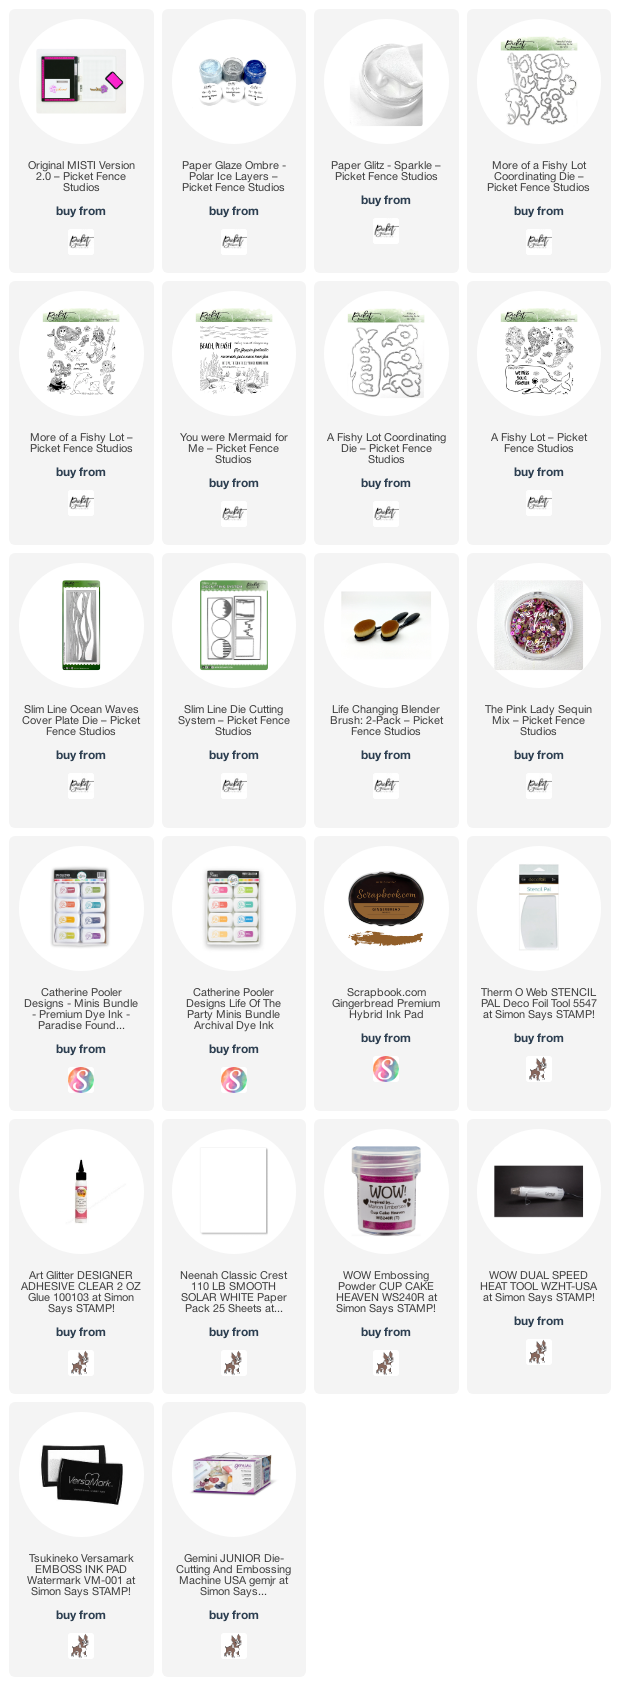
Thank you so much for stopping by, please have a wonderful day and you will find the list of supplies below.

Your friend, Karen


Thursday, July 29, 2021

Ocean Waves with Karen Reategui

 Hello friends! Today I'm sharing this ocean themed slimline card where I am featuring products from Picket Fence Studios: Slim Line Ocean Waves Cover Plate Die, A Fishy Lot Stamp Set, You Were Mermaid for Me Stamp Set and a combination of Paper Glaze Ombre Polar Ice Layers and Paper Glitz. 

Let's begin! I started by applying a mix of Paper Glitz and Paper Glaze Ombre Polar Ice Layers to a piece of white cardstock using a stencil pad from Thermo Web. I let the Paper Glaze dry for about 20 minutes and once it was dry I placed the Slim Line Ocean Waves Cover Plate Die on top and run this through my die cutting machine.    


Additionally, I die cut a slimline base out of white cardstock using the Slim Line Die Cutting System and applied Catherine Pooler inks: Aquatine, Something Borrowed and Juniper Mist. I applied these inks using the Life Changing Blender Brushes from Picket Fence Studios. 


I glued the Ocean Waves die cut on top of the ink blended background and then I adhered a white slimline folded note card using more glue.


On the picture above you can have a closer look of the sparkle from the mix of Paper Glitz and Paper Glaze. 


Also, I stamped a mermaid and some sea creatures from A Fishy Lot Stamp Set. Then, I colored the images with Copic markers and die cut them using the coordinating dies.


Finally, I stamped and heat embossed the sentiment onto velum using WOW! Embossing Glitter Cupcake Heaven and placed all die cuts on top of my background along with some sequins.

I hope you like this slimline card and have a wonderful day. Your friend,

Karen

Thursday, March 4, 2021

Many Blessings with Karen Reategui


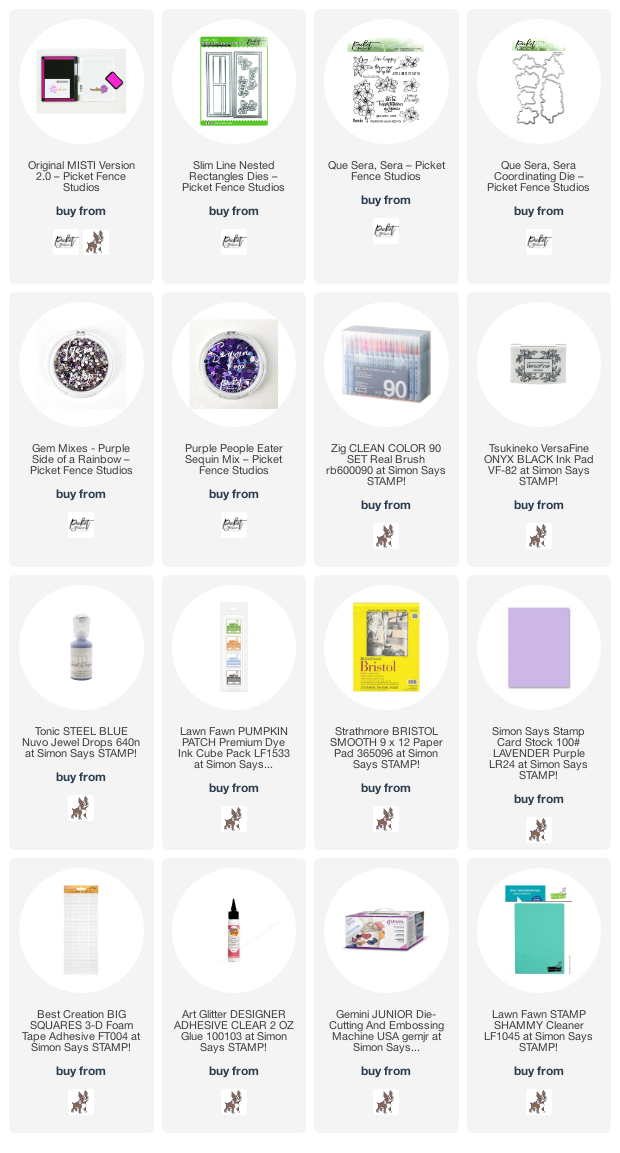
Hello friends! Today I have this floral slimline card featuring Que Sera, Sera Stamp Set and Dies and the Slimline Nested Rectangle Dies from Picket Fence Studios. Also, for this card I used the original MISTI to stamp all flowers and leaves. 


Let's begin! I started by die cutting one rectangle panel using the Slimline Nested Rectangle Dies, then I placed this panel inside of my MISTI and using Soot Premium Dye Ink Pad from Lawn Fawn I stamped all the flowers from Que Sera, Sera Stamp Set around the panel. 


I left enough space on the panel to stamp the sentiment "Many Blessings". This sentiment was also from the stamp Que Sera, Sera and was stamped using Versafine Black Onyx ink. Next, I adhered a lilac slimline folded card at the back of the panel using glue. 


Also, I placed a piece of watercolor paper inside of the MISTI, added anti static powder, inked up the same flowers from Que Sera, Sera Stamp Set using black ink, stamped pressing the door of the Misti firmly and finally I added WOW! Clear Gloss Embossing Powder on top and heat embossed all flowers.  


I painted all the flowers and leaves using Zig Clean Color Real Brushes. Once they were dry I die cut them all with the matching dies. Then, on top of the panel I arranged all flowers going from bottom to top and using glue and foam tape for some dimension.


Finally, for the last touch I added some Nuvo drops, sequins and gems from the Purple Side of the Rainbow Gem Mixes also from Picket Fence Studios.


I really hope you like this card that I made with lots of love! Using your MISTI is a super easy way to stamp several images at once and save some time to create more cards. If you are interested in the supplies  I used on this card, they are all listed below. Have a fantastic week and thanks for stopping by!

Your friend, Karen


Thursday, January 21, 2021

Have Faith Today with Karen Reategui


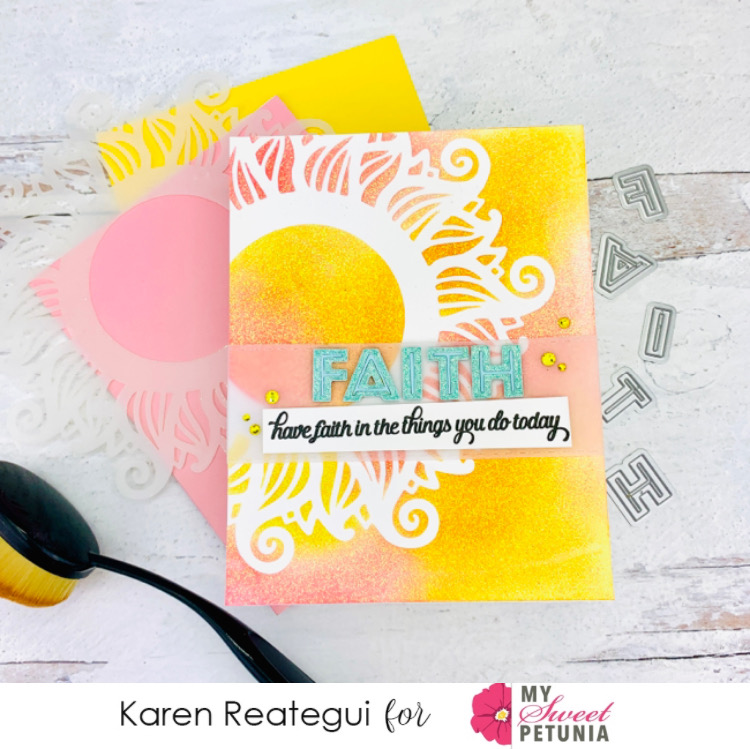
Hello friends! Today I'm sharing this bright and shinny encouragment card using Picket Fence Studios products and the original MISTI.


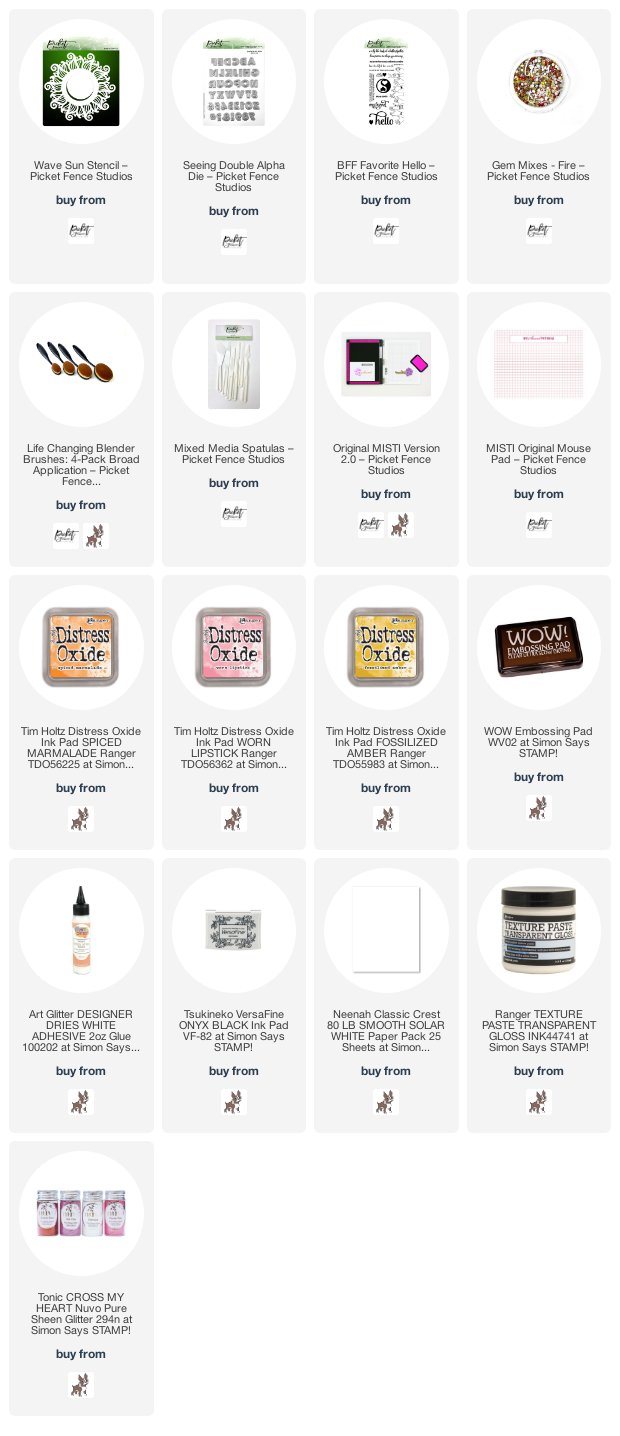
Let's begin! I started by placing the new Wave Sun Stencil from Picket Fence Studios on top of an A2 panel, then I applied distress oxide inks using the Life Changing Blender Brushes. The inks I used Fossilized Amber, Worn Lipstick and Spiced Marmalade. Once I finished applying the colors I didn't removed the stencil.


Next, I mixed Ranger Texture Paste Transparent Gloss with Nuvo Pure Sheen Glitter Diamond and using a spatula I applied this mix through the stencil. When I finished I immediately removed the stencil and let this panel dry overnight. Because the texture paste is transparent you will be able to see the colors from the background and also all the shine from the glitter, giving this background a wonderful look.  


Once it was dry, I adhered a piece of vellum and wrapped it around the panel. I secured the vellum using glue. I also, heat embossed a piece of cardstock using WOW! Minty Embossing Glitter and die cut from it the word FAITH using the Seeing Double Alpha Die. I added the letters on top of the vellum using glue.


Finally, I stamped my sentiment from BFF Favorite Hello and added it to the velum below the word FAITH. Last, I placed some gems around from the Fire Gem Mixes and adhered a folded note card at the back of this panel. 

Hope you like this card and brings you a little bit of hope and faith with all its bright and shinny colors. Wish you a fantastic day and thanks for stopping by!

Your friend,
Karen
 

Tuesday, December 29, 2020

Ink Repeating with Karen Reategui


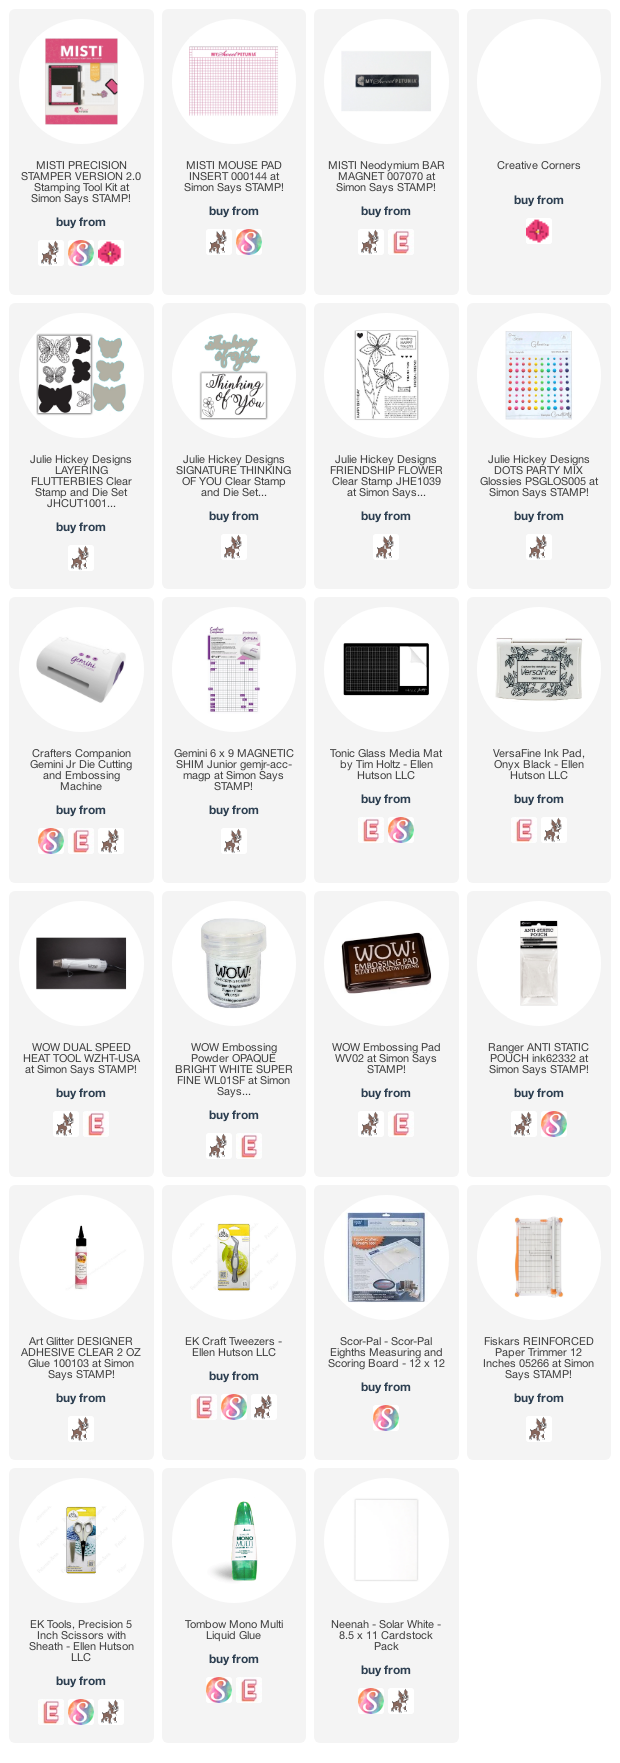
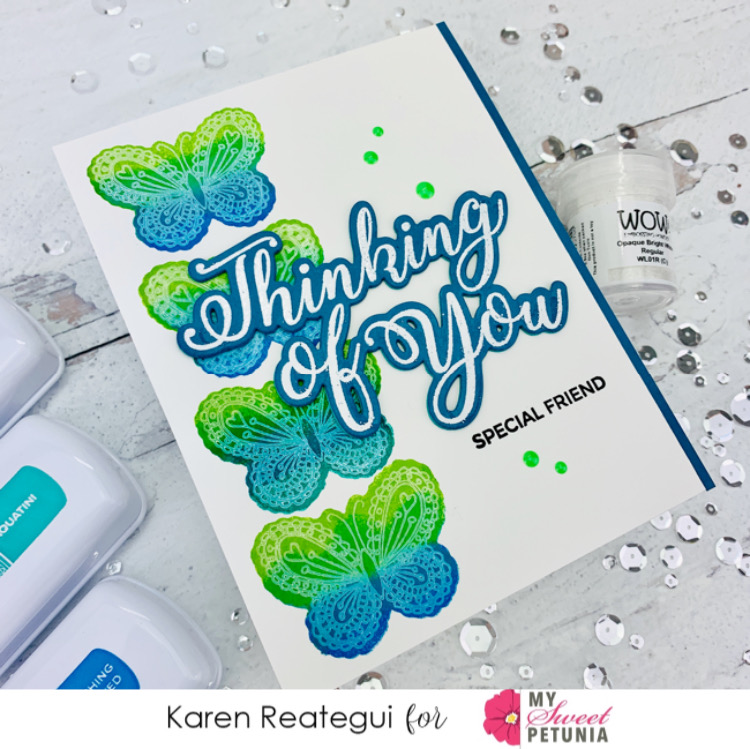
Hi friends! Today I’m sharing this card over My Sweet Petunia Blog. I’m using Layering Flutterbies Stamp & Die Set from Julie Hickey Designs and for my sentiment I have Signature Thinking of You Stamp & Die Set also by Julie Hickey Designs.

For this card I have a mix of a ink repeating technique and blending inks with mini daubers. The sponge from the daubers also gave some texture to the blending which is awesome. The inks used on this card are from Catherine Pooler Designs.


Let’s begin! I started by placing a silhouette of one of the butterflies on an A2 panel. I begun stamping from bottom to top. Then, using a dauber I applied three different inks to the silhouette stamp. The inks from Catherine Pooler Designs that I used are Aquatini, Lime Rickey and Something Borrowed.


I stamped each butterfly silhouette and repeated the process of ink blending each time. Next, I stamped the outline of the corresponding butterfly using white ink.


Additionally, I die cut the Signature Thinking of You Die and placed the negative part in the MISTI. I put the die cut inside the negative part and stamped the Signature Thinking of You Stamp and heat embossed it with WOW! Opaque Bright White Embossing Powder.


I die cut the Signature Thinking of You Die two more times and glued them behind the white heat embossed die cut. Next, I stamped the sentiment “Special Friend” from Friendship Flower Stamp set from Julie Hickey Designs.


Finally, I trimmed just a bit one side of this panel and then I added a white folded notecard at the back using glue. Last, I placed the white heat embossed die cut on top of the background and I also adhered a strip of teal cardstock at one side and this card was finished. 

Thank you so much for stopping by and have a fabulous day! 

Your friend,

Karen 


Thursday, December 10, 2020

Ho Ho Ho Christmas card using the new Mini Misti

Hello friends! Today I'm sharing this Christmas card featuring the new Mini Misti that has been recently released. I love the size of this Mini Misti and I used it a lot! The two background stamps that I used on this card fit perfectly inside this Mini Misti which for me was a plus! The stamps and dies for today's card are from Pinkfresh Studios and Taylored Expressions. 


Let's begin! I started by placing the Pinkfresh Studio Winterberry Background Cling Stamp inside the Mini Misti and stamped onto a kind of mustard color of cardstock with WOW! Embossing Pad and then heat embossed this panel using WOW! Opaque Bright White embossing powder. In the picture below you can see how the cling stamp fits inside the Mini Misti. 


Then, I stamped the Christmas Simple Strips Stamp by Taylored Expressions using Catherine Pooler Uniper Mist and I die cut the sentiments with the Taylored Expressions Simple Strips Dies. These sentiments are my favorites for being so easy to make a bunch in a wink. and Again, as you can see in the picture below the Christmas Simple Strips Stamp fits perfectly inside de Mini Misti.


Now, I will add color to those leaves and berries in the background using R14 Copic marker and the blue shade from the Kuretake Gansai Tambi Gem Colors. Additionally, I adhered a white folded notecard at the back of this panel using glue.


To create the HO HO HO words I die cut the Pinkfresh Studio Lea's Ornate Lowercase and Uppercase Dies out of two shades of pinks, one lighter and one darker. I Die cut three times each letter and then glued them together for more dimension. 


I also Die cut a tag out of vellum using the Pinkfresh Studio Essentials Classic Tags and added it to the center of my background. I placed the HO HO HO words on top of this velum tag using glue.


Finally, I added a piece of blue-white twine to the tag and placed a strip sentiment on top using glue and this card was finished. I love the look of this non-traditional Christmas card, hope you like it too. I wish you a wonderful day and see you next time!

Your Friend,

Karen


Thursday, November 19, 2020

Fall Slimline Card with Karen Reategui

Hello friends! Today I’m over My Sweet Petunia Blog sharing this slimline card featuring the original MISTI and Pinkfresh Studios products.


Let’s begin! I started by die cutting the Slim Scallop Circle die out of gray cardstock and then I adhered a white folded slim notecard at the back using glue. Next, I die cut the Curvy Floral Vine Stamp die out of white cardstock. I placed the negative part inside my MISTI and the die cut in the negative space. I lined up and inked up my stamp and pressed firmly the stamp into the cardstock.


I repeated these steps until I finished with all the florals and arranged them around the scallop circles in my background. Additionally, I die cut three times the Leafy Branch die out of orange cardstock and added them next to each floral using glue.


I also die cut the word FALL using Lea’s Ornate Lowercase die set out of orange. The outline part of each letter was die cut out of white cardstock for more contrast.


Finally, each letter were added to my background using double sided foam tape and I put some iridescent jewels around.

I really hope you like this card and get some inspiration. Thanks for stopping by and have a fabulous day!
Your friend, Karen