Showing posts with label #lifechangingblenderbrushes. Show all posts

Thursday, April 28, 2022

Celebration Card and Winner Announcement


Hello crafty friends! I'm so glad to be here and sharing this very cute card where I did some, ink blending, stenciling, stamping and coloring. For this card, I am featuring stamps, dies and a stencil from Picket Fence Studios. The inks are the Oxide Inks from Ranger and  have also used the Mini MISTI and the Mis-T Rulers. 

Before I begin, I would like to announce My Sweet Petunia winner for the Altenew Hop. Congratulations to Jeanne Ragan, please email to hello@mysweetpetunia.com to claim your prize and thank you so much for hoping with us. 


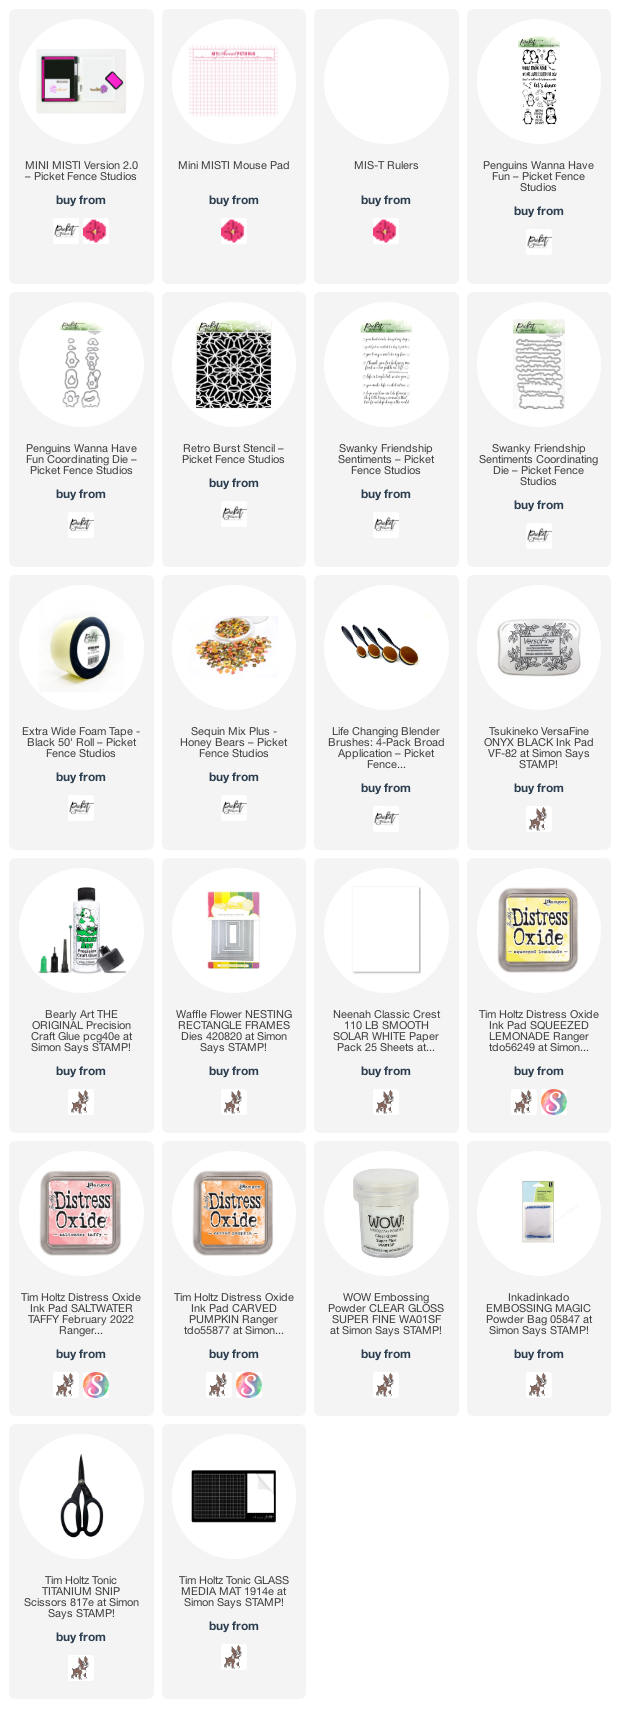
Let's start! Using the Life Changing Blender Brushes I applied Distress Oxide inks to an A2 panel and the colors were Squeezed Lemonade, Carved Pumpkin and Saltwater Taffy. Once I finished ink blending, I placed the Retro Burst Stencil by PFS on top of my panel and applied the same colors of ink through the stencil. Then, I put my panel inside the Mini MISTI and and stamped a sentiment from Penguins Wanna Have Fun Stamp Set and then I heat embossed it. I also adhered this panel to a folded card base using glue.
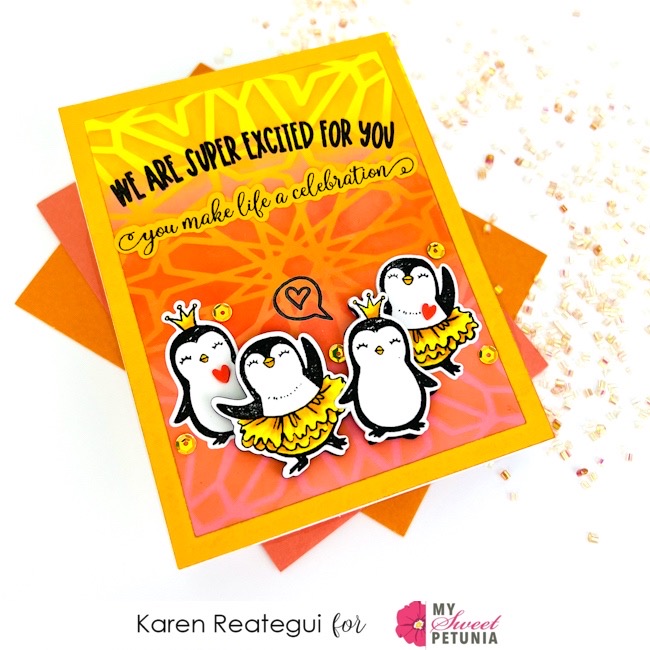


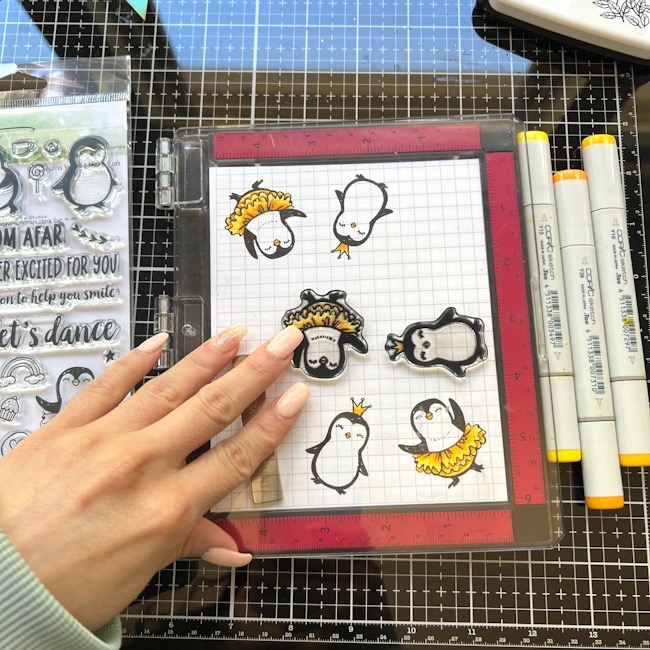
I placed another piece of cardstock inside the Mini MISTI and stamped some penguins from Penguins Wanna Have Fun Stamp Set and colored them with Copic Markers. Next, using the coordinating dies from the same stamp set I die cut all penguins and glued two of them directly to my background panel and the other two were adhered using black foam to give them more dimension.


A rectangle frame was also added to the background of this card and I used the Waffle Flower Nesting Rectangle Frames Die. I stamped a bubble with a heart next to one of the penguins too and a second sentiment was stamped and die cut too using the same color of cardstock from the rectangle frame. This sentiment was from Swanky Friendship Sentiments Stamps from PFS.


Finally, as the final touch I added some hearts and sequins from Honey Bears Sequin Mix Plus and this card was done. 

Thank you so much for stopping by and I hope you have a fantastic day. All supply links, part of my affiliate links, are listed below at no cost to you.

Your friend, 
Karen
 

Wednesday, December 29, 2021

Christmas Greeting with Karen ReƔtegui


Hello friends! Today I'm sharing this set of Christmas Cards that you can easily mass produce. The products I used are the following: Joyeux Noel Stamp and Dies, Lots of Blossoms Stencil, Life Changing Blender Brushes, SSS Blush Positively Saturated Ink, Altenew Forest Glades, Gold WOW! Embossing Powder and my Mini MISTI.


Let's begin! I started by placing the Lots of Blossoms Stencil on top of an A2 panel and I applied the SSS Blush Positively Saturated Ink and Altenew Forest Glades using the Life Changing Blender Brushes.


Then, I trimmed down this panel a little bit and adhered it to a card base using glue. I changed a bit the position of each background to make each card slightly different.


Next, I placed a piece of white cardstock inside my Mini MISTI and I stamped the sentiment from Joyeux Noel Stamp using Versamark Emboss Ink, then I added Gold WOW! Embossing Powder and heat embossed it. Finally, I die cut the sentiment using the coordinating die and I placed it on top of my background. I placed the sentiment on each card as a final touch making this a very simple card design.

I hope you like this set of cards and thank you so much for stopping by. Below you will find all supplies used on these cards.


Have a wonderful day.
Your friend, Karen


Thursday, August 12, 2021

Forest Critters

 Hello!  I love building scenes with cute die-cuts but I don't enjoy cranking out all the pieces I need.  It can take quite a bit of time to make sure the images are die-cut perfectly and I am always impatient to get to the creative part!  The following technique makes it so much easier to get to the coloring and setting the scene!      It's also an especially helpful technique for die-cutting very small images.


First, stamp the images on a scrap sheet of paper.  Do not remove the stamps from the lid.


Next, die-cut all the images from cardstock. Allow some space in between so that the individual negative die-cuts can be separated.  


Next, remove the inside pieces and set them aside. Place the negative frames over each image.  This is where the magic happens.  Arrange the frames precisely around the images so that the images are exactly centered inside the framing. 


Once the frames are placed precisely, add the negatives back into the frames taking care not to move the frames. 

Ink the stamps that are still on the lid, close the lid, and stamp!  Viola!  perfectly centered images; even the teeny tiny ones!  If the images are too small to color, pop them back into the frame, adhere on the back with a little bit of removable tape or Washi tape, and color!  


After placing the die-cuts on the card layer to form a scene I adhered them to the top layer. Next, I adhered the top layer to the base.  Then, I placed the card in my MINI Misti to stamp the sentiment.  I like to adhere my designs to card bases before stamping the sentiment so that I can make sure the sentiment is perfectly aligned to the bottom of the card base.  Just make sure your lid is wiped free of ink before stamping so that ink doesn't accidentally go where you did not intend!

I used both the MISTI, the Mini MISTI, and the Cut-Align ruler for today's project.

I am Angie, and I am so glad you stopped by today!  If you would like to see the super cool painting my daughter painted for me, click HERE.  The painting inspired my design with its vibrant colors!

Thanks so much for stopping by!  

**Affiliate links used when possible at no cost to you!**


Thursday, July 29, 2021

Ocean Waves with Karen Reategui

 Hello friends! Today I'm sharing this ocean themed slimline card where I am featuring products from Picket Fence Studios: Slim Line Ocean Waves Cover Plate Die, A Fishy Lot Stamp Set, You Were Mermaid for Me Stamp Set and a combination of Paper Glaze Ombre Polar Ice Layers and Paper Glitz. 

Let's begin! I started by applying a mix of Paper Glitz and Paper Glaze Ombre Polar Ice Layers to a piece of white cardstock using a stencil pad from Thermo Web. I let the Paper Glaze dry for about 20 minutes and once it was dry I placed the Slim Line Ocean Waves Cover Plate Die on top and run this through my die cutting machine.    


Additionally, I die cut a slimline base out of white cardstock using the Slim Line Die Cutting System and applied Catherine Pooler inks: Aquatine, Something Borrowed and Juniper Mist. I applied these inks using the Life Changing Blender Brushes from Picket Fence Studios. 


I glued the Ocean Waves die cut on top of the ink blended background and then I adhered a white slimline folded note card using more glue.


On the picture above you can have a closer look of the sparkle from the mix of Paper Glitz and Paper Glaze. 


Also, I stamped a mermaid and some sea creatures from A Fishy Lot Stamp Set. Then, I colored the images with Copic markers and die cut them using the coordinating dies.


Finally, I stamped and heat embossed the sentiment onto velum using WOW! Embossing Glitter Cupcake Heaven and placed all die cuts on top of my background along with some sequins.

I hope you like this slimline card and have a wonderful day. Your friend,

Karen