Hi card making friends, Sandi MacIver here and I have four super easy holiday cards for you today. The Distress Oxide Ink Single Layer Holiday Cards are done in a mass production format blending all the backgrounds first and then popping the stamps into the Misti and stamping all the cards at the same time.
I even used precut and scored card bases to further speed up the process (link below).
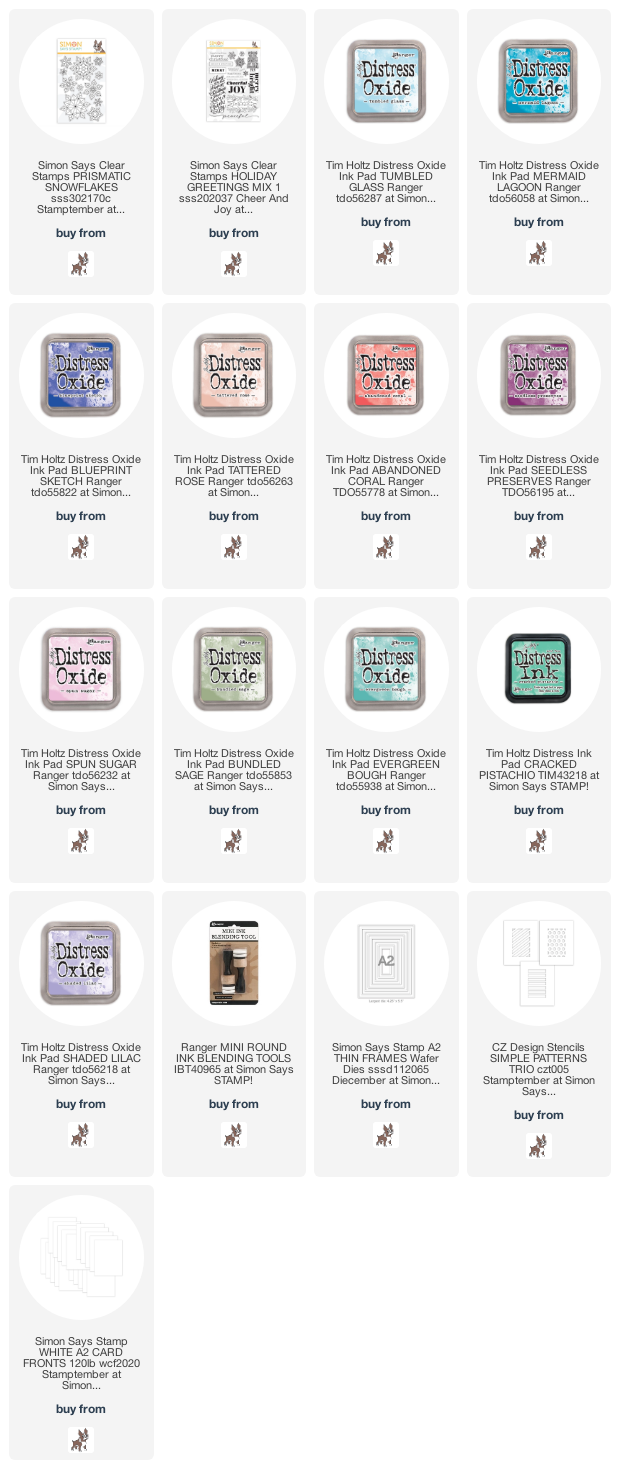
For the backgrounds I used four different blends of Distress Oxide Inks and the Simon Says Stamp Simple Patterns Trio Stencils.
These stencils line up with the outside edge of an A2 card so you can quickly add your ink blends and move on.
There are three designs in this set, and for the forth card (bottom right corner), I created my own.
I used a piece of Neenah Solar White 80# card and the Simon Says Stamp A2 Thin Frames to cut out the stencil. You could also use overhead projector plastic or plastic left over from packaging.
Once all the blending is done and the ink is dry, pop one of the cards into the bottom left corner of your Misti, secure with a few magnets and add the stamps.
These stamps are from the Simon Says Stamp Prismatic Snowflakes stamp set and the sentiment is from Simons Holiday Greetings Mix 1.
Once you have the stamps all lined up, use Simons Intense Black Ink to stamp them. Just remove the stamped card and pop another one in, ink up the stamps and in no time you have all four stamped.
These beautiful cards are easy to create, bright and cheery and flat, so no additional postage required.
Here are the Distress Oxide Ink Colors I used for the blends.
Card #1 (from the Top), Tattered Rose, Abandoned Coral and Seedless Preserves.
Card #2 - Tumbled Glass, Mermaid Lagoon and Blueprint Sketch.
Card #3 - Spun Sugar, Bundled Sage and Tumbled Glass
Card #4 - Shaded Lilac, Cracked Pistachio and Evergreen Bough.
That's it for me today, I hope you will give these cards a try and add to your Christmas Card Stash.
I've listed the supplies I used below. Affiliate Links are used which means I receive a small commission when your purchase through my links at no additional cost to you.
Thanks so much for stopping in and Happy Stamping