Our team uses affiliate links
Hello and welcome to Team Tuesday.
It's Ceal, here. Today I am sharing a card created with a Hero Arts stencil.
This stencil and fancy die is my new favorite by Hero Arts. It's so fun to create cards using it and it's so easy using the Original MISTI and a Sticky Mat.
To make this card I started with a white top folding card base and a white panel. I ran the white panel through my die cutting machine with the fancy die and then placed it on the sticky mat. Next I used some Hero Reactive inks and Distress inks to color it.
To make the wings of the bee two different colors I shifted the stencil just a tad. After I got it all colored I adhered it to the top folding base.
To finish the card I added an embossed greeting also by Hero Arts.
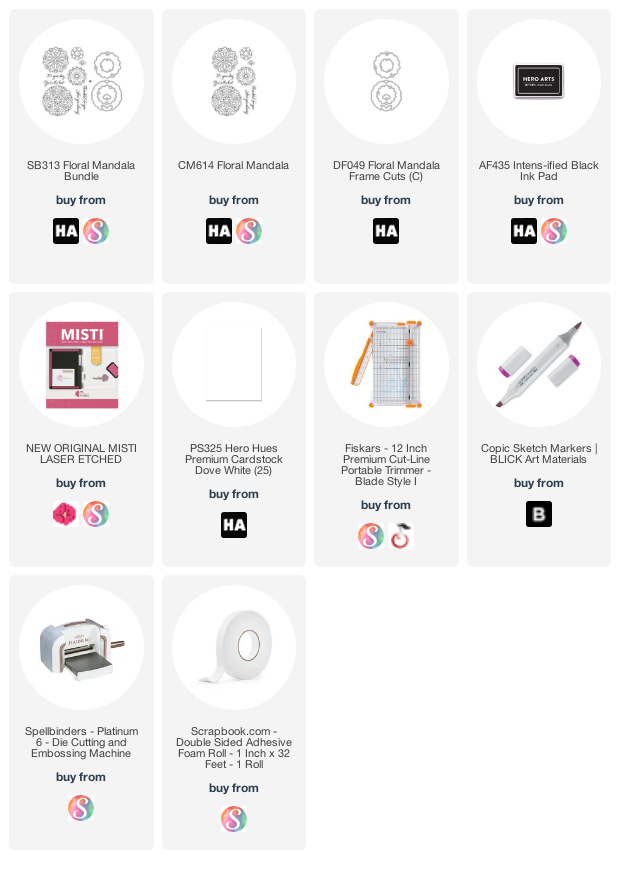
Hello friends!! It’s Channin here and today I’m creating a beautiful clean and simple card featuring the Floral Mandala Bundle from Hero Arts.
To create this card I first stamped the large floral mandala image from the Floral Mandala stamp set in black ink onto white cardstock. I then copic colored the image and when I finished I popped the image back into my MISTI and stamped it again to make the image bold and black.
Next, I die cut the image out with the matching die. I then stamped the front of an A2 top-folding white card base with a sentiment from the Floral Mandala stamp set in black. Next, I finished the card by adhering the mandala to the card from with foam adhesive.
I hope you enjoyed my card! Thank you so much for stopping by!
~Channin
Supplies:
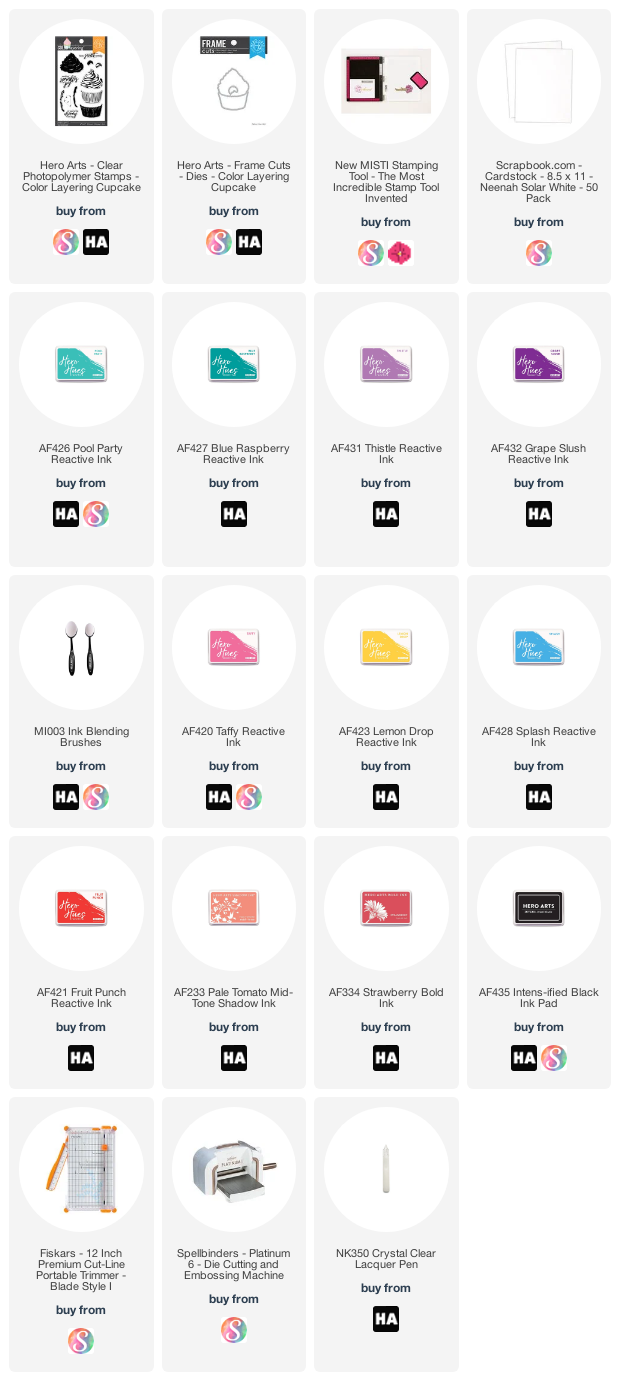
Hello friends! It's Channin here and today I have a colorful birthday card to share. For today’s card I use the fun Color Layering Cupcake stamp set and matching die from Hero Arts! Read to find out what simple MISTI stamping trick I use to create rainbow gradation frosting for my cupcakes!
To create this card I first stamped the two cupcake liners. I started with the base layer (the more solid layer) in either Pool Party or Thistle. I then stamped the detail layer in either Blue Raspberry or Grape Slush. Next, I stamped the base cake layer in Soft Vanilla. I then stamped the detail layer for the cake first in Soft Vanilla and then I inked up only the bottom of the stamp in Pumpkin Pie and stamped to create a slight gradation. Next, I stamped the frosting starting with the base layer. I used an ink blending brush to apply Taffy Reactive Ink over a portion of the stamp and then stamped it. Next, I inked up the middle section of the stamp again with a blending brush with Lemon Drop and then stamp. Lastly, I inked up the last portion of the stamp in Splash again with the blending and then stamped. I then positioned the detail layer for the frosting and then inked and stamped the detail layer in the same manner I did the base layer. Lastly I finished up the cupcakes by stamping some sprinkles in Taffy, Lemon Drop, and Splash inks.
Next, I stamped two cherries. First, I did the base layer in Fruit Punch and then used Pale Tomato and Strawberry for the detail layer. After I stamped the cherries and cupcakes I die cut them out with the matching dies and then adhered cherries on top.
Next, I positioned my cupcakes over my card front and used a piece of washi tape to hold them in place. I then positioned a sentiment, picked it up with my MISTI, tucked a piece of scrap paper under the cupcakes to protect the card base and then stamped the sentiment in INTENS-ified Black. I then removed the cupcakes and then stamped the sentiment again onto the card front. Lastly, I finished the card by adhering the cupcakes to the card front and then added clear lacquer to the cherries.
I hope you enjoyed my card! Thank you so much for stopping by!
~Channin
Supplies:
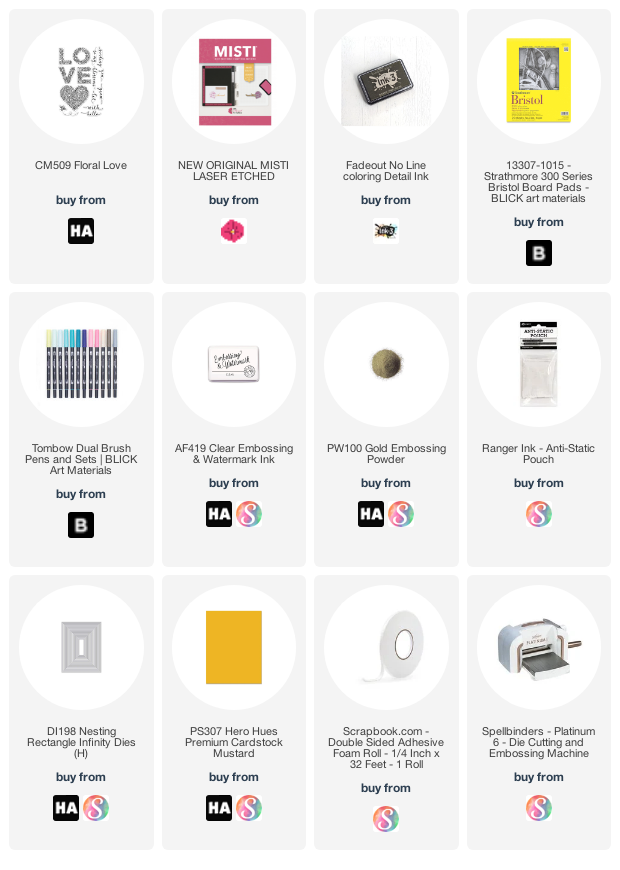
Hello friends! It's Channin here and today I have no-line watercolored floral card to share! This clean and simple card features the gorgeous Floral Love Stamp Set from Hero Arts!
To create this card I first arranged my stamps from the Floral Love Stamp Set into my MISTI and then stamped them in Fadeout Ink onto an A2 panel of Bristol paper. I then watercolored the floral letters in with several Tombow Dual Brush Pens (025, 723, 925, 126, 245).
When I had finished coloring the letters I then popped my panel back into my MISTI, removed the floral letter stamps, and then stamped and gold heat embossed the “sending”. After I had heat set the sentiment, I then die cut the panel down with rectangle die. I then finished the card by adhering the panel onto the front of a Mustard A2 top-folding card base with foam adhesive.
I hope you enjoyed my card! Thank you so much for stopping by!
~Channin
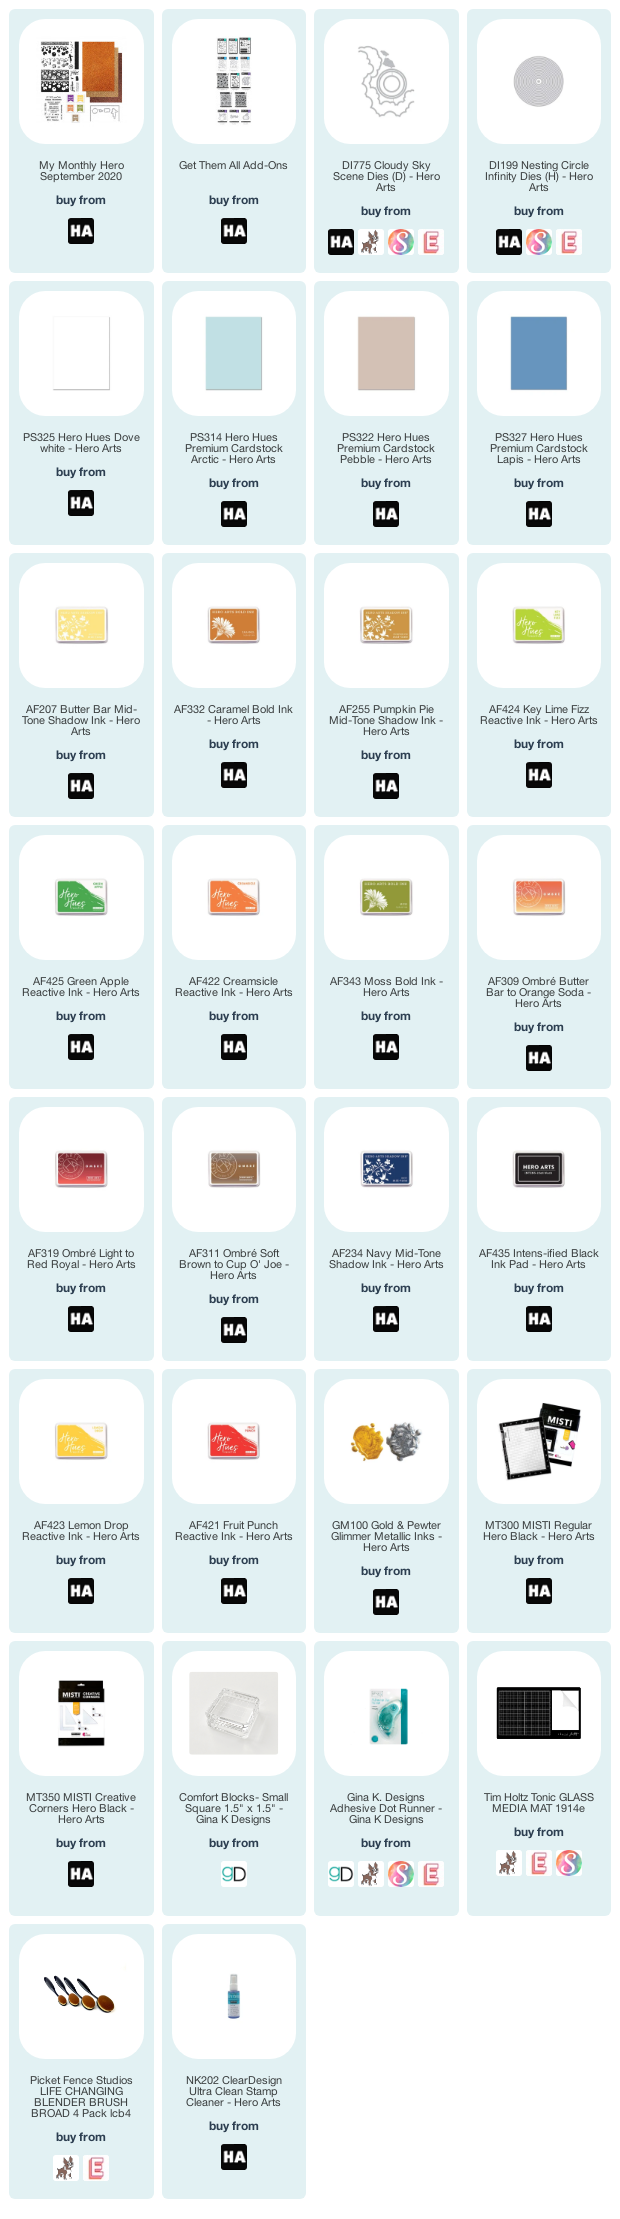
Hello friends! It's Channin here and today I a have fun halloween card to share! Today’s card was actually inspired by a beloved childhood book of mine called A Halloween Happening.
To create this card I first stamped an A2 panel with the Bare Branched Tree Bold Prints in Pumpkin Pie Mid-Tone Shadow Ink. Do to this, I first ppsitioned the background stamp in the center of my MISTI and then used adhesive tape to hold my panel in place inside the well of my MISTI. After I stamped the tree I then added a few details to the trunk and branches with a copic marker, leaving my panel in place inside my MISTI. Next, I stamped the tree again in Versamark ink and then clear heat-embossed the image. Once the embossing powder was heat set I then ink blended over the tree with Grape Slush Reactive Ink, Grape Juice Mid-Tone Shadow Ink and INTENS-ified Black Ink. When I finished ink blending, I then wiped the tree clean with a dry rag to remove excess ink.
Next, I stamped the pumpkins with the heroscape layering stamp set included in September My Monthly Hero Kit. I first stamped the solid layer for the pumpkins in Dandelion Bold Ink twice onto an A2 panel of white, rotating the panel after I stamped the pumpkins once and then stamping them again so I had the pumpkins on both sides of the panel. I then left the stamp in place in my MISTI and then throughly dried my panel with a heat gun. Next, I positioned the Jack-O-Lantern faces over some of the pumpkins and then stamped them in Versamark Ink and then embossing in clear. I then flipped my panel and stamped the other side of the panel with the Jack-O-Lantern faces, so the pumpkins on both sides had faces. I then repeated this process till I had all the pumpkins I wanted stamped.
Next, I stamped the solid pumpkin layer again on both sides in Soft Apricot Ink. I then positioned the detail layer for pumpkins and stamped that on both sides in Tangerine Bold Ink. Next, I positioned the solid leaf layer in Pine Bold Ink on both sides. I then finished both sets of pumpkins by stamping the final layer in Cup O’ Joe Mid-Tone Shadow Ink. I then fussy cut several of my pumpkins out and adhered them my panel.
Next, I trimmed my panel down 1/8” on all sides and then adhered it to the front of an A2 top-folding black card base. Next, I stamped my sentiment (also from the kit) in Dandelion onto a strip of white cardstock. I then stamped the sentiment again in Versamark ink and heat set in clear embossing powder. I then ink blended over the strip with Tangerine ink and then adhered it to the card front to finish the card.
I hope you enjoyed my card! Thank you so much for stopping by!
~Channin
Supplies:
Welcome everyone! I'm always thankful for the Misti but especially when stamping Heroscapes from Hero Arts.
In my video, I share how I use my Misti to create multiple sets ready to use.
I'm using the September 2020 My Monthly Hero Kit from Hero Arts.
By using the Misti, I quickly stamped out my pumpkin patch to create 2 totally different scenes.
SUPPLIES
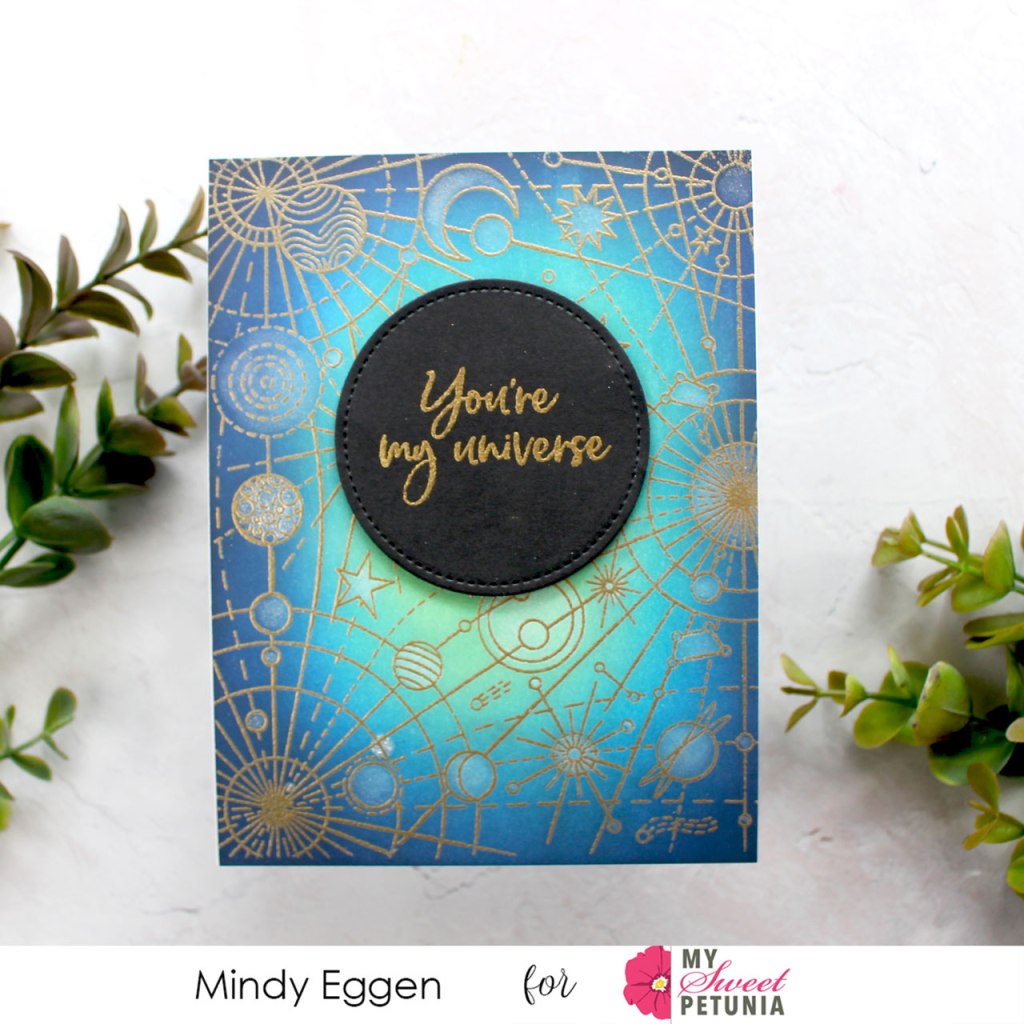
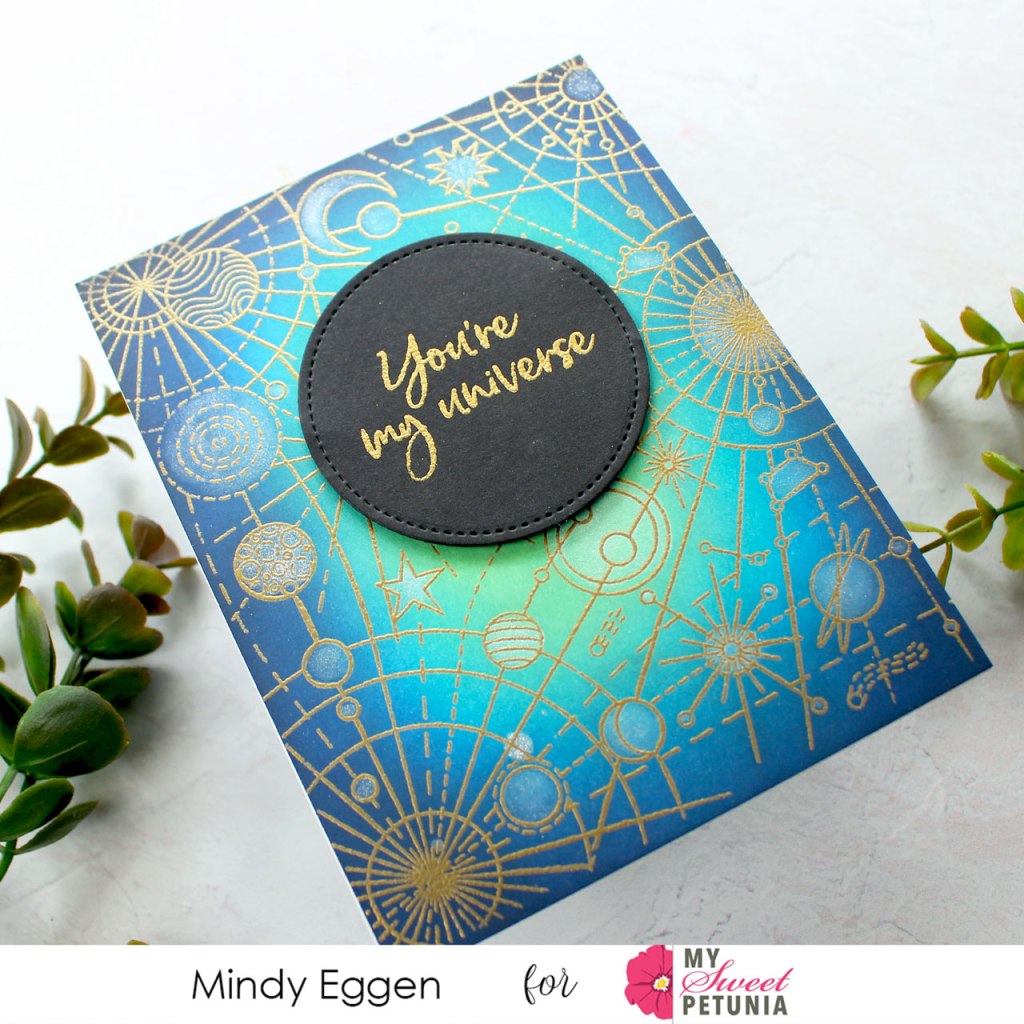
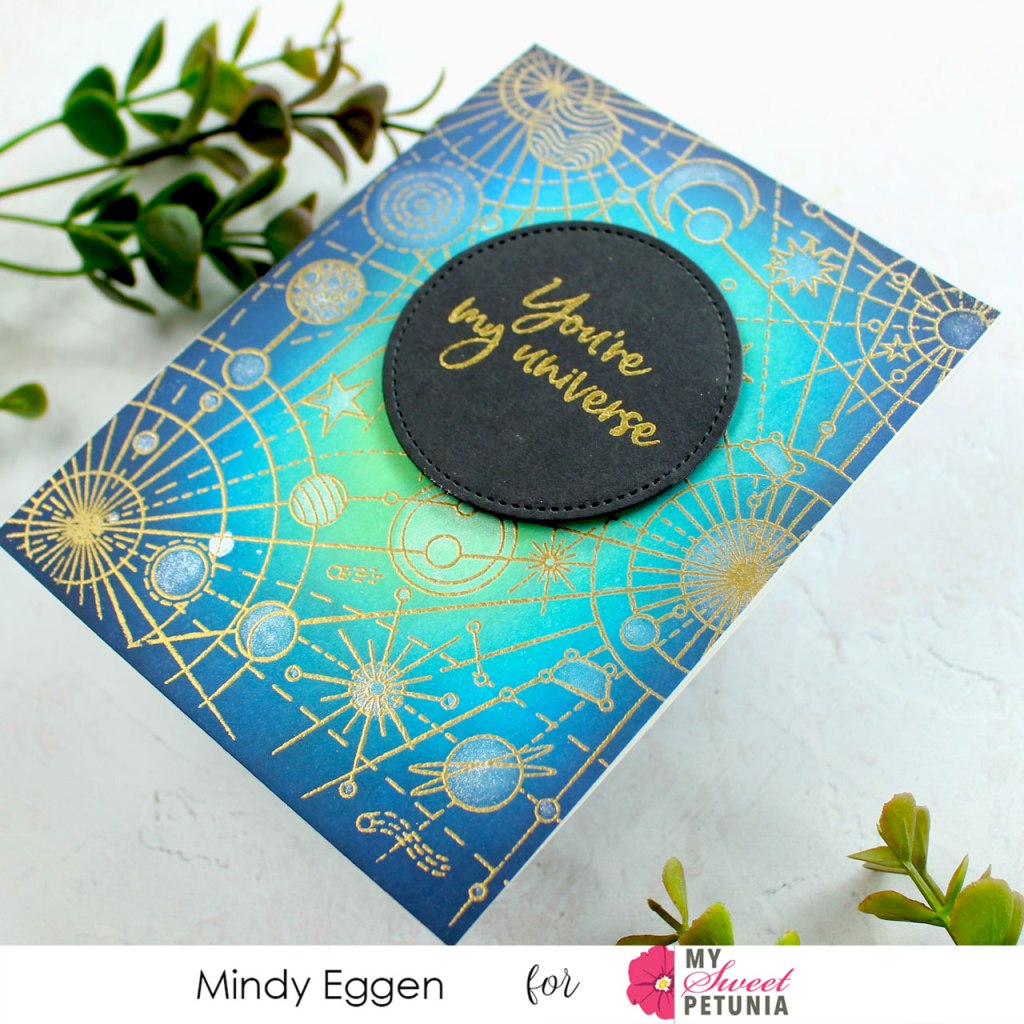
Welcome back everyone! It's Mindy here with you today! I love any chance I get to ink blend and couldn't wait to get some ink on this Galaxy stamp set from Hero Arts.
To create this card, I started by stamping the Galaxy stamp set using the NEW Misti 2.0. Did you pick one up yet? It's incredible! I love the smooth corners and the door is so much easier to open and close.
I stamped the image onto Neenah Solar White card stock with Embossing ink and sprinkled on gold embossing powder.

I then ink blended Cracked Pistachio, Salty Ocean, a dab of Blueprint Sketch and finished off with Chipped Sapphire Distress Oxide inks. Since the embossing powder resists inks, I wiped away the excess to reveal the shiny gold!

To add a bit of sparkle, I colored in some of the shapes of the design with an Aqua Shimmer Pen. To keep the focus on the background, I kept the sentiment simple. This sentiment comes from the You're My Universe stamp set in which I heat embossed in Gold onto black card stock. Then I trimmed the sentiment out with a stitched circle die and added to the front of the card with black foam squares.

Hope you enjoyed today's inspiration!
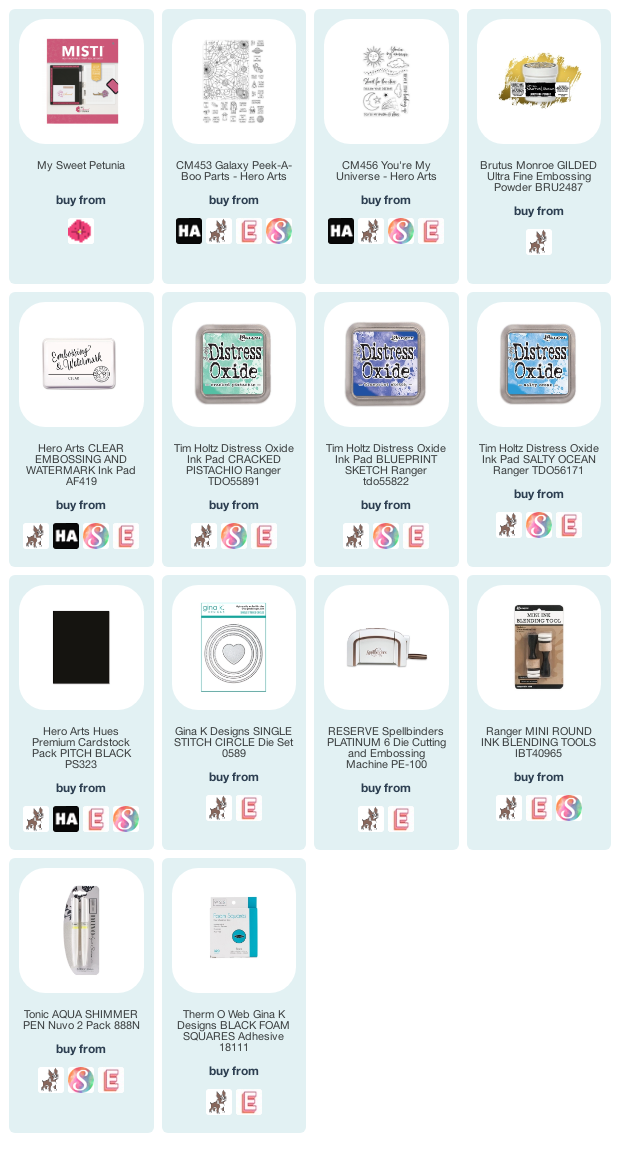
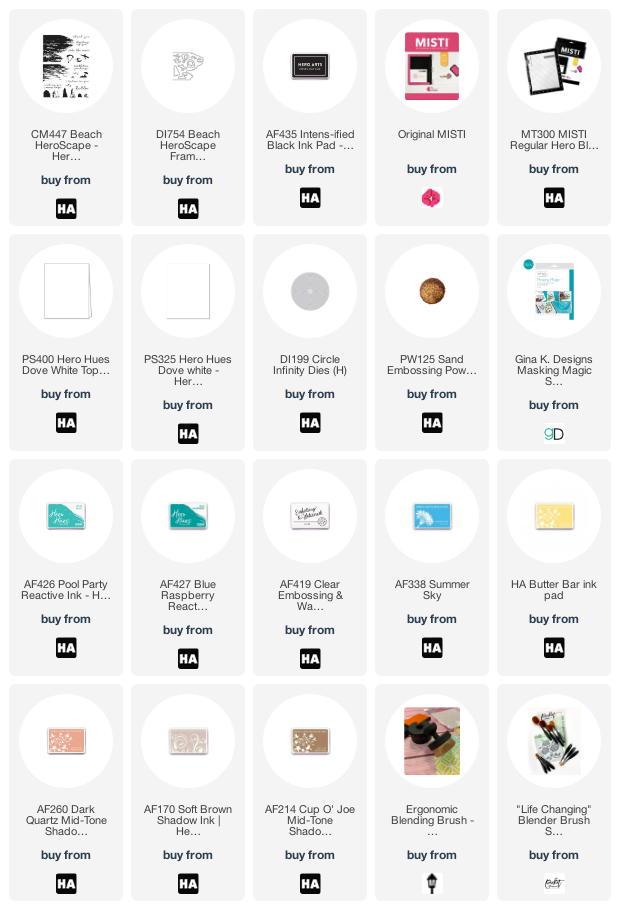
Below you will find links to the products used. Click the icon to start shopping. Compensated Affiliate links are used at no additional cost to you. Your support helps me to keep bringing you new projects and videos. Thank you!