Showing posts with label #inkblending. Show all posts

Tuesday, May 9, 2023

Perfect Placement with MISTI Sticky Mat

 Hi there,

I'm Wendy, a new design team member. I am so excited to share with you today and very excited to be part of the MISTI design team. 

I used the original MISTI for this card and the amazing MISTI sticky mat.  The MISTI Sticky Mat might be one of my favorite items ever.

The stamping perfection you can get on a small piece of paper without it moving at all is brilliant.


The stamp set I used for this card is Coffee Characters from Your Next Stamp. The ink-blended background is using a free gift stencil from Picket Fence and Honeysuckle Ink from Concord & 9th. Our cute little hedgehog friend is colored with Copic Markers.


If you're like me you really like card measurements. Here are the measurements for this card:

+ 4-1/4" x 11" white cardstock for the card base

+ 3-3/4" x 5" white cardstock for the ink-blended layer

+ 2-1/2" x 2-3/4" white cardstock, colored red with Copic markers

+ 2-3/8" x 2-7/8" white cardstock for stamping the image and sentiment

Oh, and I can't fail to mention the adorable hearts and sequin embellishments from Picket Fence as well.

Thank you so much for hanging out with me today. 

**Affiliate Links are used when possible at no charge to you!**

Thursday, April 28, 2022

Celebration Card and Winner Announcement


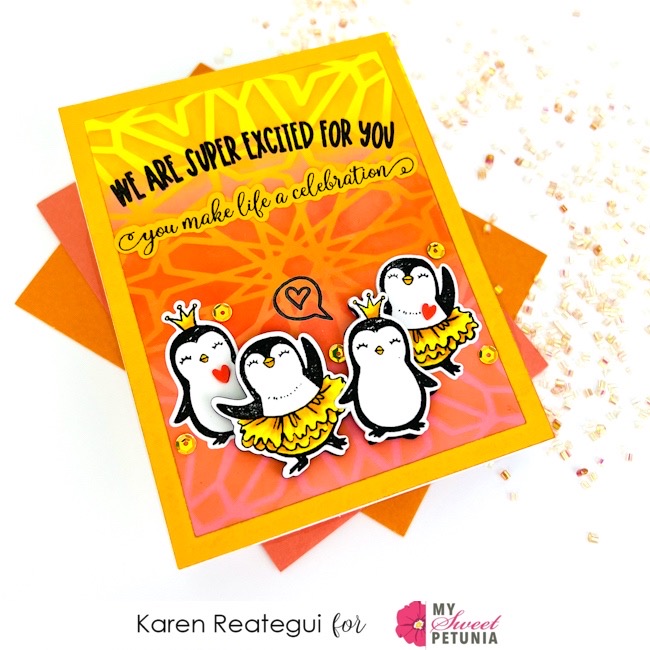
Hello crafty friends! I'm so glad to be here and sharing this very cute card where I did some, ink blending, stenciling, stamping and coloring. For this card, I am featuring stamps, dies and a stencil from Picket Fence Studios. The inks are the Oxide Inks from Ranger and  have also used the Mini MISTI and the Mis-T Rulers. 

Before I begin, I would like to announce My Sweet Petunia winner for the Altenew Hop. Congratulations to Jeanne Ragan, please email to hello@mysweetpetunia.com to claim your prize and thank you so much for hoping with us. 


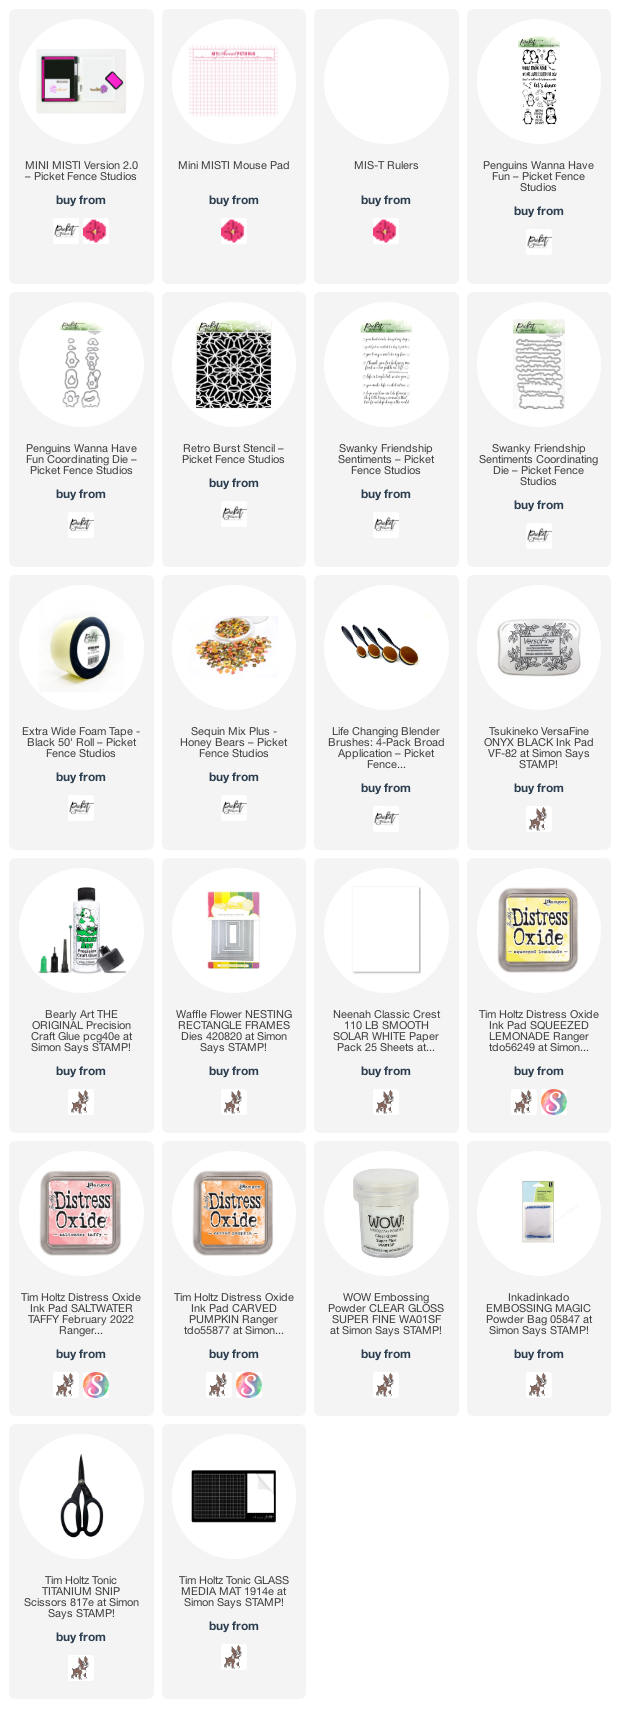
Let's start! Using the Life Changing Blender Brushes I applied Distress Oxide inks to an A2 panel and the colors were Squeezed Lemonade, Carved Pumpkin and Saltwater Taffy. Once I finished ink blending, I placed the Retro Burst Stencil by PFS on top of my panel and applied the same colors of ink through the stencil. Then, I put my panel inside the Mini MISTI and and stamped a sentiment from Penguins Wanna Have Fun Stamp Set and then I heat embossed it. I also adhered this panel to a folded card base using glue.


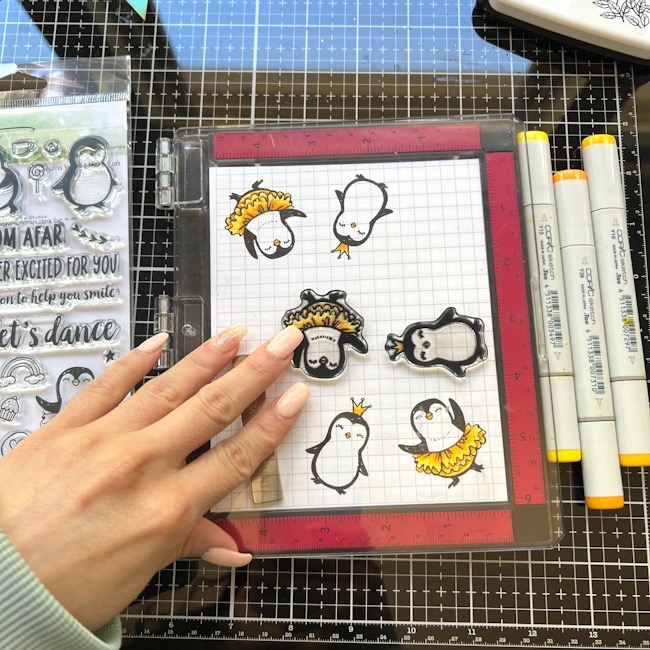
I placed another piece of cardstock inside the Mini MISTI and stamped some penguins from Penguins Wanna Have Fun Stamp Set and colored them with Copic Markers. Next, using the coordinating dies from the same stamp set I die cut all penguins and glued two of them directly to my background panel and the other two were adhered using black foam to give them more dimension.


A rectangle frame was also added to the background of this card and I used the Waffle Flower Nesting Rectangle Frames Die. I stamped a bubble with a heart next to one of the penguins too and a second sentiment was stamped and die cut too using the same color of cardstock from the rectangle frame. This sentiment was from Swanky Friendship Sentiments Stamps from PFS.


Finally, as the final touch I added some hearts and sequins from Honey Bears Sequin Mix Plus and this card was done. 

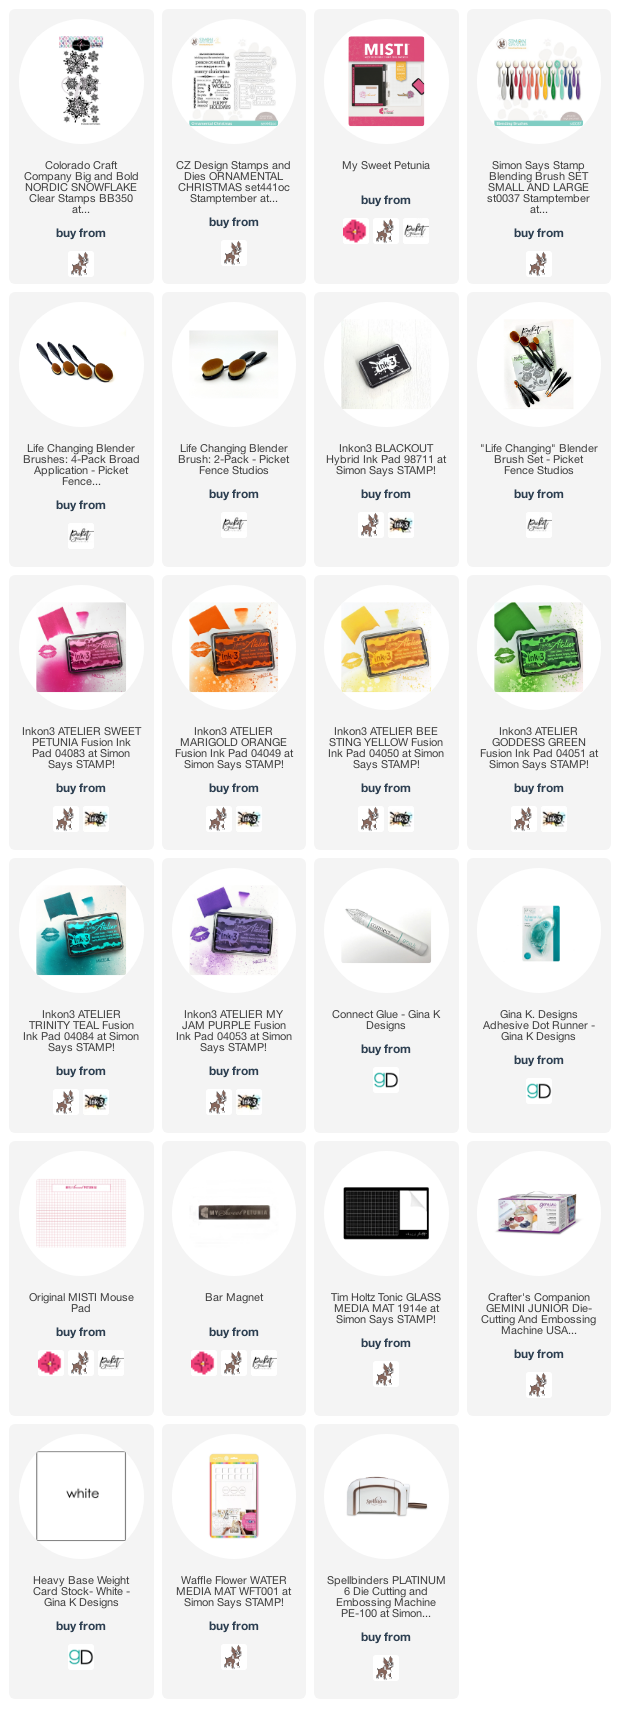
Thank you so much for stopping by and I hope you have a fantastic day. All supply links, part of my affiliate links, are listed below at no cost to you.

Your friend, 
Karen
 

Tuesday, November 30, 2021

Merry & Bright with Ceal


Hello everyone and welcome to another edition of Team Tuesday.
It's Ceal, here. Today I am sharing a couple merry and bright holiday cards. 
The holidays aren't always the best for some folks so I thought that I would share some cheery cards. 
To create these I started with a top folding card bases, white panels and the Original MISTI 2.0
The top card I used the emboss resist technique. I love using the Misti for arranging stamps and being able to emboss all of them at once. After I embossed them with white embossing powder then I ink blended the panel with Atelier inks in rainbow order.

The second card I left the stamps in the position that they were on the Misti and then added different inks to each.  I used a clear envelope and created a shaker the easy way without foam tape. 


All supplies are listed below with affiliate links.  I appreciate you using them if you shop. 


Thursday, July 29, 2021

Ocean Waves with Karen Reategui

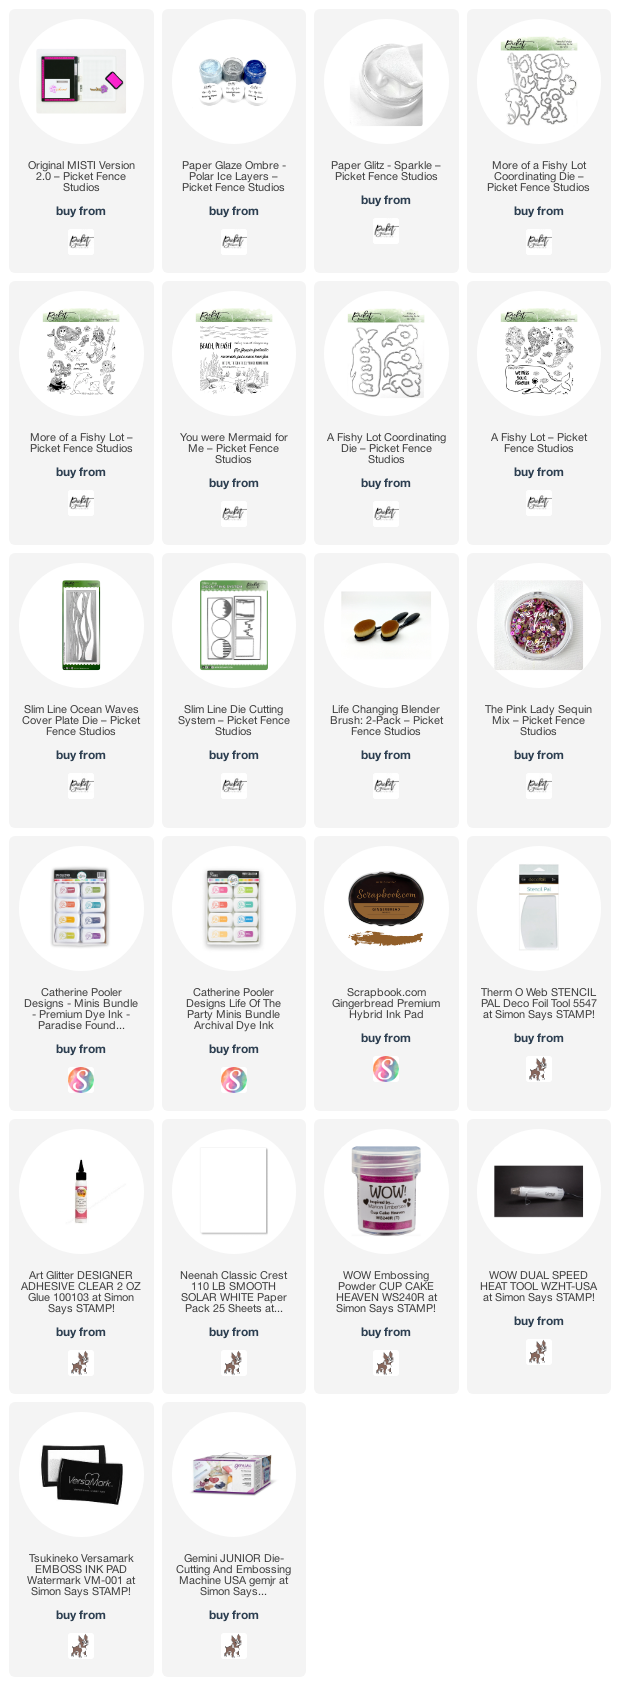
 Hello friends! Today I'm sharing this ocean themed slimline card where I am featuring products from Picket Fence Studios: Slim Line Ocean Waves Cover Plate Die, A Fishy Lot Stamp Set, You Were Mermaid for Me Stamp Set and a combination of Paper Glaze Ombre Polar Ice Layers and Paper Glitz. 

Let's begin! I started by applying a mix of Paper Glitz and Paper Glaze Ombre Polar Ice Layers to a piece of white cardstock using a stencil pad from Thermo Web. I let the Paper Glaze dry for about 20 minutes and once it was dry I placed the Slim Line Ocean Waves Cover Plate Die on top and run this through my die cutting machine.    


Additionally, I die cut a slimline base out of white cardstock using the Slim Line Die Cutting System and applied Catherine Pooler inks: Aquatine, Something Borrowed and Juniper Mist. I applied these inks using the Life Changing Blender Brushes from Picket Fence Studios. 


I glued the Ocean Waves die cut on top of the ink blended background and then I adhered a white slimline folded note card using more glue.


On the picture above you can have a closer look of the sparkle from the mix of Paper Glitz and Paper Glaze. 


Also, I stamped a mermaid and some sea creatures from A Fishy Lot Stamp Set. Then, I colored the images with Copic markers and die cut them using the coordinating dies.


Finally, I stamped and heat embossed the sentiment onto velum using WOW! Embossing Glitter Cupcake Heaven and placed all die cuts on top of my background along with some sequins.

I hope you like this slimline card and have a wonderful day. Your friend,

Karen
Tuesday, December 29, 2020

Ink Repeating with Karen Reategui


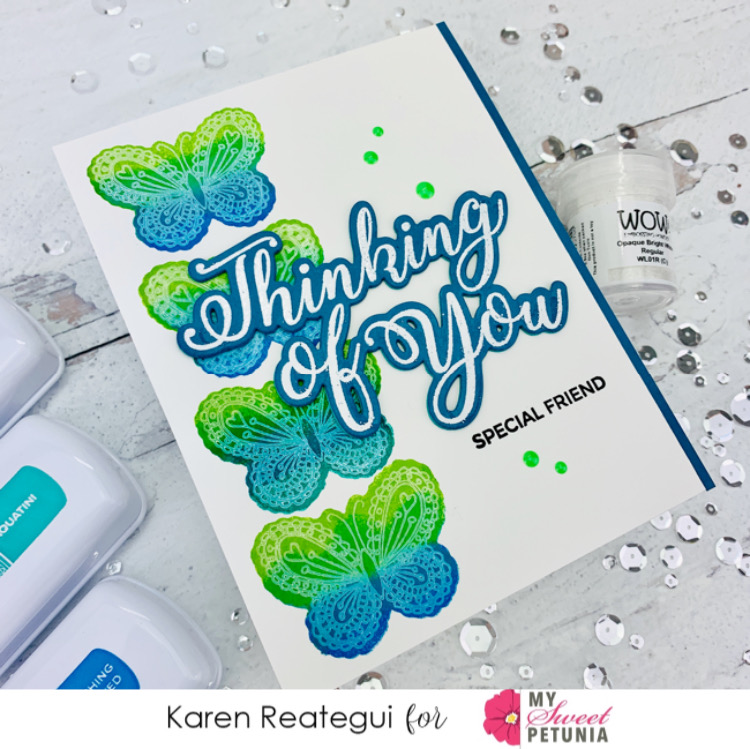
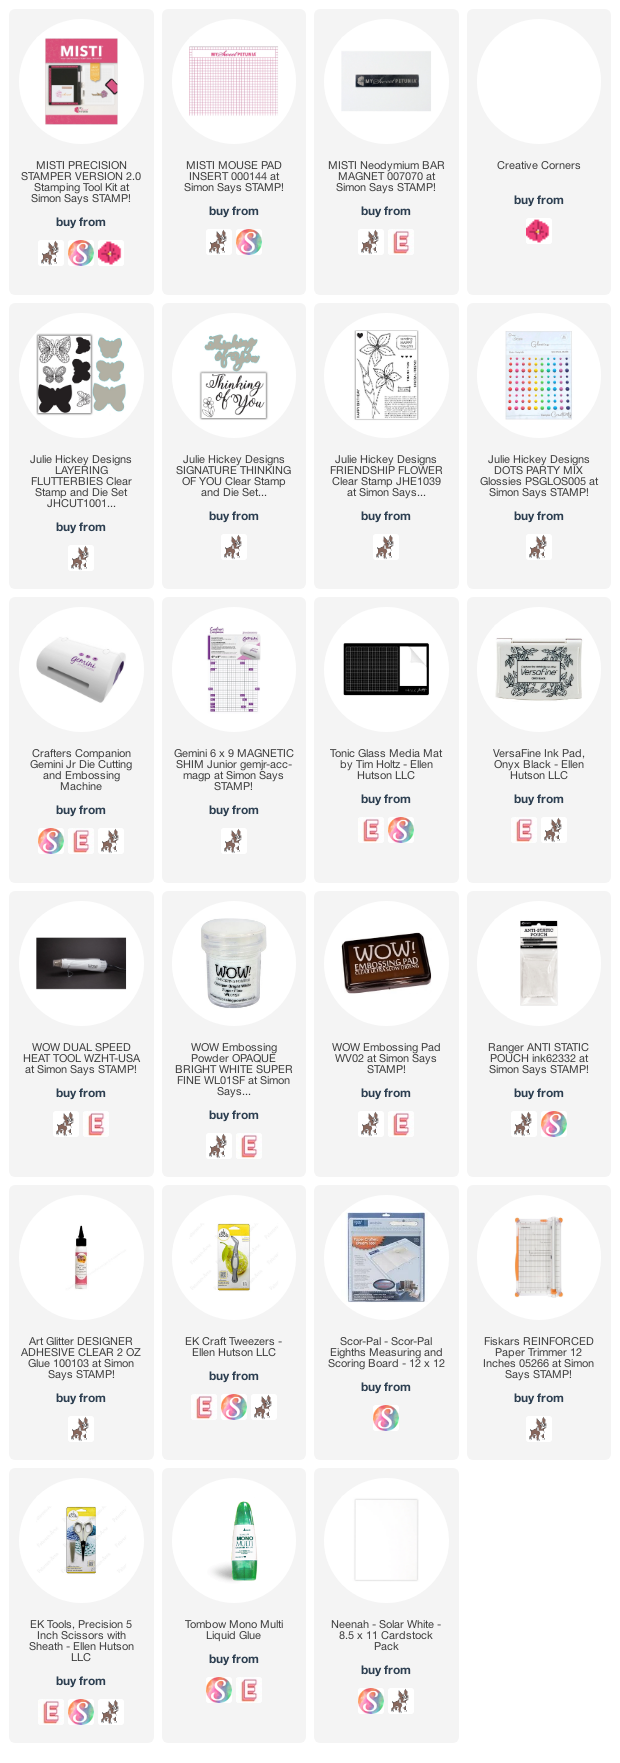
Hi friends! Today I’m sharing this card over My Sweet Petunia Blog. I’m using Layering Flutterbies Stamp & Die Set from Julie Hickey Designs and for my sentiment I have Signature Thinking of You Stamp & Die Set also by Julie Hickey Designs.

For this card I have a mix of a ink repeating technique and blending inks with mini daubers. The sponge from the daubers also gave some texture to the blending which is awesome. The inks used on this card are from Catherine Pooler Designs.


Let’s begin! I started by placing a silhouette of one of the butterflies on an A2 panel. I begun stamping from bottom to top. Then, using a dauber I applied three different inks to the silhouette stamp. The inks from Catherine Pooler Designs that I used are Aquatini, Lime Rickey and Something Borrowed.


I stamped each butterfly silhouette and repeated the process of ink blending each time. Next, I stamped the outline of the corresponding butterfly using white ink.


Additionally, I die cut the Signature Thinking of You Die and placed the negative part in the MISTI. I put the die cut inside the negative part and stamped the Signature Thinking of You Stamp and heat embossed it with WOW! Opaque Bright White Embossing Powder.


I die cut the Signature Thinking of You Die two more times and glued them behind the white heat embossed die cut. Next, I stamped the sentiment “Special Friend” from Friendship Flower Stamp set from Julie Hickey Designs.


Finally, I trimmed just a bit one side of this panel and then I added a white folded notecard at the back using glue. Last, I placed the white heat embossed die cut on top of the background and I also adhered a strip of teal cardstock at one side and this card was finished. 

Thank you so much for stopping by and have a fabulous day! 

Your friend,

Karen