Showing posts with label layering stamp sets. Show all posts

Tuesday, May 24, 2022

Layering Roses with Layered Inks

Hello friends!! It’s Channin here and today I’m sharing a bold floral card I created with a beautiful layering stamp set from Honey Bee Stamps. To create the perfect pink rose I employed several tricks to get just the right shade and I can’t wait to share them with you!

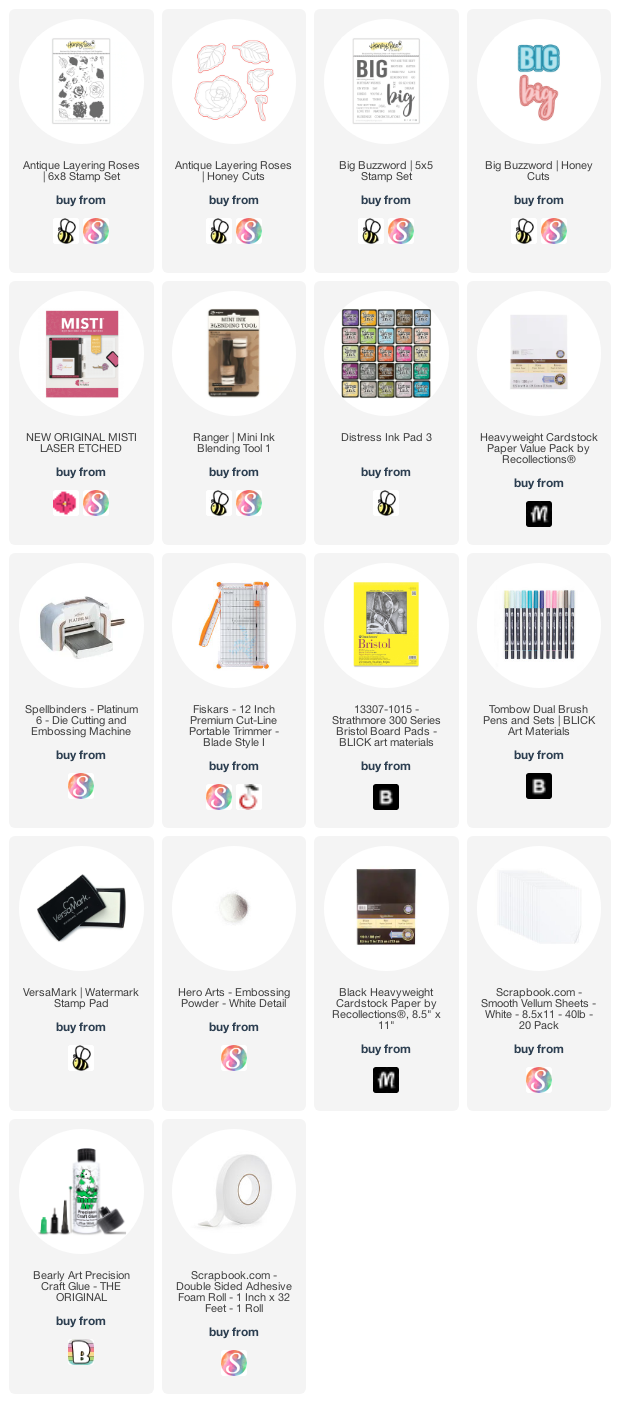
To create this card I started with stamping the roses from the Antique Layering Roses stamp set. There are four layers for each rose and for each layer I used a combination of Distress Inks to create the perfect shade. Starting with layer one, I first inked the stamp up with Spun Sugar and stamped twice. I then inked up the stamp with Worn Lipstick but I used a foam blending tool apply the ink to the stamp and then stamped the layer. The foam blending tool creates a lighter application resulting in a lighter shade. 


For the second layer of the roses I inked up the stamp in Worn Lipstick and then stamped. Next, with a foam blending tool I inked it up with Picked Raspberry and then stamped. Then for layer 3, I first stamped the stamp twice in Picked Raspberry and then inked up the stamp with Abandoned Coral and then stamped. For the final layer, I first inked up the stamp with Picked Raspberry and stamped three times. Then I inked up the stamp with Candied Apple and stamped twice.


Next, I stamped my leaves. For the first layer of the leaves I stamped them in Shaded Lilac. I then inked up the upper third of the leaf with Blueprint Sketch using a foam blending tool and stamped again. Next, I ink up the second layer of the leaf in Shaded Lilac and stamped twice. I then inked up the layer with Blueprint Sketch using a foam blending tool and stamped again. For the last layer, inked it up in Blueprint Sketch and stamped three times. 


After I had stamped all my roses and leaves I then die cut them out with the matching dies. I then created a watercolored background on Bristol paper with Tombow Dual Brush pens. When the panel had dried I then adhered it to the front of an A2 top-folding white card base. Next, I created a sentiment by first die cutting “BIG’s” out of white cardstock using the Big Buzzword Honey Cuts. I then stacked and adhered two layers of the “BIG” die cut together and then die cut a shadow layer out of vellum. Next, I adhered the vellum over the stacked letters and then finished the sentiment by adhering the remaining cardstock letters on top. I then stamped and white heat-embossed two sub-sentiments from the Big Buzzword Stamp Set onto black cardstock. I then finished the card by adhering the images and sentiments to the card front. 


I hope you enjoyed my card! Thank you so much for stopping by!


~Channin


Supplies:
Tuesday, June 22, 2021

Rainbow Layered Cupcake Birthday Card with Channin


Hello friends! It's Channin here and today I have a colorful birthday card to share. For today’s card I use the fun Color Layering Cupcake stamp set and matching die from Hero Arts! Read to find out what simple MISTI stamping trick I use to create rainbow gradation frosting for my cupcakes! 


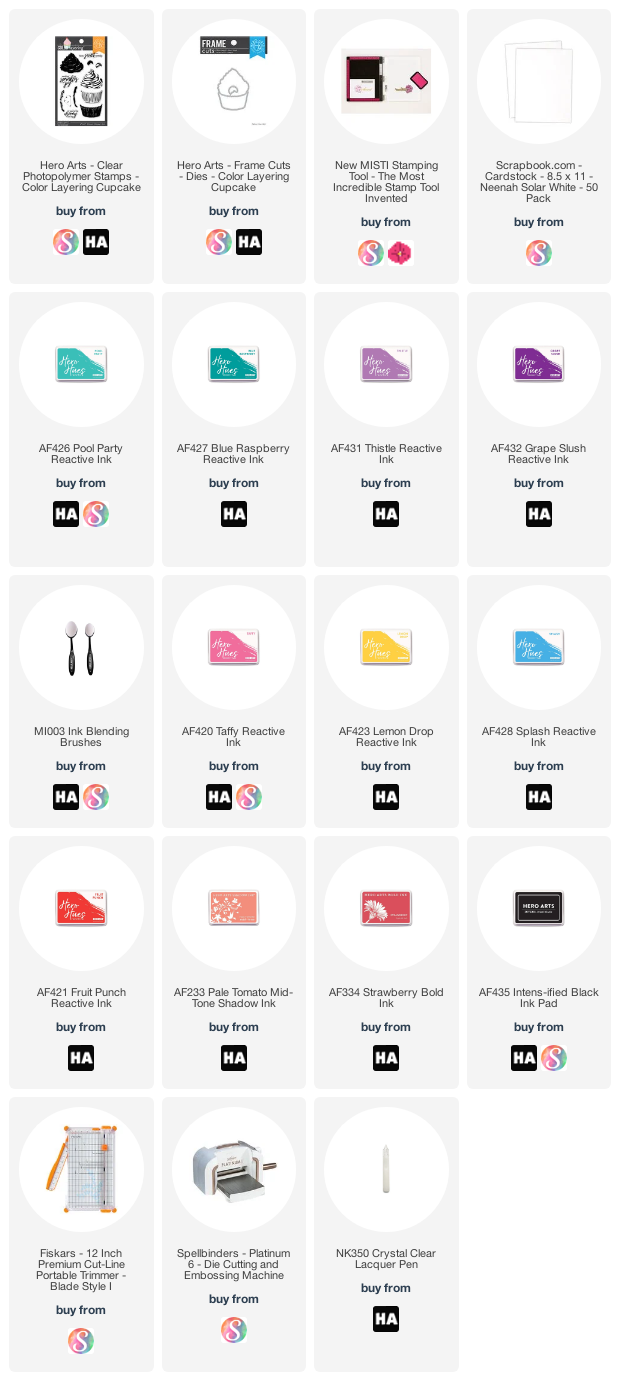
To create this card I first stamped the two cupcake liners. I started with the base layer (the more solid layer) in either Pool Party or Thistle. I then stamped the detail layer in either Blue Raspberry or Grape Slush. Next, I stamped the base cake layer in Soft Vanilla. I then stamped the detail layer for the cake first in Soft Vanilla and then I inked up only the bottom of the stamp in Pumpkin Pie and stamped to create a slight gradation. Next, I stamped the frosting starting with the base layer. I used an ink blending brush to apply Taffy Reactive Ink over a portion of the stamp and then stamped it. Next, I inked up the middle section of the stamp again with a blending brush with Lemon Drop and then stamp. Lastly, I inked up the last portion of the stamp in Splash again with the blending and then stamped. I then positioned the detail layer for the frosting and then inked and stamped the detail layer in the same manner I did the base layer. Lastly I finished up the cupcakes by stamping some sprinkles in Taffy, Lemon Drop, and Splash inks. 


Next, I stamped two cherries. First, I did the base layer in Fruit Punch and then used Pale Tomato and Strawberry for the detail layer. After I stamped the cherries and cupcakes I die cut them out with the matching dies and then adhered cherries on top. 


Next, I positioned my cupcakes over my card front and used a piece of washi tape to hold them in place. I then positioned a sentiment, picked it up with my MISTI, tucked a piece of scrap paper under the cupcakes to protect the card base and then stamped the sentiment in INTENS-ified Black. I then removed the cupcakes and then stamped the sentiment again onto the card front. Lastly, I finished the card by adhering the cupcakes to the card front and then added clear lacquer to the cherries.


I hope you enjoyed my card! Thank you so much for stopping by!


~Channin


Supplies:


Tuesday, March 31, 2020

Team Tuesday with Channin: Mass Production Tips & Tricks


Hello friends! It's Channin here and today have a video on mass producing cards with the MISTI. In the video, I'll share some of my tricks for mass producing cards and even pass on some my favorite partial inking tips as well!

VIDEO: Mass Production Tips & Tricks


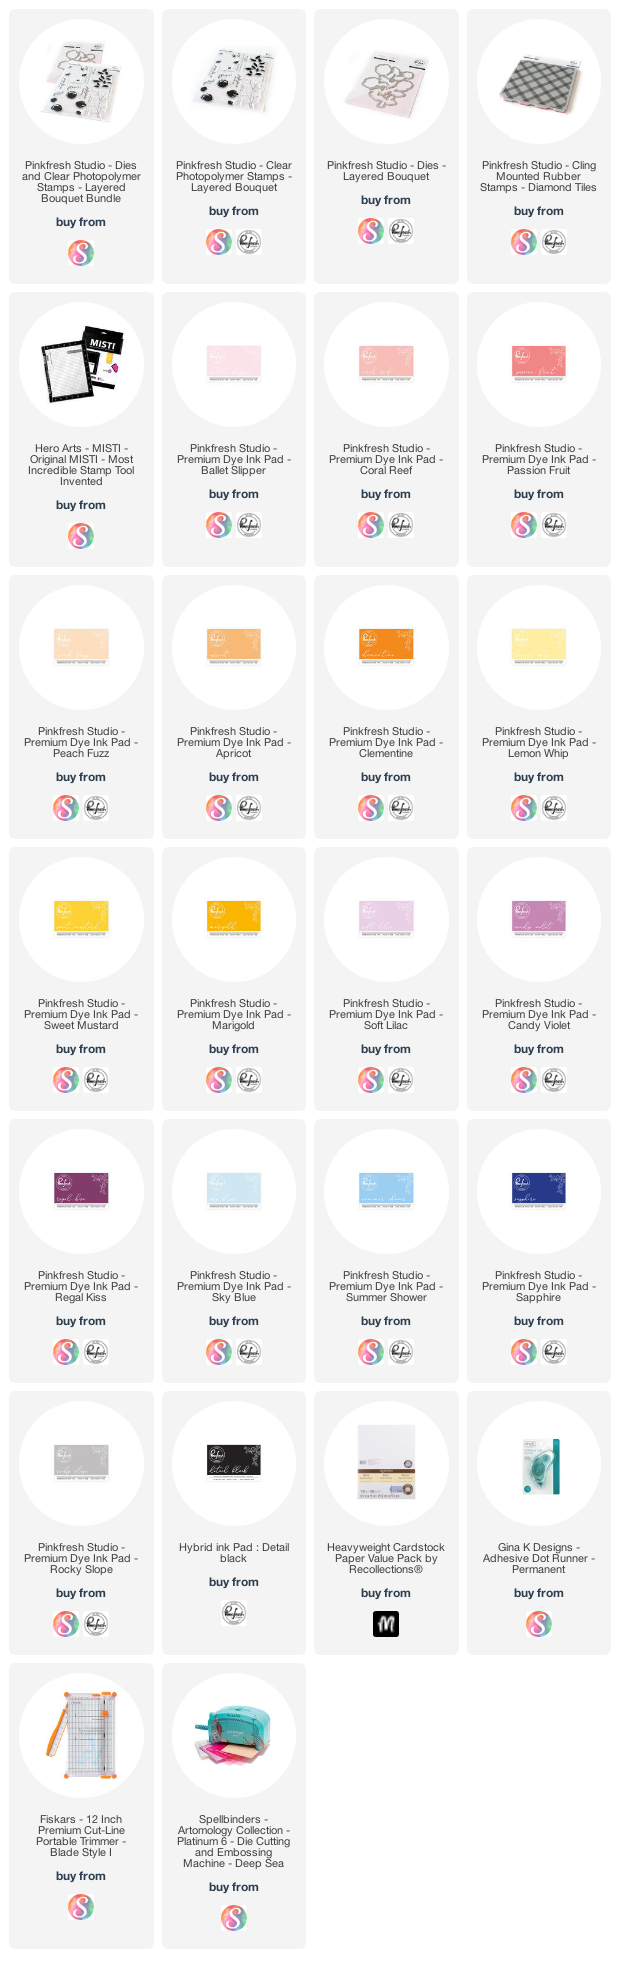
To create these cards, I first die cut several bouquets out of white cardstock with the Layered Bouquet matching die, saving one of the negatives to turn into a jig. I then added tape to the backside of my jig and placed it inside my MISTI. I then place a die cut inside, positioned the first layer for the Layered Bouquet stamp set, and then stamped in light ink for my chosen color family. I then partially inked the bottom portion of the same stamp with my medium shade and then stamped again.


I then removed the die cut, popped another one in stamped in the same manner with a different color family. I repeated this process till I had all my die cuts stamped with my first layer. I then positioned the next stamp for the bouquet, the detail layer for the flowers and stamped in my darkest shade and repeated for all the die cuts.


You can find the ink colors I used for each flower listed below.

Pink/Red
L: Ballet Slipper; M: Coral Reef; D: Passion Fruit

Orange
L: Peach Fizz; M: Apricot; D: Clementine

Yellow
L: Lemon Whip; M: Sweet Mustard; D: Marigold

Purple
L: Soft Lilac; M: Candy Violet; D: Regal Kiss


When I finished the with flowers I then stamped the leaves. I stamped the leaves in Sky Blue first and then partially inked them in Summer shower and stamped again. I then finished the bouquets by stamping the stems in Sapphire.

Next I die cut white craft foam with the Layered Bouquet matching die four times and then adhered each die cut onto the craft foam.


I then stamped four A2 white panels with the Diamond Tiles stamp in Rocky Slope and stamped a sentiment in black. I finished the cards by adhering the panels onto four A2 top-folding white card bases and then adhering the flowers on top.

I hope you enjoyed my cards and video! Thank you so much for stopping by!!

~Channin Supplies: