Showing posts with label #watercolor. Show all posts

Wednesday, May 28, 2025

Hello, chicken


Hello everyone! Anna here, with greetings from a cheerful, sunny day in the pacific northwest! 

The card I’m sharing today was made using the recently released Roo clear stamp set from SweetMissDaisy Designs. A cheerful set with an adorable chicken, and fun sentiments! I stamped the image and sentiment on watercolor paper, and paired with the images with fun paper prints from the designer Chicken Wire patterned paper also from SweetMissDaisy Designs. 

I used the Mini Misti to stamp the image and sentiment several times to ensure a great impression on textured watercolor paper.

I love how the Mini Misti allows me to stamp perfectly, every time! On card panels or on smaller sentiment banners, I can stamp with precision every time, giving me the perfect placement and impression for every project.  Sentiments are stamped perfectly placed, and stamped images on watercolor paper (or other textured papers) are a breeze to create! 

Thanks for joining me on the blog today!

Wednesday, May 7, 2025

Unfrogettable Birthday


Hello everyone! Anna here, with greetings from a cheerful, sunny day in the pacific northwest! 
The cards I’m sharing today were made using the recently released Unfrogettable clear stamp set from SweetMissDaisy Designs. A cheerful set with adorable critters, and really fun sentiments! I stamped the images and sentiments on watercolor paper, and paired with the images with fun paper prints from the designer Ribbit patterned paper also from SweetMissDaisy Designs. 

I used the Mini Misti to stamp the image and sentiments several times to ensure a great impression on textured watercolor paper.

I love how the Mini Misti allows me to stamp perfectly, every time! On card panels or on smaller sentiment banners, I can stamp with precision every time, giving me the perfect placement and impression for every project.  Sentiments are stamped perfectly placed, and stamped images on watercolor paper (or other textured papers) are a breeze to create! 

Thanks for joining me on the blog today!

Thursday, March 2, 2023

Easter with a Bear


Hi, Angie here with a Pooh Bear card! I stamped this sweet Easter image on very textured watercolor paper. The MISTI is my most important tool for stamping on textured watercolor paper, as this paper requires multiple stampings for a solid impression. I used the original and Mini MISTI to make this card.  First, I stamped Pooh in the Original MISTI, and after water-coloring Pooh, I stamped the butterfly in the Mini MISTI.


Thanks so much for taking a look!  

***Affiliate links are used when possible at no charge to you!***

Here is what I used for this project:


Thursday, November 17, 2022

Painting and Stamping with the MISTI

Hello, creative friends! Today I am sharing how easy it is to stamp on a watercolor using My Sweet Petunia tools!   First, I watercolored a winter sky on 100% cotton watercolor paper.   Next, I placed a Sticky Mat in my Teal MISTI. The Sticky Mat held the watercolor in place while I reinked the stamps several times.  Next, I grabbed the Mini MISTI to stamp the sentiment.  The Mini MISTI is ideal for stamping small images and sentiments.  Lastly, I used the 0 centering feature of the Cut-Align Ruler for perfect alignment of the sentiment.


Thanks so much for stopping by and taking a look!


***Affiliate Links are used when possible at no extra cost to you!***

Featured MSP Products:

Impression Obsession Products:


Thursday, October 6, 2022

Celebrating You!

Hello, creative friends!  Angie here with a sweet project dear to my heart! Our firstborn is getting married in a few days, and his fiance loves daisies. One of my favorite things about cardmaking is that I can tailor my project to the recipient!
 
  I have mentioned before that one of the MISTI superpowers is stamping on watercolor paper; it's never more true than when working with a large stamp.  I  reinked this large stamp several times to get a clean image on the textured 100% watercolor paper.  The MISTI made it easy to create this unique gift.

 I painted the flower centers with Quinacridone Gold. Once the centers were dry I painted the flower petals with clean water, one flower at a time.  Next, I dropped Paynes Gray near the flower center and dabbed the color away when it flowed too far down the petal.  For the stems, I used a green mix already in my palette.  Lastly, I loaded my brush with Paynes Gray for splatters.  Once again, the MISTI made quick work of the sentiment even with its bold lettering in the first word!

 
 *** Affiliate links used in this post.  When you shop through my links I receive compensation at no cost to you. Thank you so very much!***

The Black Original MISTI is in my house and at the store! You can find it HERE!


Also used in the making of this card:

Mini MISTI (sentiment stamping)


Thanks so much for stopping by and taking a look!


Tuesday, May 24, 2022

Layering Roses with Layered Inks

Hello friends!! It’s Channin here and today I’m sharing a bold floral card I created with a beautiful layering stamp set from Honey Bee Stamps. To create the perfect pink rose I employed several tricks to get just the right shade and I can’t wait to share them with you!

To create this card I started with stamping the roses from the Antique Layering Roses stamp set. There are four layers for each rose and for each layer I used a combination of Distress Inks to create the perfect shade. Starting with layer one, I first inked the stamp up with Spun Sugar and stamped twice. I then inked up the stamp with Worn Lipstick but I used a foam blending tool apply the ink to the stamp and then stamped the layer. The foam blending tool creates a lighter application resulting in a lighter shade. 


For the second layer of the roses I inked up the stamp in Worn Lipstick and then stamped. Next, with a foam blending tool I inked it up with Picked Raspberry and then stamped. Then for layer 3, I first stamped the stamp twice in Picked Raspberry and then inked up the stamp with Abandoned Coral and then stamped. For the final layer, I first inked up the stamp with Picked Raspberry and stamped three times. Then I inked up the stamp with Candied Apple and stamped twice.


Next, I stamped my leaves. For the first layer of the leaves I stamped them in Shaded Lilac. I then inked up the upper third of the leaf with Blueprint Sketch using a foam blending tool and stamped again. Next, I ink up the second layer of the leaf in Shaded Lilac and stamped twice. I then inked up the layer with Blueprint Sketch using a foam blending tool and stamped again. For the last layer, inked it up in Blueprint Sketch and stamped three times. 


After I had stamped all my roses and leaves I then die cut them out with the matching dies. I then created a watercolored background on Bristol paper with Tombow Dual Brush pens. When the panel had dried I then adhered it to the front of an A2 top-folding white card base. Next, I created a sentiment by first die cutting “BIG’s” out of white cardstock using the Big Buzzword Honey Cuts. I then stacked and adhered two layers of the “BIG” die cut together and then die cut a shadow layer out of vellum. Next, I adhered the vellum over the stacked letters and then finished the sentiment by adhering the remaining cardstock letters on top. I then stamped and white heat-embossed two sub-sentiments from the Big Buzzword Stamp Set onto black cardstock. I then finished the card by adhering the images and sentiments to the card front. 


I hope you enjoyed my card! Thank you so much for stopping by!


~Channin


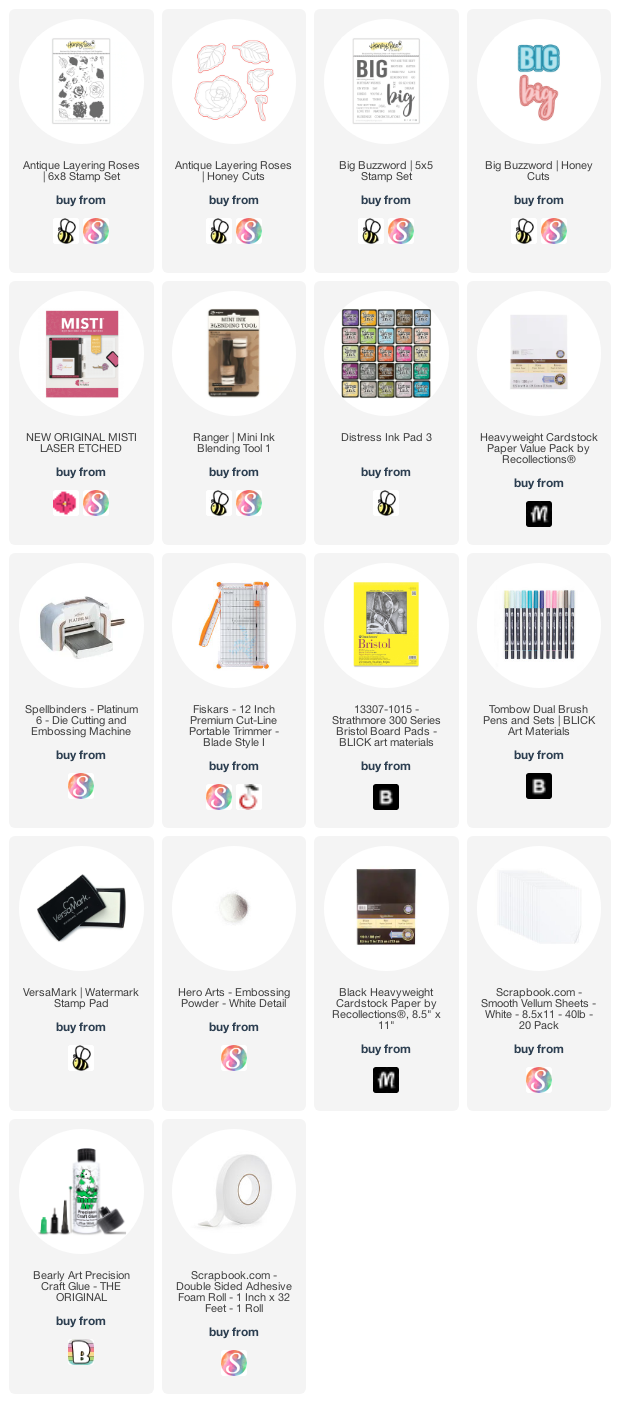
Supplies:
Thursday, October 21, 2021

Watercolor Roses with Karen Reategui


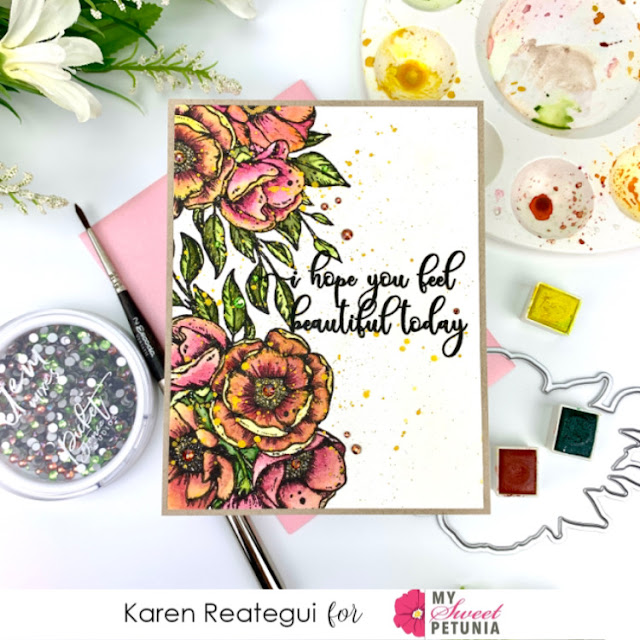
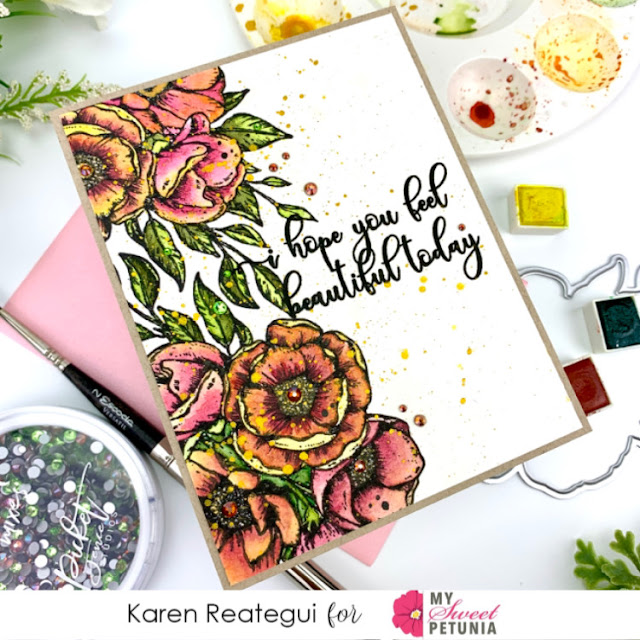
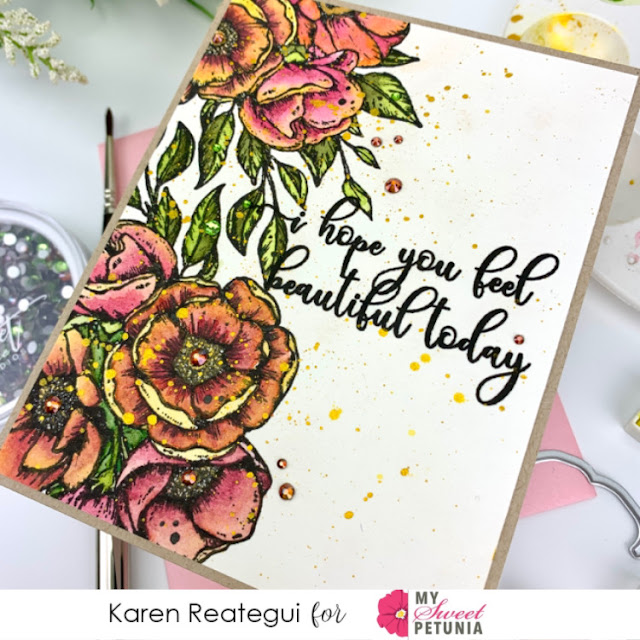
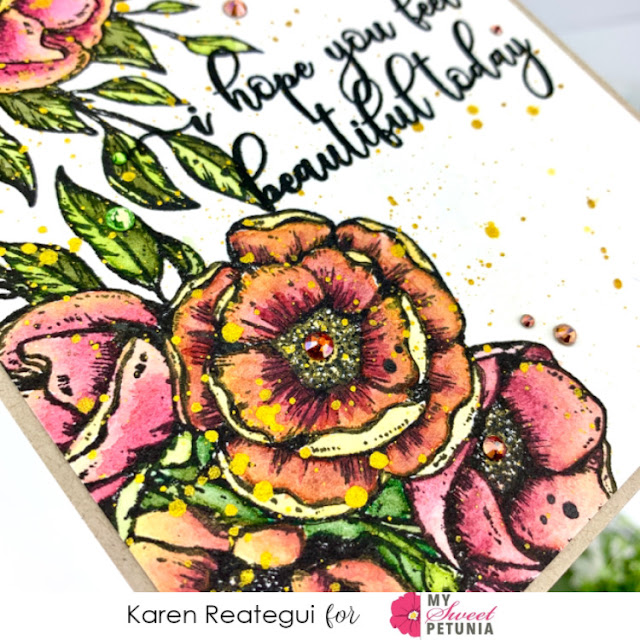
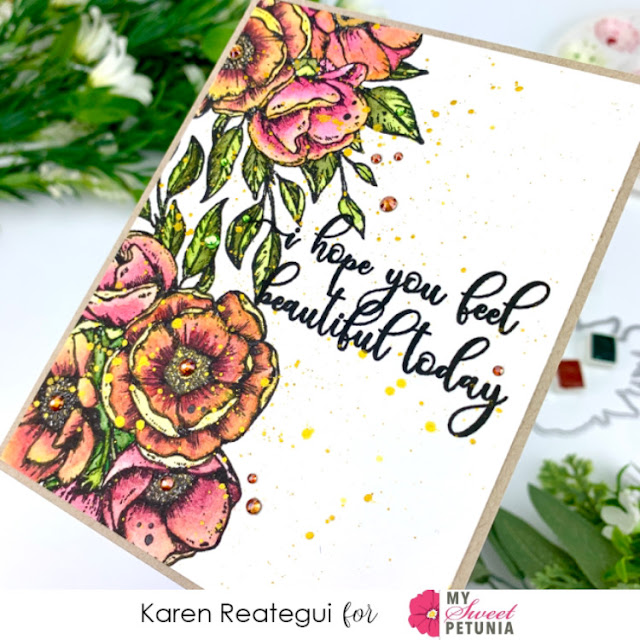
Hello friends, I'm so happy to be here today sharing this watercolor card that I made using products from Picket Fence Studios and my original MISTI.


Let's start! With the help of my original MISTI I stamped the Watercolor Roses stamp using Black Hybrid ink onto an A2 watercolor panel.  


Then, using a watercolor brush I applied Jane Davenport Watercolors. Also, I added some splatters of metallic gold ink from Hero Arts around the panel using a fan brush.


Once my panel was dry, I stamped my sentiment from the same Watercolor Roses Stamp using my MISTI and the Black Hybrid ink from Picket Fence Studios.


I trimmed down my panel a little bit and I adhered a panel of Neenah Desert Storm plus a white card base at the back. As a final touch I added some Autumn Leaves Gem Mixes from Picket Fence Studios and this card was done.


I hope you like this card and give this a try. 
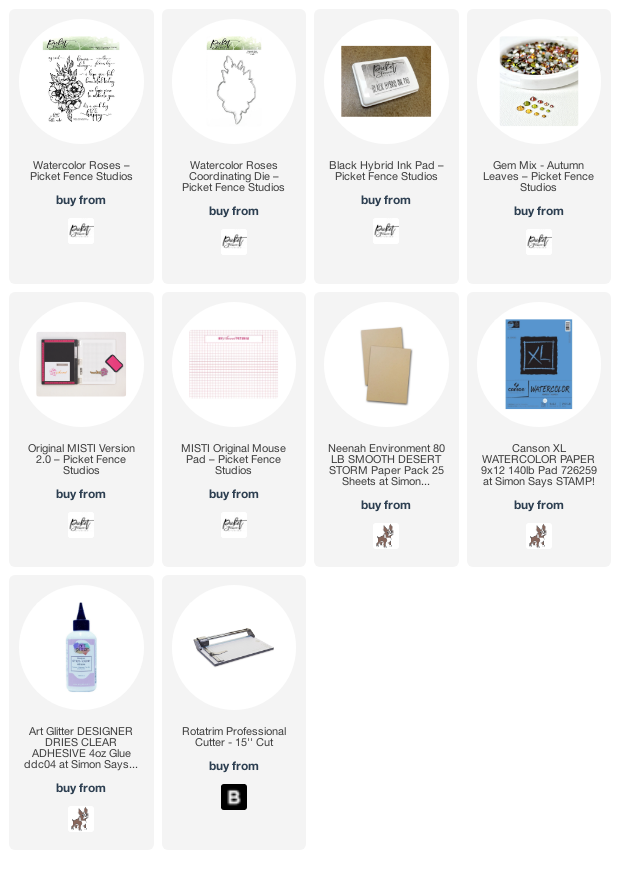
Thank you so much for stopping by, please have a wonderful day and you will find the list of supplies below.

Your friend, Karen