Showing posts with label birthday card. Show all posts

Tuesday, January 18, 2022

Waffle Flowers Birthday Card


Hi friends and welcome back.  It's Sandi MacIver here and I have a new card making technique video to share with you.
This card is created with paper crafting products from Waffle Flowers and PinkFresh.  The video starts with a quick copic coloring tutorial on the florals and then moves on to an Ink Blending and Splatter Background Technique using Hero Arts Reactive Ink Pads. 

It's a start to finish card tutorial. 

This card was also created for the Misti Monday Challenge for January over on the Splitcoast Stampers Site.  The challenge this month is to Use Pink on Your Cards to express your gratitude for your Misti and the My Sweet Petunia Company.  

I use my Misti many different ways in today's video and I love it and appreciate having it so much.  I hope you will join in the challenge.
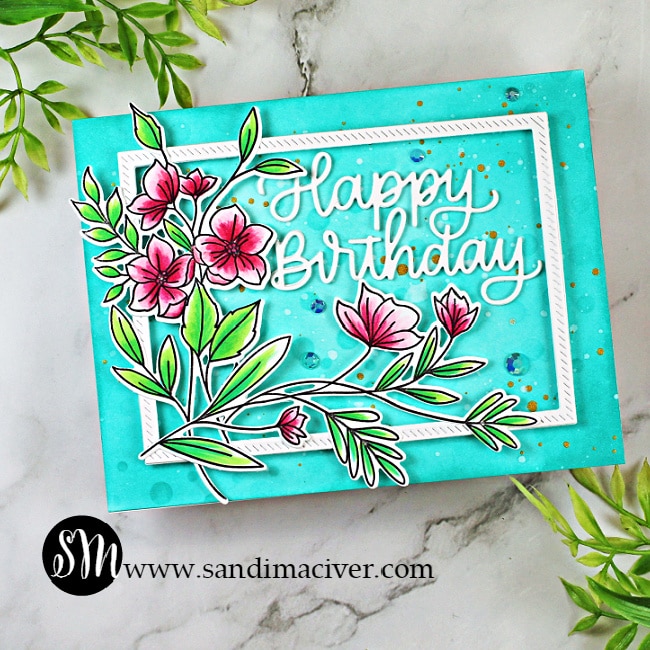
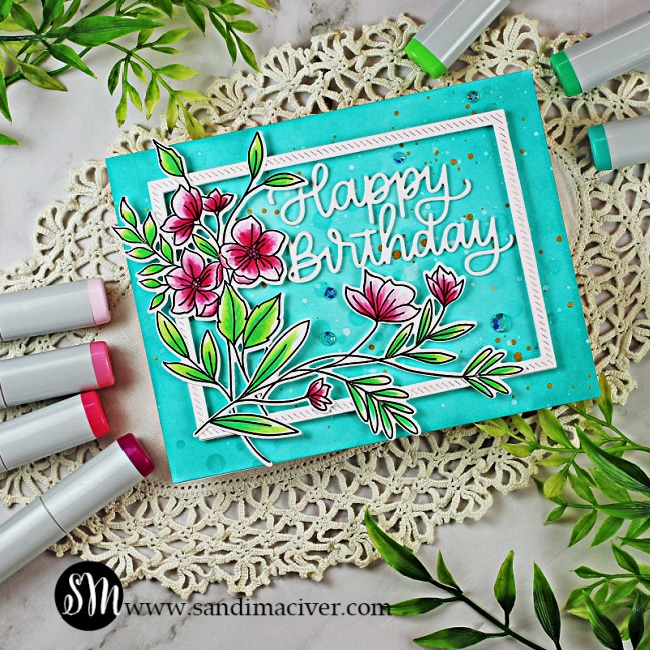
  hand made greeting card with a teal background and pink florals created with paper crafting supplies from Waffle Flowers

Card Making Techniques Video #85 - Card

Use the Misti to stamp the floral images onto Hammermill white cardstock using Gina K Amalgam Ink (Copic Friendly).
  • Color the image with Copic Markers: Pinks:  RV10, RV13, RV14, RV19
  • Greens:  YG13, G02, G13
Next, use the coordinating dies to cut out the images and set them aside.

hand made greeting card with a teal background and pink florals created with paper crafting supplies from Waffle Flowers

Creating the Background:

Using the Waffle Flower Stencil Mat, ink blend Hero Arts Reactive Ink in Pool Party over the entire surface of the card front. 

Next, go around the edges with the Blue Raspberry Ink. Lay the Waffle Flowers Snowfall Background stencil over the piece and blend more ink through the stencil. 

Finally, splatter the card front with water, then white and gold ink.  Set aside to dry Die cut two frames using the Pinkfresh Diagonal Stitched Rectangles.  I like the added detail in the stitching, it adds so much interest to a card. Attach it with foam tape and then add the florals.

Adding the Sentiment:

The sentiment is die cut three times in white using the Simon Says Stamp Happy Birthday Script die.

 Stack and attach in the top right corner. 
Finally, embellish with gems from the Pinkfresh Essentials Jewel Mix

Here is today's Card Making Tutorial Video #85

Click the image to watch the video over on my YouTube Channel and don't forget to subscribe while you are there.  

Click on the little bell beside the subscribe button to get notifications when I load new videos.  Hope you enjoy the video and please share it with your friends.


Card Making Supplies used for the Card Making Techniques Video #85 :

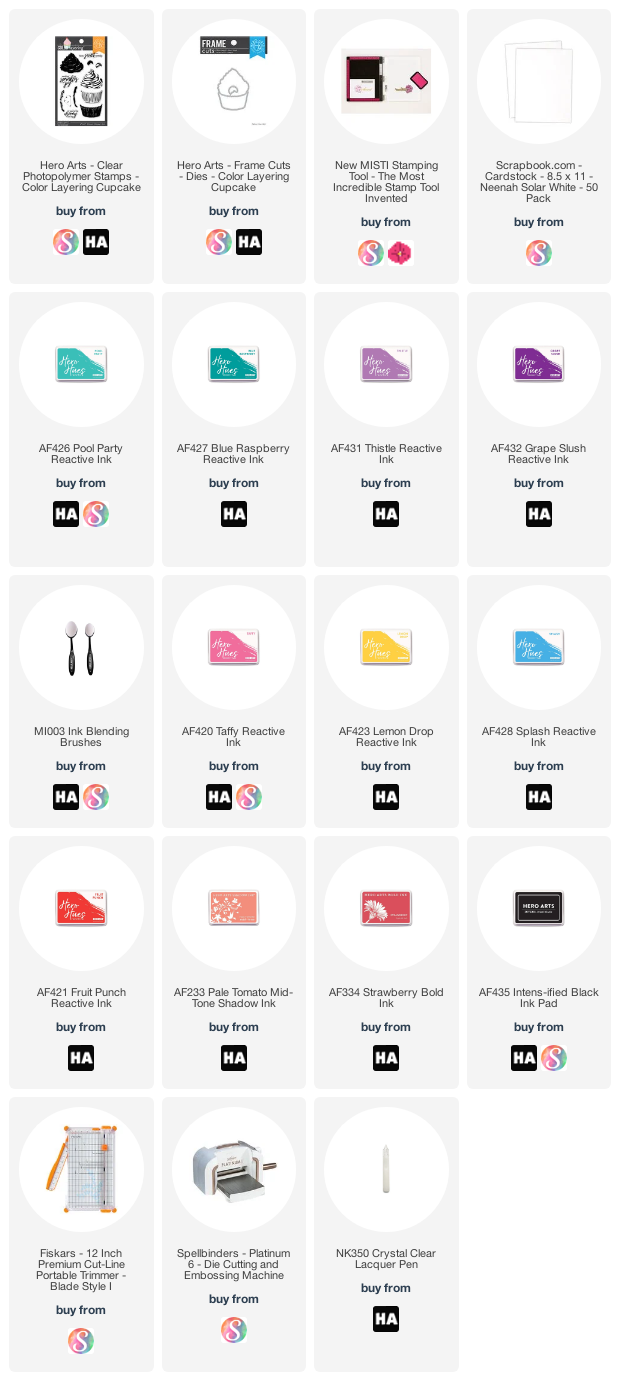
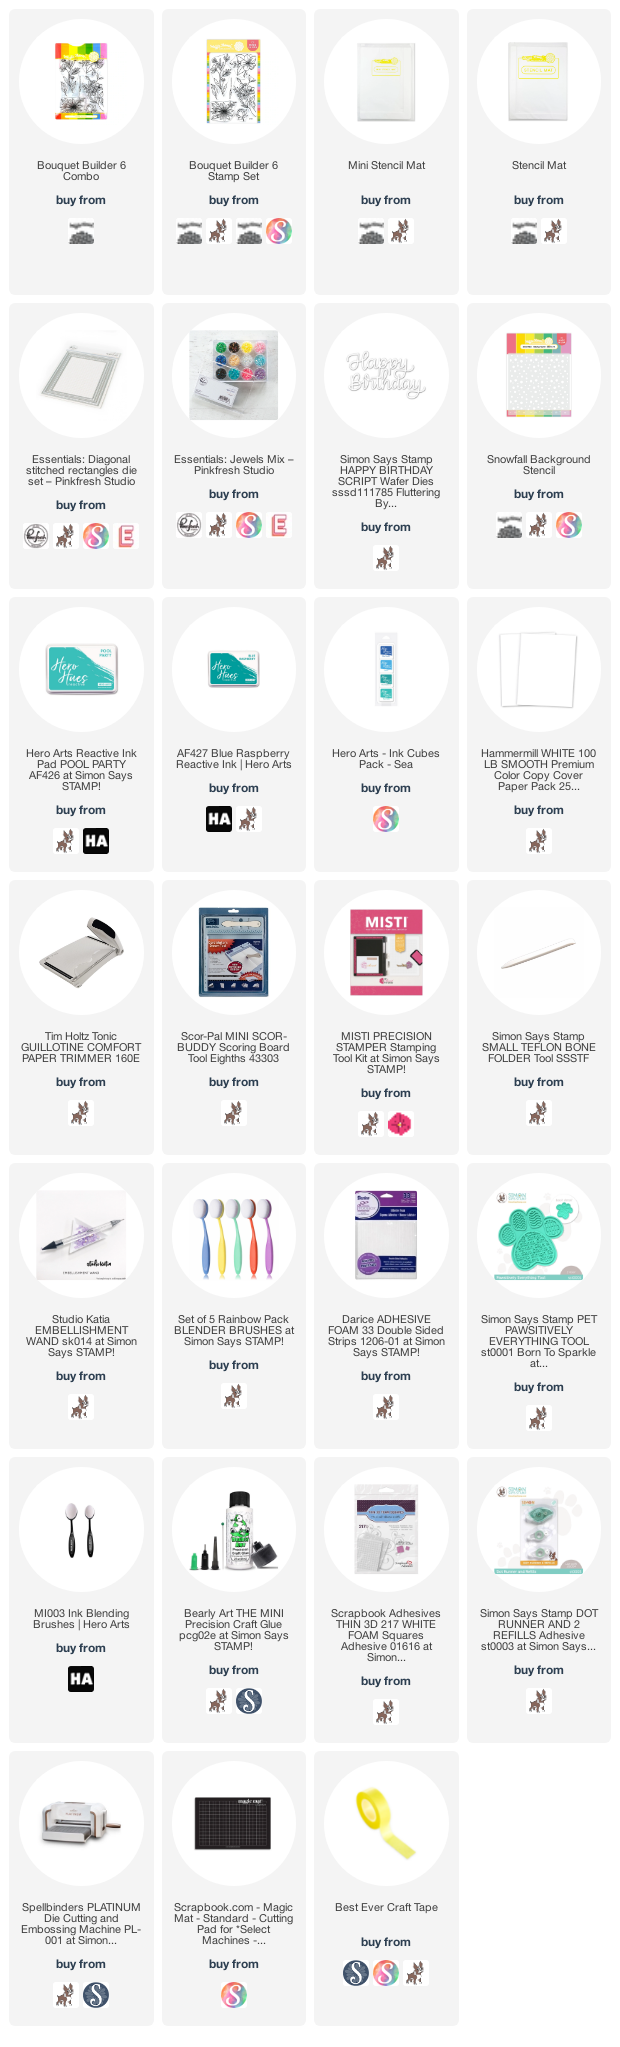
Here are the products I used today.  Compensated affiliate links used  where available at no cost to you. When you click on a thumbnail link and shop you are supporting my website allowing me to continue bringing you new projects and videos.  Thank you.    

Tuesday, June 22, 2021

Rainbow Layered Cupcake Birthday Card with Channin


Hello friends! It's Channin here and today I have a colorful birthday card to share. For today’s card I use the fun Color Layering Cupcake stamp set and matching die from Hero Arts! Read to find out what simple MISTI stamping trick I use to create rainbow gradation frosting for my cupcakes! 


To create this card I first stamped the two cupcake liners. I started with the base layer (the more solid layer) in either Pool Party or Thistle. I then stamped the detail layer in either Blue Raspberry or Grape Slush. Next, I stamped the base cake layer in Soft Vanilla. I then stamped the detail layer for the cake first in Soft Vanilla and then I inked up only the bottom of the stamp in Pumpkin Pie and stamped to create a slight gradation. Next, I stamped the frosting starting with the base layer. I used an ink blending brush to apply Taffy Reactive Ink over a portion of the stamp and then stamped it. Next, I inked up the middle section of the stamp again with a blending brush with Lemon Drop and then stamp. Lastly, I inked up the last portion of the stamp in Splash again with the blending and then stamped. I then positioned the detail layer for the frosting and then inked and stamped the detail layer in the same manner I did the base layer. Lastly I finished up the cupcakes by stamping some sprinkles in Taffy, Lemon Drop, and Splash inks. 


Next, I stamped two cherries. First, I did the base layer in Fruit Punch and then used Pale Tomato and Strawberry for the detail layer. After I stamped the cherries and cupcakes I die cut them out with the matching dies and then adhered cherries on top. 


Next, I positioned my cupcakes over my card front and used a piece of washi tape to hold them in place. I then positioned a sentiment, picked it up with my MISTI, tucked a piece of scrap paper under the cupcakes to protect the card base and then stamped the sentiment in INTENS-ified Black. I then removed the cupcakes and then stamped the sentiment again onto the card front. Lastly, I finished the card by adhering the cupcakes to the card front and then added clear lacquer to the cherries.


I hope you enjoyed my card! Thank you so much for stopping by!


~Channin


Supplies: