Showing posts with label Holiday Cards. Show all posts

Tuesday, December 14, 2021

Home Alone with MISTI


Hi,
This is Susan today. I am trying new things and today you get to see one of my experiments. I have used colored pencils before but seldom tried using paper specifically for colored pencils and not using gamsol. This did not come out quite like I thought it would. However, this Impression Obsession stamp is my favorite Christmas stamp, Winter House. It reminds me of our old home as well as a small part of the house featured on Home Alone. 

I removed the foam pad from my MISTI 2.0 because this is a cling stamp. I stamped it with Versafine Onyx Black onto Mitientes paper. It is important to use a MISTI tool when stamping onto paper intended for pencils and colored pencils. These papers are lightly textured and you may need to stamp two or three times to get a crisp image. I then used my Polychromos pencils and spent part of Home Alone 1 and part of a Hallmark Christmas Movie coloring in this image. I have colored it so many times that it is very relaxing to color it. Time flies along with the snow in the image. 

Thanks for stopping by;
Susan

Tuesday, November 16, 2021

Snowflakes, Heat Embossing and the MISTI: A Few of My Favorite Things


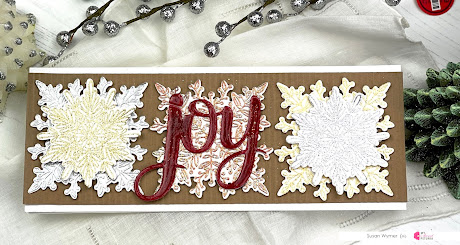
Hello and welcome to the My Sweet Petunia blog for Team Tuesdays. This is Susan. Today I will be using my MISTI with a new set from Reverse Confetti called Snowflake Season. I also used Layered Joy Confetti Cuts. This project really started out with my wanting to label and organize my heat embossing powders. I have a lot. I would really like to have a sample of what each powder does. 

Using my standard MISTI and 3.5" x 3.5" squares of Neenah Solar white, I repeated stamped the largest snowflake using Versamark Ink. I then went through and embossed the snowflakes with different embossing powders. I ended up with about 10 snowflakes from this session. However, after seeing how pretty they were I had to die cut them to make several cards. I am hoping to get back to swatching out my embossing powders. Using my MISTI certainly makes this daunting task a lot easier. I will post my swatching on a future post. 

Thanks for stopping by;
Susan

Products Used: I am using compensated affiliate links at no further cost to you. I make a small commission on each sale. The stamps and dies were given to me by Reverse Confetti for work purposes. 

Tuesday, November 10, 2020

Holiday Toy Shop Card with Channin


Hello friends! It's Channin here and today I have a festive holiday card to share! Today’s card features the classic and super fun House Builder Dies and the new Toy Store Add-on stamps and dies all from Honey Bee Stamps!


To create this card I first die cut the card front, back and hinge out of heavy weight white cardstock using the House Builder Dies. I then adhered the card front and back together using the hinge and scor-tape. Next, I die cut another house front out of light green cardstock and a roof out of kraft and then adhered them both to the card front. I then used some shrub dies from the House Builder Die set to make snow and then adhered the snow to the base of the roof and the store. 


Next, I die cut windows and window frames out of white and dark brown cardstock. I then taped the windows onto the MISTI mouse pad and stamped several toys from the Toy Store House Builder Add-on Stamp Set. I used several masks to create the illusion of depth and make some of toys appear to be in the background. Next, I stamped lights, columns, and more toys onto white cardstock, then copic colored all the images, and then die cut them out (except for the images on the windows) with the matching dies from the Toy Store House Builder Add-on Die Set. 


I then die cut the store front, sign, door, chimney, wreath, garland, and pine trees out of white and colored cardstock using the Toy Store House Builder Add-on Dies. Next, I stamped “North Pole Toy Co.” onto the store sign and then finished the card by adhering all the die cuts as well as my colored images to my card front. 


I hope you enjoyed my card! Thank you so much for stopping by!


~Channin


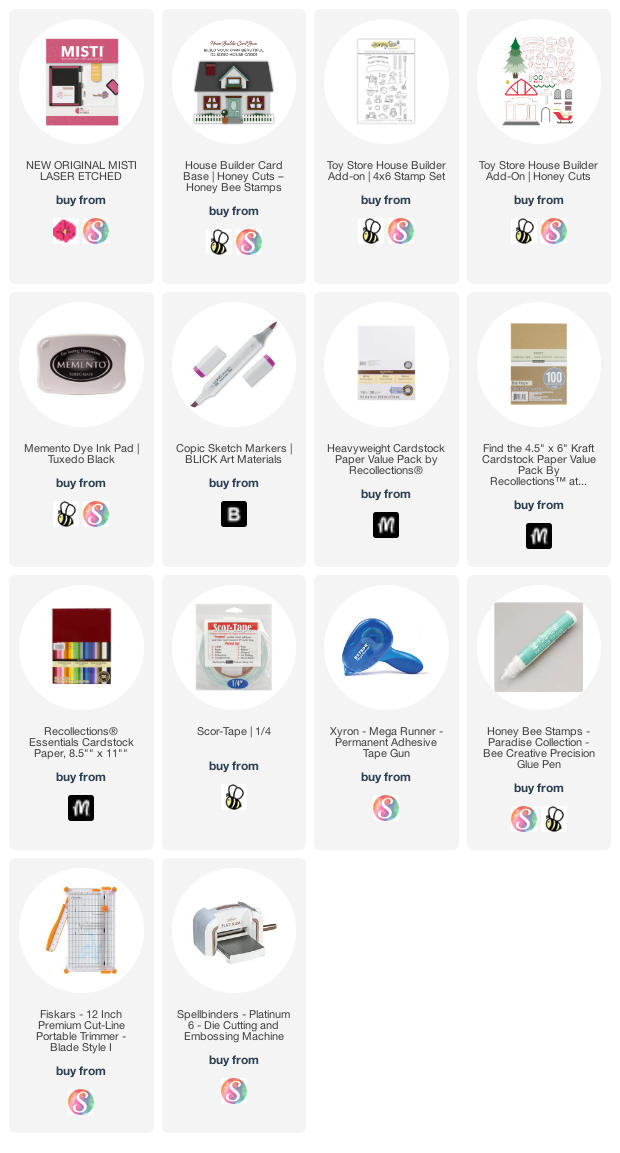
Supplies:

Tuesday, October 27, 2020

Distress Oxide Ink Single Layer Holiday Cards

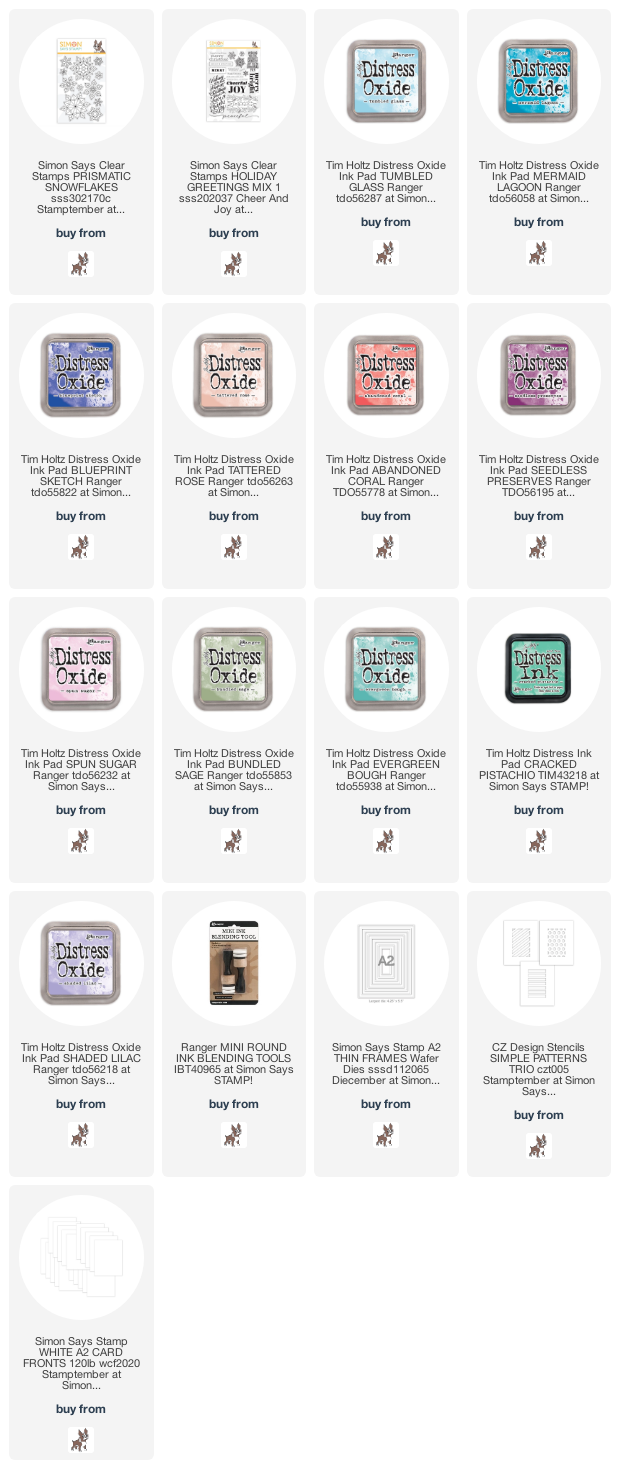
 Hi card making friends, Sandi MacIver here and I have four super easy holiday cards for you today.  The Distress Oxide Ink Single Layer Holiday Cards are done in a mass production format blending all the backgrounds first and then popping the stamps into the Misti and stamping all the cards at the same time.

I even used precut and scored card bases to further speed up the process (link below).


For the backgrounds I used four different blends of Distress Oxide Inks and the Simon Says Stamp Simple Patterns Trio Stencils.

These stencils line up with the outside edge of an A2 card so you can quickly add your ink blends and move on.

There are three designs in this set, and for the forth card (bottom right corner), I created my own.


I used a piece of Neenah Solar White 80# card and the Simon Says Stamp A2 Thin Frames to cut out the stencil.  You could also use overhead projector plastic or plastic left over from packaging.


Once all the blending is done and the ink is dry, pop one of the cards into the bottom left corner of your Misti, secure with a few magnets and add the stamps.  

These stamps are from the Simon Says Stamp Prismatic Snowflakes stamp set and the sentiment is from Simons Holiday Greetings Mix 1.

Once you have the stamps all lined up, use Simons Intense Black Ink to stamp them.  Just remove the stamped card and pop another one in, ink up the stamps and in no time you have all four stamped.

These beautiful cards are easy to create, bright and cheery and flat, so no additional postage required.
Here are the Distress Oxide Ink Colors I used for the blends.


Card #1  (from the Top), Tattered Rose, Abandoned Coral and Seedless Preserves.


Card #2 - Tumbled Glass, Mermaid Lagoon and Blueprint Sketch.


Card #3 - Spun Sugar, Bundled Sage and Tumbled Glass


Card #4 - Shaded Lilac, Cracked Pistachio and Evergreen Bough.

That's it for me today, I hope you will give these cards a try and add to your Christmas Card Stash.

I've listed the supplies I used below.  Affiliate Links are used which means I receive a small commission when  your purchase through my links at no additional cost to you.

Thanks so much for stopping in and Happy Stamping