Showing posts with label Sandi MacIver. Show all posts

Tuesday, October 27, 2020

Distress Oxide Ink Single Layer Holiday Cards

 Hi card making friends, Sandi MacIver here and I have four super easy holiday cards for you today.  The Distress Oxide Ink Single Layer Holiday Cards are done in a mass production format blending all the backgrounds first and then popping the stamps into the Misti and stamping all the cards at the same time.

I even used precut and scored card bases to further speed up the process (link below).


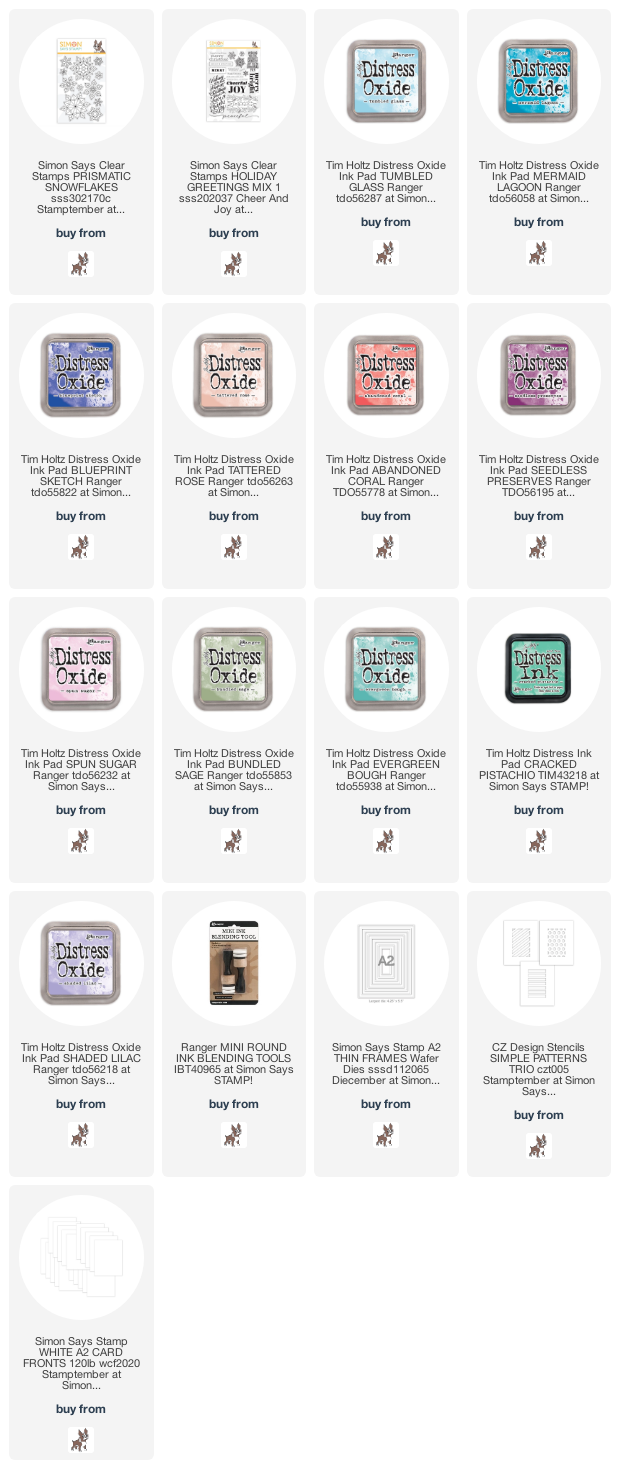
For the backgrounds I used four different blends of Distress Oxide Inks and the Simon Says Stamp Simple Patterns Trio Stencils.

These stencils line up with the outside edge of an A2 card so you can quickly add your ink blends and move on.

There are three designs in this set, and for the forth card (bottom right corner), I created my own.


I used a piece of Neenah Solar White 80# card and the Simon Says Stamp A2 Thin Frames to cut out the stencil.  You could also use overhead projector plastic or plastic left over from packaging.


Once all the blending is done and the ink is dry, pop one of the cards into the bottom left corner of your Misti, secure with a few magnets and add the stamps.  

These stamps are from the Simon Says Stamp Prismatic Snowflakes stamp set and the sentiment is from Simons Holiday Greetings Mix 1.

Once you have the stamps all lined up, use Simons Intense Black Ink to stamp them.  Just remove the stamped card and pop another one in, ink up the stamps and in no time you have all four stamped.

These beautiful cards are easy to create, bright and cheery and flat, so no additional postage required.
Here are the Distress Oxide Ink Colors I used for the blends.


Card #1  (from the Top), Tattered Rose, Abandoned Coral and Seedless Preserves.


Card #2 - Tumbled Glass, Mermaid Lagoon and Blueprint Sketch.


Card #3 - Spun Sugar, Bundled Sage and Tumbled Glass


Card #4 - Shaded Lilac, Cracked Pistachio and Evergreen Bough.

That's it for me today, I hope you will give these cards a try and add to your Christmas Card Stash.

I've listed the supplies I used below.  Affiliate Links are used which means I receive a small commission when  your purchase through my links at no additional cost to you.

Thanks so much for stopping in and Happy Stamping


Tuesday, September 1, 2020

Simon Says Stamp Stamptember Cards

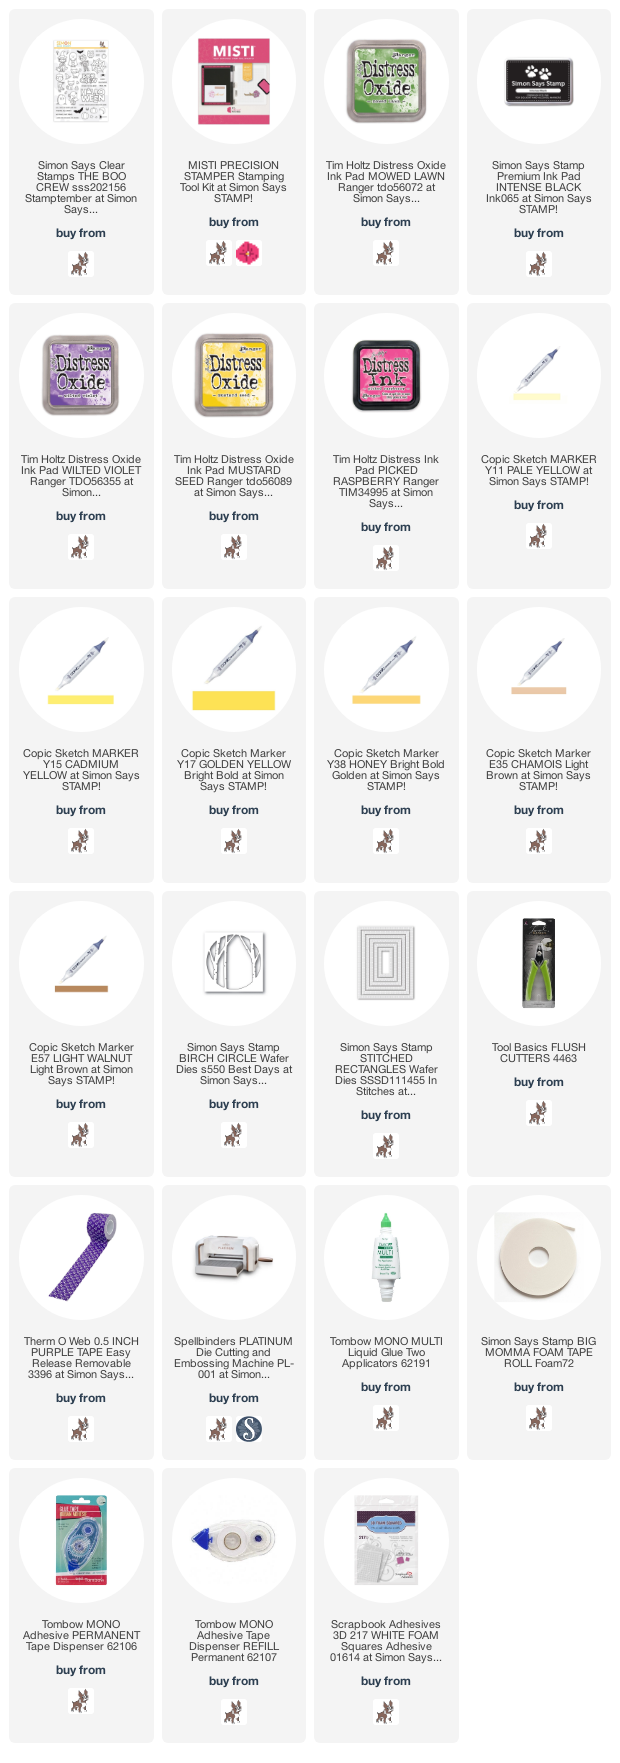
 Hi crafty friends and welcome back.  Sandi MacIver here and as it's September 1st, I'm sharing a couple of cards I created with a New, (released today) stamp set The Boo Crew from Simon Says Stamp Stamptember and my New Misti of course.

I've been asked numerous times in the past couple of weeks what my favorite upgrade is on the Misti 2.0 and I have to say it's the lid (or top).  It has a bit of an overhang now with a little curved bit that makes it so easy to lift as your finger tip just fits right under there.  Do you have your new Misti yet?  If so, What's your favorite new upgrade?

Anyway, I used it extensively on this first card and I just love it:


I started with a piece of Canson watercolor paper and Smooshed the background with Mowed Lawn Distress Oxides.  Once dry, I cut it out with SSS Stitched Rectangle Wafer Dies.


Next, I placed it into the center of my Misti and laid the web stamp in one corner.  I stamped it, and then moved my paper a turn instead of moving the stamp, allowing me to quickly stamp all around the edge of my art piece.  I then added the stamped spider to the top web.


Next I placed a piece of Neenah 80# into my Misti and stamped Frankie and the headstone in copic friendly Simon Says Stamp Intense Black ink.

Once they were colored, I fussy cut them out.

Copic Colors used:
Gray:  C1, C2, C5, C7
Green:  YG21, YG23, YG17
Blue:  B16, B24, B26

I placed a scrap of black card into the Misti and stamped all three rows of the sentiment in VersaMark ink and white heat embossed it before trimming them out into strips.

The art piece was then mounted to a top folding A2 black card base and the little art pieces added with Foam squares to add a little height.


For the second card I decided to do a fall scene.  I die cut the Birch Circle Die out of the stitched rectangle card front and then placed it into my Misti to line up and stamp the sentiment.

Next, I ink blended Distress Oxide ink onto another small panel to fit behind this.  I used Wilted Violet, Picked Raspberry and Mustard Seed and then splattered water on it for the star effect.


Finally I placed a 4-1/4 x 5-1/2 piece of Neenah 80# Solar White card into my Misti and stamped the Bat, Moon and all three pumpkins in Copic friendly Simon Says Stamp Intense Black ink before coloring them and cutting them out.

Copic Colors Used:
Oranges:  Y11, Y15, Y17, Y19, Y38
Browns:  E35, E57

They were also added with foam squares for a bit of 3-d effect.

Here are links to supplies I used in today's cards.  Compensated affiliate links are used at no further cost to you.  My Sweet Petunia provided the new regular sized MISTI for these projects and Simon Says Stamp provided the stamp set.  I purchased the remaining products used.  Thank you for your support, it helps to maintain my blog and You Tube Channel.