Showing posts with label video. Show all posts

Tuesday, March 2, 2021

VIDEO: Caring Hands Eclipse Cards with Channin

Hello friends! It's Channin here and today I have a pair of colorful cards and video to share featuring the Caring Hands stamps and dies from Waffle Flower Crafts. Today’s card uses the MISTI and the eclipse technique to add a cool dimensional effect to my sentiment!


To create these cards I first stamped a sentiment from Caring Hands Sentiment Stamp set onto an A2 panel of rainbow patterned paper in VersaFine Onyx Black Ink using my MISTI. I left my stamp inside my MISTI and then adhered the rainbow panel onto the front of an A2 top-folding card base.


Next, I stamped the praying hands from the Caring Hands Stamp Set in Antique Linen Distress Ink onto Neenah Solar White cardstock. I then copic (E30 & E31 or E35 & E37) colored the hands and then die cut them with the matching die. 


Next, I grabbed a scrap A2 panel of cardstock, popped it into my MISTI and stamped the same sentiment I stamped on the rainbow panel. I then centered the praying hands die over the stamped sentiment and then ran them through my die cutting machine. I then discarded the die cut hands and placed the scrap panel back into my MISTI to use as a jig. With my jig in place, I then popped my copic colored hands into the jig and stamped my sentiment once more. 


Lastly, I finished the card by adhering my hands to the card front with foam adhesive, making sure to line up the letters on the hands with the letters on the card front.


I hope you enjoyed my cards and video! Thank you so much for stopping by!


~Channin


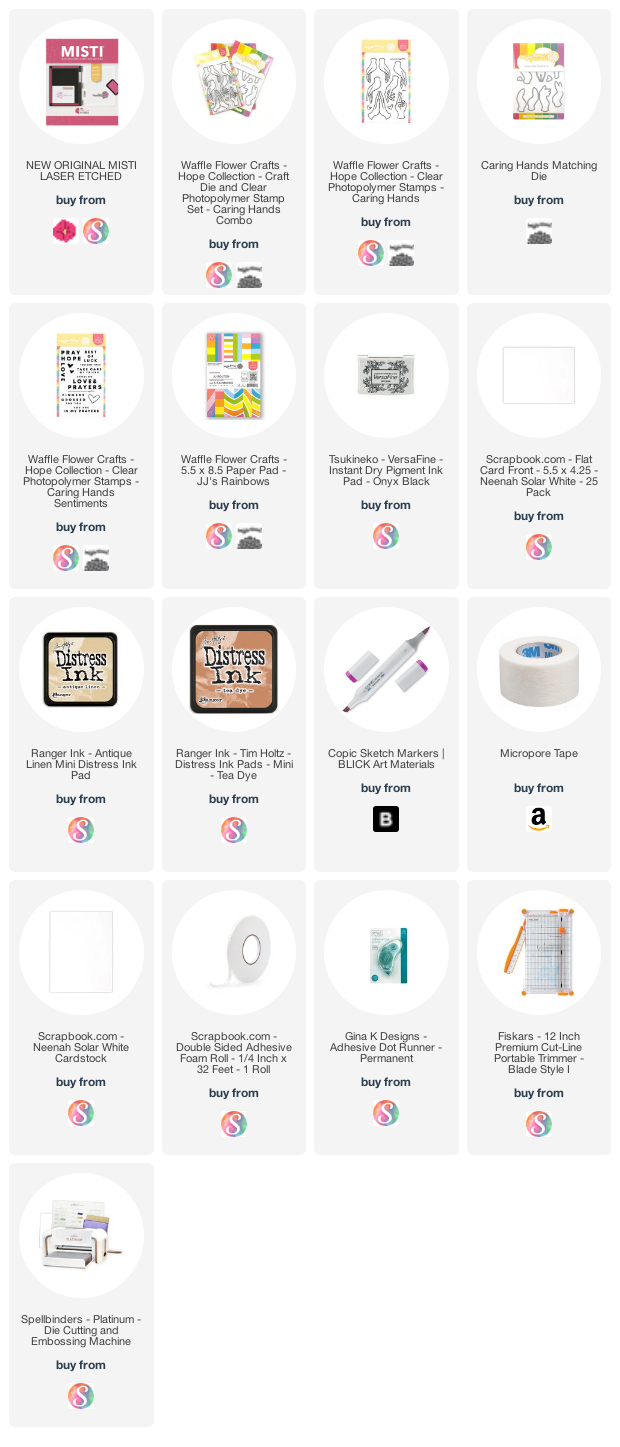
Supplies:


Thursday, July 30, 2020

Quick & Easy Holiday Cards

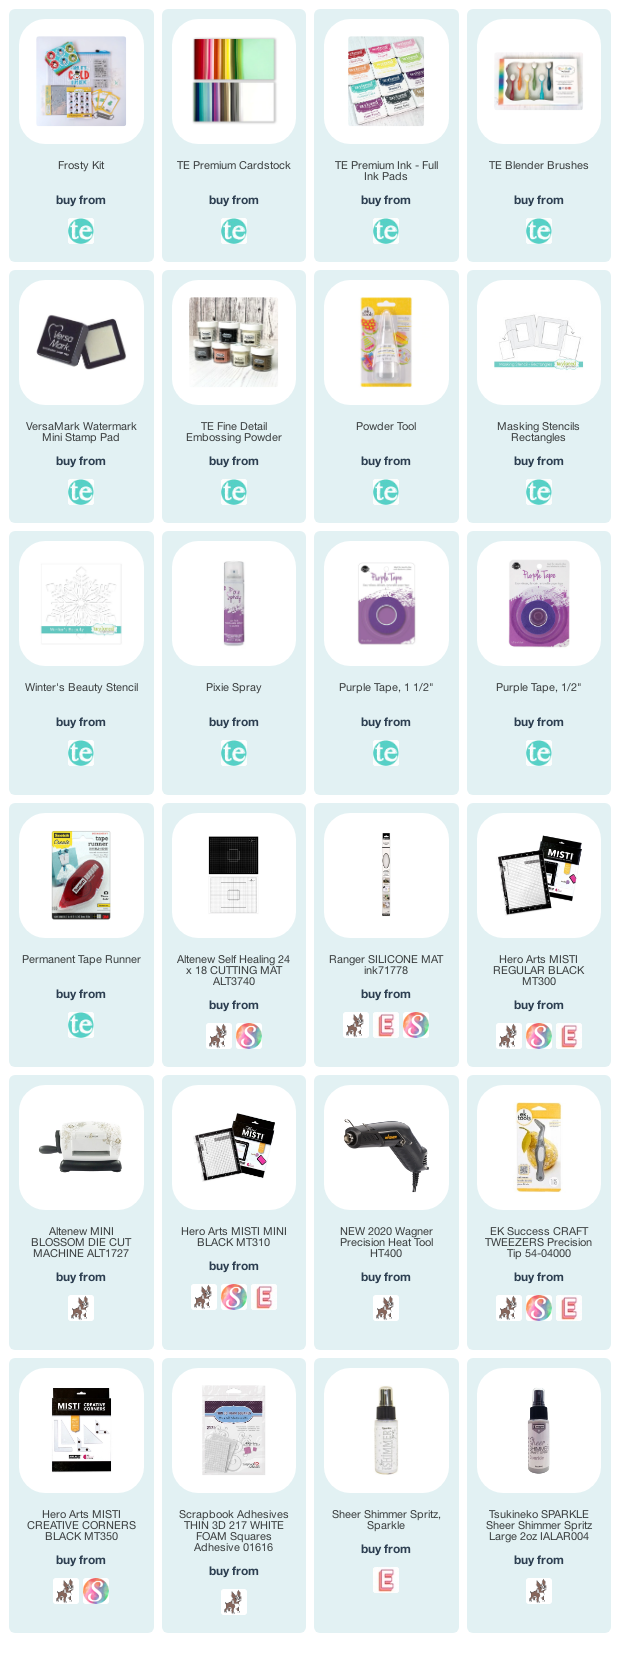
Welcome friends! Today I’m sharing some inspiration using the new Frosty Card Kit from Taylored Expressions. If you are looking to get a jump start for your holiday cards – this is IT!

VIDEO

I have a video sharing the contents of the kit and creating 3 cards from start to finish. You can check out the video down below or HERE on my Youtube channel.

For my first card, the background is stamped in Oreo ink with the bands of the hat stamped in Strawberry Milkshake, Cookie Monster and Lime Zest. 


This would be a great one to mass produce! In the video, I show how I created a template in my Misti for stamping the sentiment.
Once you have everything in place in your Misti, stamping is a breeze.


I ventured out of the kit for this next card and added a stencil from my personal collection.

Using the Masking Stencil Rectangle, I ink blended on Cookie Monster ink with a blending brush. Then added the Winter’s Beauty Stencil over the top of the masking stencil and blended that on with Cookie Monster, Blue Raspberry and Jelly Donut ink.

Be sure to check out the video for all the details on creating these cards.

SUPPLIES

Below you will find links to the products used. Click the icon to start shopping. Compensated Affiliate links are used at no additional cost to you. Your support helps me to keep bringing you new projects and videos. Thank you!


Thursday, May 28, 2020

Creative Corners with Mindy Eggen

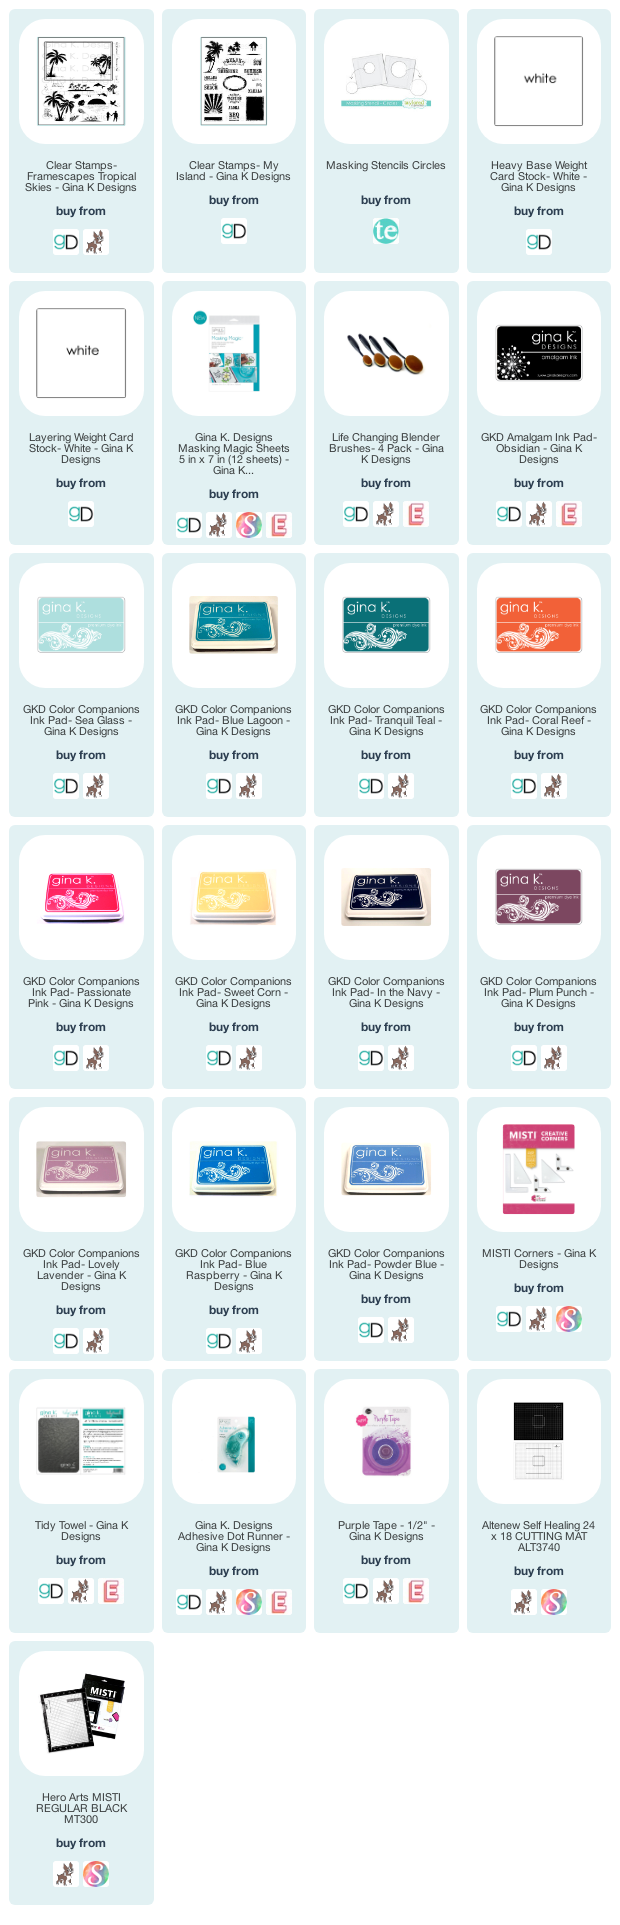
Welcome everyone! I have some cards to share where I show you how I used the Creative Corners to stamp my images.

I also have a video showing you how I did this that you can view down below or HERE on my Youtube channel.


Creative Corners are such a handy tool to have. The first thing I want to point out is how they allow me to hang my images off the edge of my card front.


By placing the corner down in the bottom of my Misti, I'm hanging my large palm trees off the edge.

The second thing I love about them is it helps me line up my sentiments.


These are screen shots from my video so be sure to check it out as I go into more detail how to use the corners.

I'm also using the Black Misti which is a collaboration between Hero Arts and My Sweet Petunia.


I hope you enjoyed these cards and dig out your corners if you have them! They are becoming a staple for me when stamping.

SUPPLIES

Below you will find links to the products used. Click the icon to start shopping. Compensated Affiliate links are used at no additional cost to you. Your support helps me to keep bringing you new projects and videos. Thank you!

Monday, May 18, 2020

A Little WPlusLOVE + Giveaway

Today, we are celebrating our friend Dawn at Wplus9!

Dawn is such an accomplished artist, and she occupies such a unique place in the stamping industry. So we have a few designers posting projects today to help you get to know Wplus9 a little better!

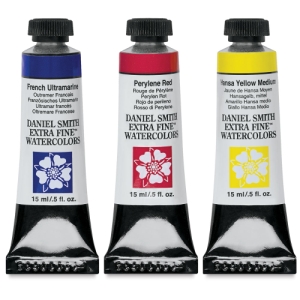
First up - Lydia watercolored the gorgeous Blue Bird die with Daniel Smith watercolor and then pieced it together on a stenciled background - the video for the background is below - it features this stencil, a white paint pen and Hero Arts reactive ink.


Here's her video for the background, as well as the supplies. Stay tuned below for the other designers' projects! 


Blue Bird Die - WPlus9 Design Studio,...
[ WPL ]
Miss You Die-namics – MFT Stamps
[ MFT ]
Leaves and Flowers Stencil – Picket...
[ PFS ]
AF424 Key Lime Fizz Reactive Ink -...
[ HA | SSS | ELH ]
White Porous Point Pen
[ BLIC ]
Daniel Smith Extra Fine Watercolors
[ BLIC ]
Escoda Versatil Brushes | BLICK Art...
[ BLIC | UTR | BLIC | INK ]
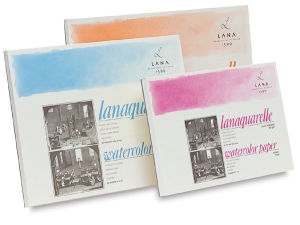
Lanaquarelle Watercolor Blocks |...
[ BLIC ]
Fabriano Extra White Cold Press...
[ BLIC ]
The Ultimate Mixing Palette: a World...
[ BLR ]
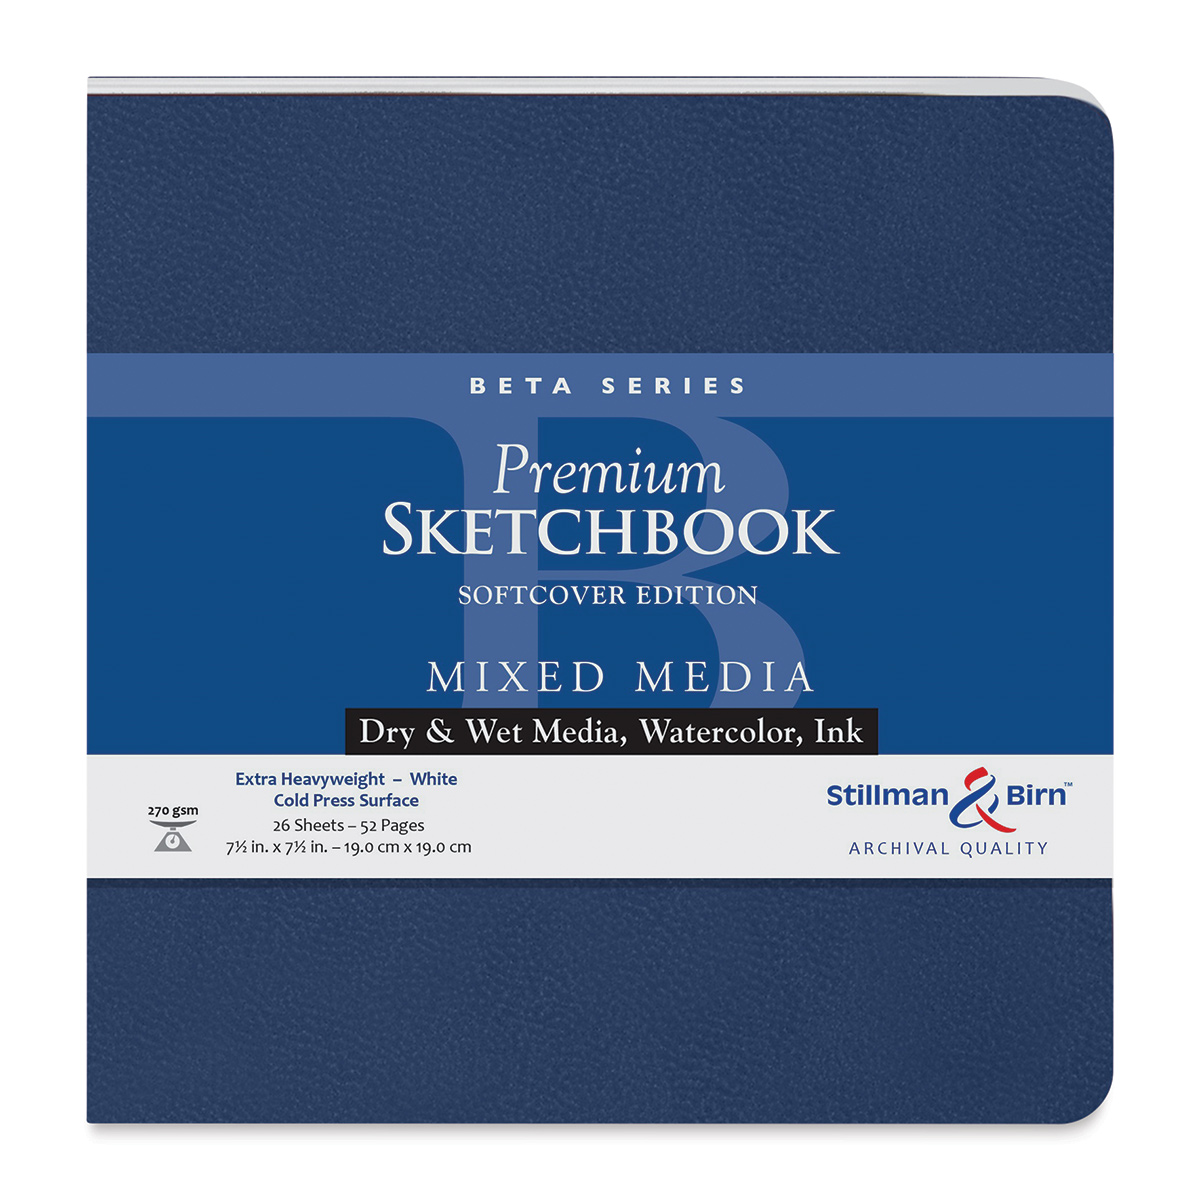
Stillman & Birn Archival Sketchbooks...
[ BLIC ]
MISTI Stamping Tool
[ MSP | HA | SSS | ELH | MFT | UNT ]
Lawn Fawn STAMP SHAMMY Cleaner LF1045
[ SSS | ELH | CST | ART ]
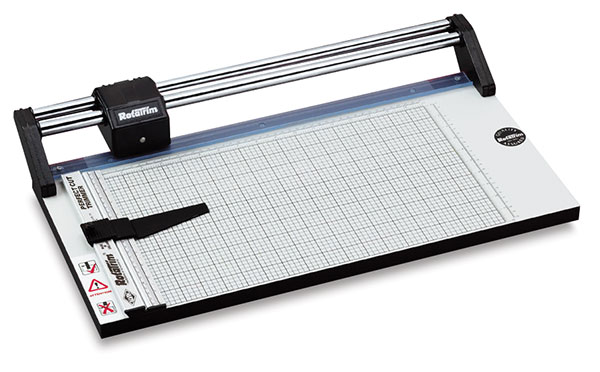
Rotatrim Professional Series Cutter -...
[ BLIC ]
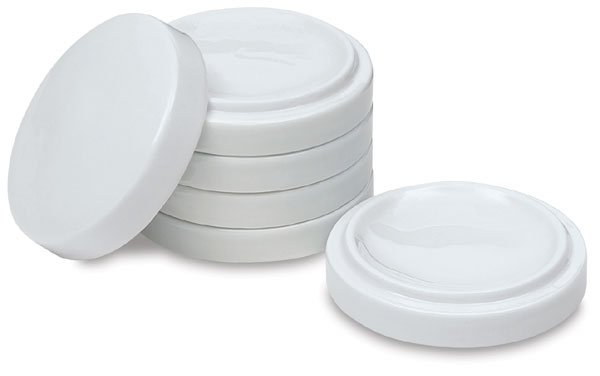
Nesting Porcelain Bowls - BLICK art...
[ BLIC ]
Tombow MONO MULTI Liquid Glue Two...
[ SSS | MFT ]
LightView 2in1 LED Magnifier for...
[ BRG ]
Airtable: Organize your stamps & dies
[ ART ]
New Arrivals - WPlus9 Design Studio, LLC
[ WPL ]
Cut Align
[ MSP | SSS ]
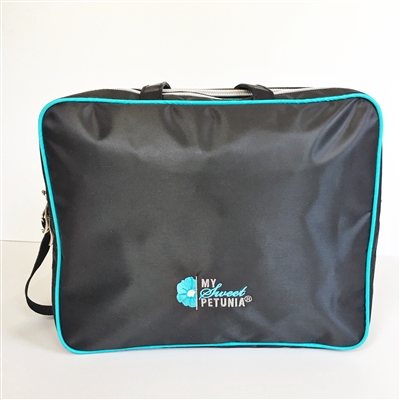
*MISTI Turquoise Studio Bag
[ MSP ]


Please visit our other designers' blogs today. Leave a comment at each stop for your chance to win a Cut-Align and a MISTI bag! Winner will be announced next Tuesday in our Team Tuesday blog post. And don't forget to join us in doing a little retail therapy at WPlus9 if you're able!


Thanks so much for stopping by! 

Tuesday, March 24, 2020

Team Tuesday with Mindy Eggen: Stamping Die cuts


Welcome everyone! It's Mindy Eggen here with you today to share a bright and glittery project with you today.

I'm working with the new Neon Glitz Glitter Gel from Rina K Designs and Thermoweb and how to use them on dark colored card stock.

I have a video that you can view down below or HERE on my Youtube channel.


Since these images have multiple layer to them, I die cut the images first. I then used the Misti to stamp my layers in a variety of Neon colors. In the video I only show a couple of the popsicles but when I really sit down to play, I stamp a TON of these all at once. 


Be sure the watch the video on all the tips and tricks on applying the glitz glitter gel to dark cardstock. 


I tied everything together by stamping a sentiment in an embossing ink and heat embossing with white embossing powder. 

Below you will find links to the products used. Click the icon to start shopping. Compensated Affiliate links are used at no additional cost to you. Your support helps me to keep bringing you new projects and videos. Thank you!


Tuesday, February 25, 2020

Video: Faux Watercoloring with a MISTI


Hello friends! It's Channin here with a new card and video to share!! In this video I share how to create a colorful bunch of flowers and leaves with a faux watercolor technique using a MISTI. This easy technique gives your florals that watercolor look with very little actual painting.


Faux Watercoloring with a MISTI

Watch below on my YouTube channel.


To create this card I first stamped several leaves from the Peony Bouquet Stamp Set onto a panel of watercolor paper. I partially inked the top portion of the leaves in Peeled Paint distress ink and then stamp. Next, I inked up the bottom portion of the leaves in Pine Needles distress ink and then stamped. I then inked up the top of the leaves again in Peeled Paint, then spritzed with water and then stamped. I then inked up the bottom of the leaves with Pine Needles, spritzed with water, and then stamped. 


Next, with a brush I quickly colored in the open areas of the leaves with the water downed ink. Then I used my heat gun to dry the ink and then stamped the leaves one last time with two inks to enhances the details in the images.


Next, I basically repeated this process for flowers from the Peony Bouquet and the Zinnia Stamp Sets with different distress ink colors. After I had finished stamping my flowers I then die cut them and the leaves out with the matching dies. I then created my sentiment by stamping "hello" from the Simply Said 1 Stamp Set in VersaFine Onyx Black and then heated embossed it in clear. Next, I die cut the sentiment and two unstamped "hellos" out and then adhered them all together to create a dimensional sentiment. 


I then splattered white watercolor paint over the front of a Kraft A2 card base. Once the paint had completely dried I then adhered the flowers with foam squares and then the sentiment with liquid glue. 

I hope you enjoyed my card and video! Thank you so much for stopping by!

~Channin

Supplies:
Watch below or on my YouTube channel.

Video


Tuesday, April 3, 2018

Team Tuesday with Chris

Good morning!  Chris here with a watercolor card and video today.  

I'm using a brand new stamp set from the first ever stamp release from Beth Duff Designs, a new company based in Georgia.  My friend Beth is a veteran, mom of five children who has now started her own stamp and sticker embellishment company and generously sent me one of her very first sets.  I'm so proud of her.  Beth designs sets around sentiments and themes that she feels are a bit missing in the industry and along with her team of artists, is now bringing those ideas and themes to the public.  Beth is a proud supporter of Cards for Soldiers and Kids Get Crafty, and many of her cards have those goals in mind.  

The set I'm using today is called I'd Rather Be Glamping, and it will be available to purchase at Beth Duff Designs on April 8th, so I'm very honored to give you a bit of a sneak preview of this fun camping set.


I used three of the images from the I'd Rather Be Glamping set to create this card.  I used my Original MISTI to very quickly stamp a staggered row of trees using Tumbled Glass Distress Ink.  I just placed my stamp in the center of my MISTI and adjusted the paper for very simple and easy stamping.  The faint ink of the Tumbled Glass disappears beneath my watercoloring, so I didn't need to mask at all.  I stamped the fire and tent with Tumbled Glass ink as well.

I used Mask-It masking film to create a mask for the landform, horizon line and moon.  The Mask-It film masks cling relatively well to the texture of the Canson Montval watercolor paper, so it helped protect the colors from bleeding together in areas I didn't want them to.

I then grabbed my ArtBin full of Ken Oliver and Brutus Monroe Color Bursts powders and used those to watercolor the scene.

The entire speed-painting video is available below.  Hope you enjoy.


Happy stamping!


Friday, March 9, 2018

Besties

Hey everybody! Lydia here with a special guest post.

Today, I'm the featured Gel Press Contributing Artist, so I have a very fun video for you today. Last month, I did this video featuring layering stencils from Altenew in combination with the Gel Press.

This month, I wanted to refine that even more, by getting as much precision as possible from the placement of the stencils while printing.

So, naturally, I turned to my MISTI, and used a fixed hinge to MISTIfy the gel printing process.

There are some other tricks you'll need to align these layering stencils, and you need to pay attention to what you're doing, or you'll find yourself creating a print where the stencil is 90 degrees off from where it should be. But because life and art aren't perfect, I left my mistake in the video below, and it actually turned out to be one of my favorite prints from the session. The mis-aligned glowing blue lines are showstoppers, I think.

I used these beautiful layering stencils from Altenew, and the kitties are from this Joy Clair set - all the critters in this set are adorable. I colored them with the Copics listed below, fussy cut them, darkening the edges with a Gasenfude nylon brush pen (much better than using one of your alcohol markers - with this pen there's no bleeding of ink into the image, and the nylon brush gets into the tiniest little crevices), and glued them onto a circle I cut with these stitched dies.

Since the background is so busy, I kept the card simple.

Gel Press Printing with Layering Stencils from Altenew and Stamps by Joy Clair.
Best Buds | Clear stamp set
[ JOYC ]
Simon Says Stamp STITCHED CIRCLES...
[ SSS ]
Layered Kaleidoscope Stencil B
[ ALTN ]
Layered Kaleidoscope Stencil A
[ ALTN ]
Layered Dahlia Stencil A
[ ALTN ]
Layered Dahlia Stencil B
[ ALTN ]
Gel Press 5 x 7 REUSABLE GEL PRINTING...
[ SSS ]
Niji Splash Ink
[ BLIC ]
Speedball 4" Rubber Brayer - Soft
[ JGG ]
Copic Sketch Marker BG05 HOLIDAY BLUE
[ SSS ]
Copic Sketch MARKER C3 COOL GRAY Grey
[ SSS ]
Copic Sketch Marker RV25 DOG ROSE...
[ SSS ]
Copic Marker GASENFUDE Nylon Brush...
[ SSS ]
Tsukineko VersaFine Clair NOCTURNE...
[ SSS ]
Tuxedo Black Memento Ink Pad by...
[ SUP ]
MISTI Stamping Tool
[ MSW | SSS | ELH | MFT | SBC ]
Absorber - Synthetic Cleaning Cloth
[ AMZUS ]
Rotatrim Professional Series Cutter -...
[ BLIC ]
Basic Black 8-1/2" X 11" Cardstock by...
[ SUP ]
Crumb Cake 8-1/2" X 11" Cardstock by...
[ SUP ]
Whisper White Cardstock - Thick
[ SUP ]
Mudder 10 Pack White Buffer Sanding...
[ AMZUS ]
Xyron ADHESIVE ERASER 23675
[ SSS | ART | AMZUS ]
Bone Folder by Stampin' Up!
[ SUP ]
Multipurpose Liquid Glue by Stampin' Up!
[ SUP ]
Sizzix BIG SHOT EXPRESS Gray and...
[ SSS ]

Now speaking of Joy Clair, before I get to the video - all month, we are collaborating with Joy Clair in a month long blog hop with the My Sweet Petunia Team and the Joy Clair Team. Wherever you see this badge, leave a comment and you will be entered to win our prizes: 2 $25 Joy Clair Gift certificates and one MISTI - your choice of original or mini. Winners will be announced in April on both blogs. 


So how about my video? Enjoy - and click here to watch on YouTube in HD. Even though I'm only blogging one card today, all the supplies for all the cards listed in the video are in the description on YouTube. Have a great weekend!