Thursday, April 28, 2022

Celebration Card and Winner Announcement


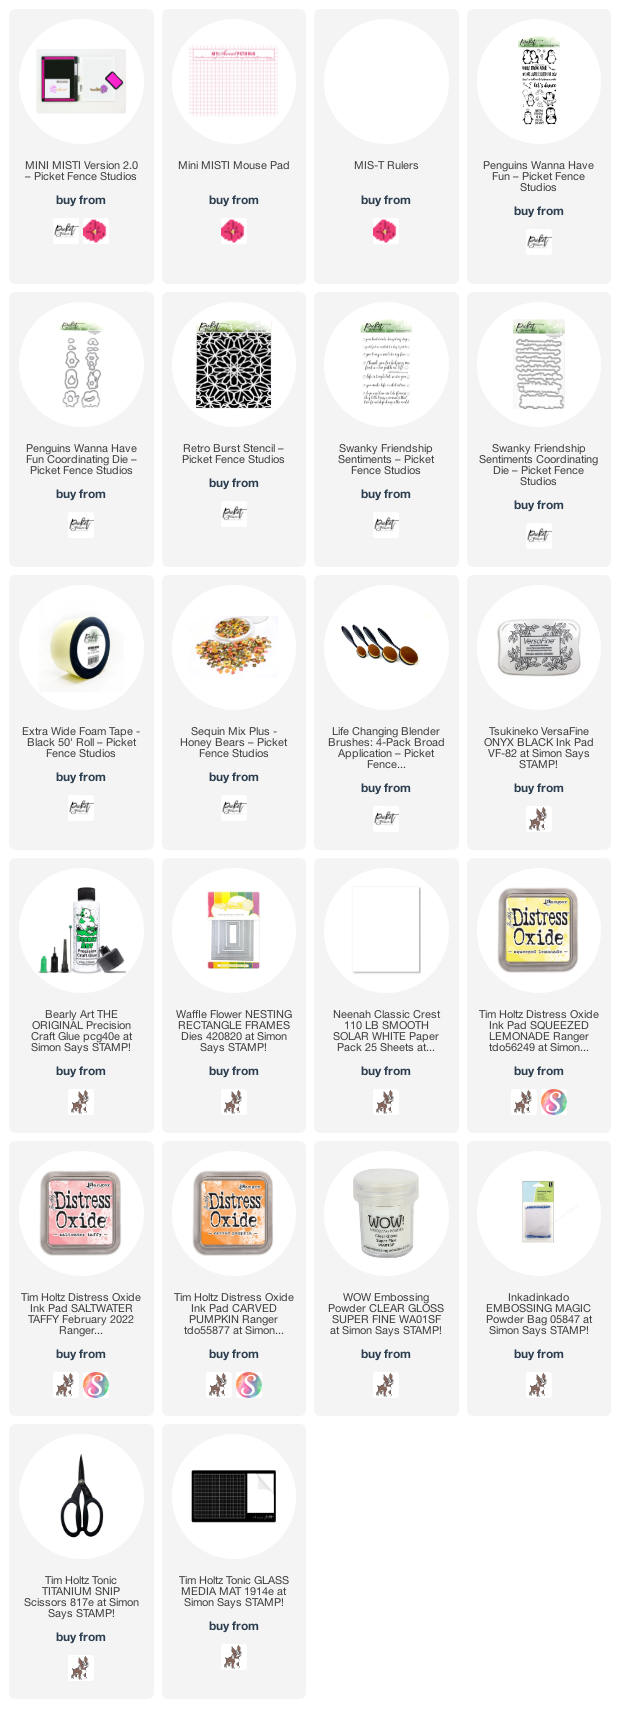
Hello crafty friends! I'm so glad to be here and sharing this very cute card where I did some, ink blending, stenciling, stamping and coloring. For this card, I am featuring stamps, dies and a stencil from Picket Fence Studios. The inks are the Oxide Inks from Ranger and  have also used the Mini MISTI and the Mis-T Rulers. 

Before I begin, I would like to announce My Sweet Petunia winner for the Altenew Hop. Congratulations to Jeanne Ragan, please email to hello@mysweetpetunia.com to claim your prize and thank you so much for hoping with us. 


Let's start! Using the Life Changing Blender Brushes I applied Distress Oxide inks to an A2 panel and the colors were Squeezed Lemonade, Carved Pumpkin and Saltwater Taffy. Once I finished ink blending, I placed the Retro Burst Stencil by PFS on top of my panel and applied the same colors of ink through the stencil. Then, I put my panel inside the Mini MISTI and and stamped a sentiment from Penguins Wanna Have Fun Stamp Set and then I heat embossed it. I also adhered this panel to a folded card base using glue.
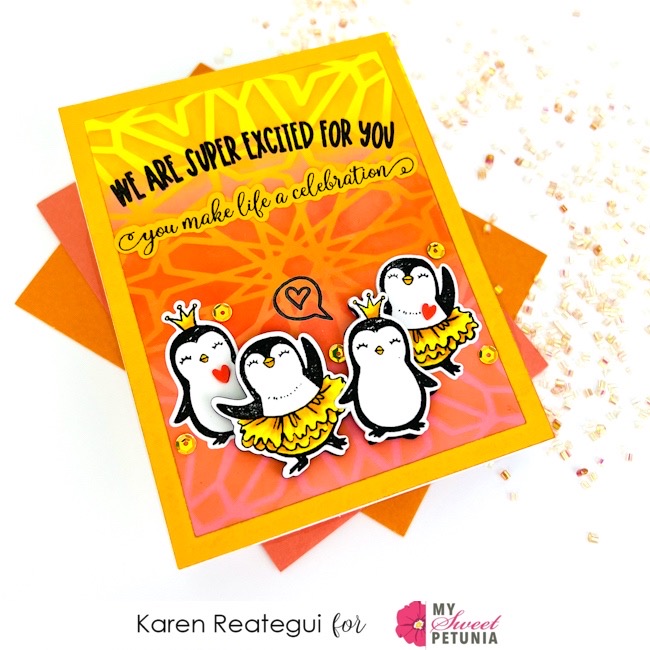


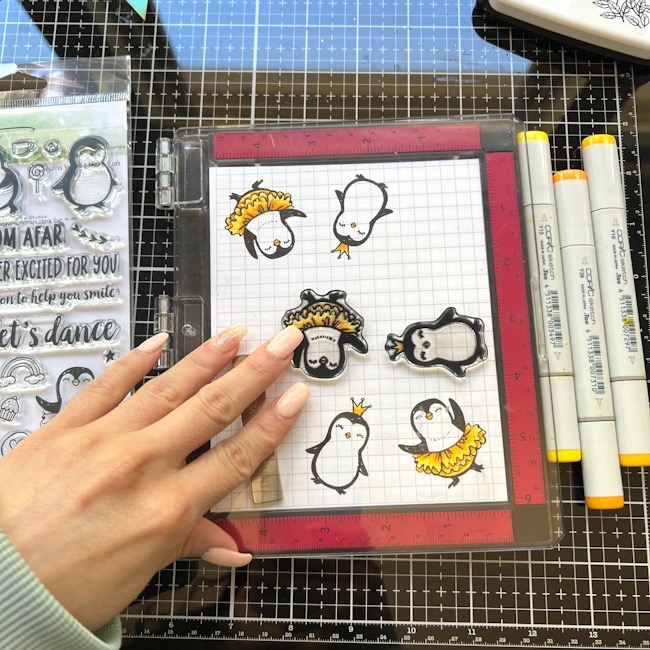
I placed another piece of cardstock inside the Mini MISTI and stamped some penguins from Penguins Wanna Have Fun Stamp Set and colored them with Copic Markers. Next, using the coordinating dies from the same stamp set I die cut all penguins and glued two of them directly to my background panel and the other two were adhered using black foam to give them more dimension.


A rectangle frame was also added to the background of this card and I used the Waffle Flower Nesting Rectangle Frames Die. I stamped a bubble with a heart next to one of the penguins too and a second sentiment was stamped and die cut too using the same color of cardstock from the rectangle frame. This sentiment was from Swanky Friendship Sentiments Stamps from PFS.


Finally, as the final touch I added some hearts and sequins from Honey Bears Sequin Mix Plus and this card was done. 

Thank you so much for stopping by and I hope you have a fantastic day. All supply links, part of my affiliate links, are listed below at no cost to you.

Your friend, 
Karen
 

Tuesday, April 26, 2022

Floral Mandala Card


Hello friends!! It’s Channin here and today I’m creating a beautiful clean and simple card featuring the Floral Mandala Bundle from Hero Arts.


To create this card I first stamped the large floral mandala image from the Floral Mandala stamp set in black ink onto white cardstock. I then copic colored the image and when I finished I popped the image back into my MISTI and stamped it again to make the image bold and black. 


Next, I die cut the image out with the matching die. I then stamped the front of an A2 top-folding white card base with a sentiment from the Floral Mandala stamp set in black. Next, I finished the card by adhering the mandala to the card from with foam adhesive. 


I hope you enjoyed my card! Thank you so much for stopping by!


~Channin


Supplies:

Thursday, April 21, 2022

A Little Bit of Spring

 **Affiliate links used when possible at no charge to you**

Hello, and happy Spring!  As is usual for this time of year, the temps are bouncing from one extreme to the other. However, regardless of the temps, everything is greening up nicely in our area. Speaking of Spring, the April Limited Edition Kit from IO is a beautiful celebration of Spring.  The MISTI tool makes stamping artwork like this a breeze as it needs to be stamped several times for a rich image.  I chose this small solid tag die for the sentiment. Since the die is solid it had to be cut before stamping the sentiment. Next, I placed the tag on a Sticky Mat in the MISTI.  The Sticky Mat held the die cut in place for perfect alignment when stamping.  


You can find more of my projects at I Would Rather Be Stamping.  Thanks for stopping by!


Wednesday, April 20, 2022

Take Nothing For Granted

I've been thinking a lot lately, as I am sure you are as well, about the things I take for granted. Safety, shelter, food, family. So I wanted to make a card of hope, and one with a reminder to take nothing for granted, as things can vanish quickly. The heart colors are a reminder to support and pray for the people of Ukraine.


I had not ever used the rainbow dies before, and wanted to see what different color combinations I would like. I kept knocking them around on my desk, and got out a Sticky Mat to keep the different bands of color in place while I played! It worked great for me to change colors in and out and see what I liked best. I used my Original MISTI to stamp the sentiment on my cloud, making sure it was in the middle!

Products used: 
  • Original MISTI and Sticky Mats
  • Rainbow Card Front Die (Concord & 9th)
  • Heart Dies (Paper Smooches)
  • sentiment from Group Hugs (Paper Smooches) 
  • Cloud Dies (SNSS)
  • white, pink, magenta, yellow, lime, aqua cardstock (various) 
  • Glitter Paper (Concord & 9th)

You can see more of my projects at my Instgram account: @joy_in_a_jar. Thanks for stopping by!

Tuesday, April 19, 2022

Stencils and Sticky Mats


Hello!
It's Ceal, here for another edition of team Tuesday. Today I am sharing a card  created with Altenew Products.
To make this card I started with a white top folding card base and a white panel. I foiled the rose outline and then placed the panel on the Sticky Mat then used the coordinating stencil to color it using blending brushes. 
The sentiment is by Pinkfresh Studios, all products are linked below using affiliate links at no extra cost to you.

The mat is super easy to clean after I have used it to ink blend I gently wash it with dish soap and then let it air dry and it is sticky again and ready for my next project. 

Now when I make a card I have one more thing I can't stamp without and its the sticky mat. I always use my Misti because I don't know how I stamped without it and I also use my Misti to put my card together as well.


This Post uses compensated affiliate links where possible. When you place an order after clicking one of my links, I receive a small commission at no additional cost to you. Thanks so much for shopping from my links and supporting my work

Thursday, April 14, 2022

Use Your Sticky Mat to Assemble Die Cuts

Hi everyone!
Ilina here! 
Did you know that you can use your Sticky Mat and MISTI not just for stamping, but also for die cuts. It makes multi layer die cuts so much easier to assemble. 
I put the main layer on my sticky mat and it holds it nice and secure while I adhere the rest of the layers on top. It prevents the base layer for sliding all over the place or moving and it's also great for mass assembling die cuts.

For the card below that is basically what I did, I used the Spellbinders Open House collection (the base door and Spring add ) and die cut all the elements I needed.
Let's be honest, I did die cut way more than I needed. I always do this and then save the extras for later use.
I stuck first the base door to the sticky mat and adhered the layers on top, I did same for the wreath, door mat and the bunny. Once I had all the elements together, I added the wreath to the door (while the door was still on the sticky mat) and then assembled my mini slimline card.
Isn't this bunny just the cutest? And it's perfect for spring! 

 Thank you so much for stopping by. Hope you have an amazing day!

SUPPLIES (affiliate links may be used at no cost to you)

Tuesday, April 12, 2022

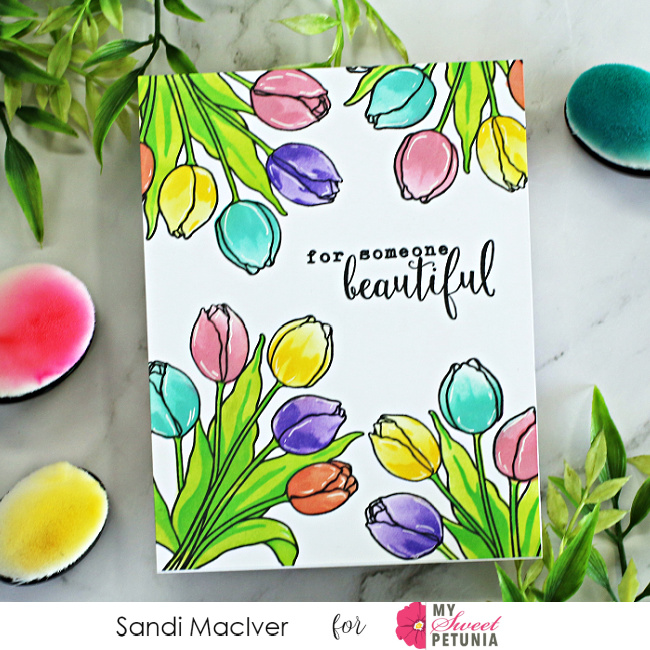
Tulip Rainbow Card

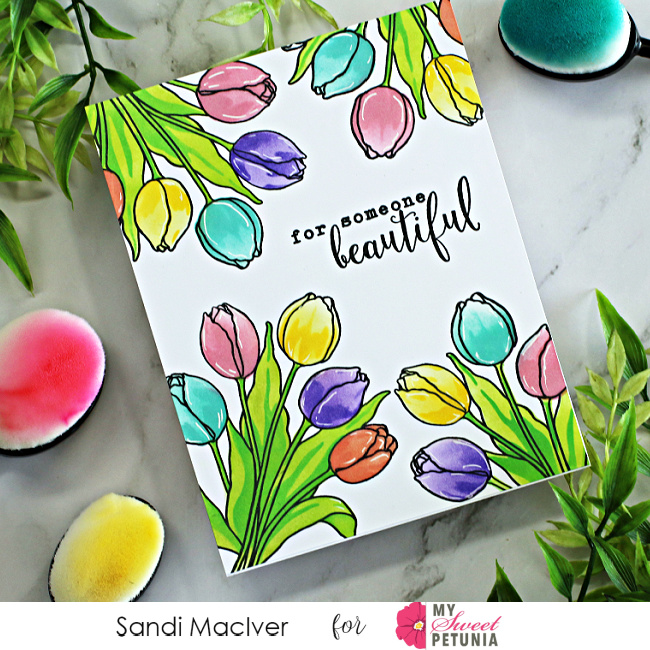
 Hi card making friends and welcome back.  It's Sandi MacIver here and today I have a fun Tulip Rainbow Card to share with you.  I used the new Misti Sticky Mats in and out of my Misti to create this simple one layer card.


Start by placing a 4-1/2 x 5-1/2 white card front in the center of the Misti on top of the Sticky Mat.

Next, Use Hero Arts Intense Black ink to stamp the tulips from the Tulip Bouquet Stamp and Die bundle.  Just pick up the Sticky Mat and move it around inside your Misti to stamp the images.

Leave the card front on the Sticky Mat, but remove it from the Misti to a protected work surface.


Using the Color Layering Tulip Bouquet Stencils and a variety of rainbow colored inks, start filling in the color.

Start with the solid image flower and lay the stencil down.  The Sticky Mat will hold it in place for you while you blend the color.

TIP - I did all of one color at once, cutting down on how often I had to clean my stencils.
eg.  All the pink tulips, wash the stencil, all the yellow tulips, wash the stencil.

TIP 2 - When you add the highlight stencil, use the same color of ink.  It will be twice as dark, but the same color and eliminates finding a second color of ink.

Once all the tulips are done, repeat the process with the leaves. 

Do the solid image stencil in the light green ink, Key Lime Fizz and the highlight stencil in the darker Green Apple ink color.

Place the card front back into the Misti and stamp the sentiment.


Gently remove it from the Sticky Mat and attach it to a top folding A2 White card base and you are done.

It's beautiful, clean lines and flat with lots of fun rainbow colors.

I did use a white gel pen to add a few highlights to the flower but that was it.

I hope you enjoyed today's card and until next time.


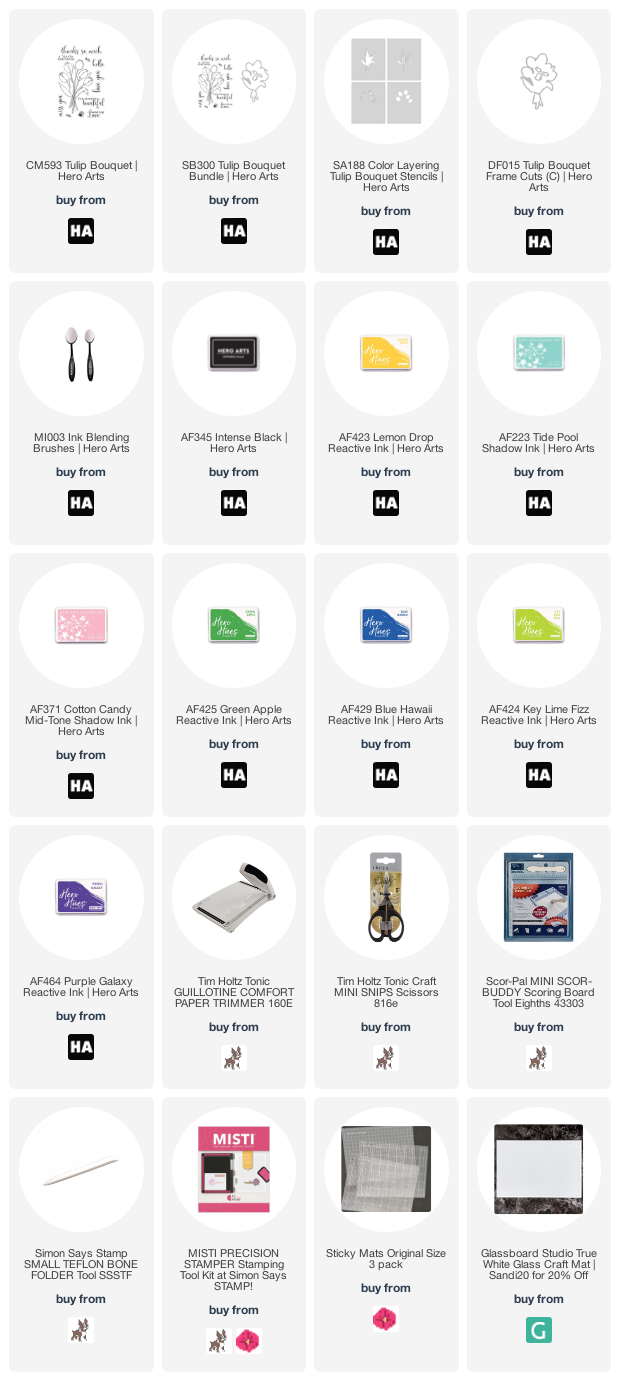
Card Making Supplies used for the Tulip Rainbow Card:

Here are the products I used today.  Compensated affiliate links used  where available at no cost to you. When you click on a thumbnail link and shop you are supporting my website allowing me to continue bringing you new projects and videos.  Thank you.