Showing posts with label cardmaking ideas. Show all posts

Tuesday, July 5, 2022

Studio Katia Darling Freesia


Hi card making friends.  It's Sandi here and today I have two cards to share with you created with the Studio Katia Darling Freesia stamp set.

This is a great stamp and die set and lends itself perfectly to stamping and copic coloring.

 handmade greeting cards with copic colored florals created with new card making supplies from Studio Katia

Studio Katia Darling Freesia Copic Markers Used:

I used three markers for each color, a light medium and dark:
Pinks:  R81, 83, 85
Purple:  V12, 15, 17
Yellow:  Y11, 15, 19
Green:  YG21, 23, 17

For both cards, I used the Misti to first stamp the image onto Hammermill White card stock with Memento Black Ink.

Next, add the shadows in the image with the darkest copic color, then the medium and blend the colors together with the light.  I do have a few videos over on my YouTube Channel showing how I like to color.


handmade slimline card with freesia and a powdered background using card making supplies from Studio Katia for the YouTube Hop and Give Aways

Studio Katia Darling Freesia Slimline Card

Start by coloring the images and cut them out with the coordinating die.
Next, use the Studio Katia Dotted Slimline die set to cut the scalloped card front and to make a stencil.
Create a background with the Lindy's Magicals in Lucky Shamrock Green, Tibetan Poppy Teal and Shabby Turbine Teal.

TIP - I use the Misti Sticky Mats to hold my watercolor paper when I'm playing with these powders.  It keeps my paper flat and gives me something to hold onto to pick up and move the color around.

Finally, once the background is dry, cover it with the stencil and use a blending brush to add Peacock Blue Distress Oxide Ink to the panel.
Attach to a white card base and add a sentiment white heat embossed on black cardstock.
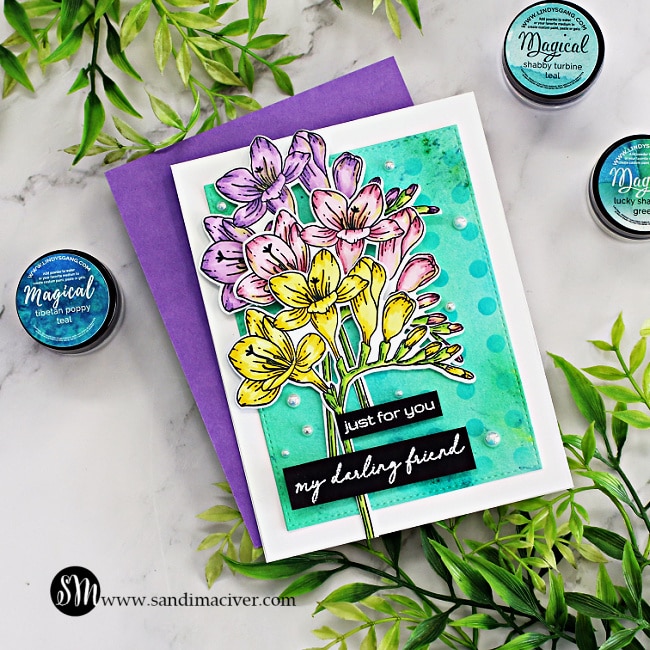

handmade greeting card with copic colored Freeshia and a Lindy's Magicals Powders background using card making supplies from Studio Katia

Studio Katia Darling Freesia A2 Card

The steps are the same for the second A2 card except for the size of course and the layout of the flowers.  I used a stitched edge die to cut out the card front just to add a bit more interest.
Both cards are embellished with Studio Katia Marshmallow pearls.  
 

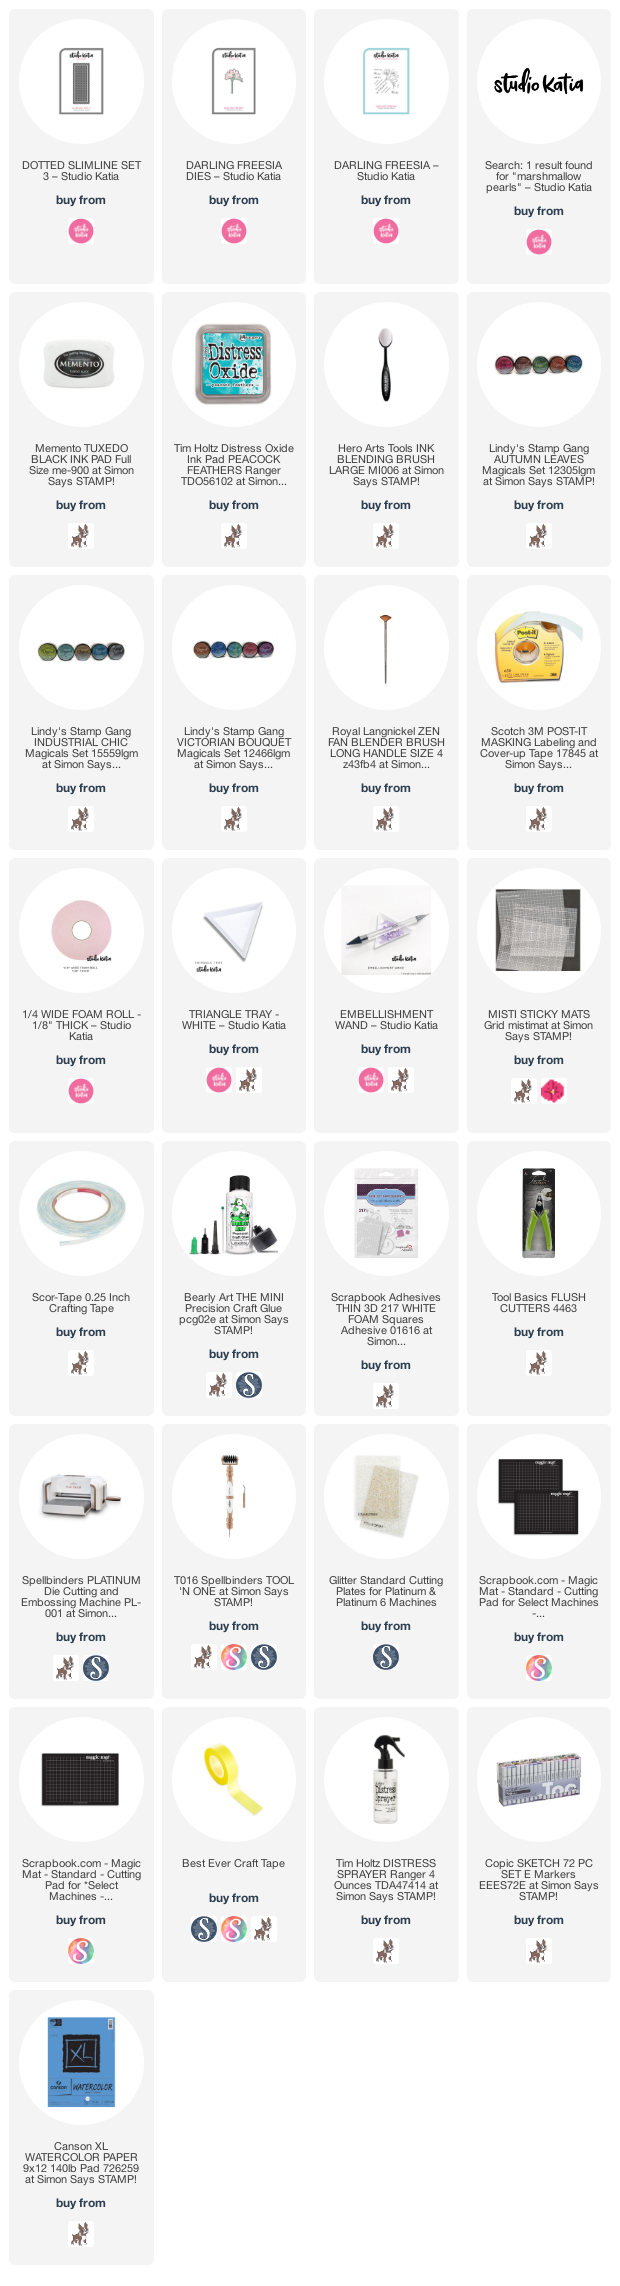
Card Making Supplies used for the Studio Katia Darling Freesia Cards:

Here are the products I used today.  Compensated affiliate links used  where available at no cost to you. Clicking on a thumbnail link and shopping supports my website and allows me to continue bringing you new projects and videos. 

 Thank you for your support.  Affiliate and product disclosure are found on my disclosure page.  All products were personally purchased except for Studio Katia Stamp and Die sets used today which were provided/sponsored by the company.  

As always, I was not paid to do this post.  I only use and recommend products I love.  Click on the icons below each product picture to go to my favorite stores.
    

Tuesday, April 12, 2022

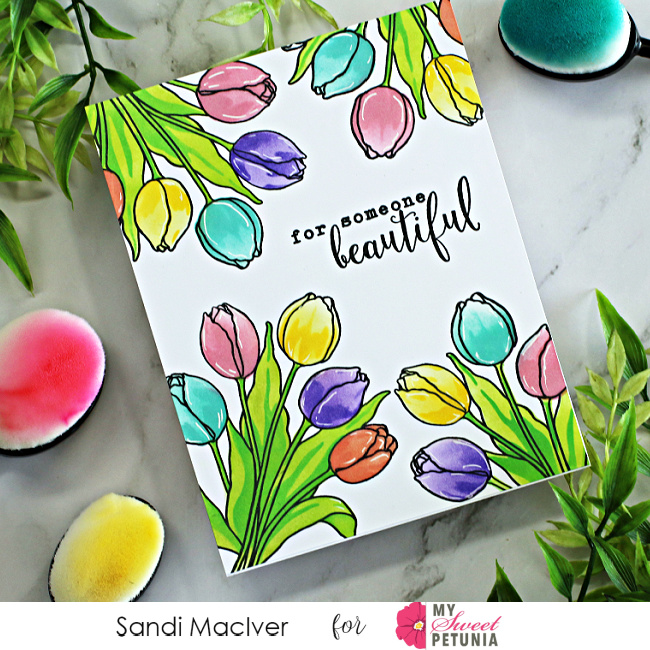
Tulip Rainbow Card

 Hi card making friends and welcome back.  It's Sandi MacIver here and today I have a fun Tulip Rainbow Card to share with you.  I used the new Misti Sticky Mats in and out of my Misti to create this simple one layer card.


Start by placing a 4-1/2 x 5-1/2 white card front in the center of the Misti on top of the Sticky Mat.

Next, Use Hero Arts Intense Black ink to stamp the tulips from the Tulip Bouquet Stamp and Die bundle.  Just pick up the Sticky Mat and move it around inside your Misti to stamp the images.

Leave the card front on the Sticky Mat, but remove it from the Misti to a protected work surface.


Using the Color Layering Tulip Bouquet Stencils and a variety of rainbow colored inks, start filling in the color.

Start with the solid image flower and lay the stencil down.  The Sticky Mat will hold it in place for you while you blend the color.

TIP - I did all of one color at once, cutting down on how often I had to clean my stencils.
eg.  All the pink tulips, wash the stencil, all the yellow tulips, wash the stencil.

TIP 2 - When you add the highlight stencil, use the same color of ink.  It will be twice as dark, but the same color and eliminates finding a second color of ink.

Once all the tulips are done, repeat the process with the leaves. 

Do the solid image stencil in the light green ink, Key Lime Fizz and the highlight stencil in the darker Green Apple ink color.

Place the card front back into the Misti and stamp the sentiment.


Gently remove it from the Sticky Mat and attach it to a top folding A2 White card base and you are done.

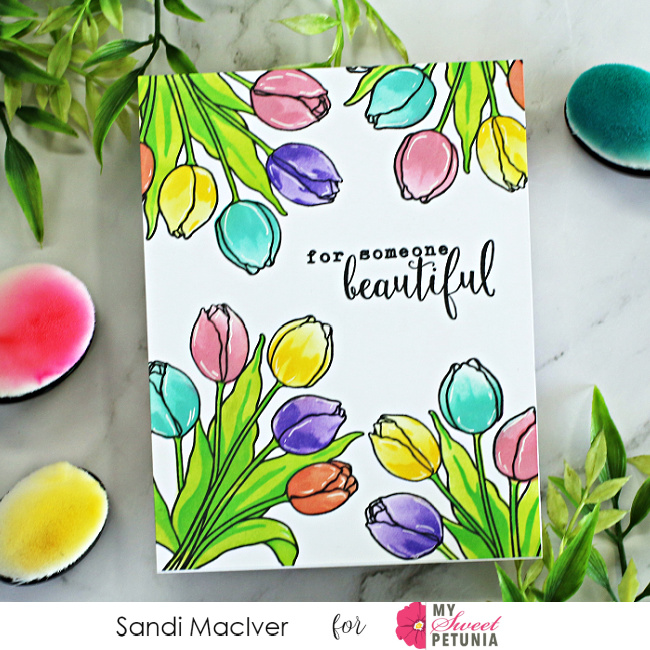
It's beautiful, clean lines and flat with lots of fun rainbow colors.

I did use a white gel pen to add a few highlights to the flower but that was it.

I hope you enjoyed today's card and until next time.


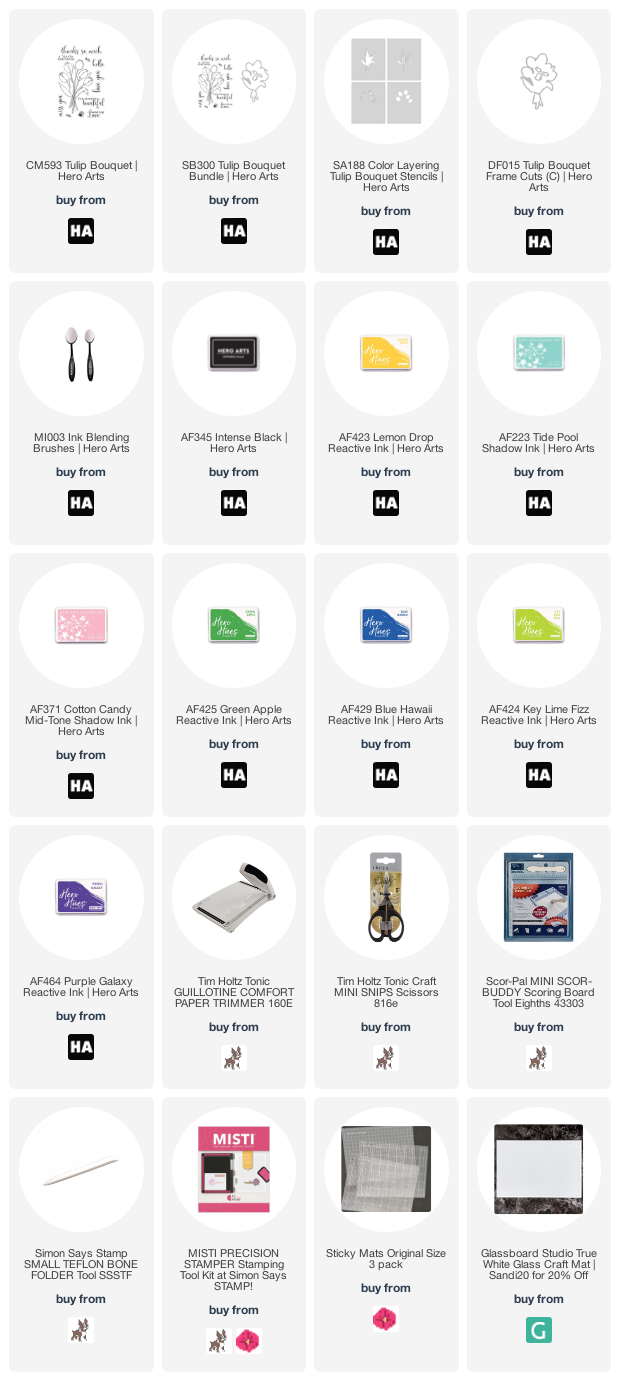
Card Making Supplies used for the Tulip Rainbow Card:

Here are the products I used today.  Compensated affiliate links used  where available at no cost to you. When you click on a thumbnail link and shop you are supporting my website allowing me to continue bringing you new projects and videos.  Thank you.