Showing posts with label Penny Black. Show all posts

Tuesday, November 26, 2019

Team Tuesday with Kia and Gnomes

  
Gnomes seem to be very popular recently, so I decided to use the only Gnome I have, which is by Picket Fence Studios, to make a winter card. 

I started by stamping the image on white card stock using Memento Ink in my Original Misti. I set up the Misti with the stamp in the bottom right corner so I could just turn the paper to stamp each image.

I then coloured each image using Copic Markers in different colours, nut did the beard for the green Gnome slightly different, as he was going to be front and centre.
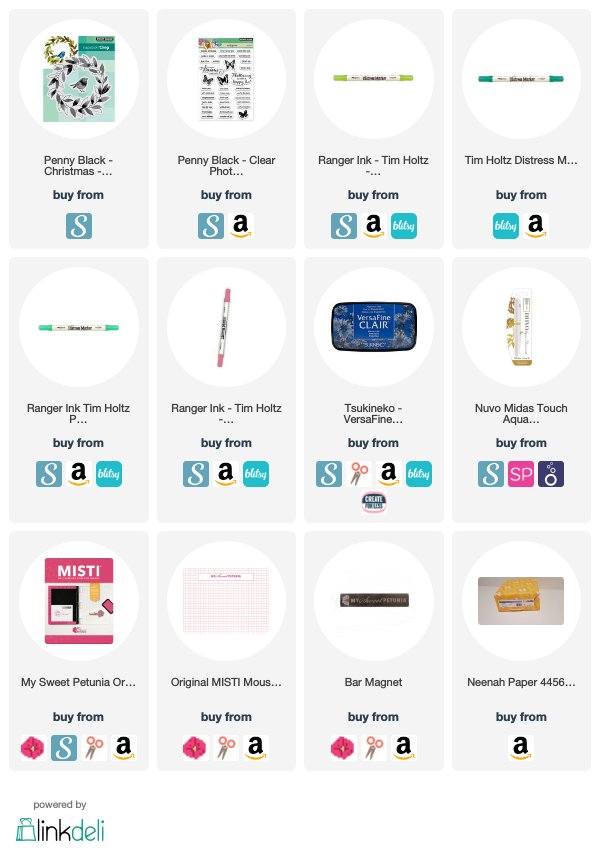
Using my Penny Black die Elegant Stitching I die cut white cardstock then stamped with the Let It Snow stamp using VersaMark and White Embossing Powder, going around the edge. I goofed up on the left side, but as you will see I fixed it.
Using Penny Black's Trio Snowflake set I die cut the smallest snowflake to cover my mistake. I attached the Let It Snow piece to my card base, tucked the snowflake in and gluing with Nuvo glue, then added my top die cut panel using foam squares.
I added my card to my Mini Misti and stamped the sentiment using VersaFine Clair ink in Nocturne. I also added a bit of Wink of Stella to the beard of the Green Hat Gnome and Midas Touch Shimmering Pen to the centre snowflake on the hats.
 I can certainly understand why everyone love Gnomes, they are great fun.
I hope you have enjoyed today's Team Tuesday card, and I thank you for visiting.

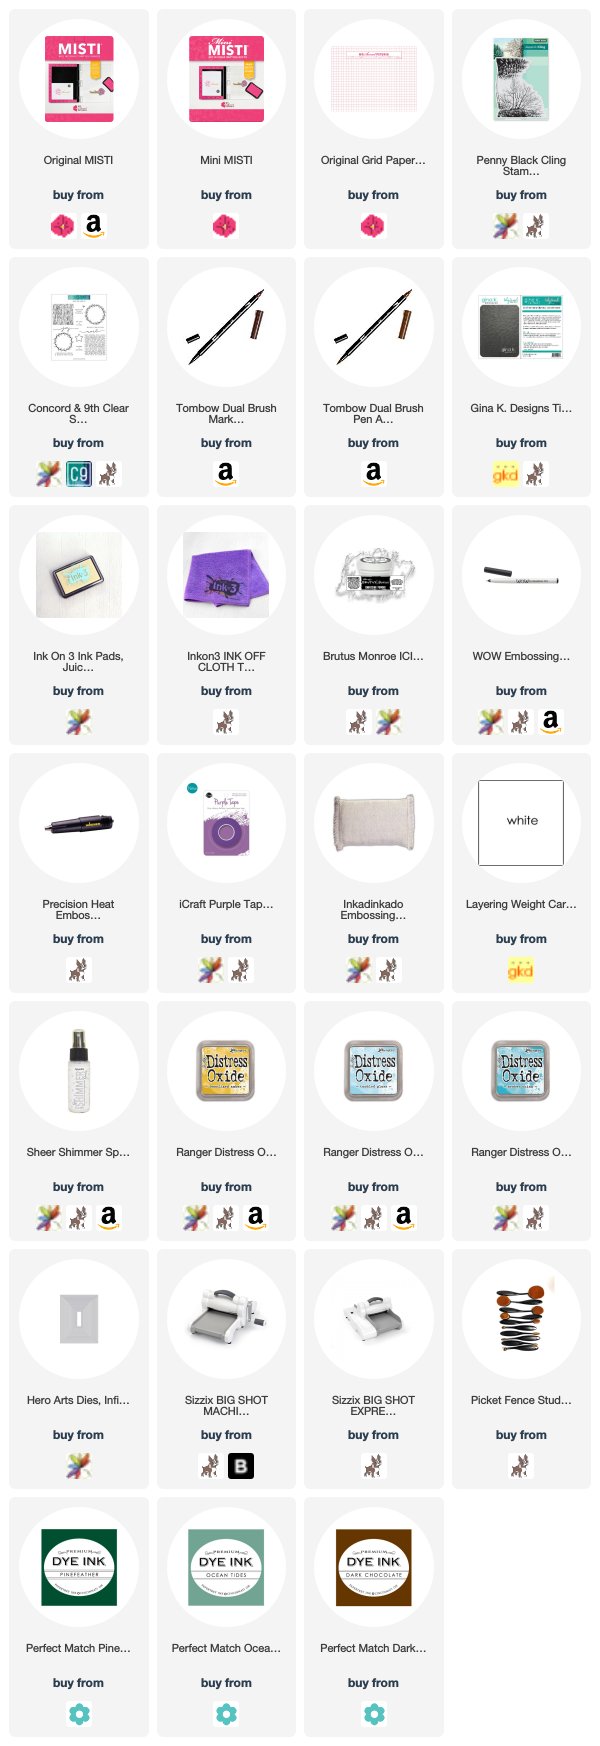
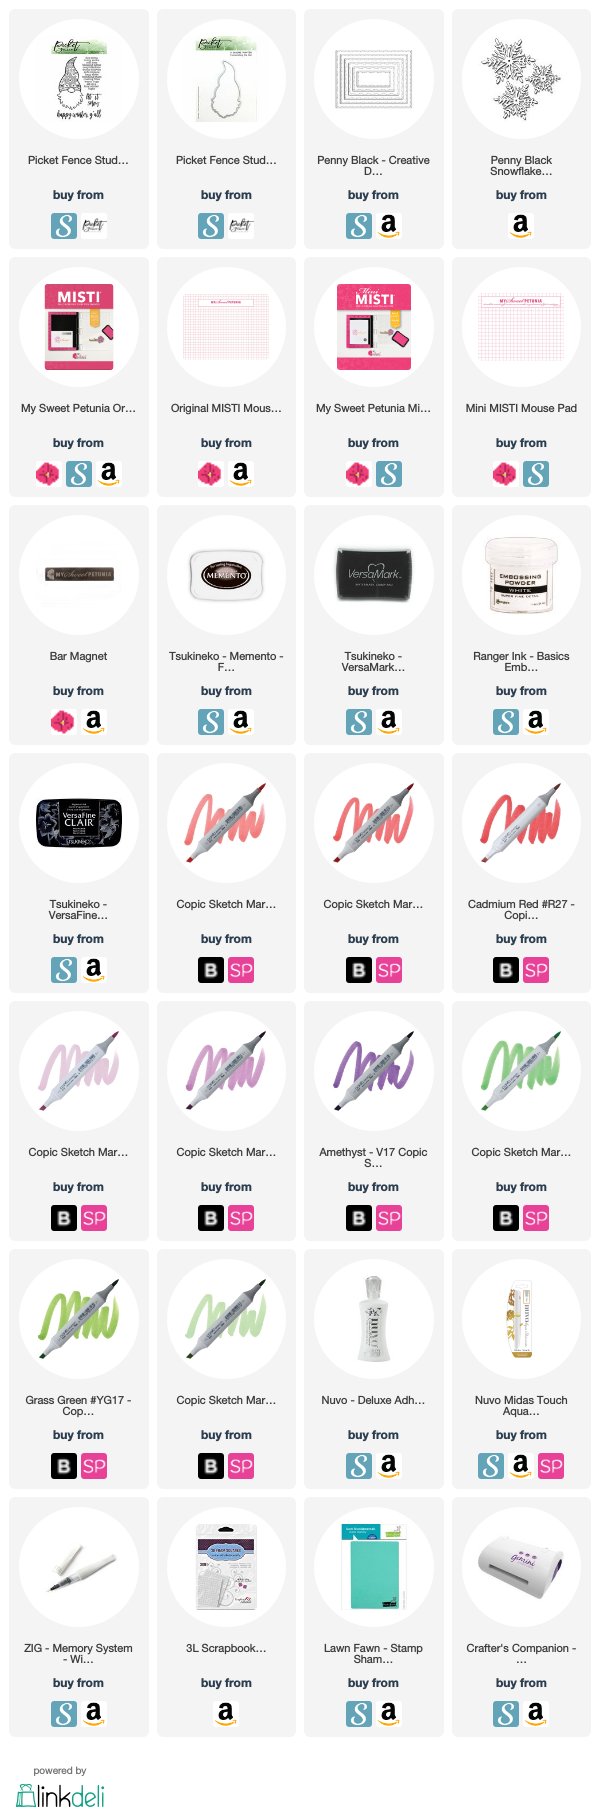
Following are Affiliate Links to the products that I have used for this card, at no extra cost to you.
Tuesday, October 29, 2019

Team Tuesday with Kia

Berry Bramble Joyful

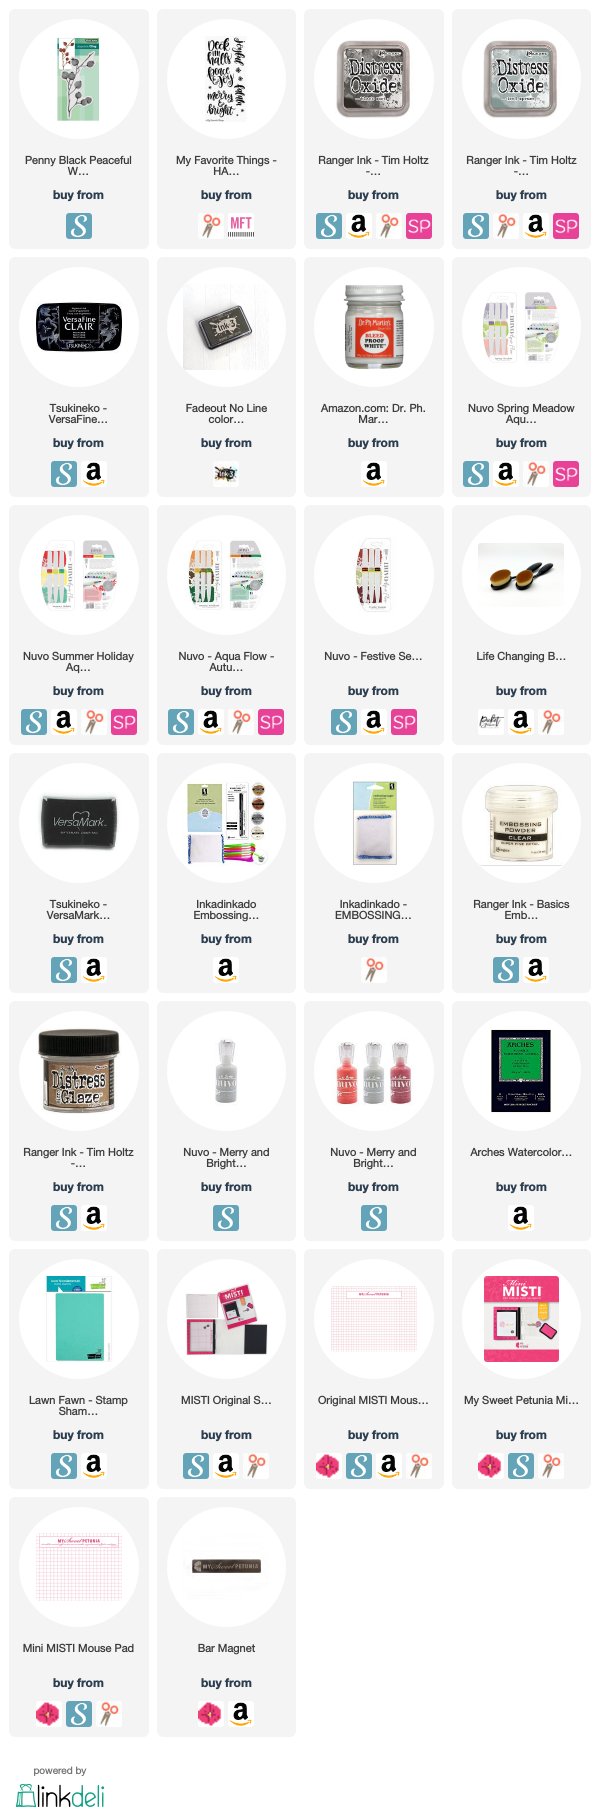
 When I was thinking about a card to do for today's post I knew I wanted to use Black Soot Distress Ink. When picking a stamp to use I thought this Berry Bramble from Penny Black would be perfect.

This is a longer post than normal as I have included a picture tutorial explaining the card process I did.

Using Arches cold press watercolour paper I first blended on the Distress Inks using Iced Spruce, then added in the Black Soot. To brighten up the middle I painted in some Dr. P. Martins Bleed Proof ink and with my paint brush blended it out toward the edges, then splattered with water.

In my Misti (original) using Ink on 3 Fade Out ink I stamped the image a couple of times. With my aqua brush and bleach I then coloured the berries with the bleach and went over them with clear water. 
Once dry I added my colour by colouring the stamp and transferring the colour with the door. I am using Nuvo Aqua Flow Pens in seasonal colours to do this, and
adding darker colours for blending.
As I am doing a 3.5 x 8.5 card I need to rig something up to add to the bottom of my card. I got out my Stay-tion and using the grid lines and magnets set up my mini Misti and used the top of the door for my stamp. I just need to ensure I held the Misti in place, using the grid lines as I stamped. It worked perfectly for me. 
Once finished with the colouring I stamped the sentiment using VersaFine Clair ink in Nocturne and heat embossed with clear embossing powder. 
Using my fan brush I added splatters of white acrylic paint and waited for the paint to dry before moving on to adding Distress Micro Glaze to the card and buffing with a clean cloth.
I find this enhances the colour nicely. I then attached the panel to a black card base and added Nuvo Glitter Drops in Silver Glitter to finish.

Thank you for joining me today. 

Following are Affiliate links to the products I used for this card, at no cost to you.

Tuesday, September 17, 2019

Team Tuesday with Kia

 Kia here with you today to share this clean and simple card using my Original Misti and Penny Black stamps.

I did do a video, but for some reason my camera decided not to focus .... need I say more? Annoying!
 I decided to place my stamp slightly off centre for interest. 

And this is why I love Misti. 

I coloured the stamp as I went along using Distress Markers in Twisted Citron, Lucky Clover and Peacock Feathers. I spritzed after each addition of colours and cleaned the stamp periodically so as to not get a build up of water that could go where it was not wanted.

Colouring this way would have been unheard of before Misti. 

Once I was done with the leaves I cleaned the stamp and proceed to colour the berries using Worn Lipstick and White Jelly Pen.
To finish up I stamped the sentiment using VersaFine Clair ink in Paradise. I then added the bird, again using the Paradise Ink. 

Although it does not show in the pictures, I did add Nuvo Shimmering Pen in Midas Touch to the berries, and also added a few sequins.

Thank you for joining me today.

Following are Affiliate links to the products I used for this card today, at no cost to you.

Tuesday, April 2, 2019

Team Tuesday with Kia

 This is Beauty.

I made Beauty for today's Team Tuesday post. I did do a video but it ended up at 25 minutes, which I think is just too long. So instead I have opted for a tutorial, for those who like to have a lot of information about making the card.
 First however, I would like to share the pictures of my finished card. I opted for a coral/orange colour for the flower, as that colour on the sun rays is mostly covered by the flower. 
 A close up of the Peony shows the details from the stamp, which I went over with the paints as I very much like the details on this flower.
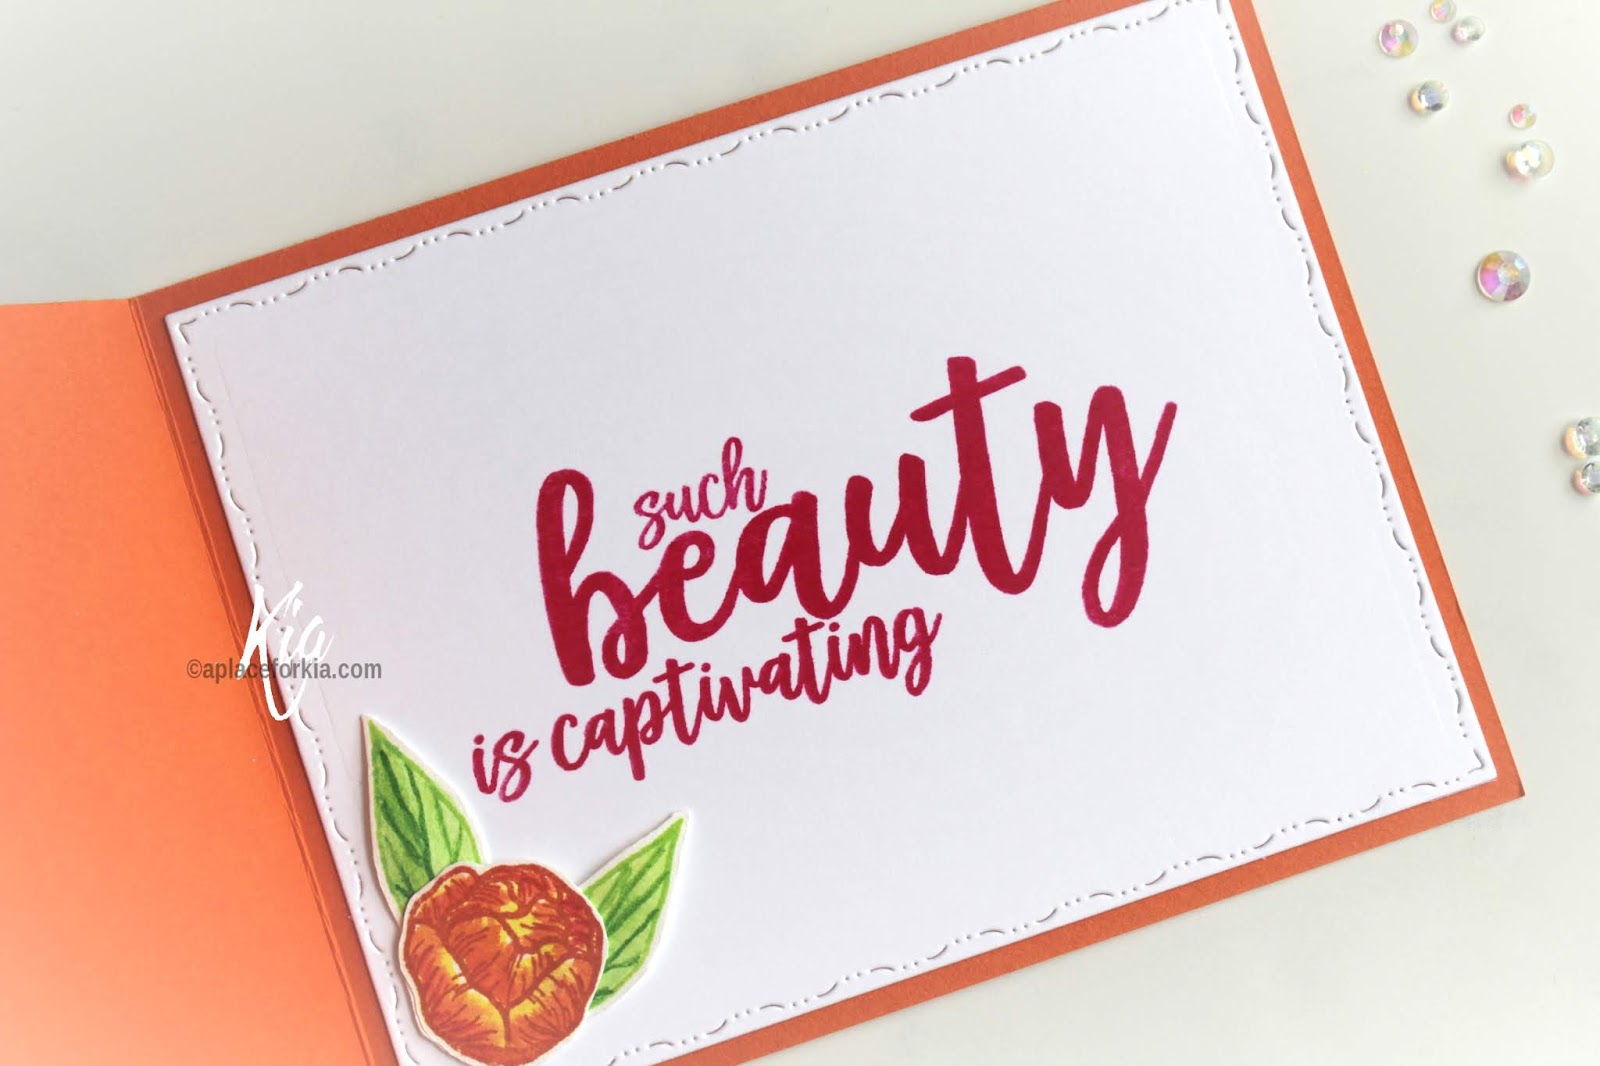
 And, as I normally do, I have also done the inside of my card, which is where the name of my card came from, stamping the sentiment in the Fuchsia Pink to bring that colour inside the card.

So now on to the Tutorial part of my post.  
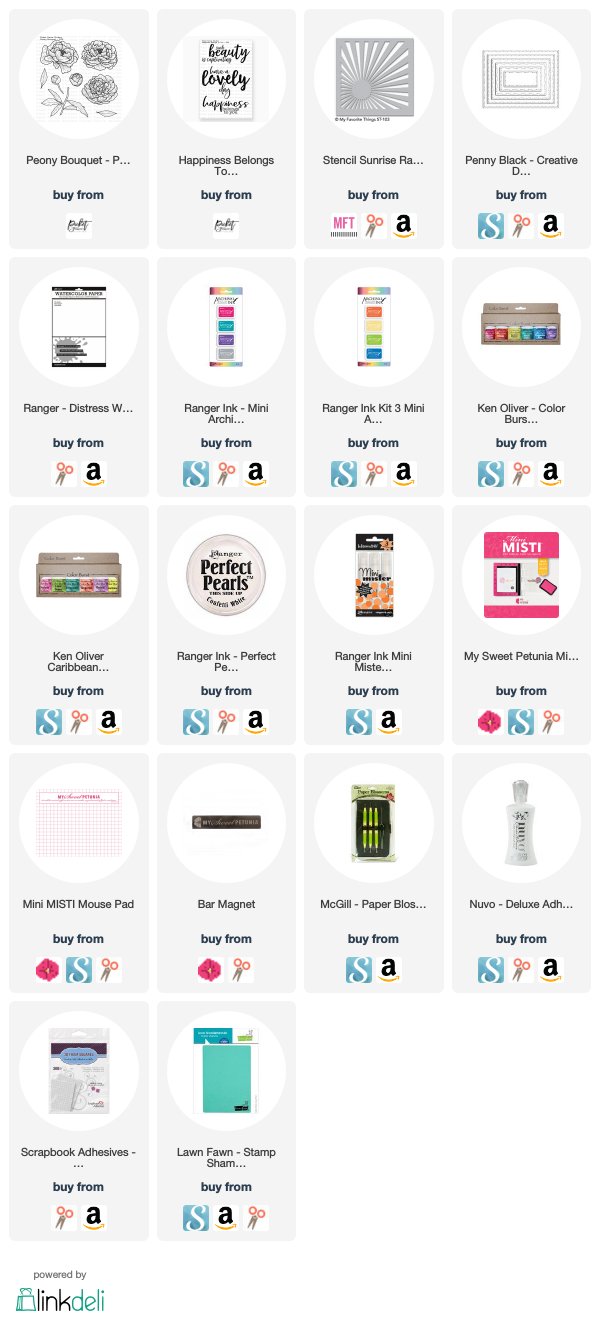
 I started with the stencil background, using Ken Oliver's Color Burst powders in Lemon Yellow, Tangerine and Fuchsia. I have also mixed a spritzer with Perfect Pearls which is what I spray the powders with, which adds a beautiful sheen to the finished rays.
  (There is a container sitting on the sun part of the stencil to stop it puffing up when I wet the piece). 
I have used a Basting Spray from my sewing days to tack down my stencil. It has very good stick to it so for this card I pressed off on a rag before putting on my card stock. When using spray such as this, as I have a bird I must do it outside, and I would recommend that, as it is not the nicest smell around.
 This is the finished background. I love the roughness of the sun rays.
 I then moved on to stamping the flowers, using Ranger Archival Inks in the colours I was going to use. I also stamped the large Peony in orange and yellow to see what one I would like. I picked the yellow image.
 Keeping with the colour burst powders I made puddles of the colours I used on the sun rays, and added in a couple of greens along with a lighter colour of the orange.
 I did a few layers of painting to get the colours the way I wanted. The Color Burst colours are very vibrant, which of course I love.
 I die cut and attached my sun rays panel to a tangerine card base. 
Once all the painting was done I cut the images and styled them with my stylist, adhering them to my card using Nuvo Adhesive Glue and foam squares.
 Moving to the inside of my card I die cut the panel and stamped the sentiment using Ranger's Vibrant Fuchsia. 
 I then styled and glued in the leaves and flower bud.
I finished by adding a few Iridescent Crystals. 

I hope you have enjoyed today's Team Tuesday card. Following are affiliate links to the products that I have used on this card.

Sunday, August 26, 2018

Penny Black Dressed in Snow Christmas Card


While I was at Junkie Fest 2018, I stopped by a local store.  Before I walked in the store, I made a commitment to purchase products.  Our small stores are in danger of going out of business.  In my area, the closest store is an hour and a half away.  Unfortunately, most of my shopping is done online.  However, online does not do stamps justice.  In person shopping, holding product in my hands, is a dangerous thing.


I purchased this Penny Black Dressed in Snow Slapstick  Cling stamp.  I fell in love with the sample on the back of the packaging.  With the help of my MISTI, recreating this was simple.

This year, I promised that I would not procrastinate on Christmas cards.   I hope this video inspires you to start your cards.  Leave a comment below telling me how many cards you plan to make this year.

Thanks for stopping by!


Affiliate links to supplies used: