Showing posts with label MFT. Show all posts

Thursday, September 3, 2020

The Ton Group Layering

 Hi everyone!

Ilina here. Today I am sharing a card using the newest The Ton release and the Group layering sets and dies. These make stamping and die cutting images a breeze and they are made to work with the MISTI.

I personally think it's a genius idea (it's patent pending) and make lining up the layer super easy.


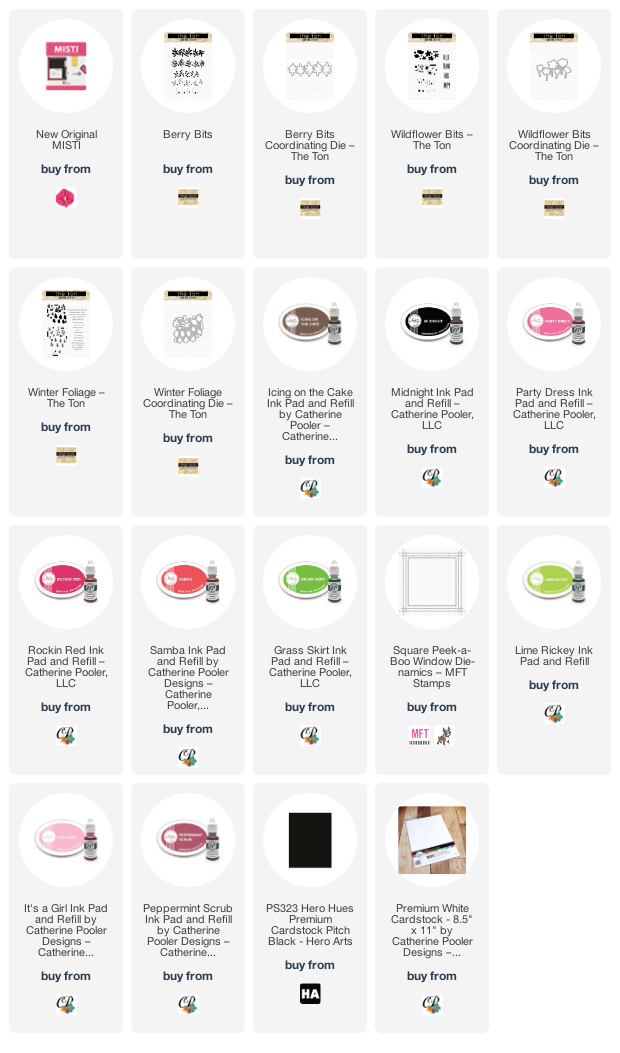
For my card I used 3 sets from the newest release : Berry Bits, Wildflower bits and the Winter foliage along with coordinating dies. Using my MISTI I stamped bunch of them and will save the rest for cards when I don''t have time to put together. Once stamped I die cut them all. All supplies are listed on the bottom

Cut panel 4" x 5 1/4" and die cut the peeking square window die from MFT Stamps. 

Next stamped the sentiment in black. Using foam tape I adhered the window panel to piece of black card stock. Arranged and adhered the flowers and adhered to Black note card. Voila ;)


Tuesday, October 29, 2019

Team Tuesday with Kia

Berry Bramble Joyful

 When I was thinking about a card to do for today's post I knew I wanted to use Black Soot Distress Ink. When picking a stamp to use I thought this Berry Bramble from Penny Black would be perfect.

This is a longer post than normal as I have included a picture tutorial explaining the card process I did.

Using Arches cold press watercolour paper I first blended on the Distress Inks using Iced Spruce, then added in the Black Soot. To brighten up the middle I painted in some Dr. P. Martins Bleed Proof ink and with my paint brush blended it out toward the edges, then splattered with water.

In my Misti (original) using Ink on 3 Fade Out ink I stamped the image a couple of times. With my aqua brush and bleach I then coloured the berries with the bleach and went over them with clear water. 
Once dry I added my colour by colouring the stamp and transferring the colour with the door. I am using Nuvo Aqua Flow Pens in seasonal colours to do this, and
adding darker colours for blending.
As I am doing a 3.5 x 8.5 card I need to rig something up to add to the bottom of my card. I got out my Stay-tion and using the grid lines and magnets set up my mini Misti and used the top of the door for my stamp. I just need to ensure I held the Misti in place, using the grid lines as I stamped. It worked perfectly for me. 
Once finished with the colouring I stamped the sentiment using VersaFine Clair ink in Nocturne and heat embossed with clear embossing powder. 
Using my fan brush I added splatters of white acrylic paint and waited for the paint to dry before moving on to adding Distress Micro Glaze to the card and buffing with a clean cloth.
I find this enhances the colour nicely. I then attached the panel to a black card base and added Nuvo Glitter Drops in Silver Glitter to finish.

Thank you for joining me today. 

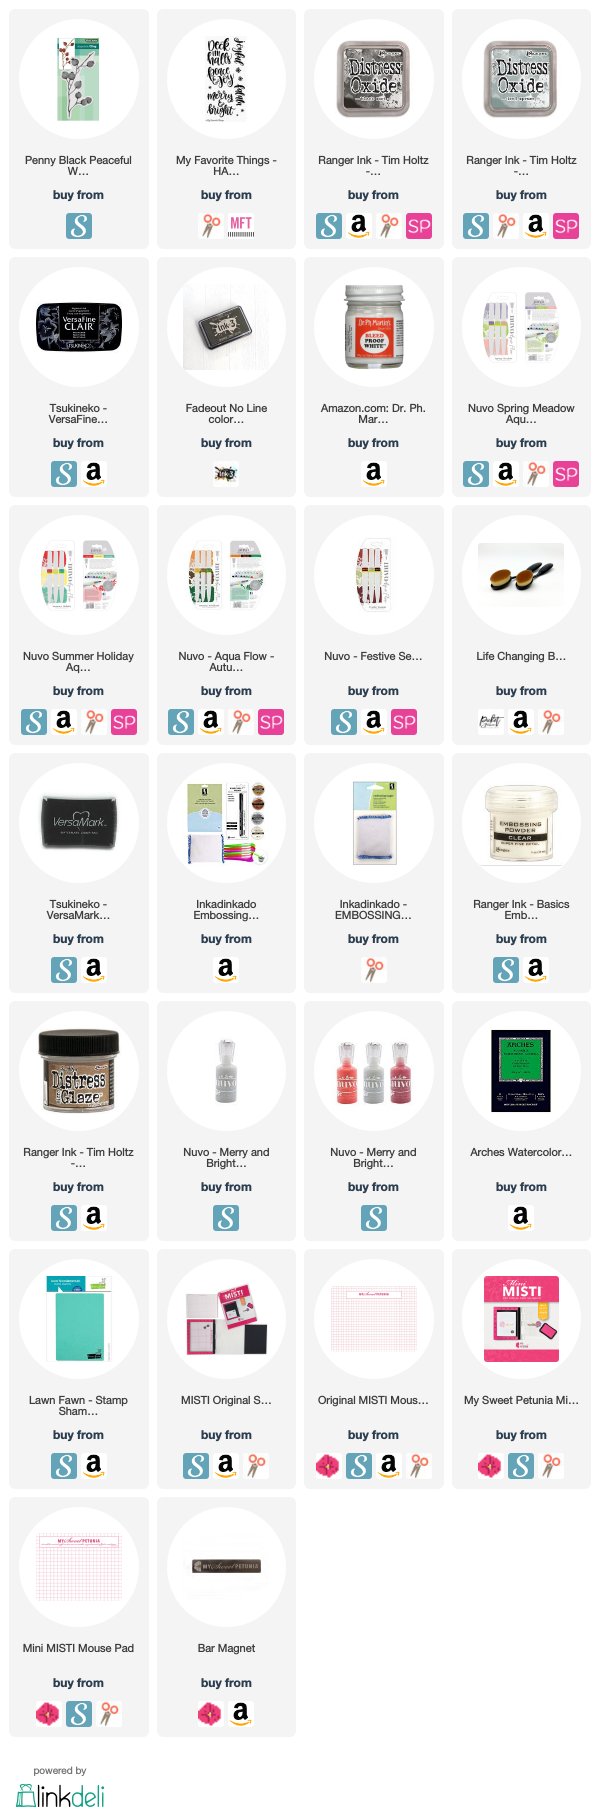
Following are Affiliate links to the products I used for this card, at no cost to you.
Saturday, August 3, 2019

Washi Cards


This was the first time in a long time that I actually got in the crafty zone.  I started out with an idea and it lead to a rabbit hole that reminded me how much fun card making is.  I was happy to use up the big rolls of washi that I had.  The Tuxedo washi is great for masculine cards.  However, I made mine girly with the colors I chose. 


I loved the way this set of cards turned out.  The possibilities are endless with just changing the sentiments on the Botanical Rhapsody washi.


I love the simplicity of the Big Hi die from the Stamp Market.  I know that sometimes I get stuck on what to do with a beautiful background and this die is certainly an easy way to showcase that.


The Teal Shadow (on the left) is a new washi.  I overlooked it when it first came out.  When I saw the washi in a store, I had to buy it.  The Gilded Flurries washi card (on right) is my favorite of all the cards.

Pink and black....need I say more?  The camera did not do the Pixel washi justice.  For some reason, pink is hard to photograph.


Starting on the left, the Gilded Ombre is another favorite.  The Monochrome washi (right on top) is simple and elegant.   Finally, the Botanical Rhapsody washi, that I colored in, looks so cool with the Copic coloring.

Thanks so much for stopping by.  Which card is your favorite?


Affiliate links to:

Original MISTI
[ MSP | AMZUS ]
Cut-Align
[ MSP | AMZUS ]
Double Dip Notes
[ MSP ]
Bar Magnet
[ MSP ]
× ? Add product to Linkdeli This...
[ MSP | SSS | AMZUS ]
Ranger Multi Medium, Matte Mini, 1/2...
[ ELH | SSS ]
FOAMIE SHEET STICKYBACK WHITE 2MM...
[ AMZUS ]
Stick It Adhesive Large Sheets, 5pk
[ ELH | SSS ]
Mega Happy, Altenew Dies - Ellen...
[ ELH | SSS ]
Mega Greetings 2, Altenew Clear Stamp...
[ ELH | SSS ]
Altenew Mega Hello
[ ELH | SSS ]
Altenew Mega Greetings
[ ELH | SSS ]
Altenew Mega Greetings 2
[ SSS ]
Altenew Mega Thanks Die
[ ELH ]
Altenew Mega Thanks Die
[ SSS ]
SSS LOVE YOU LIKE
[ SSS ]
Concord & 9th Enjoy It All
[ AMZUS ]
MFT BIG HELLO
[ SSS ]
MFT Smile Die
[ ELH | SSS ]
Simon Says Stamp SENTIMENT STRIPS
[ SSS ]
Stamp Market BIG HI
[ SSS ]
Altenew BOTANICAL RHAPSODY Washi Tape
[ SSS | ALTN ]
Altenew PIXEL Washi Tape
[ SSS | ALTN ]
Altenew TEAL SHADOW Washi Tape
[ SSS | ALTN ]
Altenew TUXEDO Washi Tape
[ SSS | ALTN ]
Altenew GILDED OMBRE Washi Tape
[ SSS | ALTN | SBC ]
Altenew Monochrome Washi Tape
[ ALTN ]
Altenew Glitter Flurries Washi Tape
[ ALTN ]
YG95 Pale Olive, COPIC
[ ELH | SSS ]
YG97 Spanish Olive Copic
[ ELH | SSS ]
RV32 Shadow Pink Copic
[ ELH | SSS ]
RV34 Dark Pink Copic
[ ELH | SSS ]
RV69 Peony Copic
[ ELH | SSS ]
Lawn Fawn Hearts Dies
[ ELH | SSS ]
Tonic Comfort 8.5 Inch Guillotine...
[ ELH ]
Tim Holtz Tonic GUILLOTINE COMFORT...
[ SSS ]