Showing posts with label Christmas card. Show all posts

Thursday, July 31, 2025

Twinkling Lights Santa and MISTI Magic!

 ๐ŸŽ„Twinkling Lights Santa – Two Festive Looks (and MISTI Magic!)

Hello, creative friends!
Today I’m sharing two festive cards featuring the absolutely adorable Twinkling Lights Santa stamp set from SweetMissDaisy Designs. These cards may look different, but they share the same joyful base—The Twinkling Lights Santa, cheerful gingham paper, and lots of sparkle! And behind the scenes, I used one of my favorite tools to make it all come together: the Original Teal MISTI!

From crisp stamping to perfect sentiment placement, the MISTI made these cards a total joy to create. Let me walk you through the details!


๐ŸŽ… Card 1: Twinkling in Red 

For this cheerful card, I placed the Twinkling Lights Santa stamp into my Original Teal MISTI and used it to get a perfectly clean impression. I love how the MISTI lets me stamp multiple times for a deeper color without ever losing alignment!

This delightful Santa is accented with light twinkle hash line stamps—there are four of them in the set, which made it easy to position them on the MISTI lid and stamp four at one time!  Using my Sticky Mat, I kept the card panel secure while stamping those extra details right where I wanted them.

To create a polished top edge, I used the 0 Center Cut Align Ruler from the MISTI Accessories to perfectly place a scalloped red gingham border from the Holiday Mini Gingham Paper Pack. The alignment grids helped me add the sentiment with flawless placement!

๐Ÿ’™ Card 2: Santa Goes Red, White & Blue

My second card features the same Santa, but this time with a fresh twist: a red, white, and blue Christmas theme! Once again, I turned to my Original Teal MISTI to stamp a crisp image of Santa holding his twinkling light strand. I colored all blue lights on this one to coordinate with a scalloped blue gingham border along the bottom.

The “Ho Ho Hello” sentiment was stamped directly onto the card base using the MISTI’s alignment grids, getting it straight and centered in one easy step. I love how this layout flips the composition while keeping all the charm.


✨ A Little Help from My MISTI

Here’s how the MISTI tools made this project smooth and stress-free:

  • ๐Ÿฉต Original Teal MISTI: for perfectly clean stamping on both cards

  • ๐Ÿ”ฒ Sticky Mats: held my panels securely for all the layered stamping

  • ๐Ÿ“ 0 Center Cut Align Ruler: made adding those gingham borders a breeze

  • ๐Ÿงญ MISTI Grids: helped align the sentiments with total precision

These tools don’t just save time—they boost confidence. I knew each element would land just where I wanted it, and that left me free to enjoy the creative process.


Thanks so much for visiting today! I hope these cards bring a little sparkle to your day—and show how tools like the MISTI can elevate your stamping game with every press

Thursday, December 8, 2022

The MISTI is Santa's Fantastic Holiday Helper

The MISTI is Santa's best helper when it comes to holiday cardmaking!

I had a blast creating this set of cards. I used three MISTIs to make the process even quicker. Firstly, I placed a Sticky Mat in an Original MISTI. The Sticky Mat held the cardstock in place as I inked the trees more than once. I positioned each of the trees in a separate MISTI; so that the tree images would stamp closely to one another. Lastly, I placed the sentiment in a third MISTI.

 Utilizing three MISTIs made it easy to create a set of cards. I kept the creative session interesting by changing the colors of ornaments and inks!


Wishing you Joy during this busy season! 

**Affiliate links are used when possible with no charge to you!**

A List for Santa:


Stamps:
Trees in Winter
Glad Tidings

Thursday, July 30, 2020

Quick & Easy Holiday Cards

Welcome friends! Today I’m sharing some inspiration using the new Frosty Card Kit from Taylored Expressions. If you are looking to get a jump start for your holiday cards – this is IT!

VIDEO

I have a video sharing the contents of the kit and creating 3 cards from start to finish. You can check out the video down below or HERE on my Youtube channel.

For my first card, the background is stamped in Oreo ink with the bands of the hat stamped in Strawberry Milkshake, Cookie Monster and Lime Zest. 


This would be a great one to mass produce! In the video, I show how I created a template in my Misti for stamping the sentiment.
Once you have everything in place in your Misti, stamping is a breeze.


I ventured out of the kit for this next card and added a stencil from my personal collection.

Using the Masking Stencil Rectangle, I ink blended on Cookie Monster ink with a blending brush. Then added the Winter’s Beauty Stencil over the top of the masking stencil and blended that on with Cookie Monster, Blue Raspberry and Jelly Donut ink.

Be sure to check out the video for all the details on creating these cards.

SUPPLIES

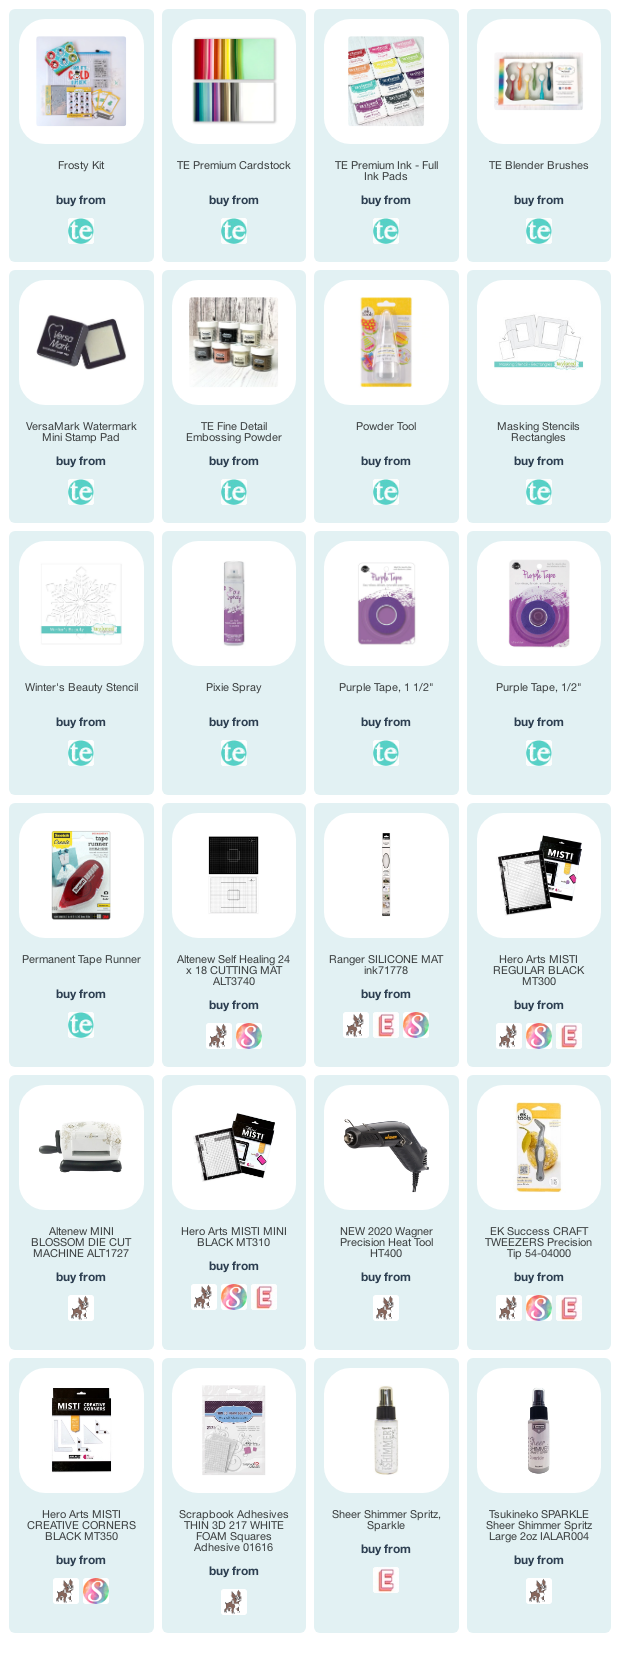
Below you will find links to the products used. Click the icon to start shopping. Compensated Affiliate links are used at no additional cost to you. Your support helps me to keep bringing you new projects and videos. Thank you!


Tuesday, November 5, 2019

Kaleidoscope Snowflakes with Mindy Eggen


Welcome everyone! Mindy Eggen here with you today and I’m excited to share with you some inspiration using the Spellbinders Small Die of the Month for November 2019, the Kaleidoscope Snowflake.
Sign up to be a club member and never miss out on these amazing deals! You can read all about becoming a member (HERE).
VIDEO DETAILS
I have a video creating these two cards that you can view down below or (HERE) on my Youtube channel.
The Kaleidoscope Snowflake Small Die of the Month comes with 7 individual dies. You can use them separately or layer together to create beautiful dimension snowflakes.
For this first card, I layered together the pieces to create a large snowflake for my card front. I die cut the pieces from Pixie Dust card stock and Gold Glitter card stock and layered together with Lawn Fawn Liquid Glue.
My background is created by stamping the Hand-Drawn Snowflake stamp from Hero Arts onto Plum card stock with embossing ink using my Original Misti. Then heat embossing Sparkle Embossing powder.


I attached my snowflake to the top of the card with liquid glue.
The sentiment is from the Bitty Holiday Wishes stamp set. I heat embossed it in Gold Embossing Powder onto Pitch Black card stock and trimmed down to a thin strip. I attached the sentiment to the center of my snowflake using foam tape.


My next card is featuring the actual snowflake dies from the Small Die of the Month. These can layer together up to 3 times but I only did 2 layers. I die cut the pieces from Pixie Dust card stock and Silver Glitter card stock. Then used my Lawn Fawn Liquid Glue to adhere together.
I created a very simple background for this card which would be really easy to recreate in quantities. I ink blended Grape Juice Ink onto the edges of Plum card stock using a blending brush.
Then added my snowflakes to the card front with liquid glue.
The sentiment is from the Very Merry Sentiments from Concord & 9th. I stamped the sentiment in Altenew Obsidian Ink using my Misti tool and then trimmed them down into individual strips. I love the look of the labels.
I attached foam tape to the back of each strip and added to my card front.


Can I say I am really loving this Plum card stock from Hero Arts! Such a unique color for Holiday cards!
I hope you enjoyed today’s inspiration!


SUPPLIES

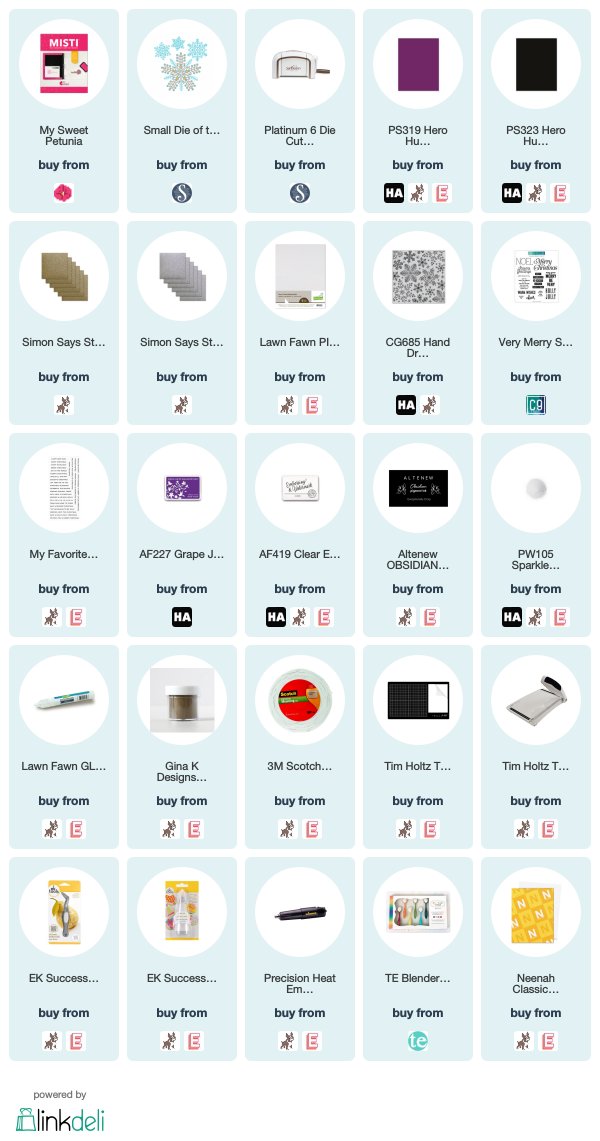
Below you will find links to the new release. Click the icon to start shopping. Compensated Affiliate links are used at no additional cost to you. Your support helps me to keep bringing you new projects and videos. Thank you!


Sunday, August 26, 2018

Penny Black Dressed in Snow Christmas Card


While I was at Junkie Fest 2018, I stopped by a local store.  Before I walked in the store, I made a commitment to purchase products.  Our small stores are in danger of going out of business.  In my area, the closest store is an hour and a half away.  Unfortunately, most of my shopping is done online.  However, online does not do stamps justice.  In person shopping, holding product in my hands, is a dangerous thing.


I purchased this Penny Black Dressed in Snow Slapstick  Cling stamp.  I fell in love with the sample on the back of the packaging.  With the help of my MISTI, recreating this was simple.

This year, I promised that I would not procrastinate on Christmas cards.   I hope this video inspires you to start your cards.  Leave a comment below telling me how many cards you plan to make this year.

Thanks for stopping by!


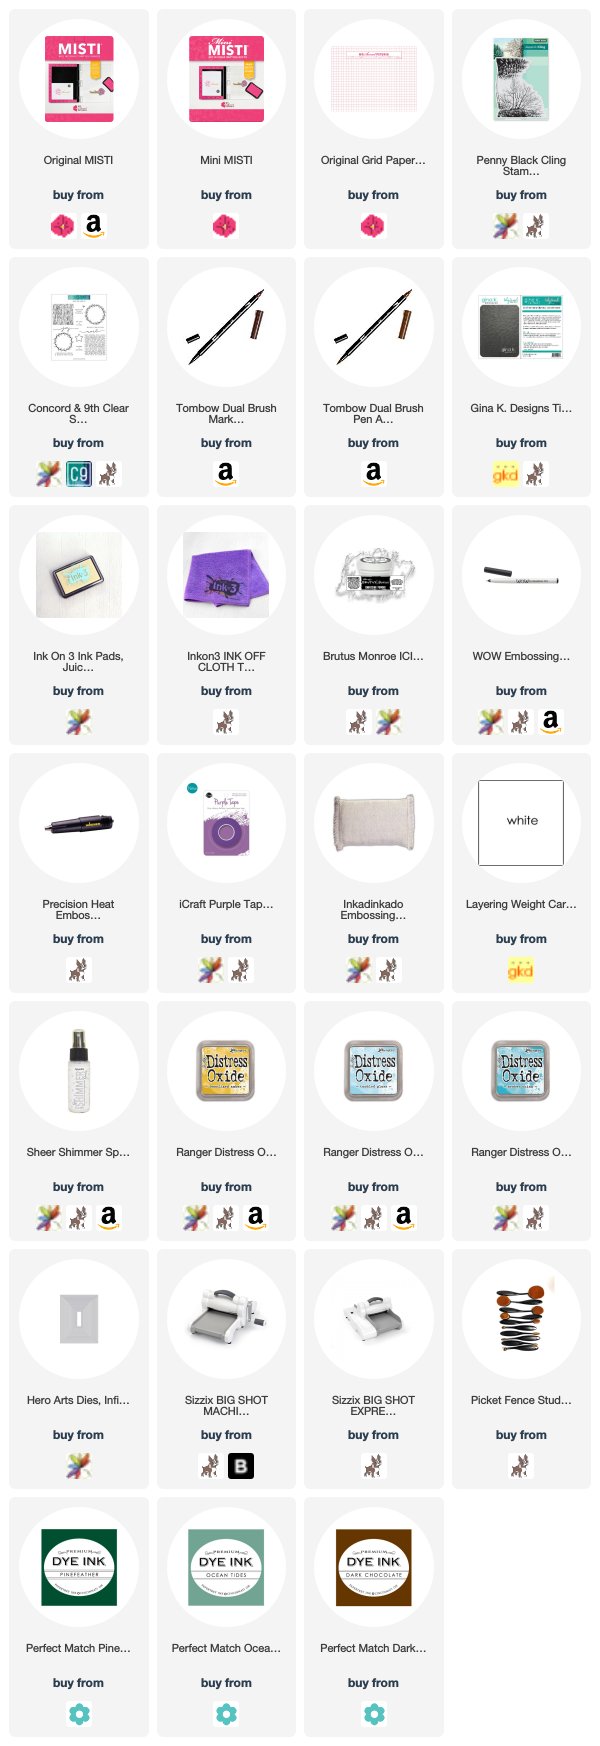
Affiliate links to supplies used: