Showing posts with label Christmas. Show all posts

Tuesday, December 26, 2023

Team Tuesday with Ceal and Alex Syberia

(Our team uses affiliate links)


Hello crafty friends!
It's Ceal here with you today for Team Tuesday.  I hope everyone that celebrates it had a great Christmas. 
Today I am sharing a card made with the Alex Syberia Designs poinsettia stamp. I have had this stamp for a couple months now but never had the time to ink it up until now. 

To make this card, I started with a white top folding A2 card base, a white panel and another white panel for the image. I placed the poinsettia stamp in the Original Misti to make sure I get a good impression and stamped it with black ink.  I colored the image with OLO markers and added some details with a white gel pen, then cut it out with the coordinating die. 
I used a cover plate from Pinkfresh Studio for the background. 
To finish the card, I added a greeting embossed with gold powder also by Pinkfresh Studio.


I have linked all products below.


Thursday, November 17, 2022

Painting and Stamping with the MISTI

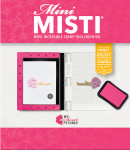
Hello, creative friends! Today I am sharing how easy it is to stamp on a watercolor using My Sweet Petunia tools!   First, I watercolored a winter sky on 100% cotton watercolor paper.   Next, I placed a Sticky Mat in my Teal MISTI. The Sticky Mat held the watercolor in place while I reinked the stamps several times.  Next, I grabbed the Mini MISTI to stamp the sentiment.  The Mini MISTI is ideal for stamping small images and sentiments.  Lastly, I used the 0 centering feature of the Cut-Align Ruler for perfect alignment of the sentiment.


Thanks so much for stopping by and taking a look!


***Affiliate Links are used when possible at no extra cost to you!***

Featured MSP Products:

Impression Obsession Products:


Wednesday, October 5, 2022

Gingers & Candy Canes on Watercolor Paper


Hello everyone! Anna here! The card I’m sharing today was made using the new Gingers & Candy Canes image recently released from Whipper Snapper Designs. 


Using a Mini MISTI is my favorite way to stamp on watercolor paper. The texture of watercolor paper can be challenging to get a good impression without making multiple impressions. Thankfully, the Mini MISTI allows me to stamp an image several times, giving me the perfect impression for every project!

I created a video showing how I used the Mini MISTI to create a card using the same techniques used on today’s card. Check it out!


Thursday, November 4, 2021

Holiday Tags with the MISTI

 Hello!  
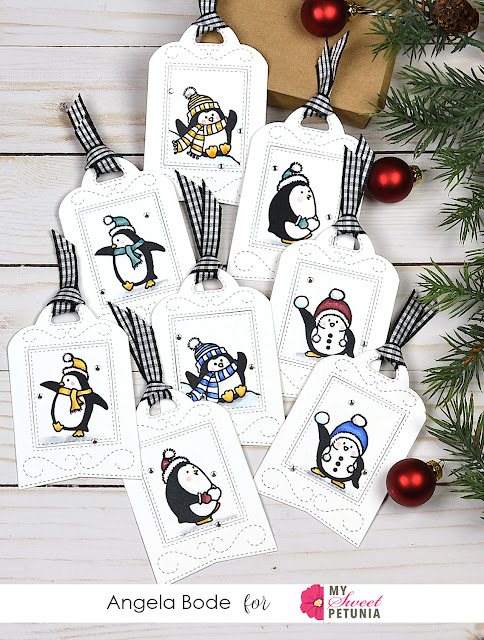
Angie, here with penguin tags! The idea to make tags came to me from a Falliday Fest Challenge at SCS.


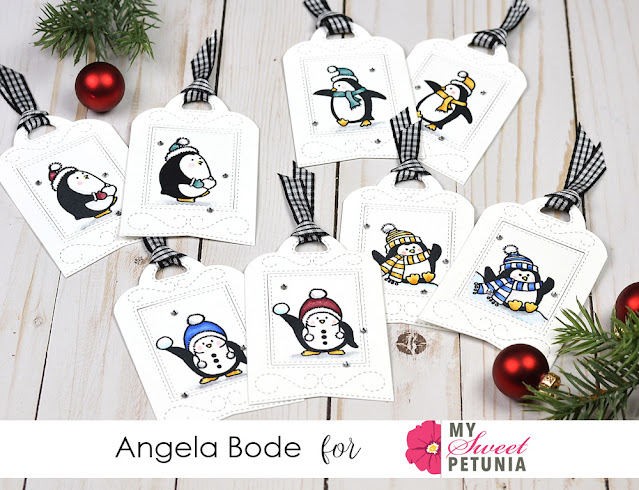
  The pretty stitched tag from Impression Obsession creates a gorgeous CAS tag without a bunch of fuss.  I placed the penguins in the New MISTI and stamped them onto the center of the tags.   I selected four penguins and stamped them twice for a total of eight tags.   I really could have just kept going once I had the stamps positioned, I could have made all the tags I would ever need!  


Grab a handful of tags and place your favorite stamp in the New MISTI and before you know it you will have enough tags made for all your holiday gift-giving!


I hope you feel inspired!


    Tag and Penguins from Impression Obsession.


Tuesday, November 13, 2018

Team Tuesday with Chris: Holiday Mass Production with MISTI

Good Morning!  Chris here with you today.  

Today I'd like to start by announcing the winner of one of the Unity Stamp Company/My Sweet Petunia Collaborative Blog Hop prize packs.  

Brianna J., you are the winner of a prize package of Unity's beautiful red rubber stamps, as well as a $60 gift certificate from My Sweet Petunia.  Congratulations Brianna!  Please set up an account at My Sweet Petunia, then email hello@mysweetpetunia.com and say you are the Unity/MSP blog hop winner!  If you already have an account, just email to claim your prize.

I make hundreds of cards thoughout the year, but very truthfully I actually mail very, very few.  Instead, about 95% of the cards I make get donated to my church. My church has a cardmakers group.  This fun group of women meet up once a month to create cards that are sold in the narthex of our church.  We create cards for all occasions, and the proceeds of the cards sales go toward various financial needs within the church and community, such as funding youth activities, donating to the foodshelf or women's shelter, or even toward music ministry or the pastor's discretionary fund.  I love being able to serve within my church in such a creative and enjoyable way 

I also have been working as a volunteer with the youth confirmation program.  For the past few weeks I have been teaching a card making class with a small group of younger teens, introducing them to card making and the card ministry within the church

I love to color, but coloring takes often considerable amounts of time.  Throughout the year I have freedom to spend time creating unique and orignial cards, but this time of year, there is a large need for Christmas cards so I like to use some time saving measures to be able to create many holiday cards in a shorter span of time.  Today I'd like to share a few of my holiday card mass production tips.

One of the best benefits of the MISTI is to be able to set up stamps on the lid of the MISTI and to be able to stamp both multiple times to get a crisp, sharp image, as well as to stamp consistently in multiples. I am making use of both today.

I have lined up all of the sentiments from My Favorite Things' Snow Globe Sentiments stamp set onto the lid of my original MISTI.  I used the grid lines on my mouse pad to line them up straight.


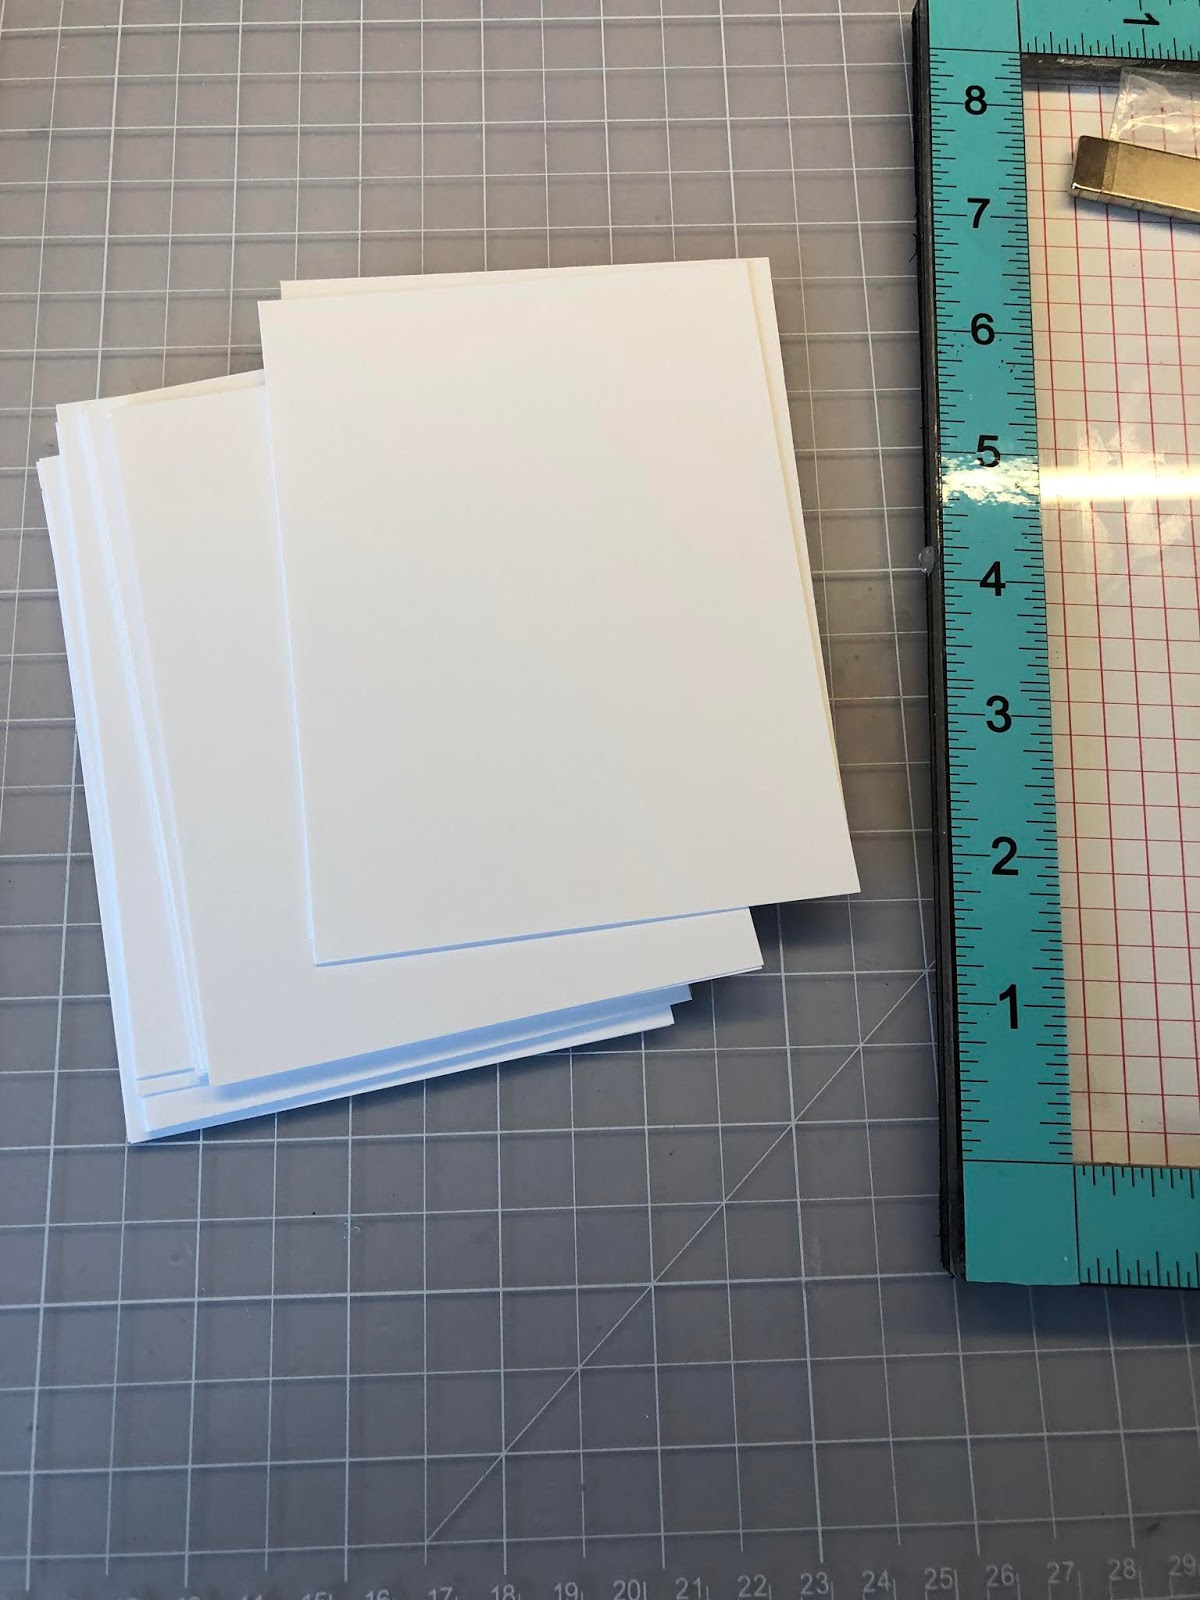
I can now close my lid and pick up all of them at once, then also stamp them also at once.  I've cut several pieces of 8 1/2" x 11" cardstock in half vertically, and tucking my paper into the bottom corner of my MISTI, and leaving the upper portion of the cardstock sticking out of my MISTI, I can stamp all the sentiments at once.


I can stamp a second time if needed to get a really nice ink coverage.  And can now flip my cardstock and stamp it identically, or can clean my stamps while still in place on the lid, and stamps again in a different ink.  I can also heat emboss over the top of my first inking with clear embossing powder, or on colored cardstocks too.  These sentiments have a really simple block sans serif font that is great for heat embossing.


I've prepped many sheets of these sentiments, and have heat embossed them all too.

Now I can easily use my Rototrim paper cutter to slice them up into sentiment strips.


These strips will give me lots of choices once I get to the assembly process of my holiday cards.


Now I will begin to create a pile of backgrounds.  

I've cut my layering weight paper down to 3 3/4" x 5" panels, and have assembled a selection of holiday and winter background stamps and inks.  


I can begin stamping and/or embossing.  I am making at least 4-6 panels of each variety.


These backgrounds will make some really pretty cards with the variety of sentiment strips that I have already created.


I have a lot of background stamps to choose from, and a large pile of precut panels, so I continue stamping to make a big assortment.  I can use embossing ink and powders to stamp on any color cardstock panel.


Once I feel I have created enough stamped background panels, I can cut cardstock mats to 4" x 5 1/4", and grab a pile of white card bases and get ready to assemble.  I have cut a wide variety of shimmer, colored, and foiled metallic mats.  

I literally have a bin that is labeled bits and pieces.  I brought that out to my dining room table along with the items I'm just created as well.  In this bin are small die cuts and leftovers from other projects I've worked on throughout the year.  I can often go to this bin to find pieces or already colored images to create a card from, or to embellish a card.  It's kind of a handy thing to have for this assembly time.  You just never know!  I may find the perfect "leftover" image in there to add to these holiday cards!


And here are several of the cards I've been able to quickly assemble using the panels and sentiment strips I created and various leftover die cuts and pieces!


I'll be using many of the remaining items to prepare kits for my youth class tomorrow night, and will bring the remainders to my church group cardmakers meetup today too to continue assembling! 


Thanks for joining me today!  Happy Holiday creating!

Saturday, October 6, 2018

World Card Making Day and a SALE!


Happy World Card Making Day!!!!!   I celebrate this day almost everyday.  I don't always get a card a day because I suffer from squirrel syndrome.  Lately,  I have been on a quest to reduce my paper pad stash.   I made a variety of cards with the same paper: however, the paper stash has not been reduced.

Here are a few of my latest creations using the last Concord and 9th release. It is an amazing release.  It has been a while since I have used a release right after I received it.  This release was one that I opened and ran to my desk.


I was determined to use up all of the die cut snowflakes.  This card uses the Joy from a retired Ellen Hudtson Die but I am sure you have something that you can substitute.   I even made tags to use up every little bit.


Christmas cards are going well.  I am about one third done.  I still have about one hundred cards to go.   So today, on World Card Making Day,  I am going to attempt another go at stash busting.  Hope you are inspired and will also take advantage of the sale.  My Sweet Petunia is having a sale this weekend until Monday.  You can enjoy 18% off the entire store.


Thanks for stopping by and don't forget to subscribe to my YouTube Channel and like the video below.


Affiliate links to supplies use:

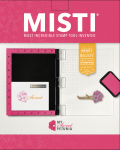
Original MISTI
[ MSW ]
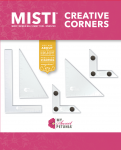
Creative Corners - US Patent Pending
[ MSW ]
Original Grid Paper Pad - DOUBLE SIDED
[ MSW ]
Original MISTI Mouse Pad
[ MSW ]
Bar Magnet
[ MSW ]
Mini MISTI
[ MSW ]
MINI Grid Paper Pad
[ MSW ]
Hero Arts Embossing Gun
[ ELH ]
Transparency Film : Transparency...
[ AMZUS ]
Sizzix Big Shot White & Gray
[ ELH | SSS ]
Inkadinkado Embossing Magic Bag
[ ELH ]
Foam Tape
[ AMZUS ]
Lawn Cuts Dies, Large Stitched...
[ ELH ]
Home   |  Log In   |  My Account  ...
[ FNC ]
Lawn Fawn Petite Paper Pack, Knit...
[ ELH ]
Concord & 9th NEUTRALS GLITTER 6x6...
[ SSS | ELH | AMZUS ]
Teflon Bone Folder
[ ELH | SSS ]
Lawn Fawn Stamp Shammy
[ ELH ]
Amazon.com: Fiskars 9 Inch Bypass...
[ AMZUS ]
Fiskars Deluxe 12 Inch Paper Trimmer...
[ ELH ]
3M Scotch PINK ATG ADVANCED TAPE...
[ SSS ]
Layering Weight Card Stock- White
[ GNK ]
Delicata Ink Pad, Silvery Shimmer -...
[ ELH ]
Amazon.com: Tonic Studios Tim Holtz...
[ AMZUS | SSS | ELH ]
Crystal Ninja CRYSTAL KATANA Mixed...
[ SSS | AMZUS ]
Altenew MINI BLOSSOM DIE CUT MACHINE...
[ SSS ]
Scor-Pal MINI SCOR-BUDDY Scoring...
[ SSS ]
Snow Flurry BUNDLE - Concord & 9th
[ C&9 ]
Snow Flurry dies - Concord & 9th
[ C&9 | SSS | ELH ]
Snow Flurry - Concord & 9th
[ C&9 | ELH | SSS ]
Therm O Web PURPLE TAPE Easy Release...
[ SSS | ELH ]
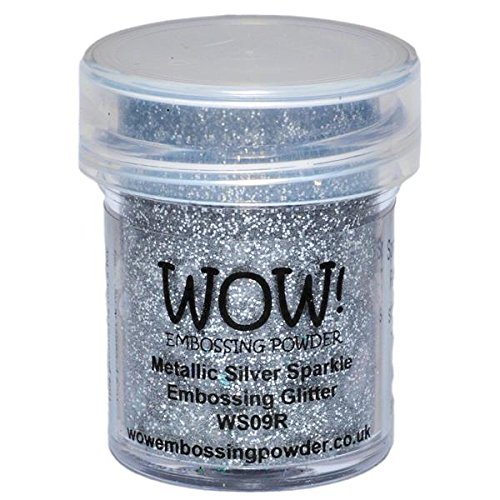
WOW Embossing Glitter METALLIC SILVER...
[ SSS ]
Amazon.com: Wow Embossing Powder...
[ AMZUS ]
Gina K Luxury Thick Cardstock
[ GNK ]
Elmer's SPRAY ADHESIVE Glue Clear...
[ SSS ]
Be Creative Tape, 3mm (1/8")
[ ELH ]
Lawn Cuts Dies, Everyday Sentiment...
[ ELH | SSS ]
Lawn Fawn EXTRA SENTIMENT BANNERS...
[ SSS ]
Simon Says Clear Stamps HOLIDAY...
[ SSS ]
Tsukineko VersaFine Clair MORNING...
[ SSS | ELH | AMZUS ]
Sentimental Holiday- CLEAR
[ GNK ]
Simon Says Stamp Premium Dye Ink Pad...
[ SSS ]
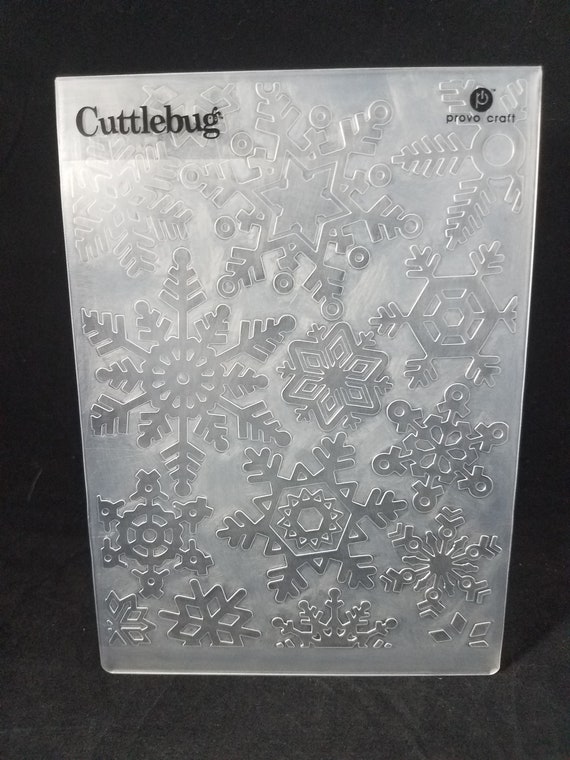
Snowflake Cuttlebug Embossing folder...
[ ETS ]
Hero Arts Dies, Infinity Nesting...
[ ELH | SSS ]
Judikins IRIDESCENT SPARKLE EMBOSSING...
[ SSS ]
Therm O Web MIXED MEDIA Multi-Purpose...
[ SSS | ELH ]
Essentials by Ellen 40 lb. Vellum, 25...
[ ELH ]
Bazzill 40 LB VELLUM 8.5 x 11 White...
[ SSS ]
Studio Katia SILVER FOIL Crystals...
[ SSS | STD ]
Snow Crystals Mix | Studio Katia
[ STD ]
Clear Round Drops Mix | Studio Katia
[ STD ]
Lawn Fawn Perfectly Plaid Winter...
[ FLD | WHT ]
Classic Tag 1 - Nice and Neat Die |...
[ N&T ]
Holiday Cheer Tags - Concord & 9th
[ C&9 | ELH ]
Very Merry Sentiments - Concord & 9th
[ C&9 | ELH ]