Showing posts with label floral card. Show all posts

Thursday, October 2, 2025

A Thankful Bloom with Precision Placement

 ✂️🌸 When a single flower says it all, the right tools make the details shine!

Hello friends! Today I’m sharing a CAS card featuring two of my favorite crafty companions: the MISTI and the Precision Glue Press from My Sweet Petunia.

I’ve always admired the look of colorful strip borders, but honestly? Adhering those tiny pieces used to be a gluey, crooked mess. Enter the Precision Glue Press—game changer! Even with the narrowest strips, it places glue exactly where I need it, no smudges, no stress. I recently made a card with strips half the size of these, and the Glue Press handled it beautifully.

And here’s something that really amazed me: during a hectic stretch this past year, I misplaced the glue cap. Several weeks went by where I didn’t use the Glue Press, but because the bottle sat snugly in its stand, the glue still flowed when I came back! At most, I had to clear the nozzle with a quick pin, and it was good as new. Dependability like that is essential in our craft rooms!  

For this card, I stamped a tall flower using my MISTI (with the sticky mat inside), which made it easy to adjust the bloom until the script “thankful” stem lined up just right. From there, I cut strips of cardstock in maroon, pink, yellow, dark teal, and light blue, and thanks to the Precision Glue Press, it was effortless to adhere them perfectly side by side. No juggling caps, no sticky fingers—just clean placement every time.


To finish, I sprinkled a few yellow and black gems around the flower for a touch of sparkle.


I’m so grateful for tools that make the creative process smoother—and more fun. Thanks for stopping by, and happy stamping (and gluing)! 💛

Thursday, February 22, 2024

Happy Birthday Flowers

***Our team uses affiliate links when possible at no charge to you!***

 Hello there! Angie here, and I'm thrilled to feature a birthday card today! It was a lot of fun to make and I'm happy to tell you that the MISTI tool made inking this large stamp a breeze! To prevent the cardstock from moving during several inkings, I put a Sticky Mat inside my Teal Original MISTI. The Sticky Mat held the cardstock securely in place as I stamped repeatedly to get a complete impression. Moreover, I love using Double Dip notes inside my cards, especially when the card base is dark! Additionally, I used the Precision Glue Press to adhere the die-cut scene to the card base.

Below you will find a video featuring the new Creative Corners! Lydia shows what is new and several different ways to use them!  


Thanks so much for stopping by!  


Thursday, January 6, 2022

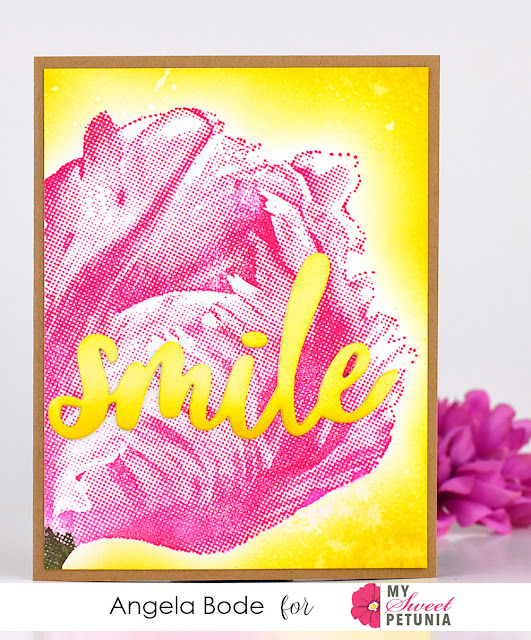
T is for Tulips and T-Ruler

 Hello!  It's Angie here featuring a new tulip stamp and the brand new MIS-T Ruler.  I wanted a dark impression from this pixilated tulip so a MISTI is a must!  I stamped this quite a few times to get the rich tones from Sweet Petunia Ink.


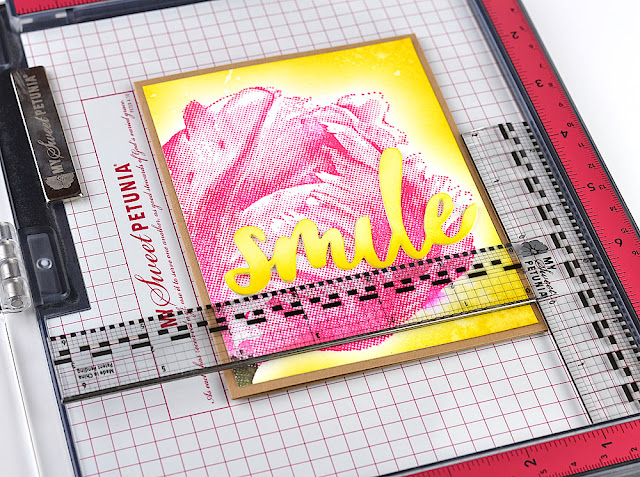
The new MIS-T Ruler is a great add-on to your MISTI tool collection!  The ruler fits easily into the original size MISTI.  I placed my card along a grid line and I placed the ruler up against two sides of the MISTI.    Next, I placed the word die along the ruler edge for perfect alignment!  


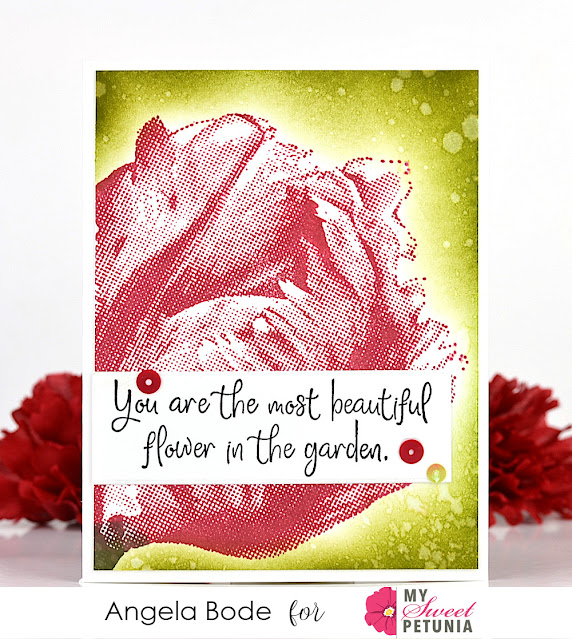
Well, you know what I always say, If I have a stamp in the MISTI why not make more than one card!  I changed the color combo for the next card and added a stamped sentiment from Impression Obsession.  I always leave my image stamp in my original MISTI until my projects are completed.  With the image occupying the Original MISTI, I always stamp sentiments with the Mini MISTI.  


Wishing you a healthy and safe day!!  Thanks for stopping by!

Featured products:

Original MISTI              Mini MISTI