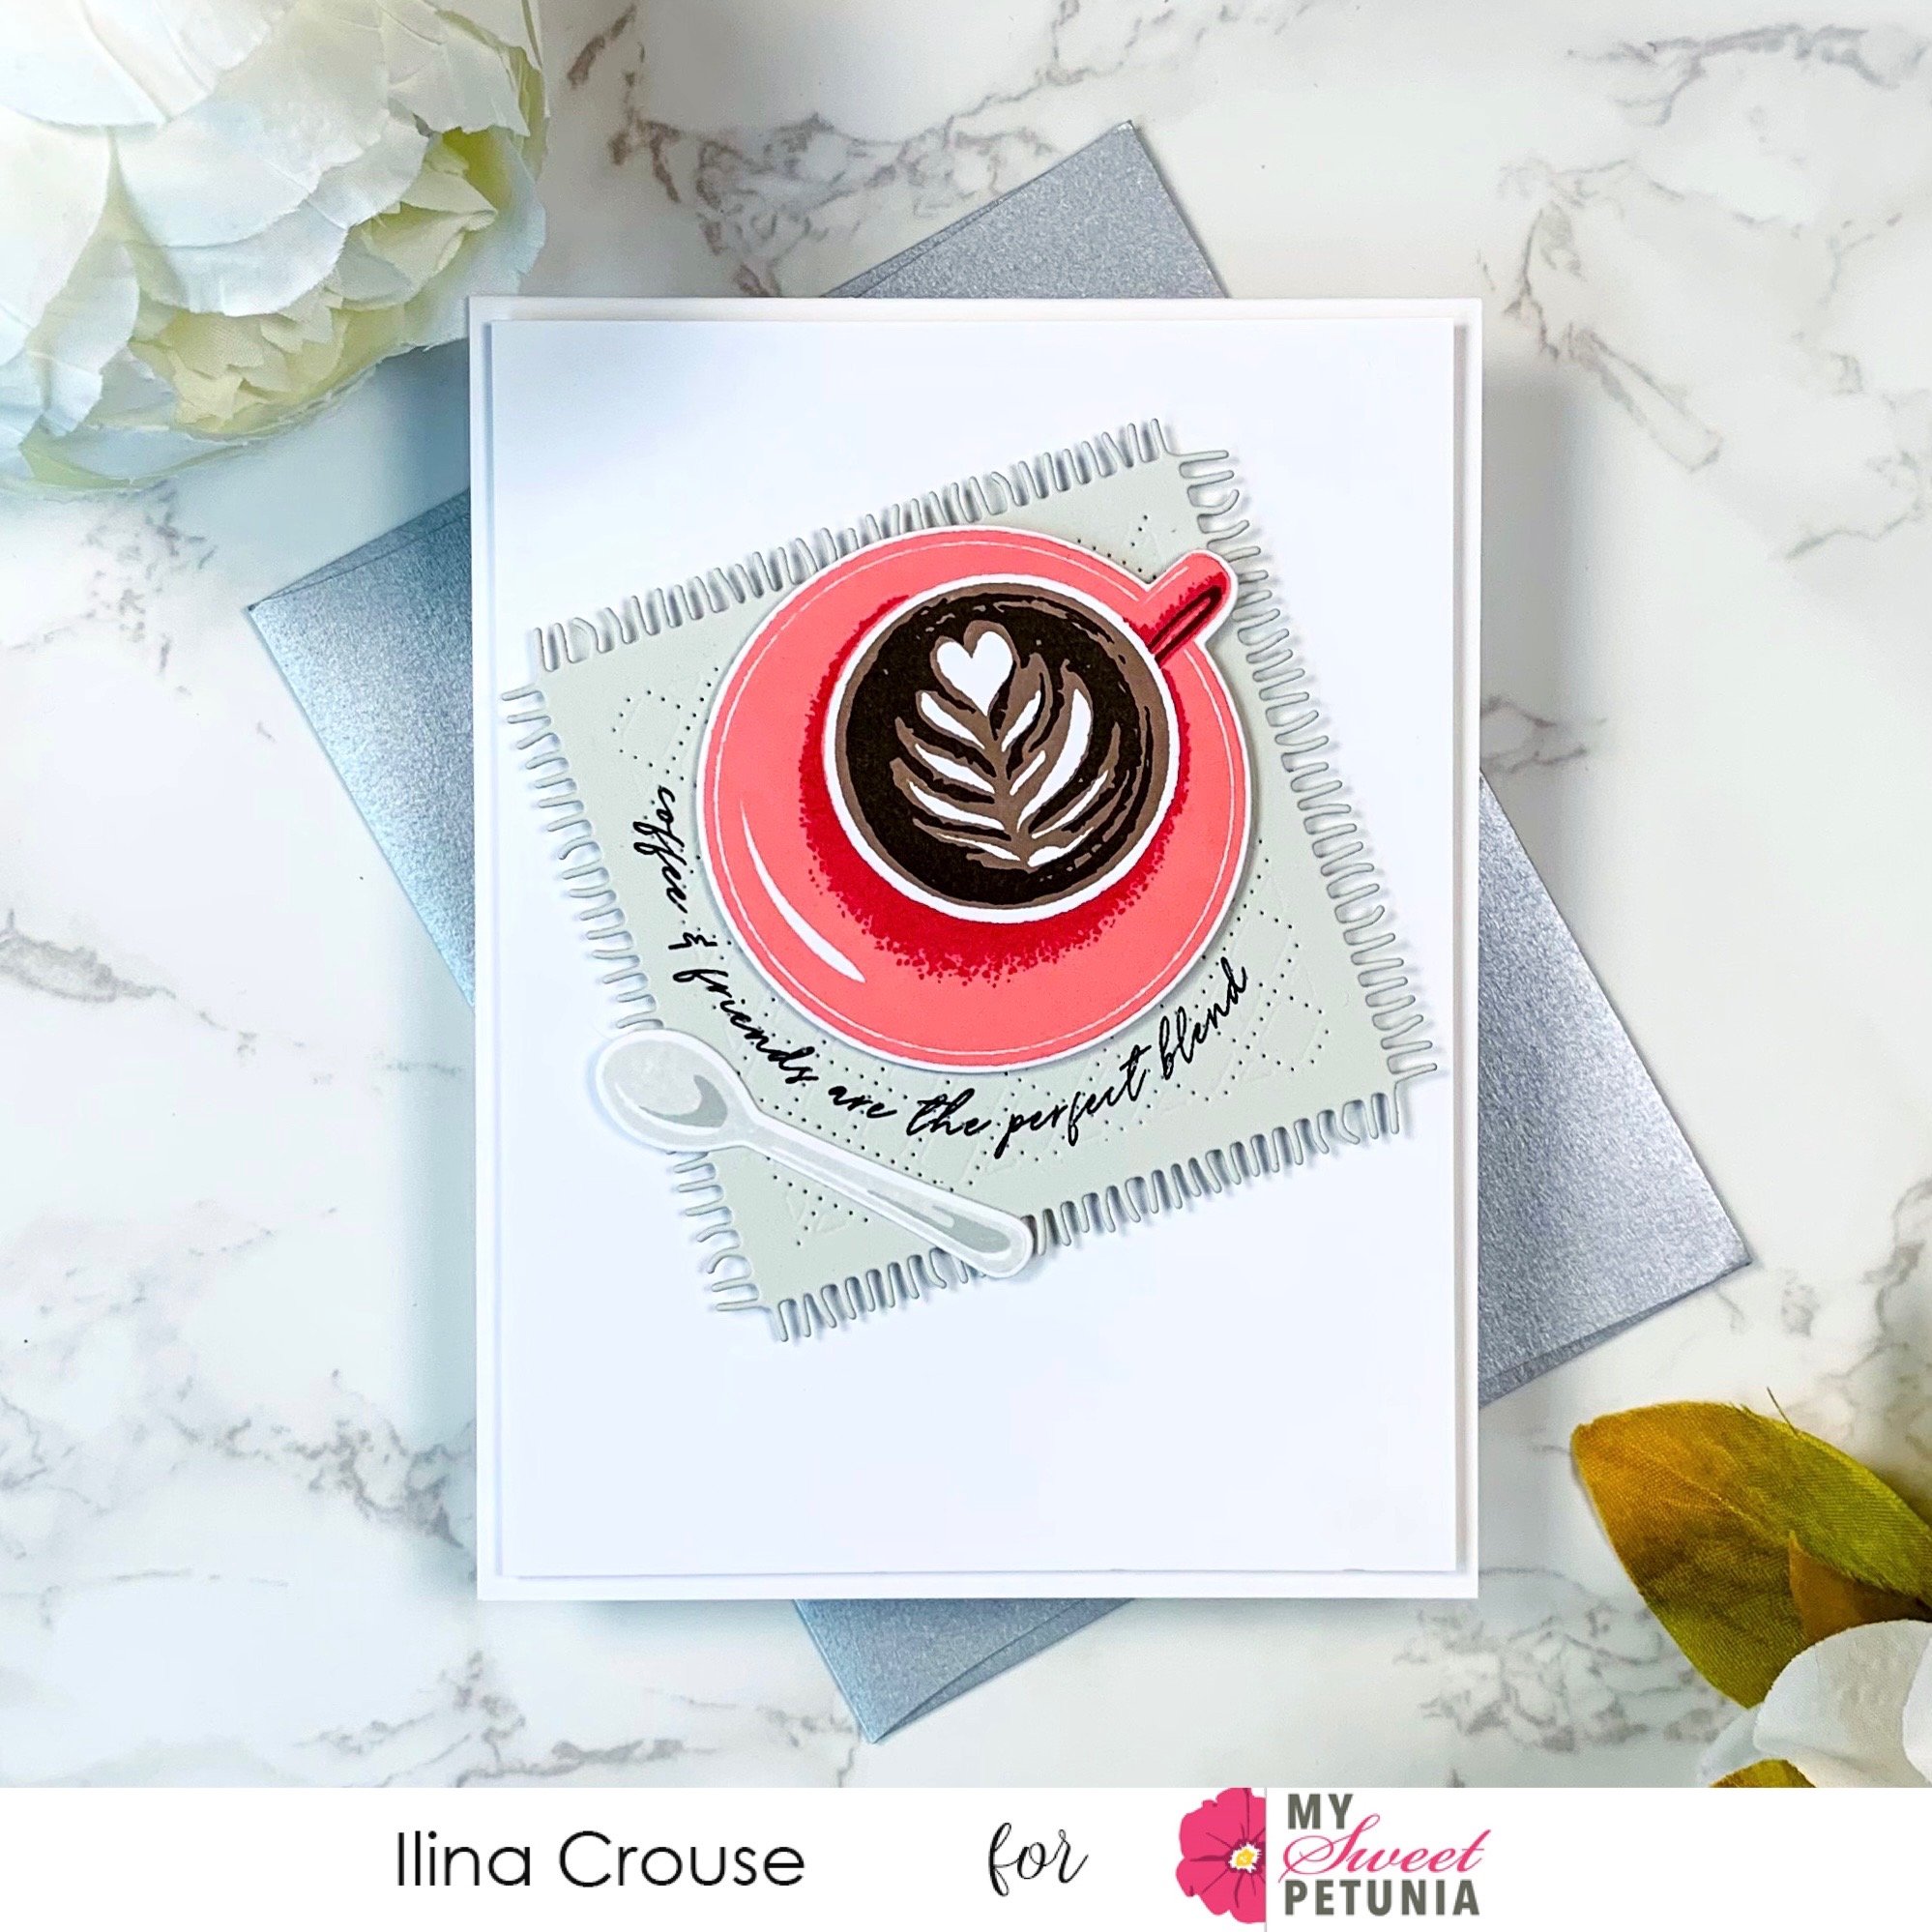
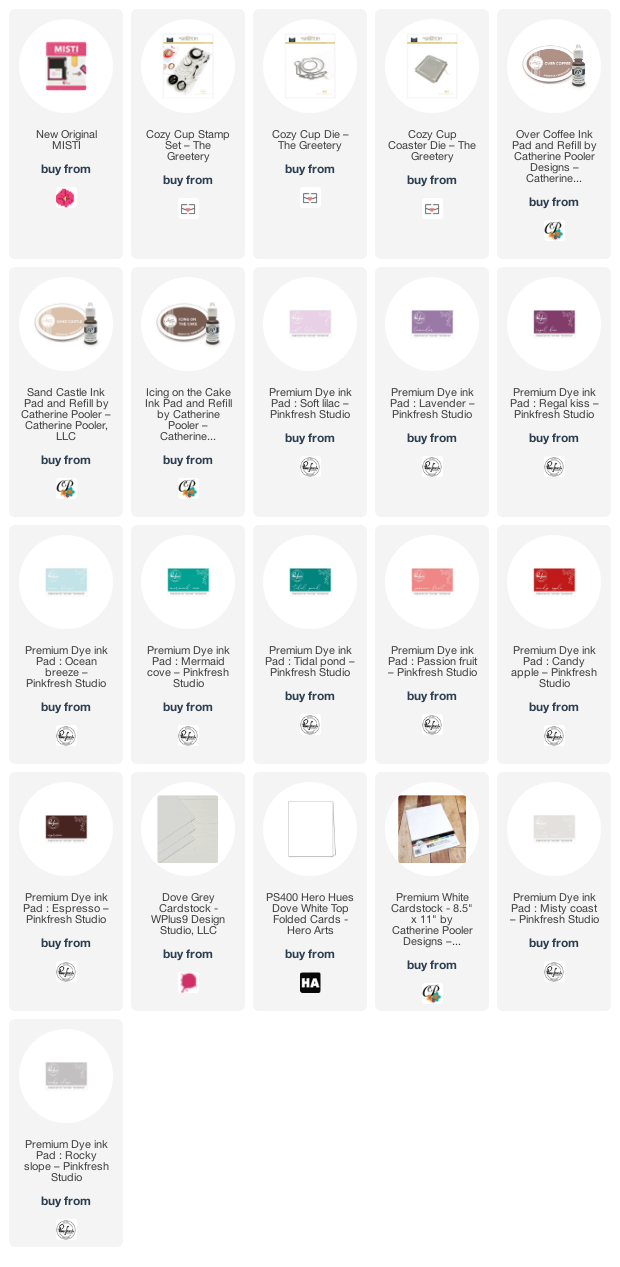
Ilina here. Today I am sharing a set of card using Cozy Cup Stamp set from The Greetery along with the coordinating dies and the Cozy Cup Coaster die.
To make the cards I started by die cutting bunch of the dies from white card stock, also a template of the die cuts to use in my MISTI to mass produce the images. Once I had everything die cut, I positioned my template from the negative die cuts and stamped the images. Usually when I do this technique I stamp bunch of images, way more than needed and save for later use.
Once I had stamped them, I set them aside. Die cut coasters from Dove card stock and stamped sentiment in black. All I had left to do was to assemble my cards. I made four and saved the rest of the stamped images for later use.
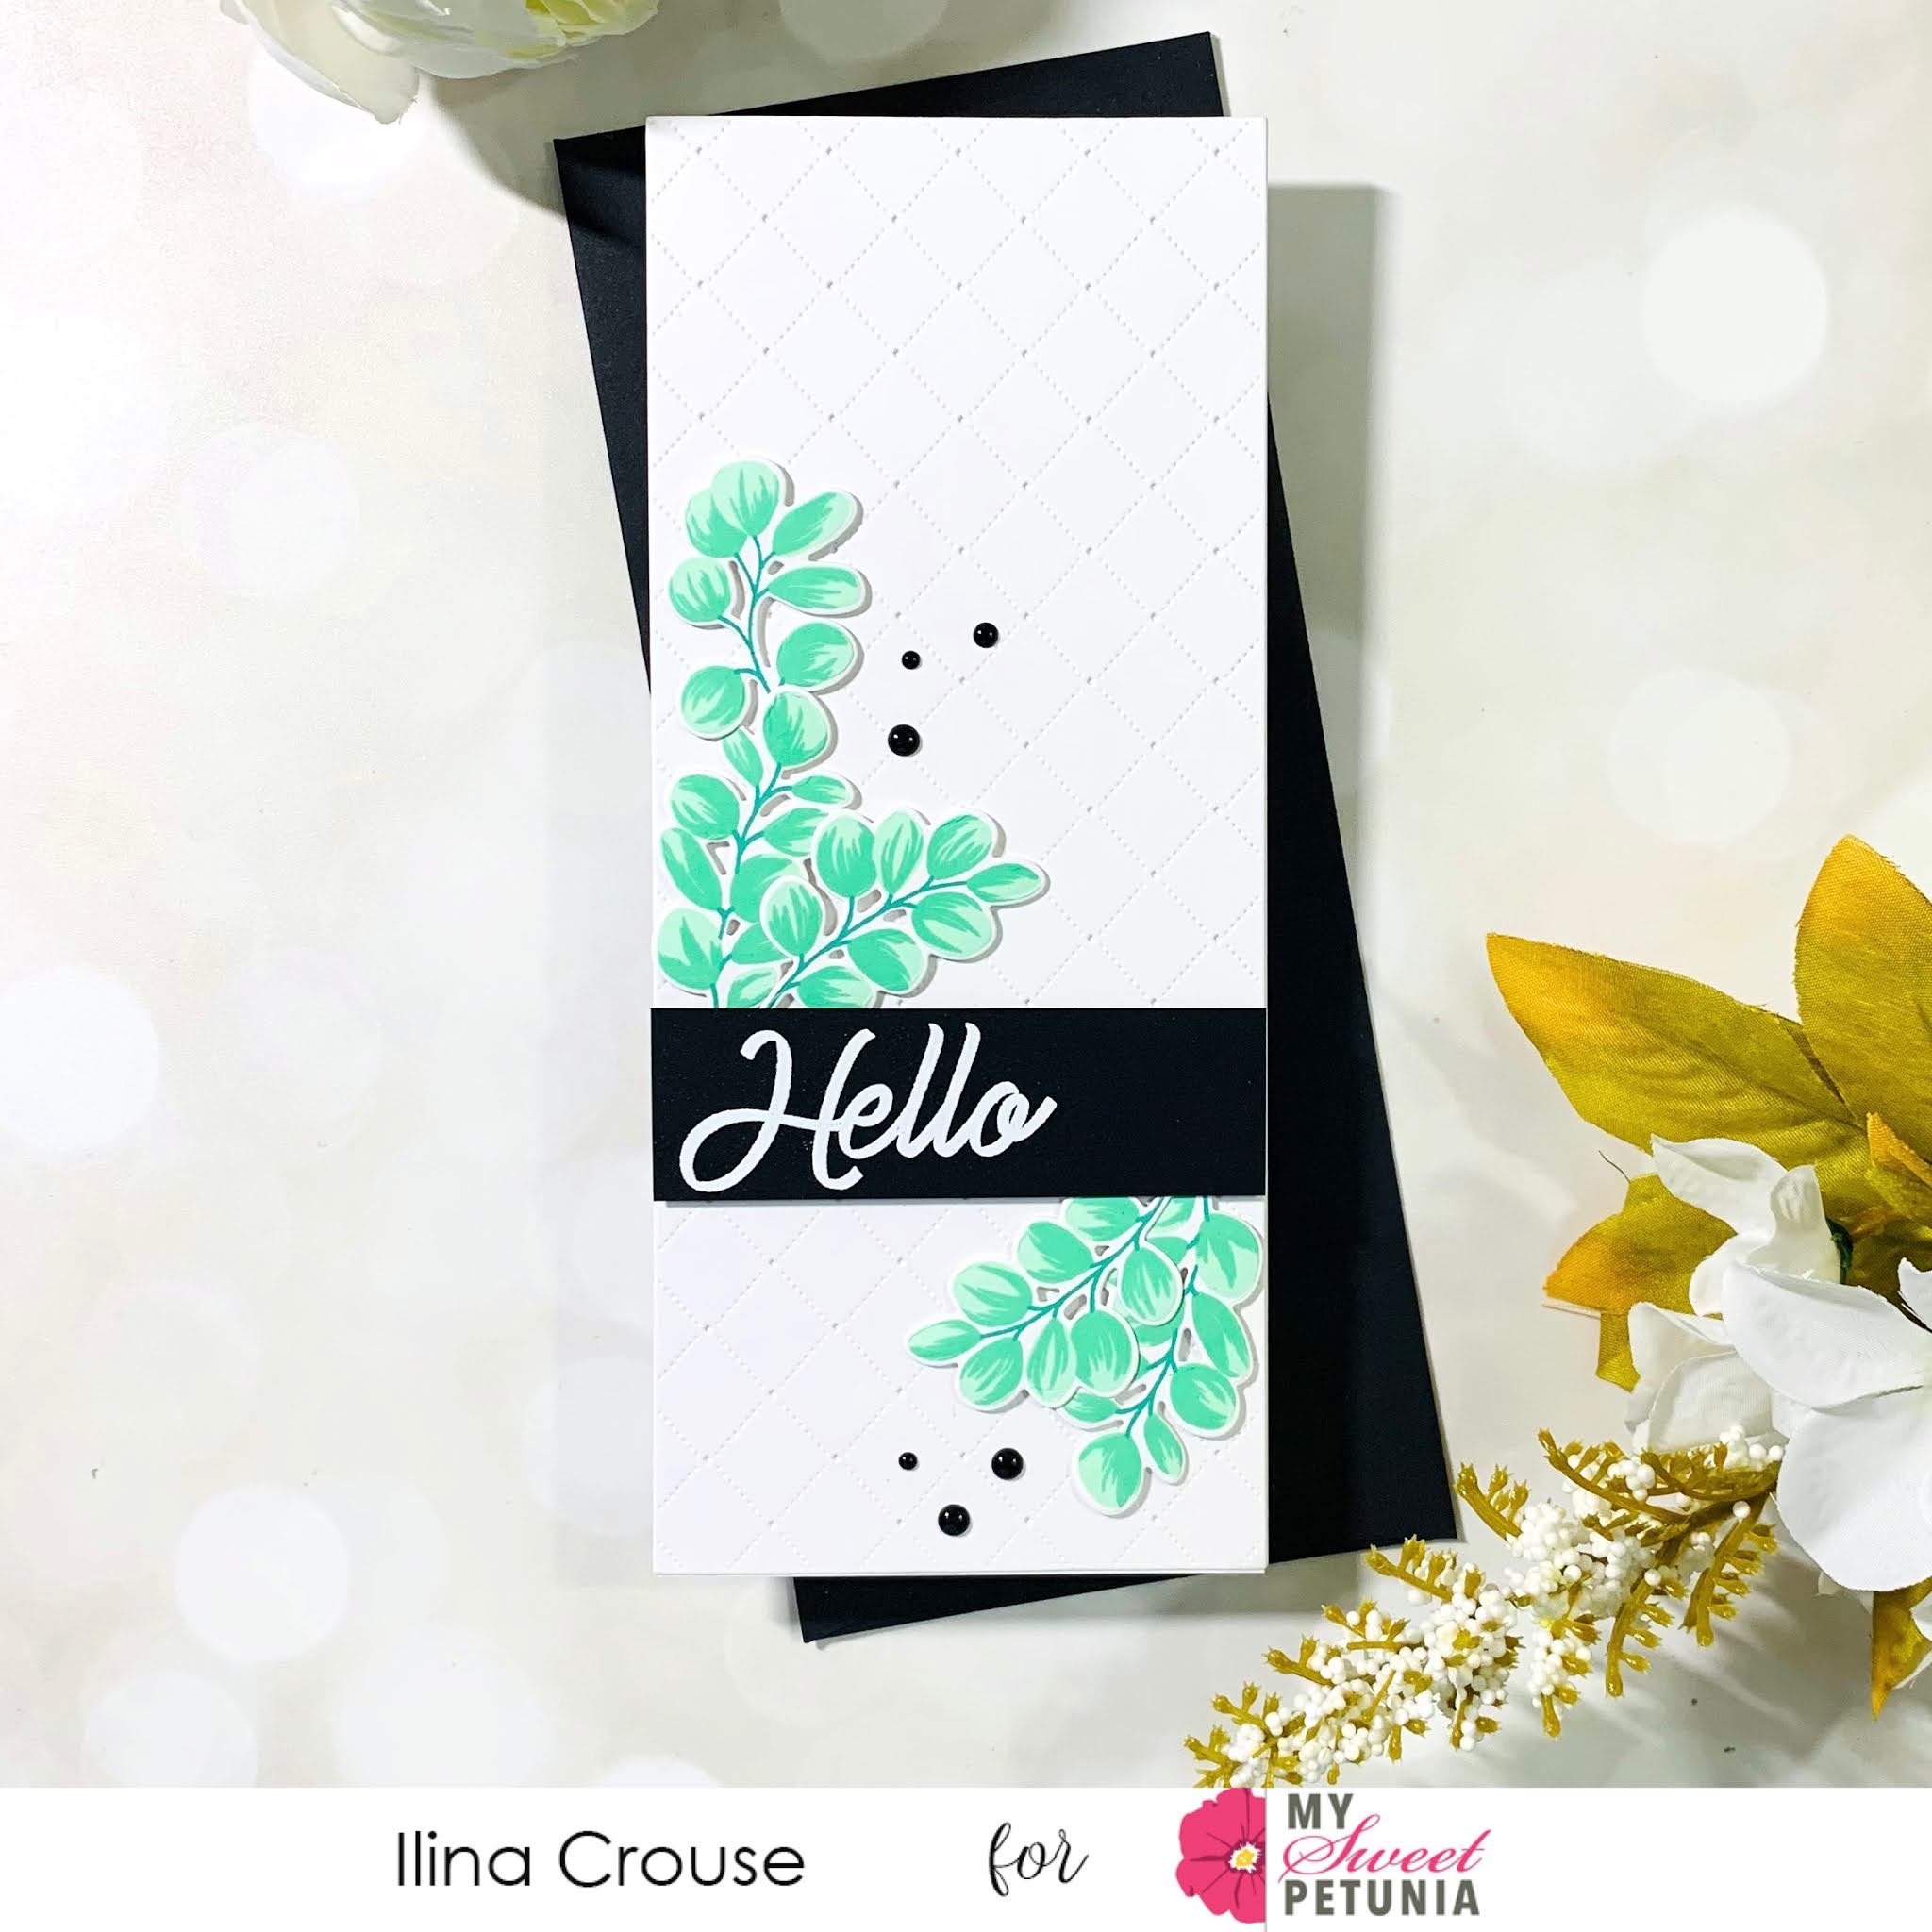
Hi everyone!Ilina here. Today I am sharing a slimline card using The Ton Eucalyptus grouped stamping set along with the Slimline Quilted Cover plate.
The Ton's group stamping sets are basically designed to work with the MISTI and you stamp all elements at once. They have guide marks too, so it takes the guess work out of the layering. You will just need to line up those guides when positioning the layers and you are good to go. Also the coordinating dies cut all elements at once! Makes so easy to mass produce.
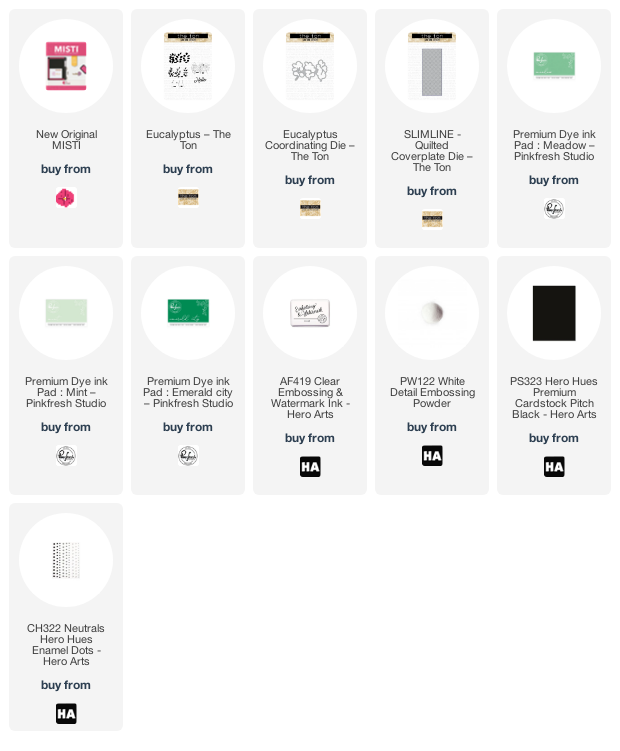
To make the card I used inks from Pink Fresh Studio: Mint, Meadow and Emerald City. Once I stamped the images I die cut them.
Stamped sentiment on black card stock (the sentiment is part of the same stamp set) and embossed in white. Trimmed to size.
Die cut the slimline cover plate from white card stock and assembled my card!
Ilina here. Today I am sharing a card using the newest The Ton release and the Group layering sets and dies. These make stamping and die cutting images a breeze and they are made to work with the MISTI.
I personally think it's a genius idea (it's patent pending) and make lining up the layer super easy.
For my card I used 3 sets from the newest release : Berry Bits, Wildflower bits and the Winter foliage along with coordinating dies. Using my MISTI I stamped bunch of them and will save the rest for cards when I don''t have time to put together. Once stamped I die cut them all. All supplies are listed on the bottom
Cut panel 4" x 5 1/4" and die cut the peeking square window die from MFT Stamps.
Next stamped the sentiment in black. Using foam tape I adhered the window panel to piece of black card stock. Arranged and adhered the flowers and adhered to Black note card. Voila ;)
Ilina here. Today I am sharing few super fun cards using few new sets from Concord and 9th. I used the new Woodland Turnabout set along with the coordinating dies, All the Hellos set and Lots of Thoughts.
Since I had the turnabout set positioned in my MISTI I decided to stamp few background and make few cards using different colors. Once the backgrounds were stamped I trimmed them to 4" x 5 1/4"
Next I stamped the sentiment using (each part of it is from different stamp set) and die cut it with the stitched square die from the Woodland dies. Also I die cut the mat from Midnight cardstock.
I die cut coordinating color hearts and assembled my cards adding navy twine to add something little extra.
Hi everyone!
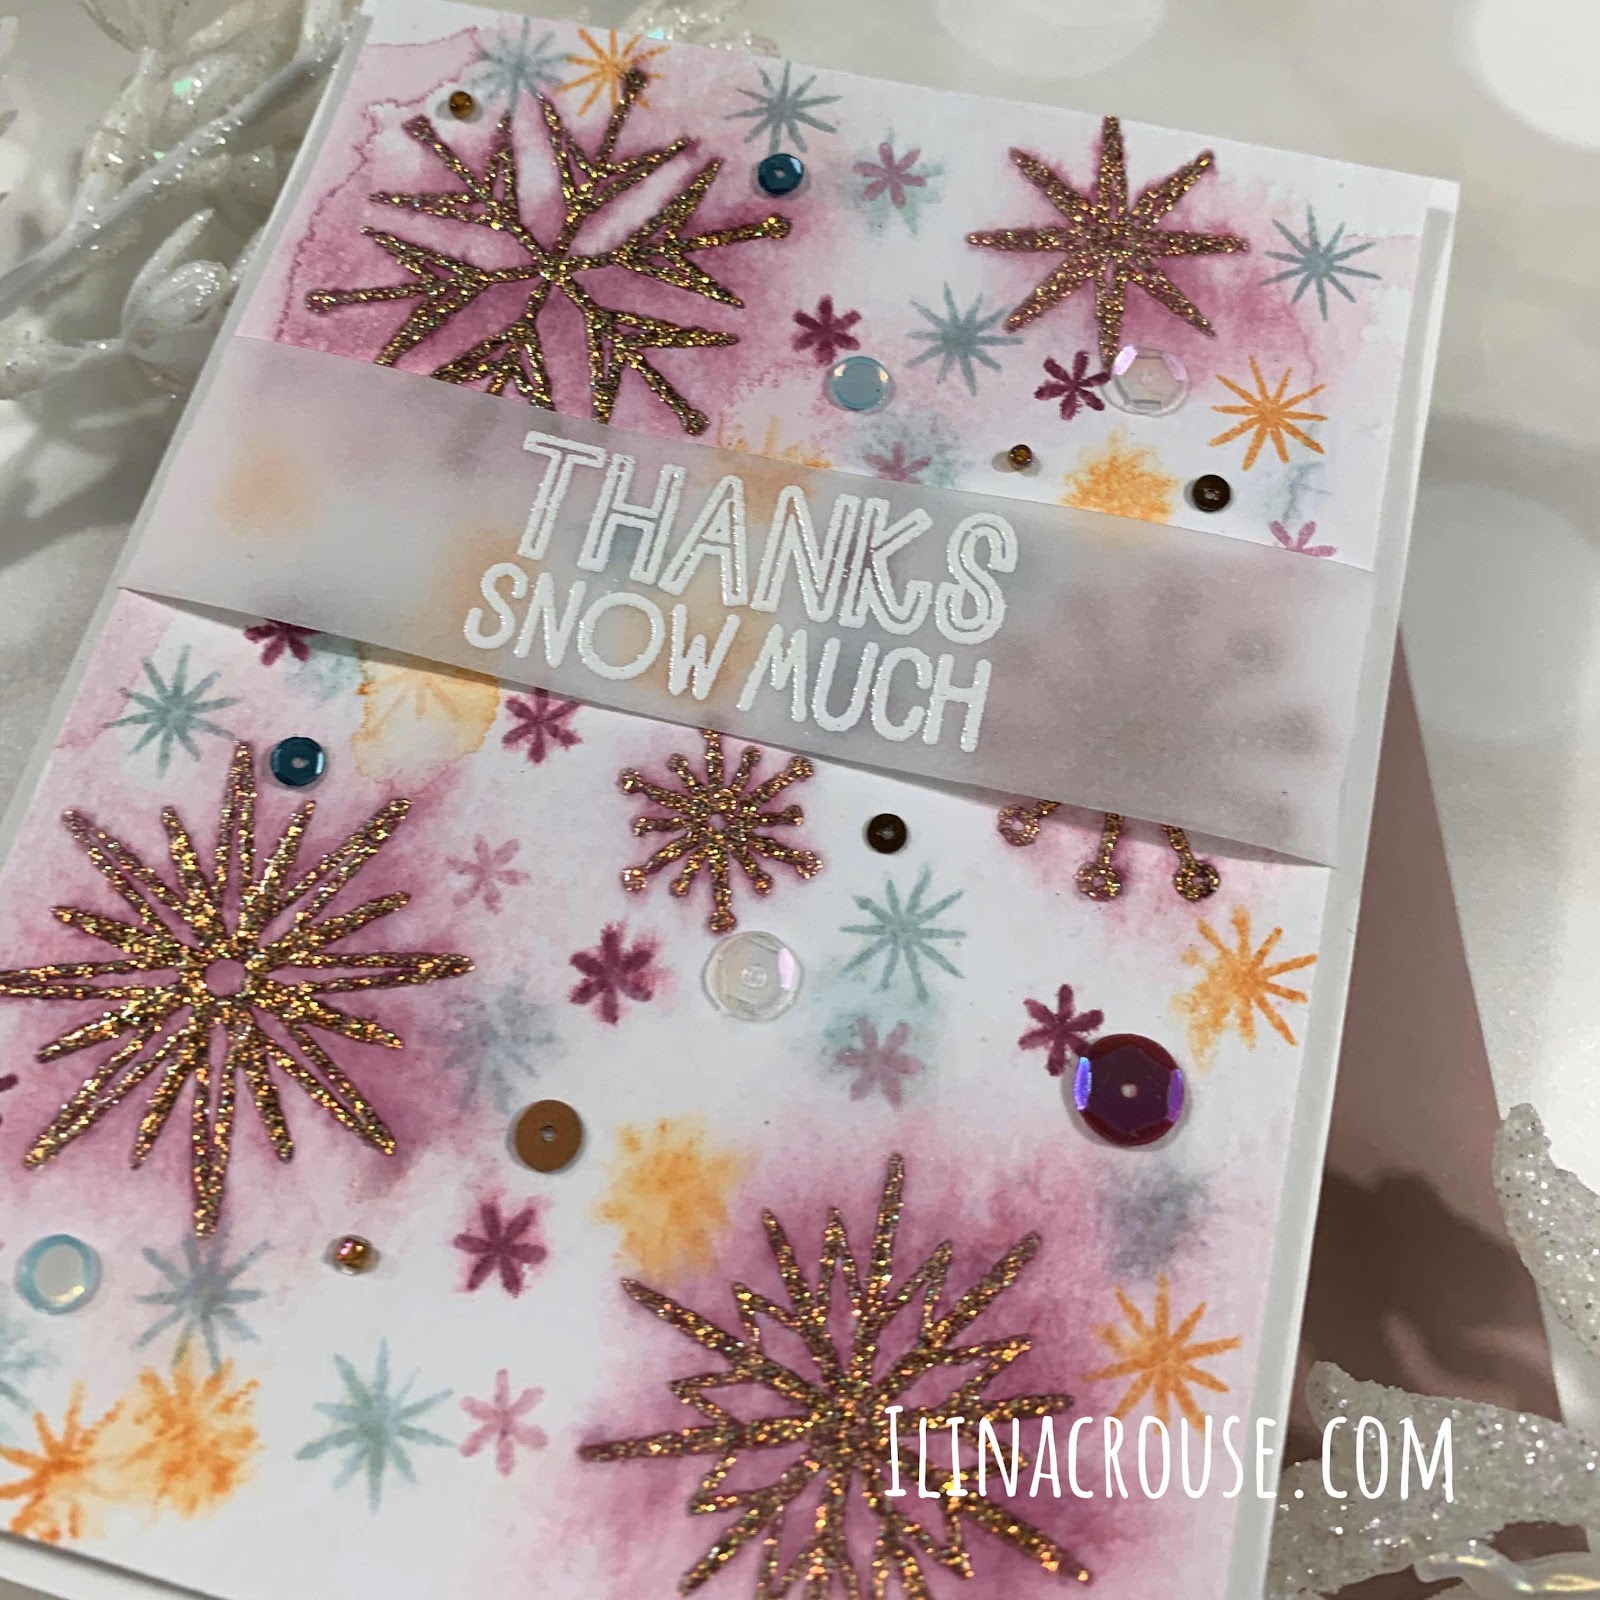
Ilina here! Today I am taking over the blog and sharing a fun card using some Catherine Pooler Designs goodies and doing multi layered stamping using same images, as well as embossing.
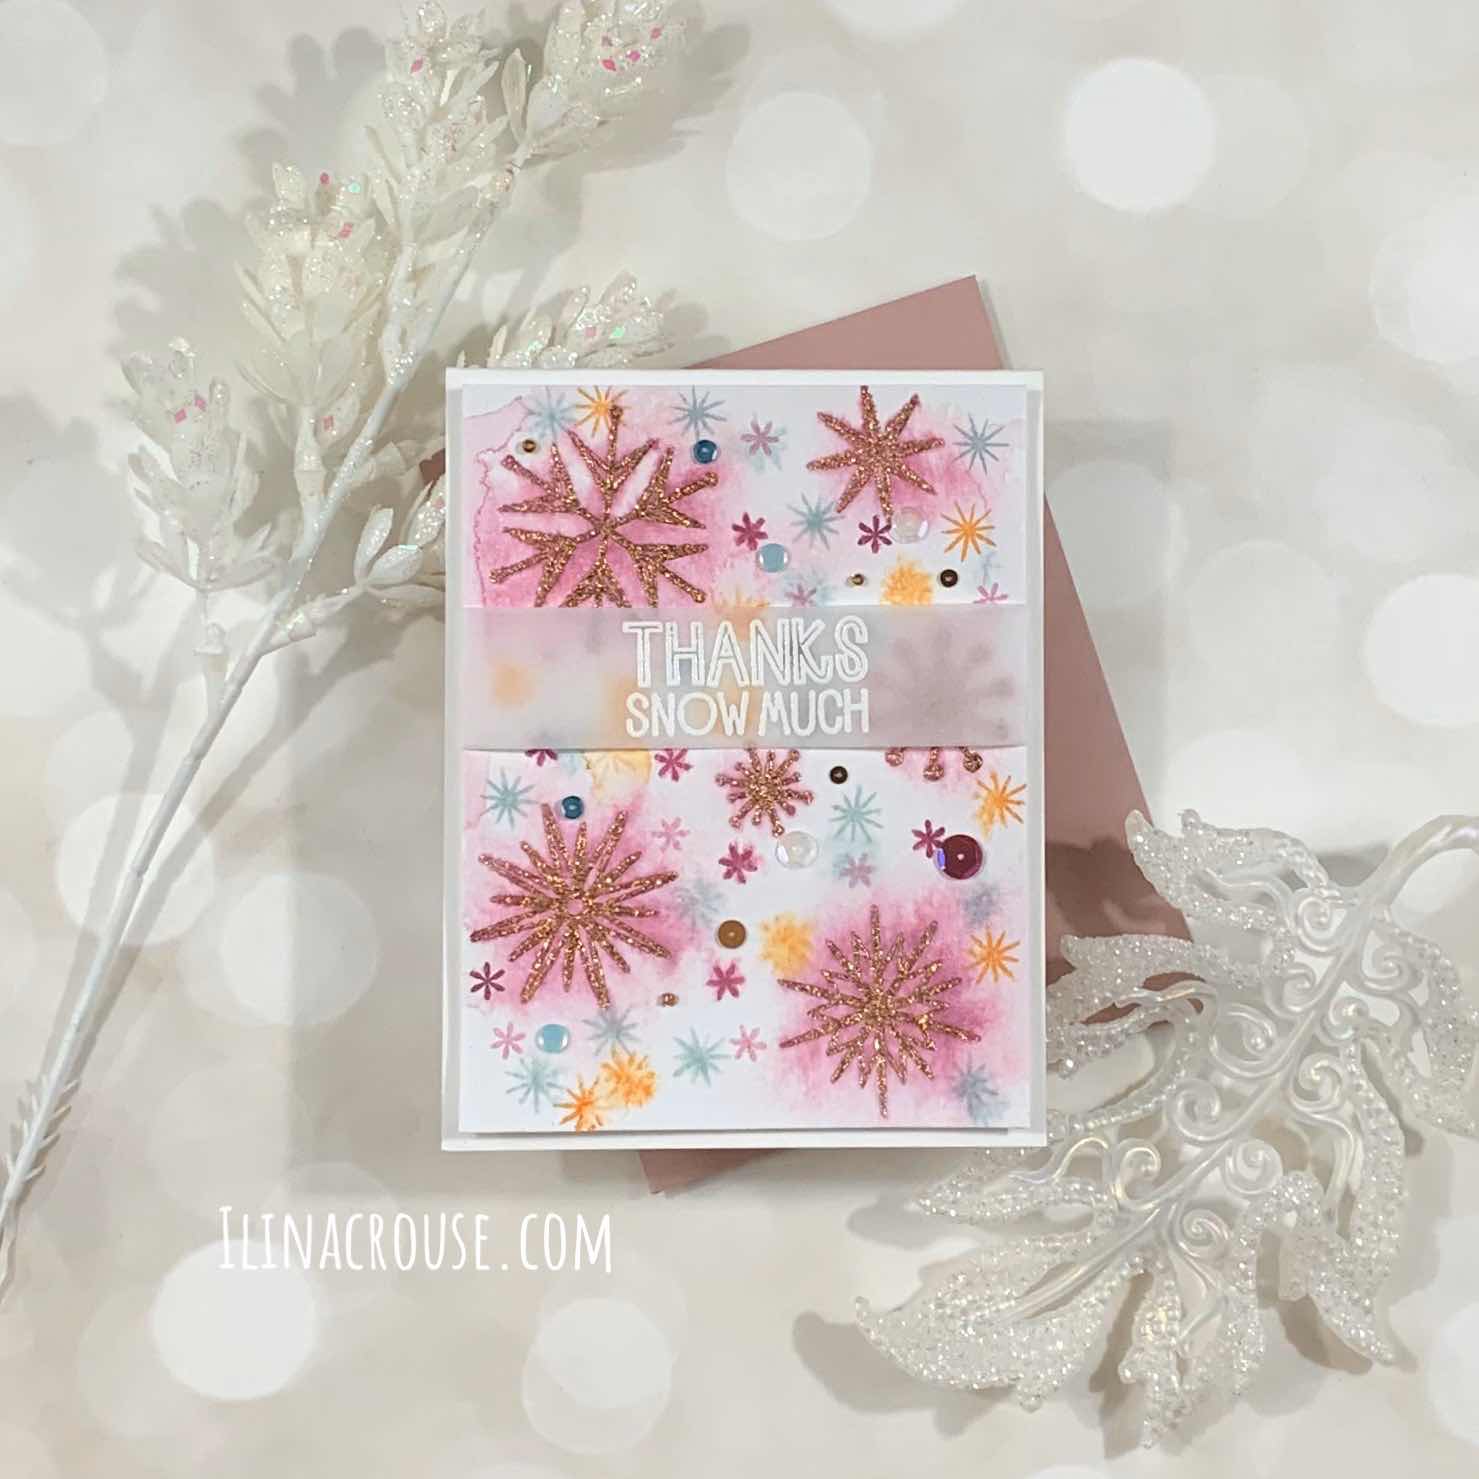
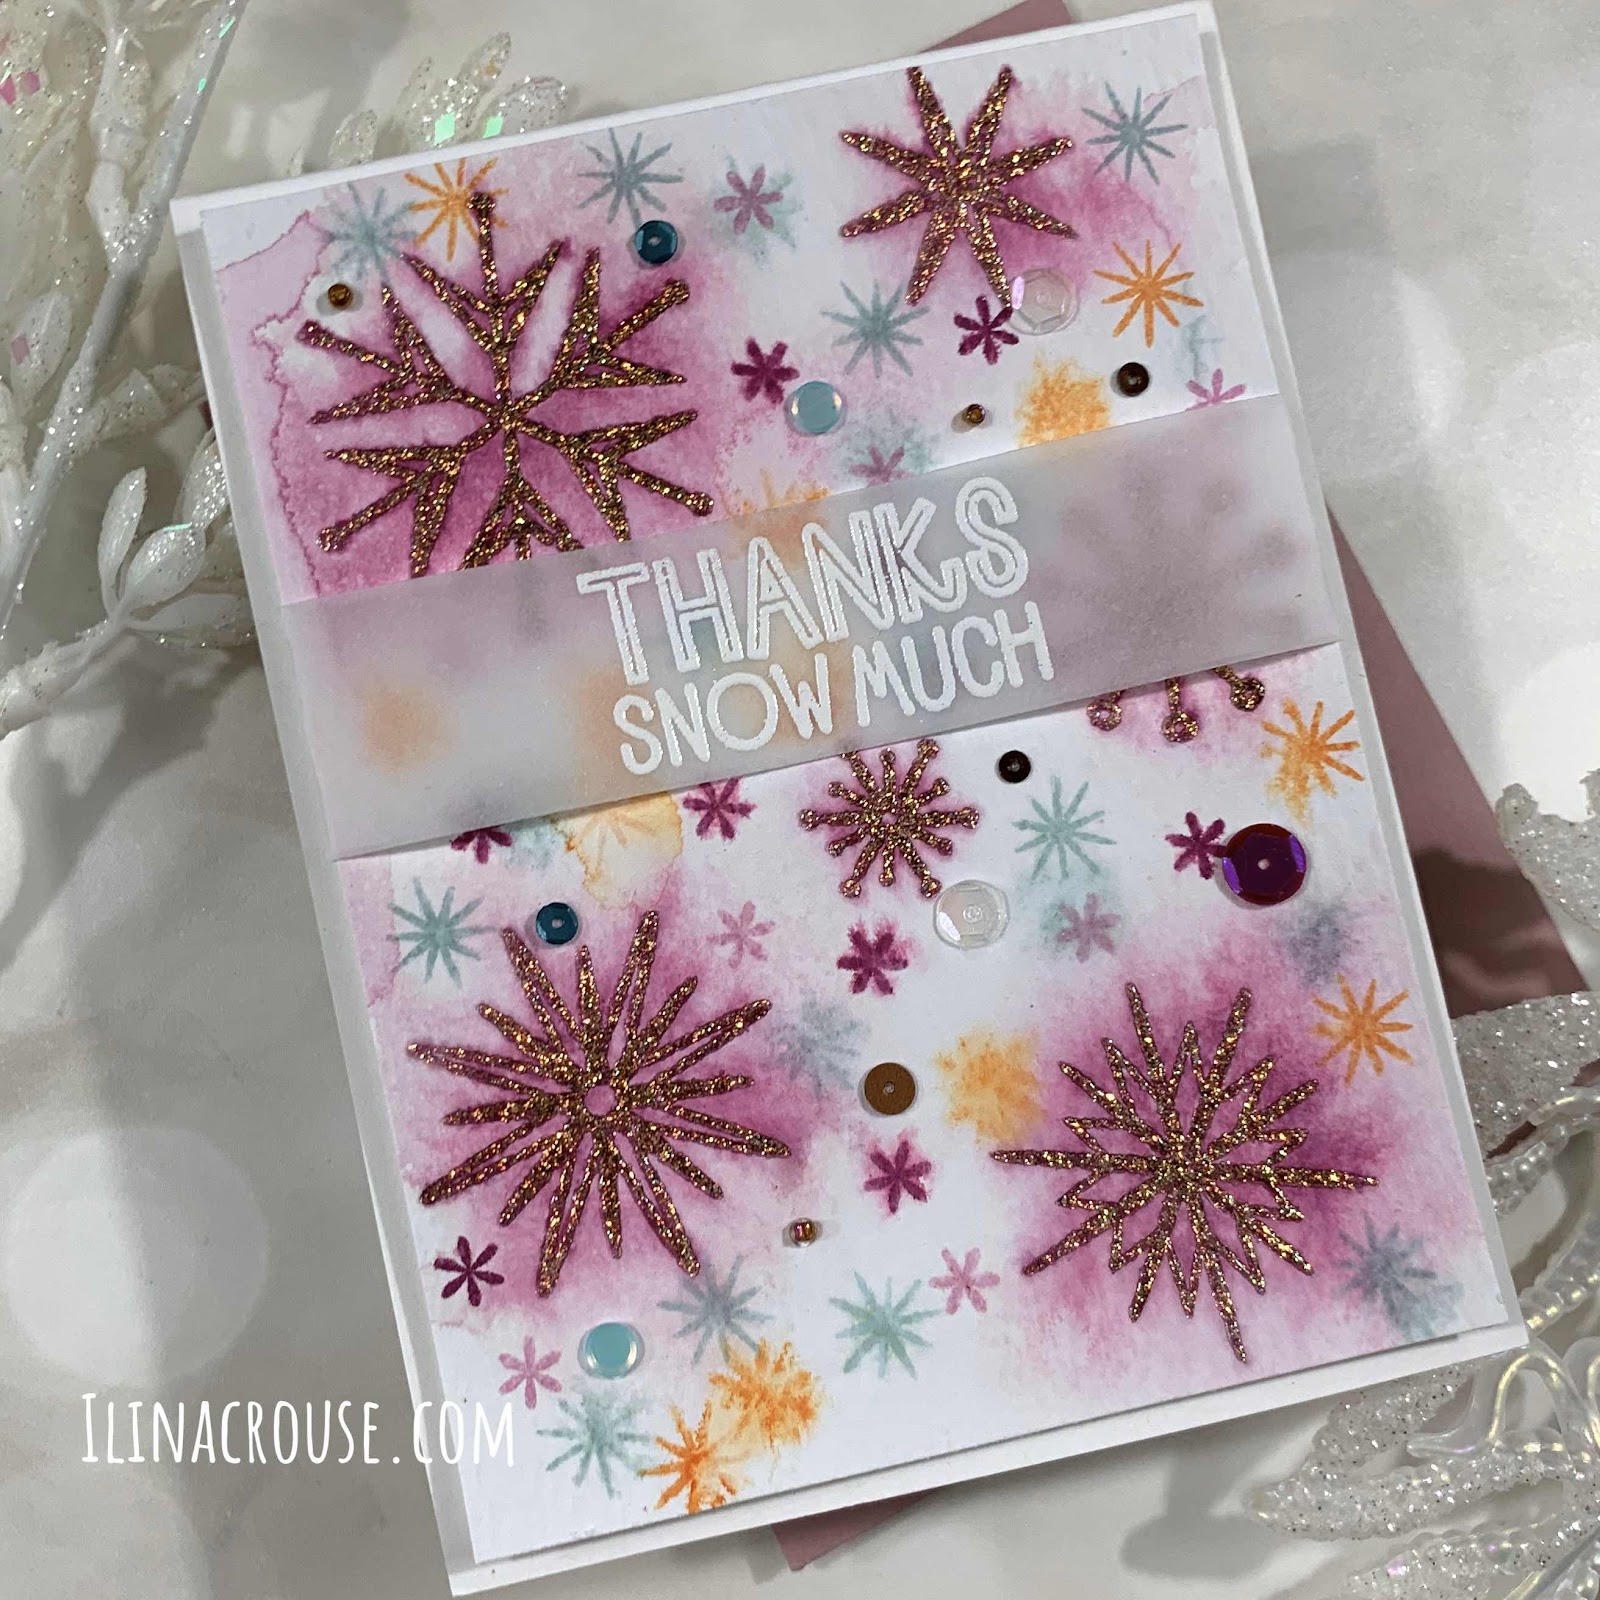
I started with watercolor paper panel and secured it in my MISTI. I arranged the large snowflakes on the door of the MISTI, sprayed the paper with water (so I achieve bleeding effect) and stamped with Pink Champagne ink few times. I dried the panel using heat tool and put it back in the MISTI. Now, I stamped the same snowflakes (didn't remove them from my MISTI) in Sangria. Repeated few times. Once dry, I stamped again with Versamark and embossed in Wanderlust embossing powder. Stamped again in Sangria and spritzed with water to get some more bleeding.
Next I used one of the smaller snowflakes and while the paper was still wet I stamped them in Hot Tub and Orange peel. Dried the panel and stamped again. Stamped the smallest snowflake in Sangria and Pink Champagne.
Once done, I put it back in the MISTI and stamped the snowflakes again in Versamark and embossed with Clear embossing powder. Trimmed the panel down to 4" x 5 1/4" and set it aside.
Stamp sentiment in Versamark on Vellum and emboss in white. Trim to size.
Wrap around panel and adhere the ends on the back.
Add Cincinnati sequins and adhere to white note card and you are done ;)
Ilina here today taking over the blog for another Team Tuesday.
For today's card I used bunch of The Stamp Market goodies and of course my MISTI! To make the card I started by stamping the Diamond Tile Background using Silver Lake Altenew ink, once stamped I trimmed my panel down to 4" x 5 1/4" and set it aside.
Next using my MISTI I Stamped the layered poppies and the leaves and cut them out using the coordinating dies.
I die cut the HUGS sentiment and then stamped HUGS in black using the MISTI.
Once I had all the elements I arranged and adhered to the panel stamped previously. Using fun foam I adhered the panel onto top folding Pitch Black note card and added few black Nuvo drops.
Ilina here today taking over My Sweet Petunia blog for another Team Tuesday.
Today I am sharing two cards using one of the new Concord and 9th Turnabout stamps called Stitched Turabout along with the new Turnabout Jig which makes using the Turnabout stamps a breeze and you don't need to create your own jigs.
To make the card I started by lining up only the center part of the stamp on the guide provided and the jig, lined it up in my MISTI and picked it up with the lid. I used few different colors to stamp. I wanted to make more elegant card, but at the same time I wanted one more cheerful. So ended up with two cards ;) Trust me, these turnabout stamps are addictive once you have them already set them up in your MISTI and so easy to mass produce!
For my first card I used Twilight, Party Dress, It's a Girl and Versamark which then I embossed with Silver Embossing powder. For the second one I used: Tiki Torch, Aquatini, Lime Rickey and Party Dress, then stamped the sentiment in Black!
If you haven't tried this turnabout stamps and the MISTI I hope you'll give it a go ;)
Happy Wednesday. Ilina here taking over My Sweet Petunia blog today. I know it's not Tuesday, but we do have whole month collaboration with Joy Clair, and we are showcasing projects using both companies products.
Plus if you leave a comment whenever you see this banner you will be entered to win our prizes: 2 $25 Joy Clair Gift certificates and one MISTI - your choice of original or mini. Winners will be announced in April on both blogs.
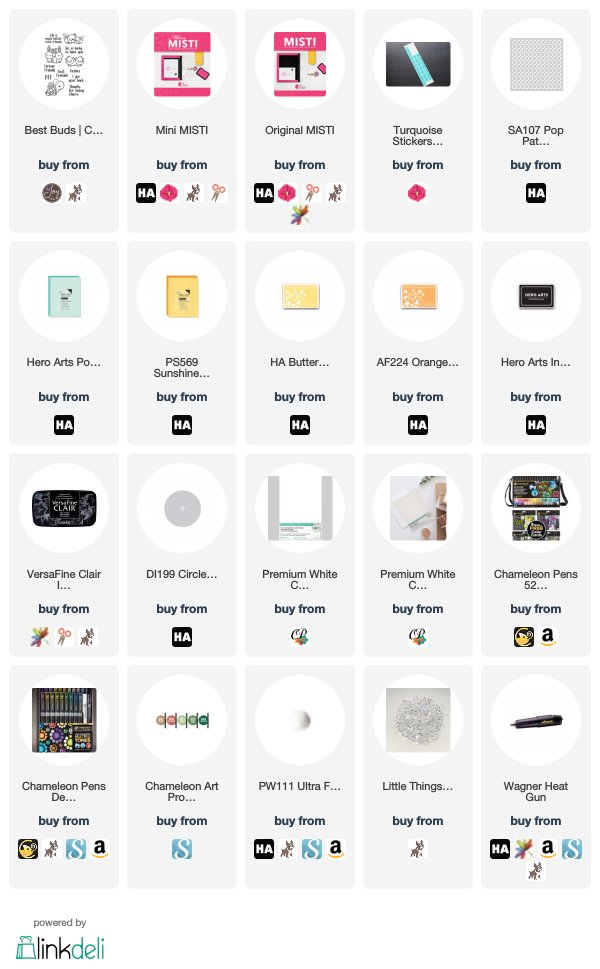
For my card today I used the Best Buds set. I stamped the turtles with intense black ink using the MISTI and without removing my paper from the MISTI I colored it using my Chameleon Pens. When done, I stamped over the image using Versafine Clair Nucturne ink and embossed with Ultra fine clear embossing powder. Cut out the image and assembled my card. Watch the video below to see how this card came to be ;)
If you have problems with the video you can watch it HERE in HD
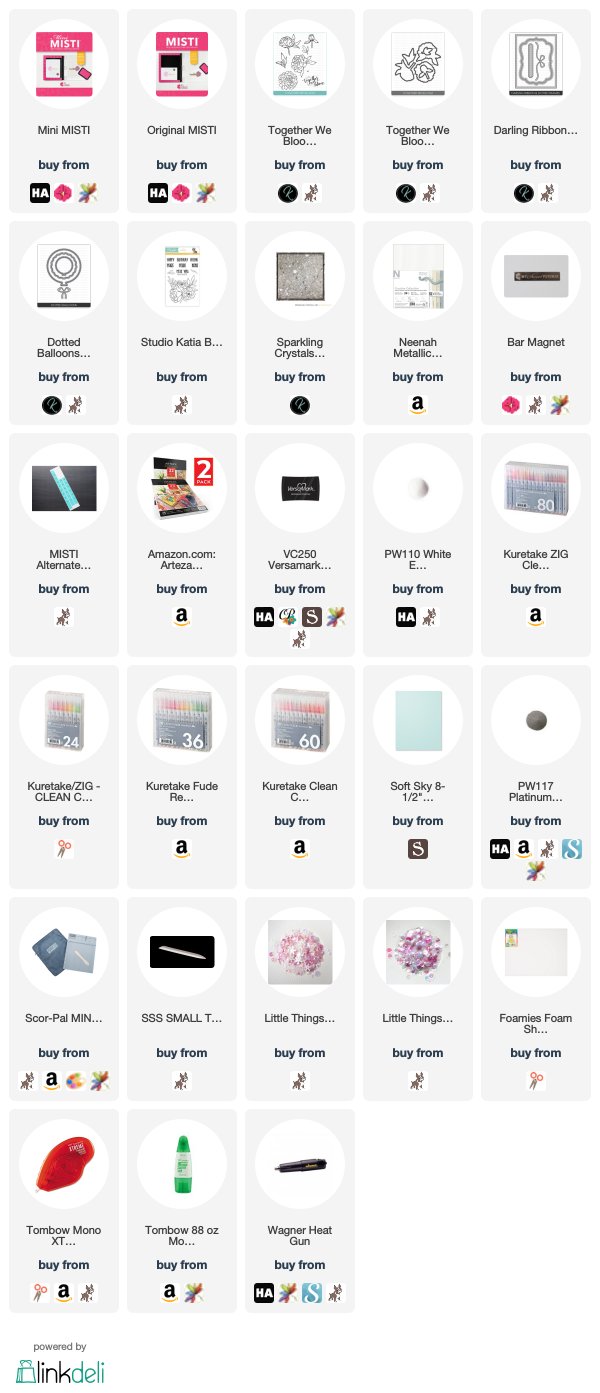
Ilina here and Welcome to another Team Tuesday.! Today I have an elegant shaker card featuring some Studio Katia Products. As well as video.
I am also experimenting with the Arteza cold press watercolor paper, with my Zig clean color real brush markers.
I stamped my images on the watercolor paper few times using my MISTI and then embossed with white embossing powder. Next using my pens I watercolored them and die cut them once I was done. I created my shaker panel using 2 Studio Katia die sets Dotted Balloon and Darling ribbon and dotted frame. I used Neenah metallic paper I picked up at my local target.
Watch the video below how this card came to be and hope you are inspired to create something today (supplies are on the bottom of this post)
Hi stampers!
It's Ilina and Happy Tuesday! Tuesday over here means that one of the My Sweet Petunia Design team members is taking over the blog and sharing their creations. So, today it my turn.
However before I go into my eye candy, I wanted to let you know that My Sweet Petunia is having a store wide sale this week. 20% off everything in the store. No code is necessary and the discount will be applied at checkout! So, if you have been on the verge of getting your first MISTI, or the 2nd or your 10th, now it's the time! You can visit the store HERE
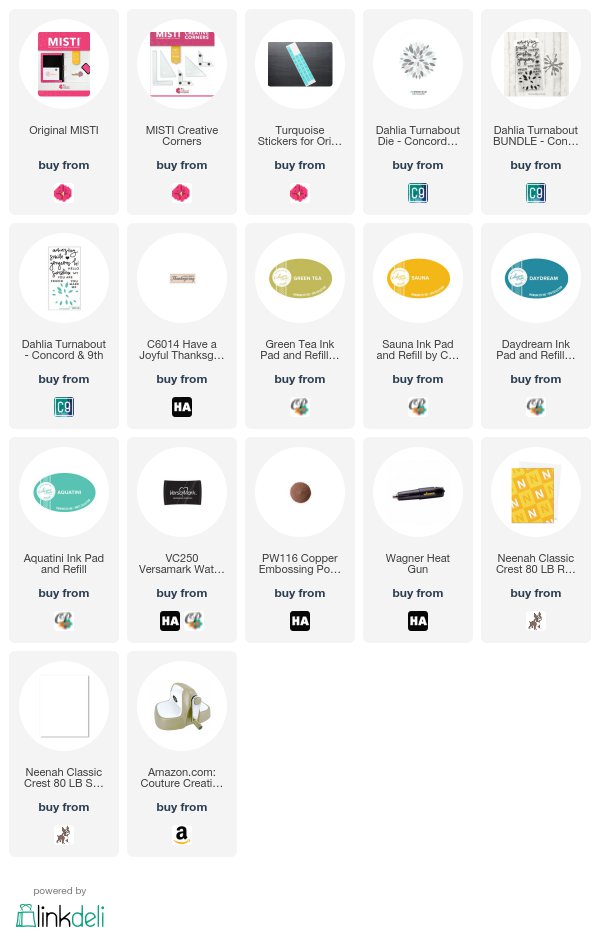
And, now it's time to move to the eye candy. I have two cards for you today and a video! Since Thanksgiving is in couple days (in the US) I decided to go with Fall/Thanksgiving theme and used the Concord and 9th Dahlia turnabout stamp set and dies, the Hero Arts Have a Joyful thanksgiving wood mount stamp and the new Catherine Pooler Spa Collection inks!
The Concord and 9th turnabout stamps are designed to be used with the MISTI. So I stamped the dahlia three times with Sauna, Daydream and Green tea inks, then for the 4th I stamped with Versamark ink and embossed with Hero Arts Copper Embossing powder. Then using 2 sets of Creative corners I created little positioning tool for wood mount stamps and the MISTI and magnets on the corners helped keep it in place in the MISTI, so stamping was a breeze. Watch the video below on how I did that. For my 2 card I did almost the same process, except for the last step of the dahlia instead of stamping, I die cut it, using the coordinating dies.
I kept my cards simple because I wanted the focus to be on the Dahlia and the sentiment.